Nude nail designs are a versatile and chic choice for any occasion. This guide breaks down essential nude nail styles, making it easy for beginners to achieve a polished and sophisticated look with simple techniques and accessible tools.
Hey, nail lovers! Lisa Drew here from Nailerguy. Are you ready to elevate your nail game with a touch of timeless elegance? Nude nails offer a soft, sophisticated look that complements any outfit and skin tone. But what exactly makes a nude nail design? It’s all about those subtle, chic touches that take a simple polish to the next level! If you’ve ever felt a little lost in the world of chic neutrals, don’t worry. This guide is your friendly roadmap to understanding and creating stunning nude nail designs that are totally beginner-friendly. We’ll cover everything from choosing the perfect shade to simple design ideas that will have you feeling like a pro. Get ready to embrace the beauty of understated glamour!
Why Nude Nail Designs Are Always a Good Idea
Nude nail designs are the ultimate chameleon of the manicure world. They’re understated enough for the office, elegant enough for a wedding, and chic enough for a night out. The beauty of nude is its versatility. It’s a shade that generally looks good on everyone, acting as a beautiful blank canvas. But when we talk about “nude nail designs,” we’re going beyond just a solid coat of beige or taupe. We’re talking about adding those little extra touches that make your nails stand out, whether it’s a subtle shimmer, a delicate line, or a hint of a different texture. These designs add a polished, intentional feel without being over-the-top. They’re perfect for days when you want something sophisticated but effortless.
Think of nude as your go-to neutral, the foundation for a multitude of styles. It’s the little black dress of nail polish, but in neutral tones! These designs are incredibly flattering and can make your nails look longer and more elegant. Plus, they’re fantastic for covering up any minor imperfections or blending a bit of nail growth between salon visits. For those of us with busy lives, nude designs are a lifesaver because they require minimal upkeep and always look put-together. Let’s dive into what makes them so special!
Understanding Nude Nail Shades: Finding Your Perfect Match
Choosing the right nude shade is the first and most crucial step in creating a stunning nude nail design. “Nude” isn’t just one color; it’s an entire spectrum of beautiful neutrals that can range from pale pinks and creams to warm beiges, soft caramels, and deep chocolates. Finding your perfect nude is like finding your perfect foundation shade – it should harmonize with your skin tone. This makes your nails look natural and extended, creating that coveted “my nails but better” effect.
Here’s a quick guide to help you find your ideal nude:
- Fair to Light Skin Tones: Look for nudes with cooler undertones, such as pale pinks, soft creams, and very light greige (grey-beige) shades. These will avoid looking too stark or too orange.
- Medium to Olive Skin Tones: You can pull off a wider range of nudes. Consider warm beiges, peachy nudes, and light caramel shades. These tones often complement the warmth in olive skin beautifully.
- Deep to Dark Skin Tones: Embrace nudes with richer, deeper undertones. Think warm chocolates, deep caramels, and even rich caramels with a hint of rose. These shades will provide a lovely contrast and definition.
Don’t be afraid to experiment! Sometimes a shade you wouldn’t expect can be your perfect nude. Swatching polishes on your forearm can give you a good idea of how they’ll look against your skin.
Essential Nude Nail Design Styles for Beginners
Now that we know how to pick the perfect nude, let’s explore some must-try nude nail designs that are incredibly easy to achieve, even if you’re just starting out. These styles add a touch of personality and flair without demanding advanced artistic skills.
1. The Classic Monochromatic Nude
This is the most straightforward yet incredibly elegant nude nail design. It’s simply a flawless application of your chosen nude polish. The key here is achieving a perfect, streak-free finish.
- How to achieve it:
- Start with clean, prepped nails.
- Apply a good base coat to protect your natural nails and help polish adhere.
- Apply two thin coats of your chosen nude polish, allowing each coat to dry slightly.
- Finish with a high-shine top coat for durability and a professional look.
This look is minimalist perfection. It’s clean, sophisticated, and always in style.
2. Subtle Shimmer Nude
Adding a touch of subtle shimmer or glitter can transform a plain nude manicure into something truly special. This is an easy way to add dimension and a bit of sparkle without being overwhelming.
- Beginner-friendly execution:
- Apply your nude polish as usual.
- Once dry, gently brush a sheer shimmer polish or a subtle glitter top coat over your nails. Focus on the center of the nail or just along the cuticle for a gradient effect.
- Alternatively, use a fine glitter powder and a brush to gently dust it over the tacky top coat of your nude polish for a more targeted shimmer.
- Seal with a top coat.
This adds a gorgeous glow that catches the light beautifully, perfect for adding a little magic to your day!
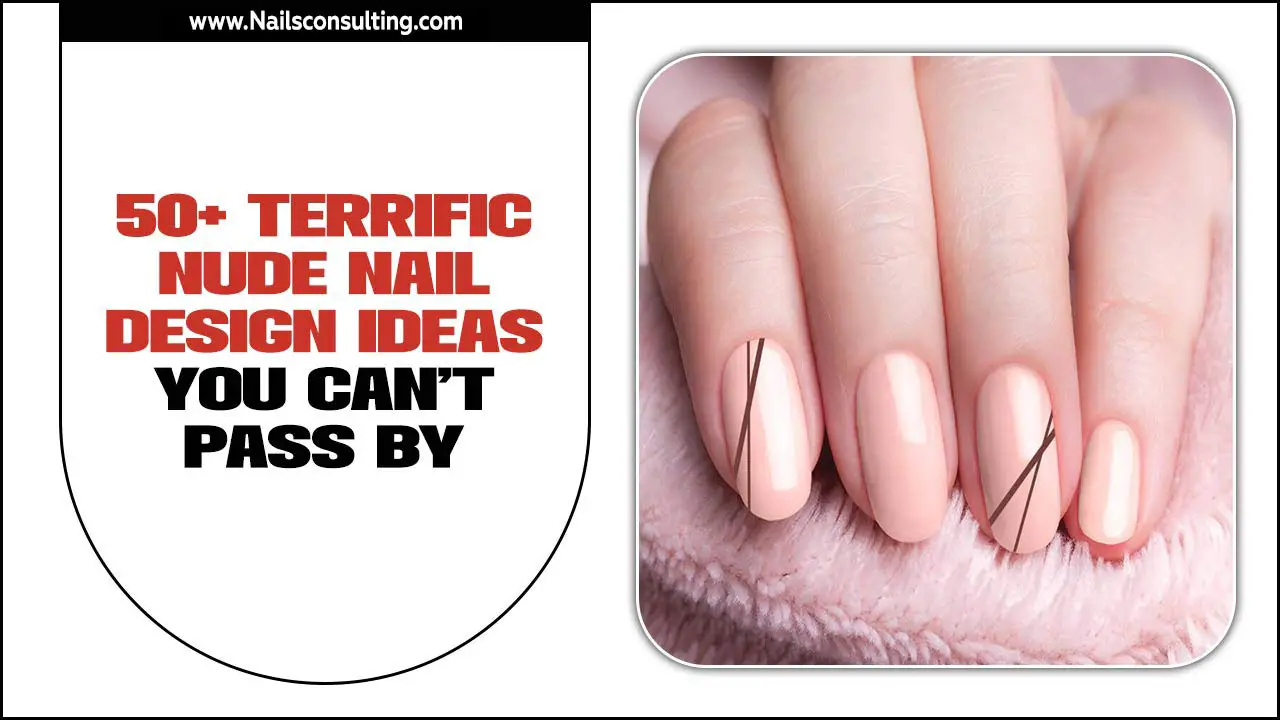
3. Minimalist Line Art Nude
This design involves adding thin, delicate lines in a contrasting or complementary color to your nude base. It’s chic, modern, and surprisingly easy to do with the right tools.
- Tools you might need:
- A nude nail polish
- A fine-tipped detail brush or a striping tool
- A contrasting polish (black, white, gold, or silver work well).
- How to create it:
- Apply your nude polish base and let it dry completely.
- Using your detail brush or striping tool dipped in your contrasting color, draw simple lines. You can go for a single vertical or horizontal line, a few scattered dots, or a simple geometric shape near the cuticle.
- A steady hand is helpful, but don’t aim for perfection! Slight imperfections can add to the hand-painted charm.
- Once dry, apply a top coat.
This design is incredibly stylish and adds a touch of artistic flair that looks intentionally designed.
4. The Ombre Nude Fade
Ombre, or gradient, nails create a beautiful seamless blend of colors. For a nude ombre, you can blend two similar nude shades or even blend a nude with a hint of another color like white or a soft pink.
- Simple technique:
- Apply your base nude polish.
- For a two-color ombre, apply your base nude to one half of the nail and a slightly lighter or darker nude (or white/pink) to the other half.
- Use a makeup sponge or a specialized ombre brush to gently dab and blend the colors where they meet. Work quickly!
- You might need a second application to smooth out the blend.
- Alternatively, for an even easier version, apply your nude base and then use a sheer glitter or shimmer polish near the tip or cuticle and gently blend it downwards with your brush.
- Clean up any polish on your skin with a brush dipped in nail polish remover.
- Seal with a top coat.
This creates a beautiful, soft transition that looks sophisticated and modern.
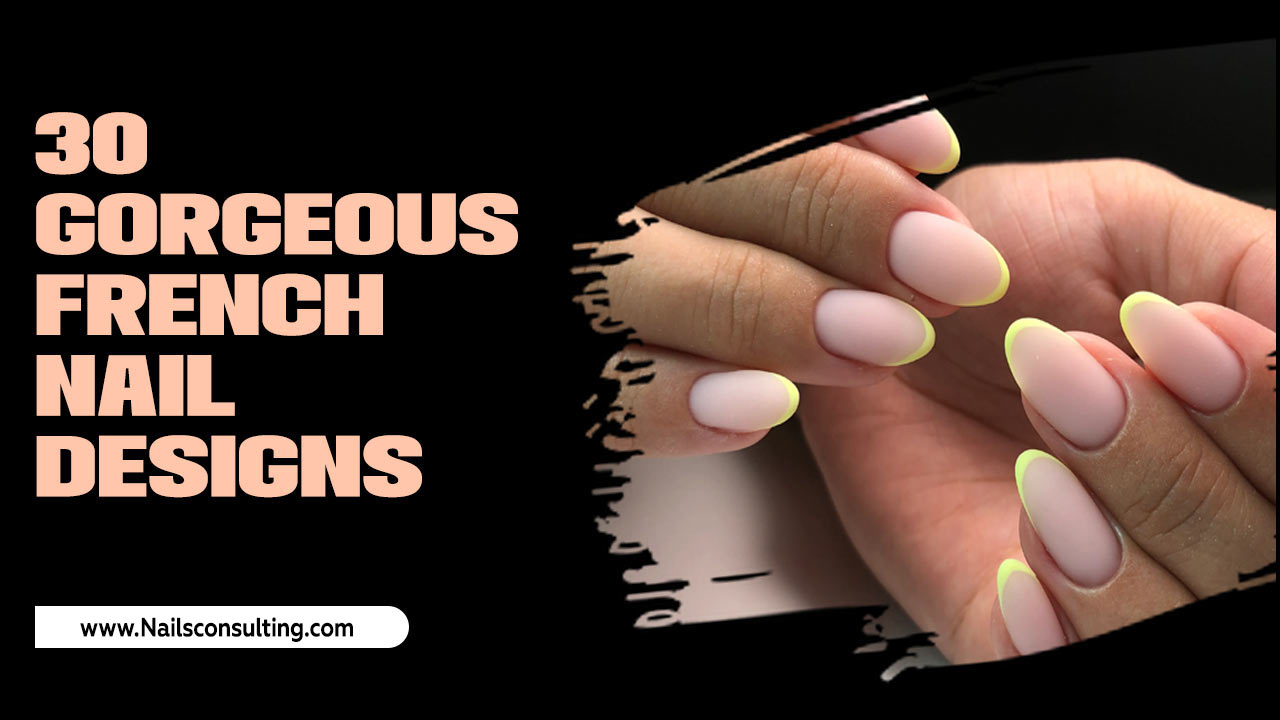
5. French Manicure with a Nude Twist
The classic French manicure gets a modern update with a nude base. Instead of the traditional sheer pink or nude base, we use a opaque nude that perfectly matches or complements your skin tone.
- How to get the look:
- Apply your chosen opaque nude polish as your base color and let it dry.
- Use a fine brush or French tip guides to paint a crisp white or cream tip.
- For a softer look, you can use a nude polish that’s a shade lighter than your base for the tip.
- Ensure the line between the nude base and the tip is clean and sharp.
- Apply a top coat once dry.
This elevated French tip is incredibly chic and elongates the appearance of the nail.
6. Nude with Accent Nail Embellishment
This is a fantastic way to add a focal point to your manicure. One nail gets a little extra! It’s perfect for beginners because you can keep the other nails simple nude and focus your creative energy on just one.
- Design ideas for your accent nail:
- Subtle Glitter Gradient: Apply your nude polish to all nails, then on your accent nail, create a glitter gradient from the cuticle to the tip using a subtle gold or silver glitter polish.
- Delicate Decals: Use water decal stickers (like tiny flowers, stars, or geometric patterns) applied over your nude polish. These are super easy to place and require no artistic skill. Find them at most beauty supply stores or online.
- Tiny Gemstones: Carefully place one or two tiny rhinestones or pearls near the cuticle of your accent nail using a dotting tool and a sticky top coat or nail glue.
- Application tip:
- Complete all your nails with the base nude polish, leaving one nail for the accent.
- Apply your chosen accent design to that one nail.
- Once everything is dry, apply a top coat to all nails, being careful not to cover up any flat decals or gems too thickly, which can dull their shine or cause them to budge.
This offers a chance to play with different textures or designs without committing to it on every nail.
Tools and Materials for Nude Nail Designs
You don’t need a professional nail studio to create gorgeous nude nail designs! Here’s a breakdown of essential tools and materials that will help you achieve beautiful results:
Must-Have Polishes and Treatments
- Base Coat: Essential for protecting your nails and ensuring polish longevity. Look for ones that strengthen or smooth.
- Your Perfect Nude Polish: Invest in a few shades that flatter your skin tone. Creams and opaque finishes are great for solid colors, while sheer nudes are perfect for French tips or layering.
- Top Coat: Crucial for shine, durability, and preventing chips. A quick-dry top coat is a lifesaver for busy individuals.
- Cuticle Oil: Keeps your nail beds hydrated and healthy, making manicures look more polished.
Helpful Application Tools
- Fine-Tip Detail Brush or Striping Tool: For creating delicate lines or dots. You can often find these in art stores or specialized nail art sections.
- Dotting Tools: These come with different sized ball tips and are perfect for creating dots, small swirls, or placing tiny embellishments.
- Small Makeup Sponge or Ombre Brush: Useful for creating gradient effects. A dense eyeshadow sponge can work in a pinch!
- Nail Polish Remover and Cotton Swabs/Pads: For cleaning up mistakes around the cuticle.
- Tweezers: Handy for picking up small embellishments like rhinestones or gems.
- Optional: Nail Art Decals or Stickers: These pre-made designs are a super easy way to add intricate details without drawing.
Remember, you can start with just a few basic items and expand your collection as you get more comfortable and adventurous with your designs!
Step-by-Step Guide: Achieving a Flawless Nude Polish Application
A perfect solid nude polish is the foundation of many nude nail designs. Even this ‘simple’ task requires a few key steps to get that salon-quality finish. Follow these steps for a flawless application every time:
- Prepare Your Nails:
- Start by removing any old polish.
- Gently push back your cuticles using an orange stick or cuticle pusher. Avoid cutting cuticles if you’re a beginner, as this can lead to damage and infection. For more on proper cuticle care, resources like the American Academy of Dermatology Association offer great insight into general nail health.
- Buff your nails lightly with a fine-grit buffer to smooth any ridges and create a slightly etched surface for polish to grip. Do not over-buff!
- Wipe your nails with a lint-free pad dipped in nail polish remover or rubbing alcohol to remove any oils and dust.
- Apply Base Coat:
- Apply one thin, even coat of your favorite base coat. This protects your nails from staining and helps the polish adhere better.
- Let it dry completely, which usually takes about 30-60 seconds.
- Apply Your Nude Polish:
- First Coat: Dip your brush into the polish and wipe off any excess on one side. Start painting in the middle of your nail, then cover the sides. Aim for a thin, even coat. Don’t try to achieve full opacity in one go – this often leads to thick, streaky polish.
- Let it Dry: Allow the first coat to dry for at least 1-2 minutes. The polish should feel mostly dry to the touch but not completely hard.
- Second Coat: Apply a second thin coat, using the same technique. This coat should provide full, even coverage without streaks. If you still see streaks or patchiness, you might need a third thin coat.
- Clean Up Edges:
- If you get nail polish on your skin, dip a small brush (an old fine eyeliner brush works great!) or an orange stick wrapped with a tiny bit of cotton into nail polish remover.
- Carefully trace around the cuticle line and sidewalls to remove any stray polish. This step makes a huge difference in the final appearance.
- Apply Top Coat:
- Once your nude polish is completely dry, apply a generous coat of top coat. Extend it slightly over the tip of your nail (this is called capping the edge) to help prevent chipping.
- Let it dry thoroughly. Quick-dry top coats can speed this up significantly.
- Hydrate:
- After your top coat is dry, apply a generous amount of cuticle oil to your nail beds and massage it in. This adds a final touch of polish and keeps your nails looking healthy.
Following these steps will give you a beautiful, durable, and streak-free nude manicure that you can then build upon with simple designs.
Choosing Between Nail Polish Types for Nude Designs
The type of nail polish you choose can significantly impact the look and longevity of your nude nail designs. Here’s a quick guide to common types and how they fit into nude nail art:
| Nail Polish Type | Description | Best For Nude Designs | Pros | Cons |
|---|---|---|---|---|
| Traditional Nail Polish (Lacquer) | The classic polish you find in most drugstores. Dries by air. | Versatile for all nude designs. Easy to work with. | Widely available, huge color selection, easy to apply and remove. | Can chip relatively easily, requires drying time. |
| Gel Polish | Cured under a UV/LED lamp. Lasts much longer than lacquer. | Great for durable nude bases, especially accent nails or full manicures that need to last. | Extremely durable (2-3 weeks), high shine, no smudging once cured. | Requires a UV/LED lamp and special removal process, can be harder to remove. |
| Dipping Powder | Nails are coated with a base liquid and dipped into a colored powder. | Creates a very strong, opaque nude finish. | Very durable, can add strength to natural nails, no lamp needed for application. | Application can be messy for beginners, removal typically requires soaking. |
| Nail Lacquer (for art) | Especially thinner formulas or polishes designed for nail art. | Ideal for fine lines, dots, and detailed
|


