Nude nail design for office look: Essential Guide
Achieve a polished and professional appearance with subtle nude nail designs perfect for any office setting. This guide offers simple, chic ideas that enhance your natural beauty and confidence, keeping you looking sharp and sophisticated.
Finding the perfect manicure for the office can sometimes feel like a balancing act. You want something that’s stylish and reflects your personal taste, but it also needs to be appropriate for a professional environment. Many of us worry about bold colors or intricate designs being too distracting, or even unprofessional, in a workplace. But don’t fret! Nude nails are your secret weapon for achieving a chic, put-together look without sacrificing style. They’re universally flattering and incredibly versatile, making them a go-to for busy women everywhere. Get ready to discover how easy it is to elevate your office style with the magic of nude nail design!
<h2>Why Nude Nails Are Perfect for the Office</h2>
<p>Nude nail designs are a workplace superhero for so many reasons! They offer a clean, sophisticated aesthetic that complements any outfit and enhances your natural appearance. Unlike bright or dark polishes that can be distracting or even breach some dress codes, nude shades are inherently subtle and professional. They create an illusion of perfectly groomed hands, making you look polished down to the fingertips. Plus, nude is a super versatile color family, meaning there’s a shade out there that’s just right for everyone, regardless of skin tone. They’re understated yet impactful, projecting an aura of calm confidence and attention to detail.</p>
<h2>Understanding the Nude Palette</h2>
<p>When we say “nude,” it’s not just one color! The beauty of nude shades lies in their variety, mirroring the beautiful spectrum of human skin tones. Finding your perfect nude is key to a flawless office look. It’s about choosing a shade that either blends seamlessly with your skin or offers a subtle, flattering contrast. Think of it as finding your “your nails, but better” shade.</p>
<h3>Shades for Every Skin Tone</h3>
<p>Here’s a little cheat sheet to help you find your ideal nude match:</p>
<ul>
<li><strong>Fair to Light Skin Tones:</strong> Look for pale pinks, peachy nudes, or very light beige shades. These will avoid looking too stark or creating a harsh contrast.</li>
<li><strong>Medium Skin Tones:</strong> Warm beiges, caramel tones, and mauvy nudes often look stunning. These shades add warmth and depth without being overpowering.</li>
<li><strong>Olive Skin Tones:</strong> Consider rose-toned nudes, deeper beiges, or even subtle greige (grey-beige) shades. These can beautifully complement the natural undertones.</li>
<li><strong>Deep to Dark Skin Tones:</strong> Rich browns, deep caramels, almost-white ivories, and warmer terracotta nudes can be incredibly striking. They provide a beautiful contrast and highlight the warmth of the skin.</li>
</ul>
<p>The goal is to choose a color that either disappears into your skin for a “clean girl” aesthetic or offers a subtle, polished tint that makes your nails look naturally elegant. Don’t be afraid to experiment! Sometimes a shade you wouldn’t expect turns out to be your perfect nude.</p>
<h2>Essential Tools for Your Nude Manicure</h2>
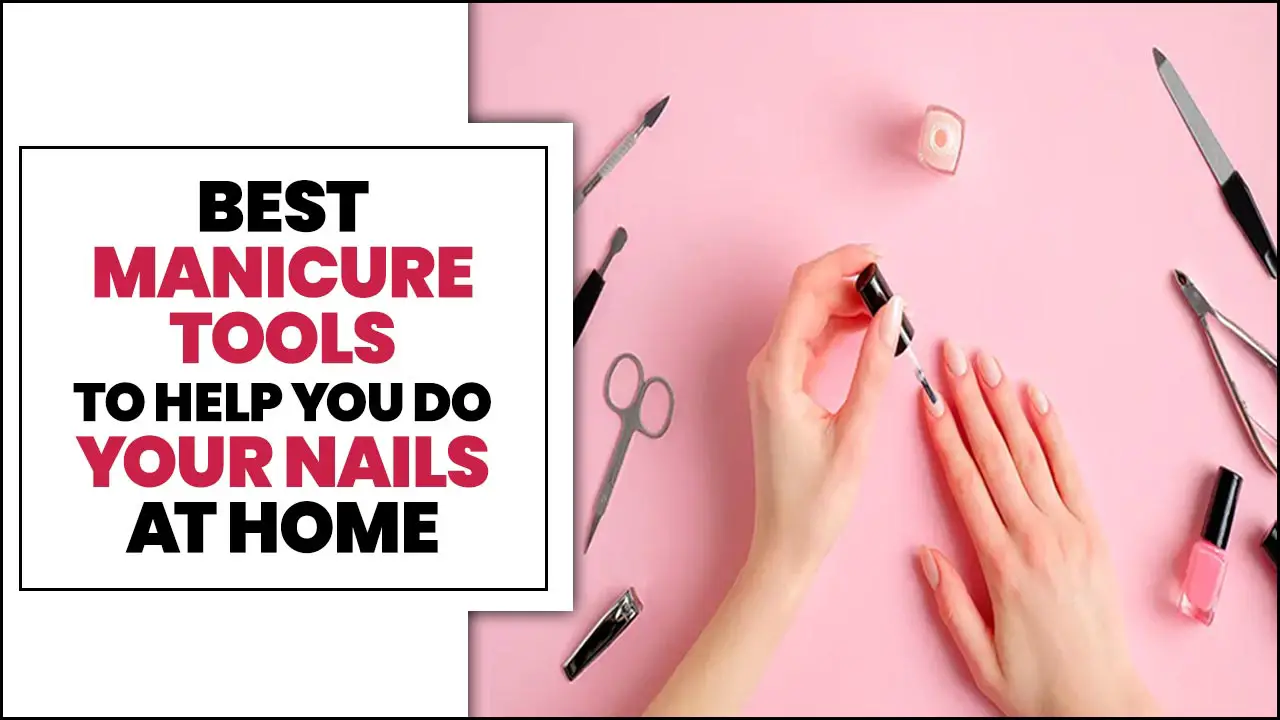
<p>Before we dive into the designs, let’s gather your manicure toolkit! Having the right tools makes the process smoother and the results much more professional, even for a simple nude look. You don’t need a professional salon setup; these are basics any nail lover can have at home.</p>
<table>
<thead>
<tr>
<th>Tool</th>
<th>Purpose</th>
<th>Why It Matters for Nude Nails</th>
</tr>
</thead>
<tbody>
<tr>
<td>Nail File & Buffer</td>
<td>Shaping and smoothing</td>
<td>A clean edge and smooth surface are crucial for any polish, but especially nude, where imperfections can be more visible.</td>
</tr>
<tr>
<td>Cuticle Pusher/Nail Nipper</td>
<td>Tidying cuticles</td>
<td>Neat cuticles frame the nail beautifully and prevent the polish from looking messy.</td>
</tr>
<tr>
<td>Base Coat</td>
<td>Protects natural nails, helps polish adhere</td>
<td>Essential for preventing staining (especially from lighter polishes) and ensuring a smooth canvas.</td>
</tr>
<tr>
<td>Nude Nail Polish</td>
<td>Your chosen shade</td>
<td>The star of the show! Choose a quality formula for even application and good coverage.</td>
</tr>
<tr>
<td>Top Coat</td>
<td>Adds shine, protects polish</td>
<td>Gives a professional finish and helps your nude manicure last longer.</td>
</tr>
<tr>
<td>Optional: Fine Detail Brush</td>
<td>For subtle accents</td>
<td>Great for adding tiny details like dots or thin lines to a plain nude base.</td>
</tr>
<tr>
<td>Optional: Clear Polish or Gel</td>
<td>For accent nails or a glossy finish</td>
<td>Can be used to create simple, elegant designs or add extra durability.</td>
</tr>
</tbody>
</table>
<h2>The Classic Nude Manicure: A Step-by-Step Guide</h2>
<p>This method is the foundation of any great nude nail look. It’s simple, effective, and perfect for beginners. Follow these steps for a flawless, professional finish that’s office-ready in no time.</p>
<ol>
<li><strong>Prep Your Nails:</strong> Start by cleaning your nails to remove any old polish or oils. Gently push back your cuticles with a cuticle pusher. File your nails into your desired shape – most people prefer a rounded or squoval shape for the office. A quick buff with a gentle buffer will smooth out any ridges and create a nice surface for polish.</li>
<li><strong>Apply Base Coat:</strong> Apply one thin layer of your chosen clear base coat. This protects your natural nails from staining (especially important with lighter polishes) and creates a smooth surface for the color to adhere to, helping your manicure last longer.</li>
<li><strong>Apply Nude Polish (First Coat):</strong> This is where the magic begins! Take your perfectly chosen nude shade. Apply a thin, even coat from the base of your nail to the tip. Start in the middle, then do one stroke on each side. Don’t load up the brush too much – less is more for a smooth finish that avoids streaks.</li>
<li><strong>Apply Nude Polish (Second Coat):</strong> Once the first coat is mostly dry (give it a minute or two!), apply a second thin coat. This coat should provide full, opaque coverage and deepen the color. If you find you still have streaks or sheer spots, a third very thin coat might be needed, but aim for two to keep it looking modern and clean.</li>
<li><strong>Clean Up Edges:</strong> Use a small brush (an old lip brush or a fine art brush works well) dipped in nail polish remover to clean up any polish that got onto your skin around the nails. This step makes a huge difference in how professional your manicure looks.</li>
<li><strong>Apply Top Coat:</strong> Once your nude polish is completely dry, apply a generous layer of a good quality top coat. Make sure to cap the edge of your nail by swiping the brush along the free edge; this helps prevent chips and extends the life of your manicure significantly. The shine from the top coat makes your nude nails look wonderfully polished.</li>
<li><strong>Let Them Dry:</strong> Be patient! Give your nails ample time to dry. You can use a quick-dry spray or drops if you’re in a hurry, but natural drying is always best for a hard finish. Avoid doing anything strenuous with your hands for at least 30 minutes to an hour.</li>
</ol>
<h2>Chic Nude Nail Design Ideas for the Office</h2>
<p>While a classic solid nude is always a winner, there are tons of subtle yet stylish designs you can incorporate to add a touch of personality to your office-appropriate nails. These ideas are beginner-friendly and won’t take much extra time.</p>
<h3>1. The Subtle Ombre</h3>
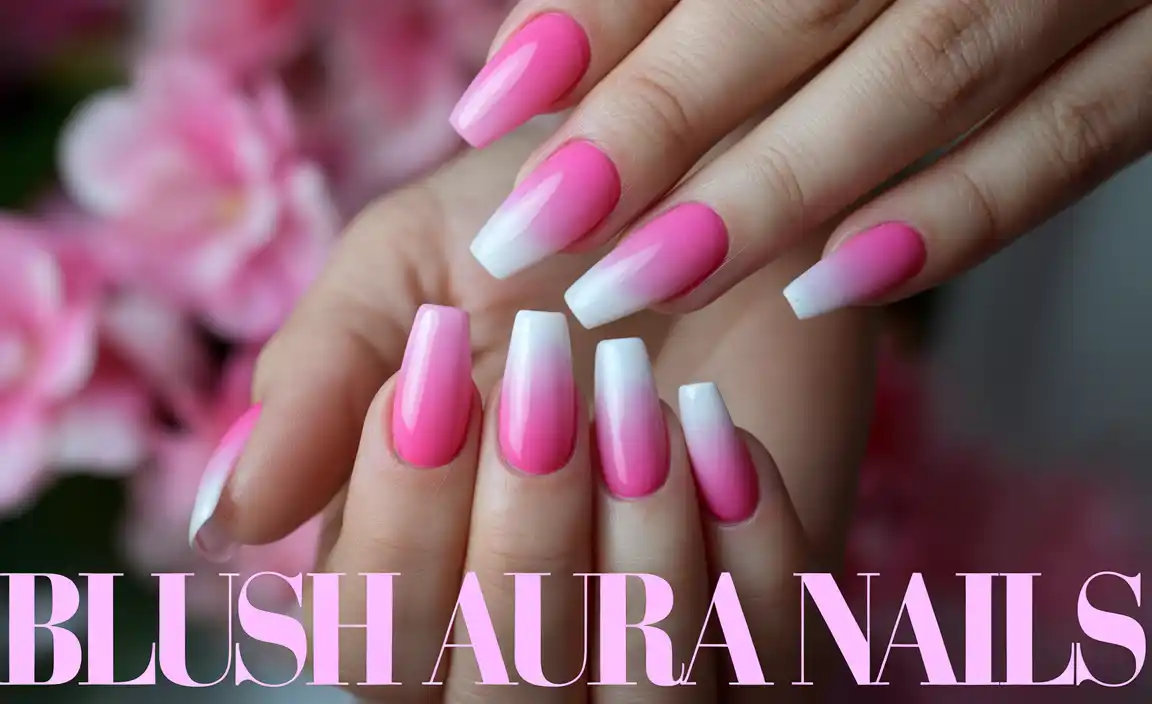
<p>A gradient of nude! This is a sophisticated take on a classic ombre. You can fade from a lighter nude at the cuticle to a slightly deeper nude at the tip, or blend two complementary nude shades. It’s eye-catching but remains entirely professional.</p>
<p><strong>How-To:</strong> Apply your base coat. Paint fingernails with your lighter nude shade. Using a makeup sponge or a fine brush and a slightly darker nude, gently blend the color from the tips towards the middle of the nail. A top coat seals the deal. For a seamless blend, experiment with dabbing colors onto a clean surface and picking them up with a sponge.</p>
<h3>2. The Negative Space Accent</h3>
<p>This design plays with leaving parts of your natural nail visible. Think a thin line of nude polish along the cuticle, a geometric shape, or a French tip in a nude shade over a clear or sheer base. It’s modern and minimalist.</p>
<p><strong>How-To:</strong> Apply a clear base coat. Either leave some areas bare or paint the entire nail with a sheer nude. Use a striping tape or a very fine brush with opaque nude polish to create your chosen design – a simple line, a half-moon at the cuticle, or a modern French tip. Seal with a top coat.</p>
<h3>3. The Minimalist Dot or Line</h3>
<p>This is the easiest way to add a little something extra. A single, tiny dot near the cuticle in a slightly contrasting nude or a fine-line detail along the edge of a nail can add a subtle, artistic touch. It’s elegant and very understated.</p>
<p><strong>How-To:</strong> Apply your regular nude manicure. Once dry, use a dotting tool or the tip of a fine brush to place a single dot of a slightly darker or lighter nude polish at the base of one or two nails. Alternatively, use a striping brush to draw a thin line horizontally across the nail, or vertically down one side.</p>
<h3>4. The French Manicure Reimagined</h3>
<p>Forget the bright white tips! A nude French manicure uses a nude or beige shade for the entire nail and a slightly lighter, or even a complementary, creamier nude for the tips. It’s a softer, more contemporary version of the classic.</p>
<p><strong>How-To:</strong> Apply your base coat. Paint your nails with your chosen nude polish. Once dry, use a French tip guide or a steady hand with a fine brush to paint the tips with a creamier nude or beige polish. A clean, crisp line is key here. Finish with a top coat.</p>
<h3>5. Sheer Nude with a Glossy Finish</h3>
<p>Sometimes, less is truly more. A sheer nude polish offers a hint of color while letting your natural nail show through. Paired with a high-shine top coat, this look is incredibly chic, healthy-looking, and perfect for any office.</p>
<p><strong>How-To:</strong> Apply a clear base coat. Apply two thin coats of a sheer nude polish, allowing each to dry for a minute. Finish with a super glossy, high-shine top coat. For an extra touch, ensure your cuticles are well-moisturized – it enhances the overall clean look.</p>
<h3>6. Matte Nude Elegance</h3>
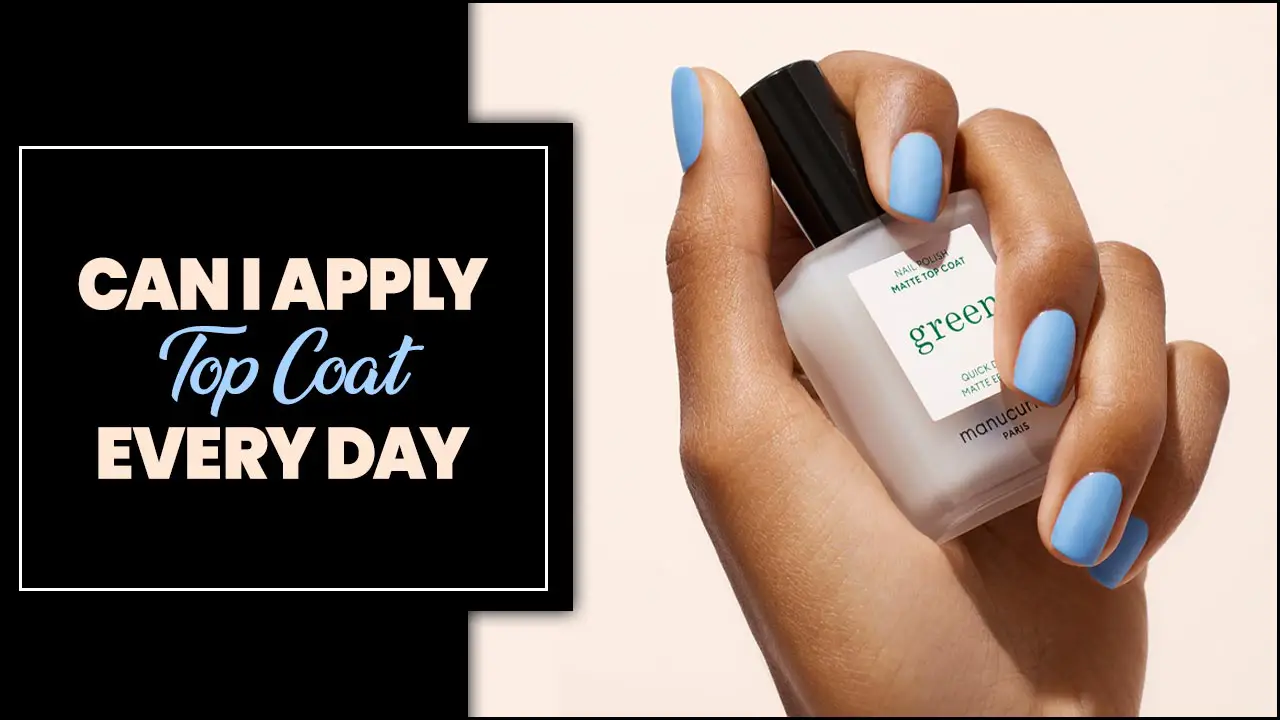
<p>Swap the shine for a sophisticated matte finish. A matte top coat over a classic nude polish gives an unexpected, velvety texture that feels luxurious and modern. It’s a subtle way to dress up a simple mani.</p>
<p><strong>How-To:</strong> Apply your nude polish as usual. Once completely dry, apply a matte top coat. This instantly transforms the finish from glossy to a chic, soft matte. Be aware that matte finishes can sometimes chip more easily, so a really good base and top coat are important, or be prepared for touch-ups.</p>
<h3>7. Texture Play: Subtle Glitter or Pearl Accents</h3>
<p>For a touch of subtle glamour, consider a nude polish with a very fine shimmer, a pearl-like finish, or even a single accent nail with a translucent glitter polish in a similar shade. The key is subtlety; you want a hint of sparkle, not a disco ball on your fingertips.</p>
<p><strong>How-To:</strong> For shimmer or pearl polishes, apply as you would a regular polish. For an accent nail, paint all nails with your solid nude. On one nail (often the ring finger), apply a sheer glitter or pearlescent polish. You can also use fine glitter powders applied over wet polish and sealed with top coat for a more controlled sparkle.</p>
<h2>Long-Lasting Nude Nails: Pro Tips for Durability</h2>
<p>We all want our beautiful nude manicures to last as long as possible. A chipped nail can be distracting and ruin the polished look we’re aiming for. Here are some expert tips to help your nude nail designs stay pristine through your busy work week:</p>
<ul>
<li><strong>Shape Matters:</strong> Rounded or squoval shapes tend to be more durable than sharp pointed or square shapes, as they have fewer edges to catch on things. Keep your files handy for quick touch-ups if needed.</li>
<li><strong>Don’t Skip the Base Coat:</strong> I can


