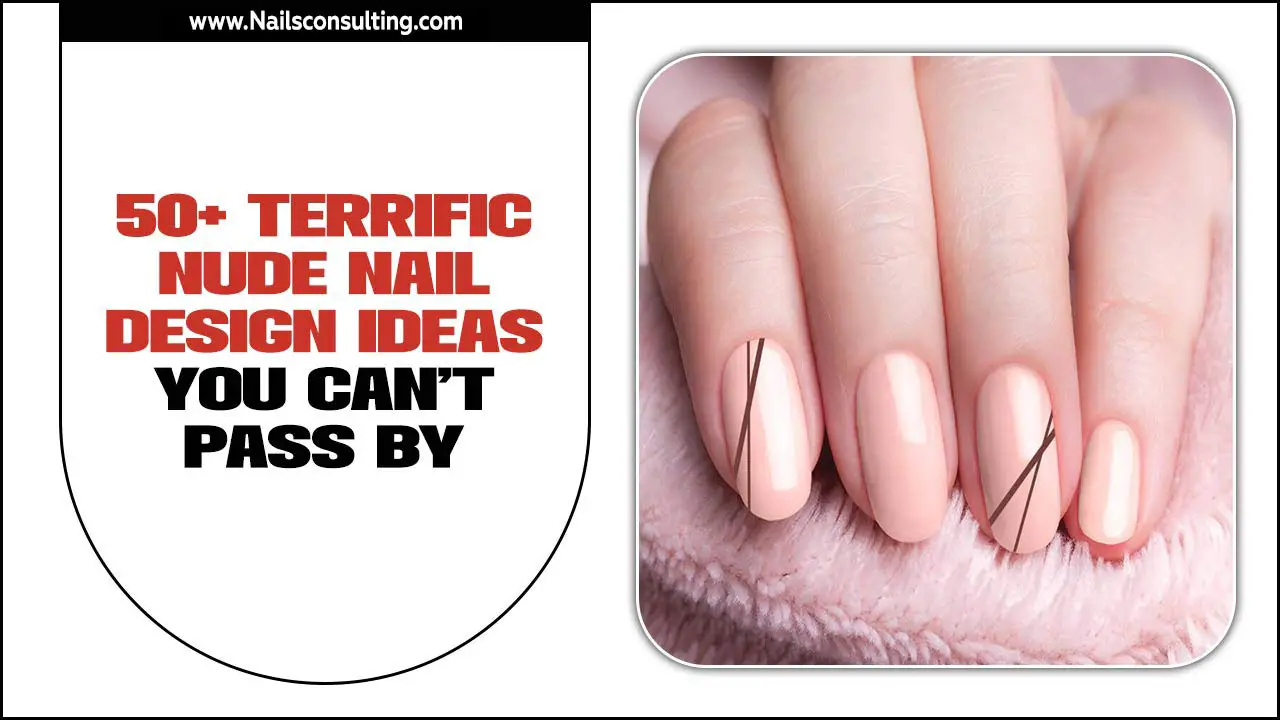
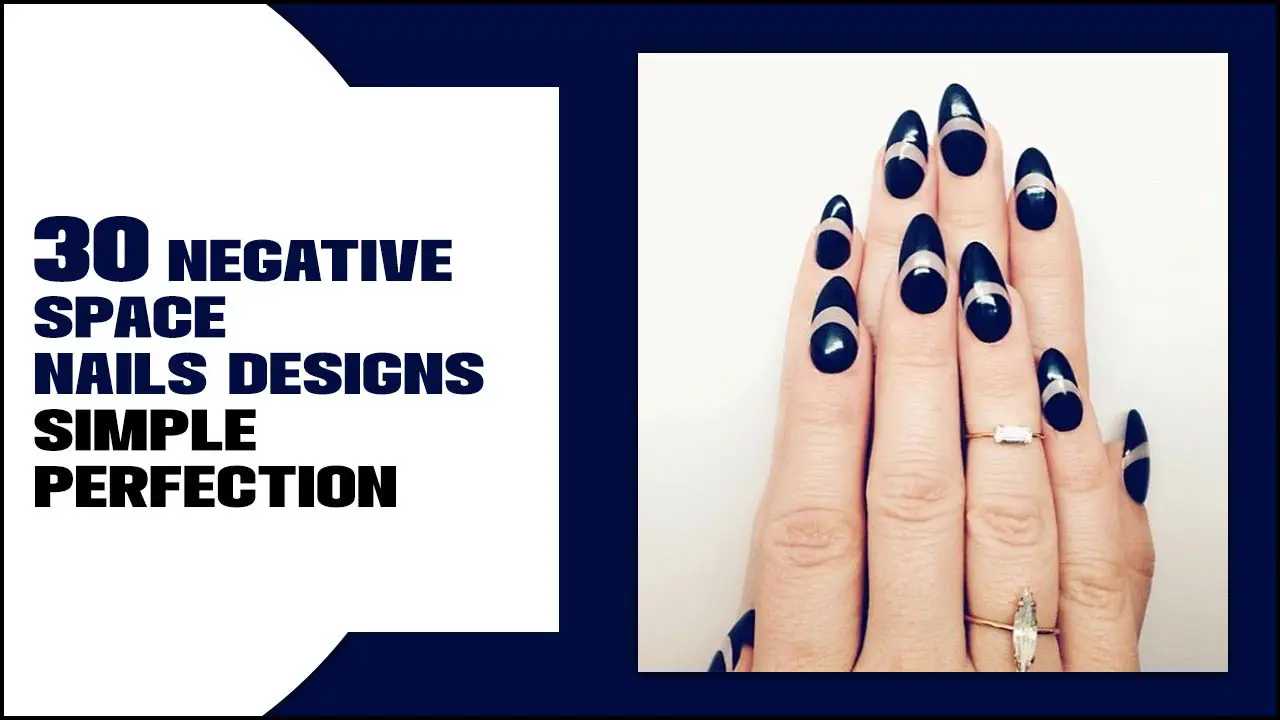
Nude dual tone tip nails offer a sophisticated, subtle gradient effect on your fingertips, blending natural hues for an elegant, modern look. This guide breaks down how to achieve this chic manicure with simple steps and essential tips, perfect for elevating your everyday style.
Hey nail lovers! Lisa Drew here from Nailerguy, ready to dive into a nail trend that’s both understated and incredibly stylish: nude dual tone tip nails. Ever look at a chic manicure and think, “Wow, that’s so polished, but how is it done?” You’re not alone! Many of us want that salon-perfect look without a salon visit, and sometimes even the simplest designs can feel a bit mysterious. That’s where this guide comes in. We’re going to demystify the gorgeous nude dual tone tip nail, breaking it down into easy-to-follow steps. Say goodbye to cuticle confusion and hello to effortlessly elegant nails that you can totally create yourself! Ready to get those tips looking amazing? Let’s go!
What Exactly Are Nude Dual Tone Tip Nails?
Imagine your favorite nude polish, but with an extra touch of subtle artistry. Nude dual tone tip nails are all about creating a gradient effect on the tips of your nails, where two complementary nude or neutral shades blend seamlessly. Instead of a sharp, distinct white French tip, you get a soft transition, usually starting with a lighter nude shade at the cuticle or mid-nail, fading into a slightly deeper nude shade towards the free edge. This creates a sophisticated, almost ombré effect that’s incredibly chic and versatile.
This trend is a modern evolution of the classic French manicure, offering a softer, more contemporary feel. It’s minimalist yet impactful, making it perfect for any occasion, from everyday wear to special events. The beauty lies in its subtlety and elegance, allowing your natural nail shape and health to shine through, enhanced by this beautiful two-tone finish.
Why You’ll Love Nude Dual Tone Tip Nails
There are so many reasons why this trend is taking off, and why you’ll adore it too!
- Universally Flattering: Nudes are incredibly versatile and complement a wide range of skin tones. The dual tone just adds a touch of personalised warmth.
- Chic & Sophisticated: This look is the epitome of subtle elegance. It’s polished, modern, and never goes out of style.
- Perfect for Any Occasion: Whether you’re heading to a job interview, a wedding, or just a casual coffee date, these nails always look appropriate and put-together.
- Easy DIY Potential: While it looks intricate, it’s surprisingly achievable at home with a few basic tools and techniques.
- Customizable: You can play with different nude shades – think beige to taupe, peachy nude to blush pink – to find your perfect combination.
Essential Tools & Materials
Before we get started, let’s gather everything you’ll need. Don’t worry, most of these are probably already in your nail care stash!
- Base Coat: To protect your natural nails and help polish adhere better.
- Two Nude/Neutral Nail Polishes: Choose two shades that complement each other. One lighter and one slightly deeper works best for a classic dual tone effect.
- Top Coat: For shine and longevity.
- Nail Polish Remover: For any little oopsies.
- Cotton Pads/Balls: To apply remover.
- Small Nail Art Brush or Sponge: A fine-tipped brush or a makeup sponge triangle is perfect for creating the gradient.
- Optional: Nail File & Buffer: For shaping and smoothing your nails before applying polish.
Having the right tools makes all the difference! A good nail file helps create a clean edge, while buffing can smooth out any ridges. For the dual tone effect, the key is your application tool – either a fine brush for precise blending or a makeup sponge for a softer, more diffused gradient. Learn more about basic nail care tools at the NailCareHQ guide to essential tools.
Step-by-Step Guide to Nude Dual Tone Tip Nails
Ready to create your own stunning gradient tips? Follow these simple steps for a flawless finish!
Step 1: Prep Your Nails
Good prep is the foundation for any amazing manicure. Start by ensuring your nails are clean and dry. Gently push back your cuticles using an orange stick or a cuticle pusher. If you have any old polish on, remove it completely with nail polish remover and a cotton pad. For a super smooth canvas, you can lightly buff your nails to remove any shine – this helps the polish adhere better. Finally, shape your nails to your desired length and style using a nail file.
Step 2: Apply Base Coat
Apply one thin layer of your favorite base coat. This is crucial as it protects your natural nails from staining and provides a smooth surface for your polish to grip onto. Let it dry completely, which usually takes about a minute.
Step 3: Paint Your First Nude Shade
Now, let’s apply your primary nude shade. This will likely be your lighter nude polish. Apply one or two thin, even coats. For the best results, let each coat dry partially before applying the next. This prevents streaking and clumping. Aim for opaque coverage but avoid thick layers, as they take longer to dry and are more prone to chipping.
Pro Tip: If you want a perfectly smooth finish, wait until this layer is almost completely dry but still slightly tacky. This helps the next layer blend better.
Step 4: Create the Dual Tone Effect
This is where the magic happens! You have two main options for creating the dual tone effect:
Option A: Using a Small Nail Art Brush
- Dip the tip of your fine nail art brush into your second, slightly deeper nude polish.
- Gently tap or brush the polish onto the tips of your nails, creating a gradient effect. You can start from the very edge and work your way down slightly, or apply it just on the tips.
- While the second polish is still wet, use a clean, slightly damp brush (with a tiny bit of nail polish remover) to blend the two colors together where they meet. Work in light, feathery strokes to create a seamless transition.
- Alternatively, you can apply the deeper nude polish to the very tip of the nail and then use a clean brush to feather it downwards onto the lighter base coat with light strokes.
Option B: Using a Makeup Sponge
- Apply a thin layer of your second, deeper nude polish onto a clean piece of paper or a palette.
- Lightly dab the edge of a makeup sponge triangle into the polish.
- Gently dab the sponge onto the tips of your nails, building up the color and gradient. You can use a dabbing motion to create the blend.
- For a more pronounced gradient, you can apply the lighter nude over the whole nail first, let it dry slightly, then use a sponge with the deeper nude on the tips.
- If needed, use a clean section of the sponge or a small brush dipped in nail polish remover to refine the edges where the two shades meet.
Whichever method you choose, remember that practice makes perfect! Don’t be afraid to experiment with the blending. The beauty of this look is its soft, imperfect transition.
Step 5: Clean Up Any Mistakes
After the dual tone tips are applied and blended, it’s time to clean up any polish that may have gotten on your skin. Dip a small, flat nail art brush or a clean-up brush into nail polish remover and carefully trace around your cuticle and sidewalls to create a neat edge.
Step 6: Apply Top Coat
Once your dual tone tips are completely dry, apply one or two layers of your favorite high-shine top coat. This locks in your design, adds a beautiful glossy finish, and protects your manicure from chipping, helping it last longer. Make sure to cap off the free edge of your nail by running the brush along the tip to seal it.
Step 7: Let it Dry
Patience is key! Allow your nails to dry thoroughly before engaging in any activities that could smudge or damage your fresh manicure. Quick-dry drops or a fan can help speed up the process.
Choosing Your Nude Dual Tone Color Palette
The beauty of nude dual tone nails lies in their subtle sophistication. Selecting the right shades can elevate the look. Here’s a quick guide to help you pick your perfect pair:
| Skin Tone | Lighter Nude Shade | Deeper Nude Shade | Effect |
|---|---|---|---|
| Fair to Light | Pale Pinky-Beige | Creamy Taupe or Light Caramel | Soft, delicate contrast. |
| Medium to Olive | Peachy Nude or Warm Beige | Medium Brown or Taupe | Warm and harmonious blend. |
| Deep to Dark | Caramel or Muted Rose | Chocolate Brown or Deep Taupe | Rich, elegant depth. |
Don’t be afraid to experiment! Even within these categories, shades vary greatly. Sometimes, a slightly cooler tone nude can look surprisingly chic against warmer skin, and vice versa. The key is to find two shades that feel harmonious together and complement your individual skin tone. You can also consider finish – a creamy matte could transition into a soft satin, or two different glosses could create a subtle difference in light reflection.
Tips for a Flawless Gradient
Creating that smooth, blended gradient takes a little practice, but these tips will help you achieve salon-worthy results:
- Work Quickly but Carefully: Especially when using the sponge or brush method, you want to blend while the polishes are still wet.
- Thin Coats are Your Friend: Multiple thin coats are always better than one thick, gloopy coat for both application and drying time.
- Don’t Over-Blend: You want a noticeable dual tone, not a muddy mess. Gentle, controlled blending is key.
- Clean Up is Crucial: A precise clean-up around the cuticles with a small brush and remover makes a huge difference in the final polished look.
- Consider Nail Shape: This gradient looks particularly stunning on almond, oval, and squoval shapes, elongating the fingers.
Advanced Variations and Ideas
Once you’ve mastered the basic nude dual tone tip nails, why not play around with some variations?
- Subtle Shimmer: Add a sheer polish with a fine glitter or shimmer over one or both of the nude shades for a hint of sparkle.
- Matte Finish: For a modern, velvety look, use a matte top coat instead of a glossy one.
- Accent Nail: Try a full glitter or a different color on one accent nail to make your dual tone tips pop even more.
- Reverse Gradient: Instead of blending from cuticle to tip, try blending from one side of the nail to the other for a unique diagonal effect.
- Two-Tone Cuticles: For a bolder look, apply a deeper nude shade as a thin line at the cuticle and blend it upwards into a lighter shade.
Frequently Asked Questions (FAQ)
Q1: How long do nude dual tone tip nails usually last?
A: With good application, including a strong base and top coat, and proper care (like wearing gloves for chores!), your nude dual tone tip nails can last anywhere from 7-14 days. Regular touch-ups on any chips can extend their life.
Q2: Can I use gel polish for this look?
A: Absolutely! Gel polish can create an even more durable and glossy finish. The application technique for blending remains similar, but you’ll need a UV/LED lamp to cure each layer of gel polish.
Q3: I’m new to nail art. Is this design beginner-friendly?
A: Yes! While it looks sophisticated, the blending technique is quite forgiving. The beauty of the gradient is that small imperfections can actually enhance the look. Start with the sponge method if you’re nervous, as it’s very simple and provides a soft blend.
Q4: My shades look muddy when I try to blend them. What am I doing wrong?
A: This often happens if the polishes are too wet, or if you’re over-blending. Try applying your base nude shade and letting it dry almost completely, leaving it just slightly tacky. Then, use minimal blending strokes with your brush or sponge. A clean-up brush with a tiny bit of remover can also help refine the edges without making the colors muddy.
Q5: What if my nails are very short? Can I still do dual tone tips?
A: Definitely! For short nails, you might want to apply the gradient effect slightly higher up on the nail, perhaps focusing the deeper shade just on the very tip and blending a small amount upwards. This can visually elongate the nail. Alternatively, a very subtle, soft blend across the entire nail can also look beautiful.
Q6: How do I achieve a sharp gradient between the two colors?
A: If you prefer a more defined line than a soft blend, you can use striping tape. Apply your lighter nude polish, let it dry completely, then place striping tape where you want the color transition to be. Paint the deeper nude shade over the tips, let it dry slightly, then carefully peel off the tape. A clean-up brush can refine the edges further.
Conclusion
And there you have it! Your essential guide to creating stunning nude dual tone tip nails right at home. We’ve covered everything from understanding this chic trend to gathering your tools, achieving that perfect blend, and even exploring fun variations. Nude dual tone tip nails are a testament to how sophisticated simplicity can be. They’re a beautiful way to add a touch of elegance to your everyday look or to elevate your nails for a special occasion.
Remember, the most important part of any nail endeavor is to have fun and express yourself. Don’t be discouraged if your first attempt isn’t salon-perfect. Nail art, especially techniques like gradients, often takes a little practice. Embrace the process, enjoy experimenting with different nude shades, and most importantly, wear your beautiful new nails with confidence! Keep creating and stay polished!


