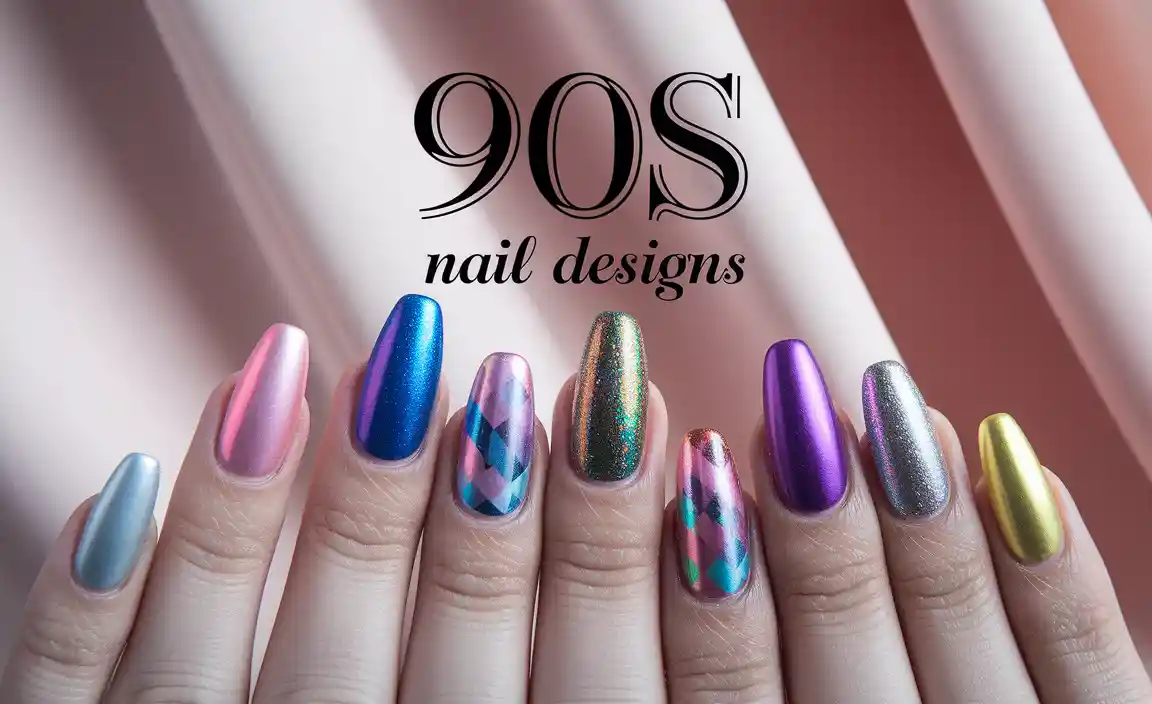
New Year nail designs are sparkling, festive, and fun ways to celebrate the start of a new year! Whether you love glitter, bold colors, or elegant minimalism, these easy-to-follow ideas will help you create stunning manicures that shine all season long. Perfect for beginners, these designs will have you ringing in the new year with confidence and style.
The end of the year is a time for reflection and excitement. As we get ready to pop the champagne and make resolutions, our nails deserve a little festive flair! Maybe you’re heading to a fabulous party or just want to feel special at home, your manicure plays a big role in your celebratory look. It can feel a little daunting trying to come up with the perfect design, especially if you’re new to nail art. But don’t worry! This guide is here to make it super simple and fun. We’ll walk you through gorgeous New Year nail designs that are easy enough for anyone to try, no matter your skill level. Get ready to sparkle and shine – your perfect New Year mani awaits!
Welcome the New Year with Stunning Nail Designs: Your Ultimate Beginner’s Guide
The New Year is almost here, and it’s the perfect time to refresh your look and ring in the festivities with fabulous nails! As your go-to girl for all things nails, I’m thrilled to share stunning New Year nail designs that are totally achievable, even if you’re just starting your nail art journey. We’ll cover sparkly styles, elegant options, and easy-to-follow tips. Let’s get those nails party-ready!
Why New Year Nail Designs Matter
Your nails are a fantastic way to express your personality and embrace the spirit of the season. For New Year’s Eve and the days following, a special manicure can really elevate your mood and your outfit. It’s a small detail that makes a big impact, signaling a fresh start and a celebration of good times ahead. Think of it as your personal confetti, minus the cleanup!
Essential Tools for Your New Year Mani
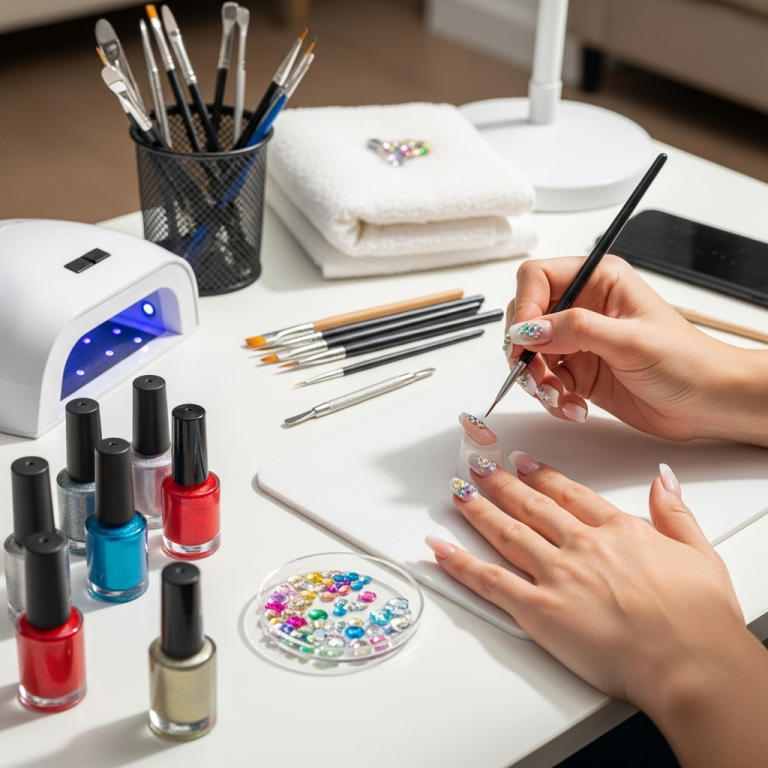
Before we dive into the designs, let’s make sure you have the basics. You don’t need a whole nail salon in your bathroom! These are your trusty sidekicks for glamorous nails:
- Nail Polish Remover: Essential for cleaning up mistakes and starting with a clean slate.
- Cotton Pads/Balls: For applying polish remover and cleaning brushes.
- Nail File: To shape your nails perfectly. Consider a fine-grit file for a smooth finish.
- Nail Buffer: To smooth out ridges and add shine.
- Base Coat: Protects your natural nails and helps polish last longer.
- Top Coat: Seals your design, adds gloss, and prevents chipping. A quick-dry top coat is a lifesaver!
- Your Chosen Nail Polishes: Think metallics, glitters, classic reds, sophisticated blacks, and deep blues for New Year vibes.
- Dotting Tools (Optional but Fun!): Easy for creating small dots and simple designs.
- Thin Nail Art Brush (Optional): For drawing delicate lines or details.
- Nail Glue (for rhinestones/gems): If you plan to add some bling!
For more tips on building your nail art toolkit, check out the recommendations from the Nail Care HQ – it’s a treasure trove of helpful advice!
Sparkle & Shine: Glitter-ific New Year Nail Designs
Glitter is synonymous with New Year’s celebrations! It’s festive, fun, and surprisingly easy to work with. Here are some dazzling glitter designs:
1. The Glitter Gradient
This is a super popular and forgiving technique!
- Start with a base coat.
- Apply 1-2 coats of your desired base polish color (e.g., black, navy, deep red, or even a clear coat). Let it dry completely.
- Now for the glitter! Take a glitter polish and dab it onto the tip of your nail using the brush.
- Work your way down, dabbing less glitter as you go towards the cuticle. This creates a gradient effect.
- For more intensity, you can use a makeup sponge to “dab” the glitter on, blending it more seamlessly.
- Once dry, apply a generous coat of top coat to smooth out the glitter texture.
2. The Glitter Accent Nail
A classic for a reason! This design is minimalist yet impactful.
- Paint all your nails with your chosen base color (e.g., a sophisticated navy or elegant black).
- On one nail (usually your ring finger), apply a full coat of your favorite glitter polish.
- Alternatively, you can paint a glittery pattern onto the accent nail, like a half-moon at the base or a diagonal sweep.
- Seal with a top coat.
3. All-Over Glitter Bomb
Why hold back? Sometimes, you just want to shine everywhere!
- Apply a base coat.
- Apply 2-3 coats of your chosen glitter polish. You might need more coats for full opacity depending on the glitter.
- If your glitter polish is chunky, a couple of coats of top coat will be essential to smooth the surface.
Pro Tip: For a cleaner glitter application, try applying glitter polish over a slightly tacky base color. The glitter will adhere better!
Elegant & Chic: Sophisticated New Year Nail Designs
Not everyone loves glitter, and that’s perfectly okay! You can achieve a stunning New Year look with more understated elegance. These designs are perfect for a sophisticated vibe.
1. The Bold Color Statement
Sometimes, a single, rich color is all you need. For the New Year, think deep jewel tones, classic reds, or even a striking metallic.
- Colors to Consider: Emerald green, sapphire blue, ruby red, deep plum, metallic silver, or gold.
- How-To:
- Start with a base coat.
- Apply two thin coats of your chosen bold polish.
- Finish with a glossy top coat.
This look is chic, timeless, and requires minimal effort. It’s the perfect complement to a sophisticated New Year’s outfit.
2. The Minimalist Metallic Stripe
Simple yet effective, this design adds a touch of glamour without overwhelming your nails.
- Apply a base coat and then 1-2 coats of your chosen solid color polish (e.g., nude, black, or deep blue). Let it dry completely.
- Using a metallic polish (gold or silver are great choices) and a thin nail art brush or a striping tape, create a simple line.
- Placement Ideas:
- Down the center of the nail.
- Across the tip, like a French manicure variation.
- At the base of the nail, creating a crescent.
- Carefully remove any tape if used while the polish is still slightly wet.
- Once dry, apply a top coat.
3. Chic Black & White
This classic combination always looks polished and modern.
- Option A: French Tip Twist
- Paint nails with a nude or clear base.
- Use a fine brush or striping tape to paint a crisp white or black French tip.
- Apply a top coat.
- Option B: Geometric Blocks
- Paint nails with a black base.
- Once dry, use striping tape to create geometric shapes (triangles, squares) and fill them in with white polish.
- Carefully peel off the tape.
- Add a top coat.
4. The Subtle Shimmer
For an understated sparkle, opt for a sheer polish with fine shimmer particles.
- Apply a base coat.
- Apply 1-2 coats of a sheer, shimmery polish (e.g., a champagne or rose gold).
- These polishes often look beautiful on their own and wear well as the shimmer hides any minor imperfections.
- Finish with a top coat.
Fun & Festive: Playful New Year Nail Designs
Ready to have some fun? These designs are a little more playful and perfect for embracing the celebratory spirit!
1. The “2024” Countdown Nails
A super cute and literal way to mark the occasion!
- Paint all your nails with a festive base color (e.g., gold, silver, or a deep blue).
- On your ring finger or index finger, use a fine nail art brush or dotting tool to carefully write the numbers “2”, “0”, “2”, “4” using a contrasting color (like black, white, or glitter polish). Alternatively, you can use small nail stickers.
- This works best on one or two accent nails.
- Seal with a top coat.
2. Starry Night Nails
Capture the magic of fireworks and starry skies.
- Start with a dark base color, like navy blue or black.
- Once dry, use a fine brush or a white/silver polish with a dotting tool to create small dots and specks, resembling stars.
- You can add a few larger silver glitter pieces to mimic brighter stars or distant fireworks.
- For an extra touch, consider adding a few tiny star-shaped glitters if you have them!
- Let dry and seal with a top coat.
3. Confetti Nails
Mimic the joyous burst of confetti!
- Paint your nails a solid base color (white, black, or a bright color works well).
- While the base coat is still slightly tacky, use a toothpick or tweezers to place small pieces of colored glitter or finely chopped colored craft glitter onto the nail.
- Alternatively, you can use colorful dotting tools to create a scattered pattern of small dots.
- Let dry thoroughly and apply a generous top coat to encapsulate the “confetti.” This is key to making them smooth!
4. The Party Popper Accent
A playful nod to the iconic New Year’s Eve party popper!
- Paint your nails a festive color like gold, silver, or red.
- On an accent nail, use your nail art brush and a contrasting color (like white or black) to paint a simple “streamer” design. Picture a few wispy lines coming from one corner of the nail.
- You can add tiny dots of glitter at the end of the streamers to make them look like they’re bursting.
- Seal with a top coat.
New Year Nail Care: Prep for Perfection
No matter how stunning your design, beautiful nails start with a healthy base. A little care goes a long way!
- Cleanse: Always start with clean, dry nails. Remove any old polish completely.
- Shape: File your nails into your desired shape. For a classic New Year look, an almond or squoval shape is lovely. Remember to file in one direction to avoid weakening the nail. For more on nail shaping safety, the Mayo Clinic offers excellent guidance.
- Buff Gently: Use a buffer to smooth out any ridges and create an even surface. Don’t over-buff, as this can thin your nails.
- Cuticle Care: Gently push back your cuticles with an orange stick or cuticle pusher. You can apply a cuticle oil beforehand to soften them.
- Hydrate: Apply a nourishing hand cream regularly, especially after removing polish or washing your hands. This keeps your skin soft and your cuticles healthy.
DIY vs. Salon: Pros and Cons
Deciding whether to DIY your New Year’s manicure or visit a salon? Here’s a quick look:
| Aspect | DIY (Do It Yourself) | Salon Visit |
|---|---|---|
| Cost | Lower (initial investment in tools, then just polish cost) | Higher (per service cost) |
| Convenience | Do it anytime, anywhere. Can be time-consuming if you’re learning. | Requires booking an appointment, travel time. Can be a relaxing treat. |
| Creativity & Customization | Full control over colors, designs, and timing. Great for experimenting. | Experienced technicians can create intricate designs. Limited by their skill and your appointment slot. |
| Skill Level | Requires practice and patience, especially for detailed art. Can be very easy for simple designs. | Professional results. Skilled technicians can achieve complex looks effortlessly. |
| Hygiene | Depends on your cleaning habits. Easier to ensure your own tools are clean. | Reputable salons follow strict hygiene protocols. Always check for clean stations and tools. |
| Results | Can be amazing with practice! May have a learning curve for beginners. | Generally professional and polished finish. Consistent quality. |
For a budget-friendly and personal touch, DIY is fantastic. If you want a truly flawless, intricate design or a relaxing pampering session, a salon is a great choice. Many people even combine the two – DIY manicures for casual days and salon visits for special occasions.
Troubleshooting Common Nail Art Issues
Even the best of us run into little hiccups! Here’s how to fix them:
- Smudged Polish: If you smudge a nail right after painting, don’t panic! Dip a clean-up brush (or a thin brush) in nail polish remover and carefully trace around the smudge to clean it up. Then, carefully re-apply a thin layer of polish or top coat to the affected area. If it’s a major smudge, you might need to redo the whole nail.
- Bubbles: Bubbles often appear if polish is applied too thickly or if the coats aren’t fully dry between applications. Prevent them by applying thin coats and letting each coat dry adequately. If you see a bubble, you can try gently smoothing it with a top coat, but it might still be noticeable.
- Streaky Polish: This usually means you need another thin coat, or the polish formula is a bit thin. Ensure your brush isn’t overloaded with polish.
- Glitter Not Smooth: Chunky glitters can feel rough. The solution is always a generous top coat, sometimes two!
Frequently Asked Questions About New Year Nail Designs
Q1: What are the most popular colors for New Year nail designs?
A1: Popular colors include metallics like gold, silver, and rose gold, as well as deep blues, emerald greens, classic reds, and sophisticated blacks. Glitter polishes in any shade are also a huge hit!
Q2: How can I make my DIY New Year nail designs last longer?
A2: Start with a good base coat, apply thin, even coats of polish, and always finish with a high-quality, protective top coat. Reapply top coat every couple of days to keep your manicure looking fresh and shiny.
Q3: I’m a complete beginner. What’s the easiest New Year nail design to try?
A3: The glitter accent nail is incredibly easy! Paint all your nails one color and cover just one nail with glitter polish. Another simple option is a solid bold color or a sheer shimmer polish.
Q4: Can I use nail stickers or decals for New Year designs?
A4: Absolutely! Nail stickers and decals are fantastic for beginners. You can find them with New Year themes like stars, fireworks, or numbers. Apply them over dry polish and seal with a top coat for durability.
Q5: How do I apply glitter polish without it looking clumpy?
A5: Apply glitter polish over a still slightly tacky base color to help distribute it. For full coverage, you might need 2-3 thin coats instead of one thick one. Always finish with a generous top coat to smooth out the texture.</p

