New Year’s Eve nail design ideas with stunning sparkles are achievable and fun! This guide breaks down how to create dazzling, festive nails at home, even if you’re a beginner. Get ready to shine and celebrate in style with gorgeous, easy-to-follow tutorials and tips.
Welcoming a new year with a fresh look for your nails is a super fun tradition! Thinking about the perfect New Year’s Eve nail design can feel a little daunting, especially if you’re new to nail art. You see all those amazing, sparkly manicures and wonder, “Can I really do that?” The good news is, yes, you absolutely can! This guide is here to show you exactly how to get stunning sparkles on your nails, no matter your skill level. We’ll walk through simple techniques, share easy-to-find tools, and make sure your nails are ready to dazzle as the clock strikes midnight. Get ready to unleash your inner nail artist and greet the New Year with confidence and fabulous fingertips!
—
Frequently Asked Questions About New Year’s Eve Sparkle Nails
Let’s get those sparkling New Year’s Eve nails questions answered!
- What are the easiest sparkle nail designs for beginners?
- The simplest sparkle designs involve a single glitter polish applied all over the nail, or using glitter polish as a French tip accent. You can also use glitter nail stickers or apply loose glitter over wet polish with a brush.”
- What kind of glitter polish is best for New Year’s Eve?
- For a festive New Year’s Eve look, opt for chunky glitters, holographic glitters, metallic glitters (gold, silver, rose gold), or fine holographic glitters. Multi-colored glitters also add a beautiful festive touch.”
- Do I need special tools for sparkle nail designs?
- Not really! For basic sparkle designs, you’ll need your chosen nail polish, a top coat, and perhaps a small brush or dotting tool for placement. For more intricate designs, fine-tip brushes or dotting tools can be helpful, but they aren’t strictly necessary for simple sparkle effects.”
- How do I prevent glitter polish from looking chunky or uneven?
- Apply glitter polish in thin coats. A good tip is to either dab the glitter on with the brush or use a striping brush to pick up glitter and place it precisely. Sometimes dabbing a clear base with glitter is better than brushing it on. A thick top coat also helps smooth out the surface.”
- Can I remove glitter nail polish easily?
- Glitter polish can be stubborn! The best way to remove it is to soak a cotton ball (or a makeup remover pad) in nail polish remover, place it on your nail, and wrap it with a small piece of aluminum foil for about 5-10 minutes. Then, gently slide the cotton off. Non-acetone removers can also work, but may require more soaking time.”
- How can I make my sparkle nail design last longer?
- Ensure your nails are clean and dry before applying polish. Use a good base coat, apply at least two thin coats of your color polish, and seal everything with a high-quality quick-dry top coat. Adding a second layer of top coat after your sparkle elements are in place can further protect them.”
—
Quick Sparkle: The Easiest Glitter Gradient
Looking for a super simple yet totally festive New Year’s Eve nail design? A glitter gradient is your best friend! It’s like an ombre effect but with gorgeous sparkle. You don’t need a steady hand or fancy tools. Plus, it’s forgiving and looks stunning. Let’s get those nails ready to pop!
What You’ll Need for Your Glitter Gradient
Gathering your supplies is the first step to a successful manicure. Here’s what you’ll want:
- Base Coat
- Your favorite nail polish color (or two!) for the base
- A glitter nail polish (chunky or fine, your choice!)
- Top Coat
- A clean-up brush (an old, small makeup brush works great)
- Nail polish remover
Step-by-Step: Glitter Gradient Magic
Follow these easy steps to create a beautiful glitter gradient:
- Prep Your Canvas: Start with clean, dry nails. Apply a base coat to protect your nails and help the polish adhere better. Let it dry completely.
- Apply Your Base Color: Paint your nails with your chosen color. For a smooth finish, two thin coats are usually better than one thick one. Let the second coat dry until it’s just tacky to the touch – not completely dry, but not wet either.
- Get Ready to Sparkle: Now for the fun part! Dip your glitter polish brush into the bottle. You might want to dab off excess glitter onto the neck of the bottle or a piece of paper.
- Create the Gradient: Start applying the glitter polish from the tips of your nails, gently dabbing or sweeping it downwards. Focus more glitter at the very tip and gradually lighten your pressure as you move towards the cuticle. You want it to transition from full sparkle at the tip to minimal or no sparkle near your cuticle.
- Build Up the Sparkle (If Needed): If you want more glitter, add another light layer, focusing on the tips again. Remember, a little goes a long way!
- Clean Up Edges: Dip your clean-up brush into nail polish remover. Carefully swipe away any glitter or polish that got onto your skin or cuticles. This step makes a huge difference in making your manicure look polished and professional.
- Seal the Deal: Once the glitter polish is dry to the touch, apply a generous coat of top coat. This seals in the glitter, smooths out any texture, and adds shine. Make sure to cap the free edge (the very tip of your nail) with the top coat to help prevent chipping.
- Let It Dry: Give your nails plenty of time to dry completely. Don’t rush this part!
And there you have it! A simple, elegant glitter gradient that’s perfect for any New Year’s Eve celebration. It adds just the right amount of festive shimmer without being too complicated.
Beginner Glitter Gradient Tips
| Tip | Why It Helps | How to Do It |
|---|---|---|
| Use a “Jelly” Glitter Polish | These have a sheer base, making the gradient transition smoother. | Look for polishes with names like sheer, jelly, or transparent. |
| Dab, Don’t Brush | Dabbing gives you more control over glitter placement for an ombre effect. | Lightly touch the brush to your nail, building layers gradually. |
| Two Thin Top Coats | Helps smooth out chunky glitter for a sleek finish. | Apply one coat, let it set slightly, then apply a second generous coat. |
| Patience is Key | Rushing leads to smudges and mess. | Give each layer enough time to become tacky or dry before the next step. |
Make It Your Own!
Don’t be afraid to experiment! Try a black or deep blue base with silver glitter for a night-sky effect, or a deep red with gold glitter for a classic festive look. You can also do this gradient on just one or two accent nails for a subtler sparkle.
—
Dazzling Accent: The Full Glitter Nail
Want a bolder statement? Painting one or two accent nails completely with glitter is a fantastic way to incorporate sparkle without overwhelming your look. This is incredibly easy and makes a huge impact. It’s perfect for when you want your nails to be noticed!
What You’ll Need for a Full Glitter Accent Nail
- Base Coat
- Your chosen nail polish color for your main nails
- A striking glitter nail polish for your accent nail
- Top Coat
- Clean-up brush and nail polish remover
Step-by-Step: The Showstopper Accent
- Base Coat First: Apply a base coat to all your nails. Let it dry.
- Color Your Main Nails: Paint your non-accent nails with your desired color. Apply two thin coats for best results and let them dry thoroughly.
- Prepare Your Accent Nail: On your chosen accent nail (usually the ring finger), apply one or two thin coats of your main color if you want a colored base for your glitter. Let this dry to be just tacky. Alternatively, if you want the glitter to show its true color, you can skip the colored polish and apply your glitter over the tacky base coat or a clear polish.
- Apply the Glitter: Dip your glitter polish brush into the bottle. For full coverage, you might need to shake the bottle a bit to distribute the glitter evenly. Carefully paint the glitter polish over your accent nail. You may need two coats to achieve full opacity. For a smoother finish with chunky glitter, try “fishing” for the glitter with the brush and placing it where you want it, or dabbing it on.
- Clean Up: Just like with the gradient, use your clean-up brush dipped in remover to tidy up any polish that has landed on your skin.
- Seal and Shine: Once the glitter is dry to the touch, apply a generous top coat over ALL your nails, including the glitter accent nail. This is especially important for glitter nails to smooth out the surface and add that high shine. A good, thick top coat can make a world of difference.
- Final Drying: Be patient and let your nails dry completely.
This method is incredibly effective for creating a statement look that’s still surprisingly simple to execute. The contrast between your main color and the intensely sparkly accent nail is always a winner.
Choosing Your Glitter Polish
| Glitter Type | Effect | Best For |
|---|---|---|
| Fine Glitter | Subtle shimmer, smooth finish | All-over coverage for a soft sparkle; can be layered over other colors. |
| Chunky Glitter | Bold sparkle, textured finish | Accent nails; can be used for French tips or specific designs. Requires a good top coat to smooth. |
| Holographic Glitter | Reflects rainbow colors in the light, very eye-catching | Statement accent nails; creates a magical, multi-dimensional effect. |
| Metallic Glitter (Gold, Silver, Rose Gold) | Shiny, glamorous finish | Classic New Year’s Eve look; pairs well with many base colors. |
Tips for Making Glitter Polish Last
Glitter polish can sometimes be prone to lifting at the edges. To combat this:
- Use a Sticky Base Coat: Some base coats are formulated to have a bit more “stick.”
- Build in Thin Layers: Even for an accent nail, applying glitter in two thin coats is better than one thick, goopy one.
- Generous Top Coat is Your Friend: Don’t skimp on the top coat! A thick, smooth top coat is crucial for sealing in glitter and preventing chipping. For very chunky glitters, you might even apply a second layer of top coat once the first is mostly dry.
- Cap the Free Edge: Always sweep your top coat along the very tip (free edge) of your nail. This seals the edge and helps prevent polish from peeling.
—
Next Level Sparkle: Simple Glitter French Tips
Want a touch of elegance with a festive twist? Glitter French tips are a sophisticated way to rock New Year’s Eve sparkle. They’re a step up from a basic solid color but still quite manageable for beginners.
What You’ll Need for Glitter French Tips
- Base Coat
- Your chosen nail polish color for the base of your nails (nude, sheer pink, or a pale color works well)
- A fine or medium glitter nail polish (silver, gold, or holographic are great choices)
- Optional: Striping tape or a fine-tip nail art brush
- Top Coat
- Clean-up brush and nail polish remover
Step-by-Step: Chic Glitter French Tips
- Prep and Base: Start with clean, dry nails. Apply your base coat and let it dry completely.
- Apply Your Base Color: Paint your nails with your chosen subtle color. This will be the “French” part of your manicure, peeking through the glitter or forming the backdrop. Apply one or two thin coats and let them dry until they are just tacky.
- Method 1: Freehand Glitter Tips (Easiest!)
- Dip your glitter polish brush into the bottle. You might want to dab off excess glitter.
- Carefully paint a line of glitter polish across the very tip of your nail. Work from one side to the other, aiming for a curve that mimics the natural shape of your nail’s free edge.
- If needed, add a second layer of glitter to make it more opaque or to refine the shape.
- Method 2: Using Striping Tape (For Precision)
- Once your base color is completely dry, apply a striping tape guide across your nail, about 1/4 inch from the tip. Press down firmly to ensure a good seal.
- Apply your glitter polish over the tape and the tip of the nail.
- While the glitter polish is still wet, carefully peel off the striping tape. This leaves a crisp glitter line.
- Method 3: Using a Fine-Tip Brush
- If you have a fine-tip nail art brush, you can load it with your glitter polish.
- Carefully paint the glitter along the tip of your nail, creating your desired French tip shape. This gives you a lot of control.
- Clean Up: Use your clean-up brush and remover to neaten the edges of your French tip and any stray polish on your skin.
- Seal with Top Coat: Apply a generous layer of top coat over all your nails. This is essential to smooth out the glitter texture and prevent chipping. Apply it carefully over the glitter tips.
- Dry Time: Allow your nails to dry fully.
Glitter French tips offer a refined yet festive sparkle, making them a perfect choice for ringing in the New Year.
Glitter French Tip Inspiration
| Base Color | Glitter Color | Effect |
|---|---|---|
| Sheer Pink | Silver Holographic | Delicate, icy sparkle. |
| Nude Beige | Gold Metallic | Elegant and glamorous. |
| Soft White | Rose Gold Fine Glitter | Romantic and chic. |
| Clear | Chunky Mixed Glitter (Silver & Gold) | Bold and festive statement. |
| Pale Blue | Iridescent Fine Glitter | Whimsical and ethereal. |
—
Essential Tools for Sparkly Nails
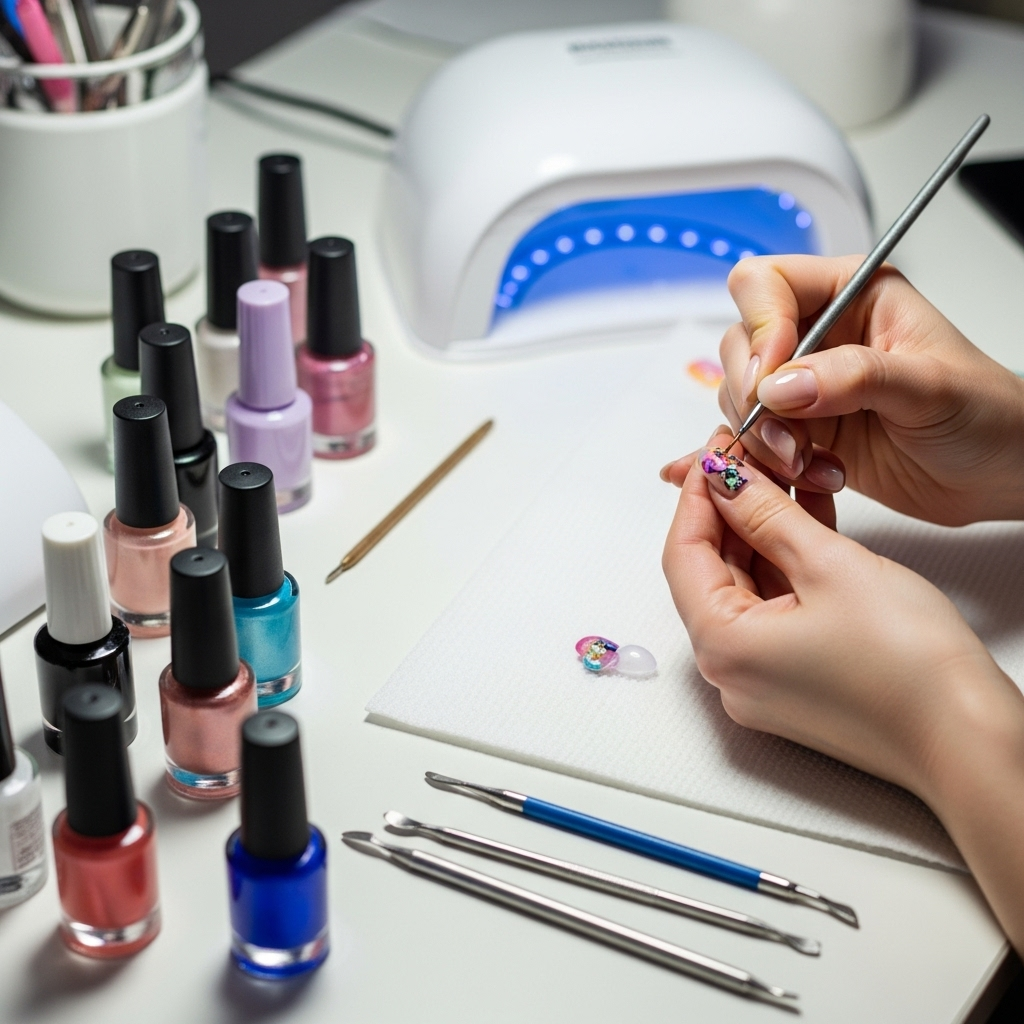
You don’t need a nail salon to create stunning sparkly nails. A few key tools will make the process easier and give you professional-looking results. Here are some handy items to have in your nail arsenal:
- Base Coat: This is crucial for protecting your natural nail from staining and for creating a smooth surface for polish application. It also helps your manicure last longer.
- Top Coat: Your best friend for sealing


