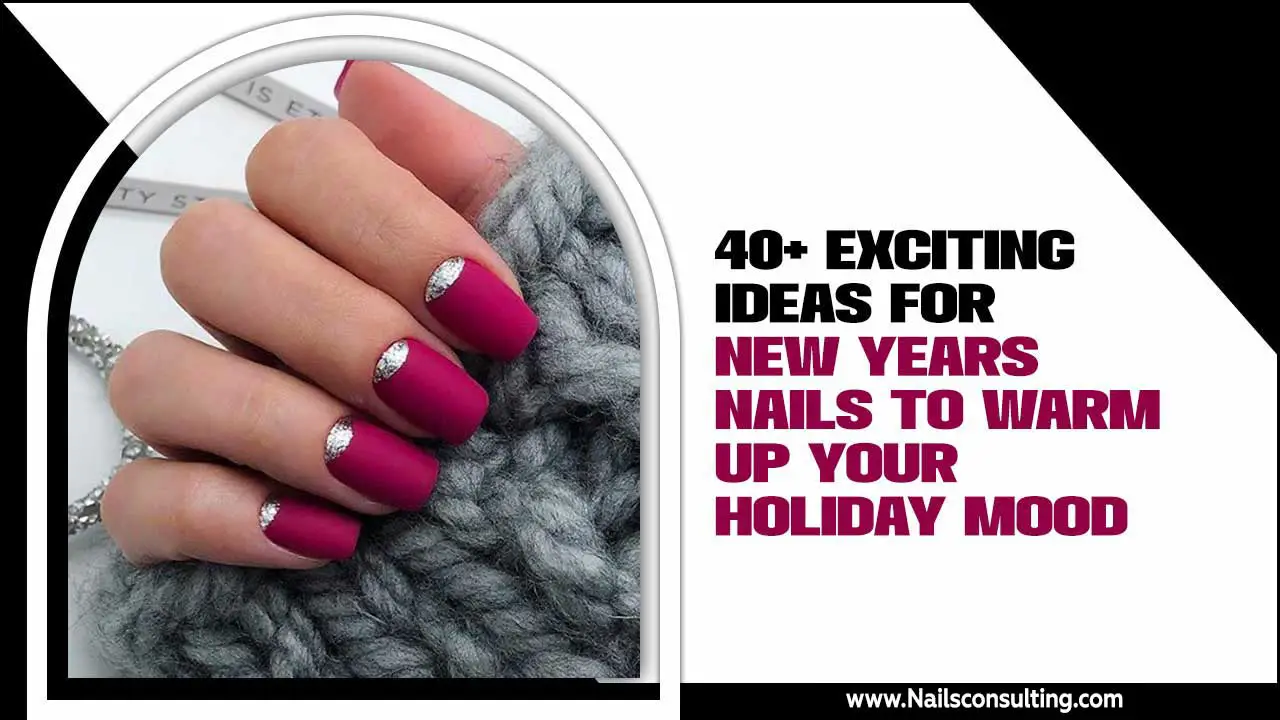
New Year’s Eve glitter nail art is the perfect way to sparkle and shine for your celebratory look. This essential guide offers stunning, beginner-friendly designs that are easy to achieve, ensuring your nails are party-ready in no time. Get ready to dazzle!
Get ready to ring in the New Year with nails that truly shine! As the clock ticks down, you want to look and feel your absolute best. Sometimes, the most dazzling way to complete your festive outfit is with a touch of sparkle right at your fingertips. Don’t worry if you’re new to nail art; this guide is designed just for you. We’ll break down how to create stunning New Year’s Eve glitter nail art that’s both easy and totally eye-catching. Prepare to be inspired and ready to create your own fabulous festive manicure!
Why Glitter Nails Are a New Year’s Eve Must-Have
New Year’s Eve is more than just a date; it’s a feeling! It’s about fresh starts, celebration, and a little bit of magic. Glitter nails capture this spirit perfectly. Their inherent shimmer and dazzling effect are synonymous with celebrations, parties, and making a statement.
Think about it: what other accessory can instantly add that festive, celebratory vibe to your look? Glitter nails do just that. They’re playful, glamorous, and surprisingly versatile. Whether you’re heading to a black-tie event or a cozy house party, glitter can be adapted to fit the mood.
For beginners, glitter nail art is a fantastic entry point into the world of DIY manicures. It’s forgiving, often hiding minor imperfections with its sparkly surface. Plus, the results can be incredibly professional-looking with just a few simple techniques. It’s the ultimate way to express your excitement for the year ahead and add a personal, stylish touch to your New Year’s Eve ensemble.
Essential Tools and Supplies for Glitter Nail Art
Before we dive into the fun designs, let’s make sure you have everything you need. Having the right tools makes the process smoother and the results even better. Don’t worry if you don’t have everything right away; most of these are basics that will last you for many manicures to come!
Here’s a beginner-friendly checklist:
- Base Coat: This protects your natural nails and helps polish adhere better.
- Top Coat: Crucial for sealing in your design and adding a glossy finish.
- Glitter Polish: The star of the show! Consider various glitters like chunky, fine, holographic, or metallic.
- Nail Polish Remover: For cleaning up mistakes and removing old polish.
- Cotton Balls or Pads: For applying remover.
- Optional: Fine-tip brush or toothpick: For precise application or creating simple patterns.
- Optional: Nail file and buffer: For shaping and smoothing nails before you start.
- Optional: Tweezers: Handy for placing larger glitter pieces precisely.
Let’s break down some of these key players:
Choosing Your Glitter
Glitter polishes come in a dazzling array of types. Understanding them can help you achieve different effects:
- Fine Glitter: These polishes have tiny, almost dust-like glitter particles. They create a subtle shimmer or can be layered for more intensity.
- Chunky Glitter: These contain larger, more distinct glitter pieces. They make a bolder statement and are great for accent nails.
- Holographic Glitter: This glitter catches the light and reflects rainbow colors, adding an extra dimension of sparkle.
- Metallic Glitter: Polishes with metallic flecks (like gold, silver, or rose gold) offer a sophisticated shine.
You can also find loose glitter pigments, which offer endless customization but require a bit more technique to apply smoothly over polish. For beginners, pre-mixed glitter polishes are the easiest way to go!
The Power of Base and Top Coats
Never underestimate your base and top coats! A good base coat is like a primer for your nails. It fills in minor ridges, prevents staining from dark polishes, and creates a smoother surface for your color. A quality base coat can be found at most beauty retailers. For reference, the California government provides excellent basic nail care tips that emphasize the importance of proper nail preparation.
Your top coat is the shield that seals everything in. It adds that beautiful glossy shine, protects your design from chips and smudges, and helps your manicure last longer. Opt for a “quick-dry” top coat if you’re in a hurry!
Easy New Year’s Eve Glitter Nail Art Designs for Beginners
Ready to get creative? These designs are simple enough that anyone can master them, and they’ll make your New Year’s Eve nails absolutely unforgettable.
1. The Simple Sparkle Accent Nail
This is the easiest way to incorporate glitter. It’s chic, subtle, and requires minimal effort.
How-To Steps:
- Start with a clean, prepped nail. Apply your favorite base coat and let it dry.
- Apply one or two coats of your chosen nail polish color (e.g., black, navy, deep red, or a nude). Let each coat dry completely.
- On one accent nail (the ring finger is popular!), apply a layer of glitter polish. You can go for a full-coverage look or dab it on for a more scattered shimmer.
- Let the glitter dry.
- Apply a generous layer of top coat over all your nails to seal and add shine.
Pro Tip: For an even more intense glitter effect on your accent nail, apply a layer of clear polish or a sticky base, then carefully “paint” the glitter polish onto that wet layer. This helps the glitter adhere better without a streaky look.
2. The Glitter Gradient (Ombre)
This design looks complex but is surprisingly straightforward. It creates a beautiful fading effect from solid color to pure sparkle.
How-To Steps:
- Apply base coat and let dry.
- Paint your nails with your chosen base color (e.g., a metallic shade or classic black). Let it dry.
- Take your glitter polish. Apply a coat generously at the tip of your nail.
- Using a clean brush (or even the applicator from the glitter polish), gently drag the glitter down the nail towards the cuticle. Use light strokes.
- Repeat with a second layer of glitter, focusing it more towards the tip and blending it slightly lower than the first layer.
- Let it dry completely.
- Apply a thick layer of top coat to smooth out the texture of the glitter. You might need two top coats to get it perfectly smooth.
Why it’s great: This technique is forgiving! Small imperfections blend beautifully into the gradient. Plus, it looks incredibly sophisticated.
3. The Glitter Tip French Manicure
A modern twist on a classic! Instead of white tips, imagine sparkling glitter tips.
How-To Steps:
- Apply base coat and let dry.
- Paint your nails with a sheer nude, pink, or even a metallic base color. Let it dry.
- Now, for the tips! You have a few options:
- Freehand: Carefully paint a line of glitter polish just across the tip of each nail.
- Using Tape: Place nail tape or even regular Scotch tape across your nail (where you want the glitter to start) and paint the glitter over the tip. Remove the tape while the polish is still slightly wet for a clean line.
- Dabbing: Use a sponge (like a makeup sponge) to dab glitter polish onto the tips for a softer, blended edge.
- Let the glitter dry completely.
- Apply top coat over all nails.
Beginner’s Ease: If freehanding is tricky, the tape method or sponge dabbing can create a wonderfully clean and professional look without the stress.
4. The Glitter Cuticle Line
This minimalist design is super trendy and adds a touch of subtle glamour right at the base of your nail.
How-To Steps:
- Apply base coat and let dry.
- Paint your nails with your chosen color (any color works!). Let it dry completely.
- Using a fine-tip brush or the applicator from your glitter polish, carefully paint a thin line of glitter polish right along your cuticle line.
- For a cleaner look, you can use a small brush dipped in nail polish remover to clean up any stray glitter.
- Let it dry.
- Apply top coat, being careful not to smudge the delicate glitter line. You might want to focus the top coat on the nail bed and tip, or use a very light hand over the cuticle line.
Style Note: Silver, gold, or holographic glitters work beautifully for this design, giving a sophisticated “jewelry” effect.
5. Full Glitter Coverage
Sometimes, you just want to go all out! Full glitter coverage is bold, festive, and surprisingly easy.
How-To Steps:
- Apply base coat and let dry.
- Apply your first coat of glitter polish. This might be a bit sheer, so don’t worry.
- Let the first coat dry almost completely.
- Apply a second coat of glitter polish. For chunkier glitters, you might need to “place” the larger pieces with a toothpick or brush to ensure even distribution.
- Let it dry. This can take longer for glitter polishes. Patience is key!
- Apply a generous, smooth layer of top coat. This is crucial to create a smooth surface over the glitter. It might take one or two top coats to get it perfectly smooth.
Tip for Smoothness: A slightly thicker, quick-dry top coat can be your best friend here. It helps to encapsulate the glitter pieces and create a non-bumpy finish.
Pro Tips for a Flawless Glitter Manicure
Even with easy designs, a few tricks can elevate your glitter nail art from good to absolutely dazzling.
- Thin Layers are Key: For colored polishes underneath glitter, always apply thin, even coats. This ensures a smooth base.
- Don’t Rush Drying: Glitter polish can take longer to dry than regular polish. Give it plenty of time between coats and before applying top coat.
- The Sponge Trick: For a smooth, dense glitter application (especially with finer glitters), dab glitter polish onto a makeup sponge and then press the sponge onto your nail. This can help distribute glitter more evenly than the brush alone.
- Clean Up is Crucial: Have a small brush dipped in nail polish remover ready. It’s perfect for cleaning up any polish that gets on your skin or cuticle area for a super neat finish.
- Two Top Coats are Better Than One: Especially with textured glitter, a second layer of top coat can really smooth things out and add extra shine and durability.
- Sealing the Glitter Edge: When doing glitter tips or gradients, ensure you cap—or seal—the free edge of your nail with your top coat. This helps prevent chipping.
New Year’s Eve Glitter Nail Art: A Comparison of Techniques
To help you choose the best method for your skill level and desired look, here’s a quick comparison of popular glitter application techniques:
| Technique | Best For | Ease of Use (Beginner) | Pros | Cons |
|---|---|---|---|---|
| Direct Polish Application | Full coverage, accent nails | Easy | Quick, straightforward | Can be streaky with fine glitters; may leave texture |
| Sponge Dab Method | Dense glitter, gradients | Medium | Smooth, even coverage; good for blending | Can be messy; requires extra tools |
| Brush Application (Loose Glitter) | Custom designs, precise placement | Hard | Ultimate control, highly customizable | Requires practice, messy, needs sticky base/top coat |
| Tape Method | Sharp lines (French tips) | Easy to Medium | Crisp lines, clean finish | Tape can lift polish if not applied/removed correctly |
For most beginners tackling New Year’s Eve glitter nail art, the direct polish application for accent nails and simple gradients, or the sponge dab method for a more blended effect, are excellent starting points. The tape method is also a great choice for achieving sharp glitter tips!
Beyond Glitter: Complementary Nail Art Elements
While glitter is the star, don’t be afraid to mix and match! Combining glitter with other elements can create even more unique and stunning New Year’s Eve looks.
- Matte Top Coat: For an unexpected twist, try a matte top coat over your glitter. It creates a sophisticated, almost velvety effect that’s surprisingly chic.
- Metallic Accents: Layering fine metallic polishes (like gold foil or silver chrome) with glitters can add depth. Use a thin brush to draw simple lines or dots over a glitter base.
- Stickers and Decals: For ultimate ease, a festive nail sticker (stars, champagne glasses, clock faces) applied over a glitter base can be stunning and requires zero artistic skill. Ensure your base is completely dry before applying.
- Rhinestones and Studs: A few strategically placed rhinestones or tiny metallic studs on a glitter accent nail can add a touch of 3D glamour. Use a dot of top coat or nail glue to adhere them.
- Negative Space: Combine glitter with areas of bare nail (negative space). For example, a glitter “french tip” where the rest of the nail is clear can be very modern and elegant.
Remember that the key to a polished look, even with multiple elements, is ensuring everything is sealed well with a good top coat. For more advanced nail care and trend information, resources like those from the American Academy of Dermatology Association offer comprehensive insights into nail health and maintenance, which is always a great foundation for any beauty look.
FAQ: Your Glitter Nail Art Questions Answered
Let’s tackle some common questions beginners have about creating fabulous New Year’s Eve glitter nails.
Q1: How do I prevent glitter polish from feeling bumpy?
A: The key is a good top coat! Apply a thick, generous layer of top coat, and for very textured glitters, consider a second layer once the first is dry. This smooths out the surface over the glitter pieces.
Q2: Can I put glitter polish over my gel manicure?
A: Yes! You can apply regular glitter polish over a cured gel manicure. Just prep the gel surface properly, apply the glitter, and then seal it with a gel top coat for a long-lasting finish.
Q3: My glitter polish looks streaky. What can I do?
A: Streaking is common with glitter. For a more even look, try the sponge dab method (mentioned above) or apply the glitter polish over a sticky base coat. Sometimes, a second, slightly more carefully applied layer of glitter polish can help even it out.
Q4: How long does glitter nail art usually last?
A: With a good base and top coat, glitter nail art can last anywhere from 5-7 days, sometimes even longer. Proper application and avoiding harsh activities with your hands can help extend its life.
Q5: Can I remove glitter polish easily?
A: Glitter polish can be tougher to remove. The best method is to soak a cotton ball with nail polish remover, place it on your nail, and wrap it with foil for 5-10 minutes. This loosens the glitter, making it easier to wipe away.
Q6: What are the most popular glitter colors for New Year’s Eve?
A: Silver, gold, holographic shades, black, and deep blues or reds are hugely popular for New Year’s Eve. Jewel tones like emerald and sapphire also make stunning, festive choices.
Q7: Do I need special tools for applying glitter?
A: For beginners, the polish applicator and maybe a toothpick or a small brush for cleanup are usually sufficient. Tweezers can be helpful for placing very specific, larger glitter pieces if you’re feeling adventurous!
Conclusion: Shine Bright into the New Year!
There you have it – your ultimate guide to New Year’s Eve glitter nail art! From simple accent nails to dazzling gradients, creating festive and stunning nails is totally achievable, even for beginners. Remember to prep your nails, choose your favorite glitter shades,


