Neutral Tone French Nails: Effortless styles that radiate chic simplicity and timeless elegance, perfect for any look and easy to achieve at home.
French manicures have made a stunning comeback, but with a modern twist! Forget the stark white tips; today, it’s all about soft, neutral tones that feel sophisticated and endlessly chic. Think creamy beiges, delicate nudes, and sophisticated greiges. These shades offer a subtle polish that elevates your natural nail, making them perfect for work, special occasions, or just feeling put-together every day. If you’ve ever admired that effortlessly polished look but thought it was too complicated to achieve yourself, fear not! We’re diving into the most genius, beginner-friendly neutral tone French nail designs that are as easy to create as they are beautiful to wear. Get ready to master this timeless trend with simple steps and stunning results!
Why Neutral French Nails?
Neutral tone French nails are the ultimate versatile manicure. They complement every skin tone, match any outfit, and suit every occasion imaginable. Unlike bold colors that can feel limiting, these understated designs provide a polished finish that’s always appropriate. They enhance your natural beauty without overpowering it, giving you that “my nails but better” vibe. Plus, they’re incredibly forgiving for DIY attempts, making them a favorite for beginners and busy individuals alike.
Understanding Neutral Tones for Your Manicure
When we talk about “neutral tones” for French nails, we’re opening up a world of soft, understated hues that provide a sophisticated alternative to traditional white. These shades are designed to blend seamlessly, enhance your natural nail’s appearance, and offer a universally flattering look. Choosing the right neutral is key to achieving that perfect, effortless vibe.
Common Neutral Shades
Here are some of the most popular and versatile neutral shades to consider for your French tips:
- Milky White: A softer, creamier version of classic white. It’s less stark and more approachable, giving a fresh, clean look.
- Sheer Nude: Translucent shades ranging from pale pink to peachy beige. These enhance the natural nail bed, creating a healthy, “barely there” polish.
- Soft Beige: A warm, light brown that adds a touch of warmth without being too dark. It’s sophisticated and grounding.
- Creamy Tan: Slightly deeper than beige, offering a richer, more opaque neutral option that still feels light and airy.
- Greige: A beautiful blend of grey and beige. This shade is incredibly modern and works well for those who find beige too warm or grey too cool.
- Pale Pink: A dusky, muted pink that’s incredibly flattering, giving a healthy flush to the nail.
- Caramel/Light Taupe: For deeper skin tones, these richer neutrals offer a beautiful contrast while remaining sophisticated and subtle.
Finding Your Perfect Neutral
The best neutral shade for you often depends on your natural skin tone. The goal is to choose a polish that harmonizes rather than clashes.
- Fair to Light Skin Tones: Opt for milky whites, sheer pinks, pale nudes, and soft greiges. These won’t wash you out and will create a delicate contrast.
- Medium to Olive Skin Tones: Sheer beiges, creamy tans, muted peachy nudes, and warmer greiges tend to look stunning.
- Deep to Dark Skin Tones: Richer caramels, taupes, and opaque beiges can provide a beautiful, noticeable contrast that still feels subtle and elegant.
Don’t be afraid to experiment! Sometimes a shade you wouldn’t expect can be the perfect match.
Classic Neutral French Nails: The Understated Elegance
This is the quintessential neutral French manicure. It’s clean, polished, and looks like you just stepped out of a high-end salon. The key here is subtlety and precision.
What You’ll Need:
- Nail file
- Nail buffer
- Cuticle pusher or orange stick
- Base coat
- Your chosen neutral polish (e.g., sheer nude, milky white, soft beige)
- White or off-white nail polish for the tips (optional, if you prefer a slightly more defined tip)
- Thin nail art brush or French tip applicator tool
- Top coat
- Cuticle oil
Step-by-Step Guide:
- Prep Your Nails: Start by removing any old polish. Shape your nails using a nail file to your desired length and shape. Gently push back your cuticles. Buff your nail beds lightly to smooth them out and create a surface for the polish to adhere to. Wipe nails clean with an alcohol-free nail polish remover or a damp lint-free cloth to remove dust and oils.
- Apply Base Coat: Apply one thin layer of base coat. This protects your natural nails and helps the polish last longer. Let it dry completely.
- Apply Neutral Polish: Apply one or two thin coats of your chosen neutral polish to the entire nail. Let each coat dry thoroughly between applications. This forms the base color of your “natural” nail.
- Create the Tip:
- Option 1 (Freehand with a Fine Brush): Dip a thin nail art brush into a white or off-white polish. Gently wipe off excess polish on the bottle rim. Carefully paint a thin, curved line along the natural free edge of your nail. Aim for soft, rounded smiles.
- Option 2 (Using a French Tip Guide): Place a French tip sticker or guide onto your nail, just below where you want the tip to begin. Paint the tip with your white or off-white polish. Carefully remove the sticker while the polish is still wet.
- Option 3 (Using a Polish for the Tip): Some brands offer polishes specifically designed for French tips, which have a slightly stiffer brush or a curved applicator for easier application.
- Refine if Needed: If your lines aren’t perfect, don’t worry! Use a clean-up brush dipped in nail polish remover to gently correct any mistakes. This is where the magic happens for a crisp, clean finish.
- Apply Top Coat: Once all the tip polish is dry, apply a generous layer of top coat over the entire nail, including the tips. This seals your design and adds a beautiful shine.
- Finish with Cuticle Oil: After the top coat has dried completely (give it a few minutes!), apply a drop of cuticle oil to each nail and massage it in. This hydrates your cuticles and adds a final touch of polish.
Modern Variations on the Neutral French Nail
Ready to get a little more creative? These variations add a contemporary flair to the classic neutral French manicure, keeping it fresh and stylish.
The Micro French
What it is: An ultra-thin, delicate line of color at the very edge of the nail. It’s incredibly subtle and sophisticated, making it perfect for those who want a hint of polish.
How to Achieve It:
- Follow steps 1-3 of the classic French manicure guide, using your neutral base.
- Instead of a wide smile line, use a very fine nail art brush to paint an almost imperceptible, thin line of white or off-white polish right along the very edge of your natural nail tip.
- Precision is key here. It should look like a faint halo.
The Reverse French (or Half-Moon)
What it is: Instead of decorating the tip, the color is applied to the cuticle area, creating a half-moon shape. The rest of the nail can be left bare or polished with a neutral shade.
How to Achieve It:
- Apply your neutral base polish (or skip this and go bare).
- Using a fine brush or a small dotting tool, carefully paint a thin half-moon shape at the base of your nail, following the curve of your cuticle.
- Alternatively, use a small, rounded sticker placed at the cuticle to guide your line.
- Fill in the half-moon shape with your chosen color (white, nude, or even a complementary neutral).
- Clean up edges and seal with a top coat.
The Double French
What it is: Two distinct lines of color create a layered effect. This can be a neutral tip with a thinner colored line above it, or two complementary neutral shades.
How to Achieve It:
- Complete steps 1-3 of the classic French manicure.
- Create your first French tip line (e.g., a classic neutral tip).
- Once the first tip line is completely dry, use a finer brush to paint a second, thinner line directly above the first one. This second line can be a contrasting neutral or even a subtle shimmer polish for added dimension.
- Ensure distinct separation between the two lines. Seal with top coat.
The Ombré French
What it is: A gradient effect where the color transitions smoothly from the base of the nail to the tip. For a neutral French, this typically involves a soft blend from a nude or pinky beige at the base to a milky white or a lighter neutral at the tip.
How to Achieve It:
- Apply your base neutral polish.
- Using a makeup sponge (a small piece works great), dab on your colors. Start with your darker neutral at the cuticle and your lighter neutral/white at the tip. Dab the sponge onto your nail, building up the color with light dabbing motions to create a seamless blend.
- This technique often requires a few passes and some patience to achieve a smooth ombre.
- Clean up edges and seal with a top coat.
The Diagonal or Angled French
What it is: Instead of a curved smile line, the tip is created with a straight or angled line across the nail. This is a more modern, geometric take.
How to Achieve It:
- Apply your neutral base polish.
- Use a French tip guide, or carefully freehand a straight or angled line across the nail, dividing it into two sections.
- Paint the tip section with your white or lighter neutral color.
- Carefully remove guides and clean up edges. Seal with top coat. You can even experiment with two tone diagonal French tips!
The Textured French Tip
What it is: Adding a tactile element to the tip, such as subtle glitter, very fine chrome powder, or even a matte finish over a glossy tip.
How to Achieve It:
- Complete your neutral French tip as desired (classic, micro, etc.).
- While the top coat is still slightly tacky (or after applying a specific activator for powders), gently dust a fine shimmer powder or chrome powder over the tip area.
- Alternatively, apply a matte top coat only to the tip for a modern two-texture look.
- Ensure everything is sealed with a final layer of top coat if needed.
Nail Shape and Length Considerations
The shape and length of your nails can significantly impact how your neutral French manicure looks. While French tips are generally forgiving, adapting them to your nail shape can enhance the overall aesthetic.
| Nail Shape | Best Neutral French Style | Why it Works |
|---|---|---|
| Squoval/Soft Square | Classic French, Micro French, Angled French | The straight edges of the nail complement the clean lines of a classic or angled French tip. A micro French looks particularly chic. |
| Round | Classic French, Reverse French, Subtle Ombre | The gentle curve of the nail naturally lends itself to a softer curve in the French tip. A reverse French can accentuate the natural nail shape beautifully. |
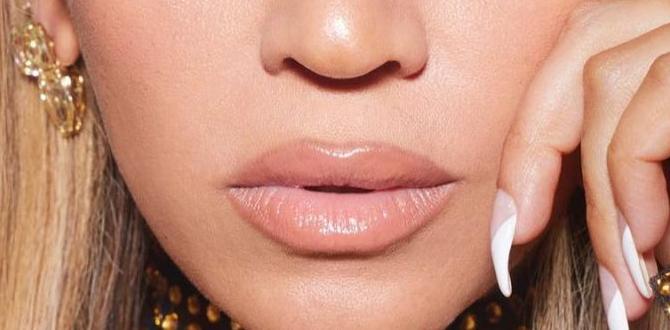
| Almond | Classic French, Micro French, Double French | The tapered point of an almond nail elongates fingers. A well-executed classic or micro French tip works perfectly, as does a delicate double French for added elegance. |
| Stiletto/Pointed | Micro French, Thin Angled French, Subtle Ombre | Long, pointed nails are dramatic. A very delicate or micro French tip keeps the focus on the nail’s length without overpowering it, maintaining a sophisticated edge. |
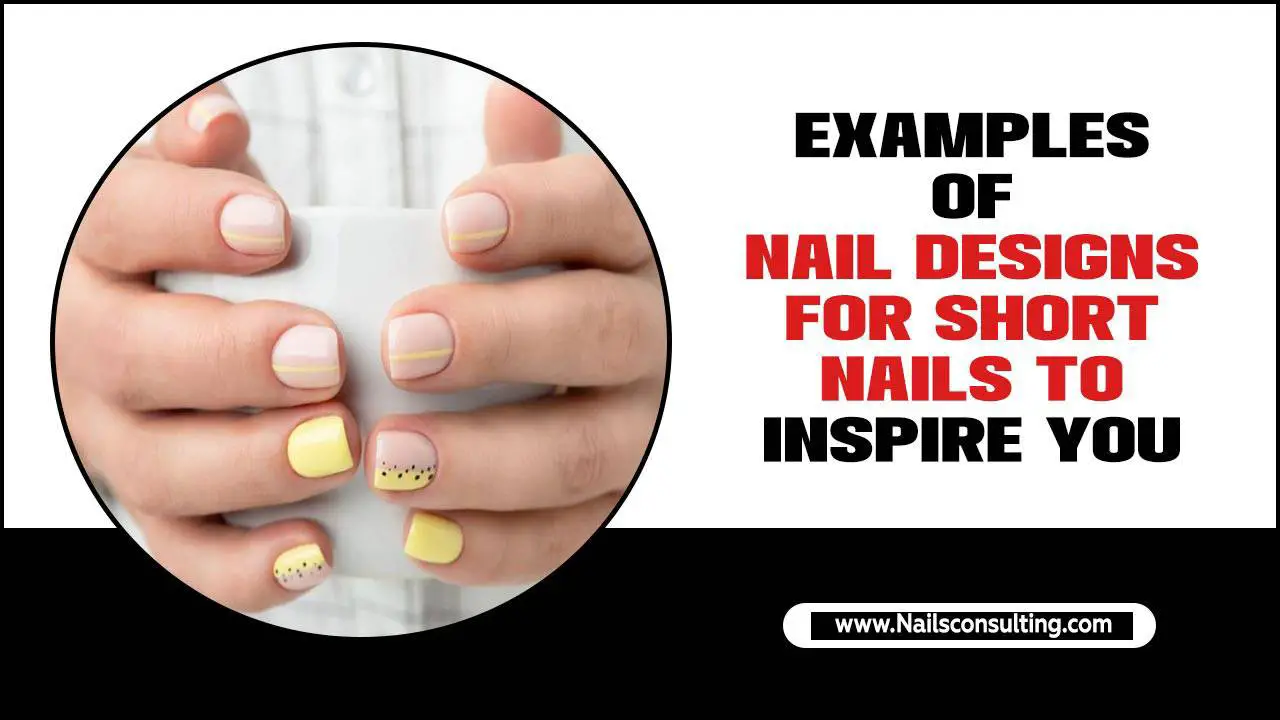
| Short Nails | Micro French, Reverse French, Thin Diagonal/Angled French | On shorter nails, less is often more. A super-thin tip line or a reverse French design draws the eye without making the nail appear shorter. Avoid thick, chunky tips. |
Length Matters: On shorter nails, a very thin French tip (a micro French) or a reverse French is often more flattering. As your nails get longer, you have more room to play with slightly deeper smile lines or even double French designs. The goal is always to create a harmonious look that enhances your natural nail structure.
How to Get Salon-Quality Results at Home
Achieving a flawless neutral French manicure at home is totally doable! It just requires a bit of patience and the right techniques. Here are some pro tips to elevate your DIY game:
Essential Tools and Techniques:
- Invest in Good Brushes: A fine-tipped nail art brush is your best friend for clean, precise lines. You can find these at most beauty supply stores or online. Check out resources like Nailpro Magazine for inspiration on professional tools and techniques.
- Clean Up is Key: Keep a small brush (an old makeup brush works) dipped in nail polish remover handy. Dip it lightly and use it to tidy up any stray polish around your cuticles and sidewalls before your top coat goes on. This makes a HUGE difference!
- Use Guides Wisely: If freehanding isn’t your strong suit, French tip guides or stickers are fantastic. Make sure your nails are completely dry before applying them, and peel them off slowly while the polish is still wet to avoid lifting your freshly painted tip.
- Thin Coats are Better: Avoid thick, gloppy applications of polish. Multiple thin coats dry faster, look smoother, and are less prone to chipping than one thick coat.
- Patience with Drying Time: This is crucial! Rushing the drying process is the most common mistake. Ensure each layer – base coat, color coats, and tip color – is fully dry before moving to the next step. A quick-dry top coat can be a lifesaver here.
- Shake, Don’t Stir: When mixing nail polish, gently roll the bottle between your hands instead of shaking it vigorously. Shaking can introduce air bubbles that will appear in your polish.
- Consider a UV/LED Lamp for Gel Polish: If you want chip-free wear for weeks, consider using gel polish and a UV/LED lamp. The curing process ensures a hard, durable finish.
Common Mistakes and How to Fix Them
Even the most experienced nail enthusiasts make mistakes. The good news is that most issues are fixable!
| Mistake | The Fix |
|---|---|
| Wiggly or Uneven French
|


