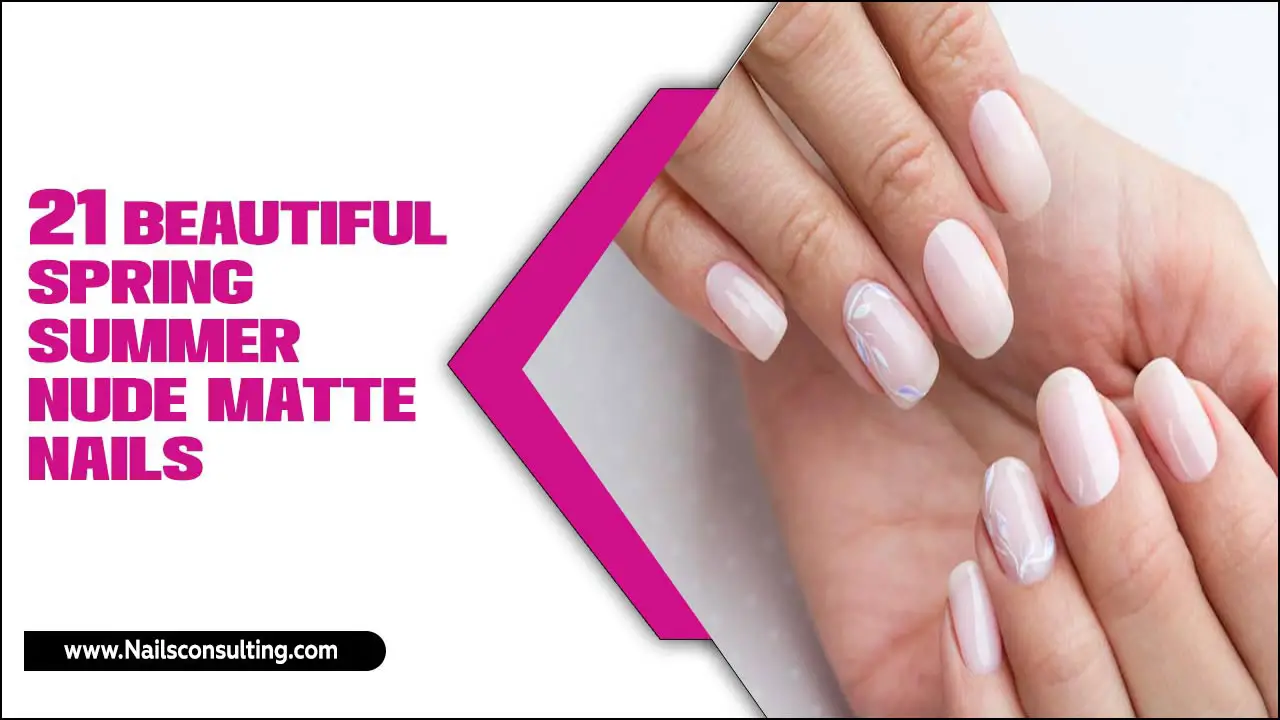
Neutral Color-Block Nails are a stylish and versatile way to add a modern, chic touch to your manicure. They’re easy for beginners thanks to simple geometric shapes and a sophisticated palette.
Are you looking for a nail design that’s both trendy and timeless? Sometimes, the simplest ideas are the most brilliant! If you’ve ever felt overwhelmed by intricate nail art or wanted a manicure that goes with absolutely everything, you’re in the right place. Neutral color-block nails are your answer. They’re chic, understated, and surprisingly easy to achieve at home. Get ready to discover how this “genius” design can become your go-to look!
In this guide, we’ll dive into why neutral color-blocking is so essential for any nail lover, especially beginners. We’ll break down what it is, why it works, and how you can create your own stunning designs with simple steps. No fancy tools or advanced skills needed! Let’s get your nails looking effortlessly stylish.
What Exactly Are Neutral Color-Block Nails?
Imagine dividing your nail into a few distinct sections, and filling each section with a different neutral shade. That’s the essence of neutral color-block nails! Instead of gradients or intricate patterns, we’re talking clean lines and solid blocks of color. Think of it like abstract art for your fingertips, but with a sophisticated, minimalist twist.
The “neutral” part is key here. This means we’re working with colors like beige, cream, white, gray, taupe, soft browns, and even muted nudes. These shades are famously versatile, meaning your color-blocked nails will complement almost any outfit and occasion. It’s the perfect blend of modern design and classic elegance.
Why Are Neutral Color-Block Nails a Genius Idea?
There’s a reason why this trend has staying power! Neutral color-block nails are more than just pretty; they’re incredibly smart.
- Versatility: Neutral colors are the ultimate chameleons. They pair effortlessly with casual jeans, office attire, or a little black dress.
- Sophistication: The clean lines and muted tones exude an air of understated chic. They look polished without being flashy.
- Beginner-Friendly: Unlike freehand art or detailed designs, color-blocking relies on geometric shapes, making it much easier to execute at home.
- Customizable: While the palette is neutral, you can play with different shades and arrangements to create a look that’s uniquely yours.
- On-Trend: Minimalism and geometric designs are always fashionable. Color-blocking fits perfectly into this aesthetic.
- Professional Appeal: This design is perfectly acceptable in professional settings, offering a subtle way to express personal style.
Essential Tools for Your Neutral Color-Block Manicure
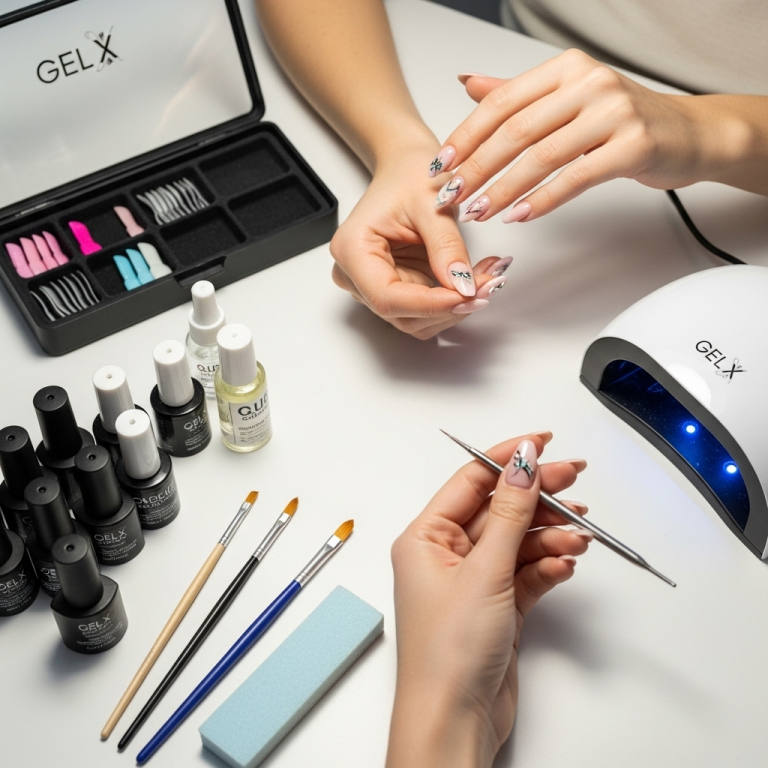
You don’t need a professional salon to create beautiful color-block nails. Here are the essentials you’ll want to have on hand:
- Base Coat: This protects your natural nails and helps your polish last longer. A good quality base coat is crucial for a smooth finish. Consider using a product like OPI Natural Nail Base Coat.
- Neutral Nail Polishes: Select 2-4 different neutral shades. Aim for variety in tone and finish (e.g., a deep taupe, a creamy beige, a soft gray, and a clean white).
- Top Coat: This seals in your design, adds shine, and prevents chipping. A quick-dry top coat can be a lifesaver!
- Thin Detail Brush or Striper Brush: This is your best friend for creating those crisp lines. If you don’t have one, a toothpick or an old, clean eyeliner brush can work in a pinch.
- Nail Polish Remover: For cleaning up any mistakes.
- Cotton Pads or Q-tips: To apply the remover.
- Optional: Nail Tape or Stencils: For perfectly straight lines and geometric shapes, tape can be a game-changer. You can find various nail art tapes at most beauty supply stores. For guides on nail art tape application, check out this helpful resource from Healthline.
- Optional: Cuticle Oil: For a finishing touch of hydration.
Step-by-Step Guide: Creating Your Neutral Color-Block Nails
Ready to get started? Follow these simple steps for a flawless neutral color-block manicure. We’ll focus on a popular and easy design: a split-nail or geometric block.
Step 1: Prep Your Nails
Great nail art starts with great prep! This ensures your polish adheres well and lasts longer.
- Cleanse: Remove any old polish with nail polish remover.
- Shape: File your nails into your desired shape. Aim for smooth, consistent strokes to avoid weakening the nail.
- Cuticle Care: Gently push back your cuticles with an orange stick or cuticle pusher. Avoid cutting them unless absolutely necessary, as it can lead to damage.
- Buff (Optional): Lightly buff the surface of your nails to create a smooth canvas. This also helps polish adhere better.
- Cleanse Again: Wipe your nails with nail polish remover or rubbing alcohol to remove any oils or dust.
Step 2: Apply Your Base Coat
This is a crucial step for nail health and polish longevity. Apply one thin layer of your base coat and let it dry completely.
Step 3: Choose Your Color Block Design
Before you start painting, decide on your design. Here are a few beginner-friendly ideas:
Design Idea 1: The Diagonal Split
This is classic and super easy. You’ll divide the nail diagonally from one corner to the opposite side of the cuticle.
Design Idea 2: The Horizontal Half-and-Half
Paint the top half of your nail one color and the bottom half another. You can also do this vertically.
Design Idea 3: The Geometric Accent
Paint your entire nail one neutral color. Once dry, use a thin brush or tape to add a geometric shape (like a triangle, square, or a clean line) in a contrasting neutral shade on top.
Step 4: Paint Your First Color Block
Let’s start with our chosen design, say the diagonal split. Pick one of your neutral polishes.
- Paint one side of the diagonal line (e.g., the top-left triangle) with your first color. Aim for thin, even coats.
- Let it dry completely. Patience is key here to prevent smudging!
Step 5: Create the Dividing Line
This is where your precision tools come in handy.
Method A: Using a Thin Brush
- Dip your thin detail brush into your second neutral polish. Wipe off excess polish on a paper towel.
- Carefully paint a clean, sharp line where the first color ends and the second will begin. Don’t worry if it’s not perfect; you can clean up edges with a tiny bit of polish remover on a fine-tipped brush or even just a steady hand.
- Let this line dry completely.
Method B: Using Nail Tape
- Once your first color is completely dry, carefully apply nail tape along the line where you want your second color to start. Press down firmly to ensure a good seal.
- Apply your second neutral polish over the uncovered section of the nail.
- While the second polish is still wet, carefully peel off the nail tape. This will leave you with a super crisp line.
Step 6: Paint Your Second Color Block
Now, fill in the remaining section of your nail with your second neutral polish. Apply thin coats and let them dry fully.
Step 7: Add Additional Blocks (Optional)
If your design involves more than two colors or blocks, repeat steps 5 and 6 for each new color or line. For instance, you could do a three-way split on an accent nail.
Step 8: Apply Your Top Coat
Once all your colors are completely dry, apply one to two layers of your top coat. This is what seals the deal, gives your nails a glossy finish, and protects your design from chips.
Step 9: Clean Up and Hydrate
Dip a small brush or cotton swab in nail polish remover to clean up any polish that got on your skin. Finish by applying a bit of cuticle oil to moisturize the skin around your nails.
Color Palette Inspiration for Neutral Color-Block Nails
The beauty of neutrals is their endless harmony! Here are some pairings that look particularly stunning:
Classic Contrast
For a timeless look, try pairing a crisp white with a deep, cool-toned gray. This offers a modern, almost architectural feel.
Warm & Cozy
Combine a warm beige or taupe with a creamy off-white. This palette is incredibly comforting and chic.
Monochromatic Chic
Use different shades of the same neutral color. For example, a light greige with a darker charcoal gray creates subtle depth.
Earthy Tones
Opt for soft terracotta or muted brown shades paired with a sandy beige or light cream. This gives a natural, grounded vibe.
Here’s a quick look at some popular neutral polish shades and their typical undertones:
| Neutral Color | Common Undertones | Suggested Use |
|---|---|---|
| Cream/Off-White | Yellow, Pink | Bright, clean base or accent |
| Beige | Pink, Yellow, Peach | Warm, natural look |
| Taupe | Gray, Brown, sometimes Pink | Sophisticated, balanced |
| Light Gray | Blue, Purple, Green | Cool, modern feel |
| Charcoal/Dark Gray | Blue, Black | Bold contrast, grounding color |
| Soft Brown | Red, Yellow | Earthy, rich contrast |
Tips for Perfecting Your Color-Block Design
Even the simplest designs can be enhanced with a few pro tips:
- Thin Coats Are Key: Thick layers of polish are more prone to smudging and take forever to dry. Apply 2-3 thin coats for best results.
- Let Each Layer Dry: This is probably the MOST important tip for color-blocking. If you rush, your colors will bleed, and your lines will be messy. Use a quick-dry spray or top coat to speed things up if needed.
- Clean Lines with a Brush: Keep a small brush (like an old eyeliner brush) handy. Dip it in nail polish remover and carefully trace along the edge of your color blocks to create super-sharp lines where the polish meets your skin.
- Experiment with Finishes: Try combining a matte neutral with a glossy one for an added dimension. Just apply your matte polish, let it dry, then apply your glossy color block over it, and seal everything with a glossy top coat.
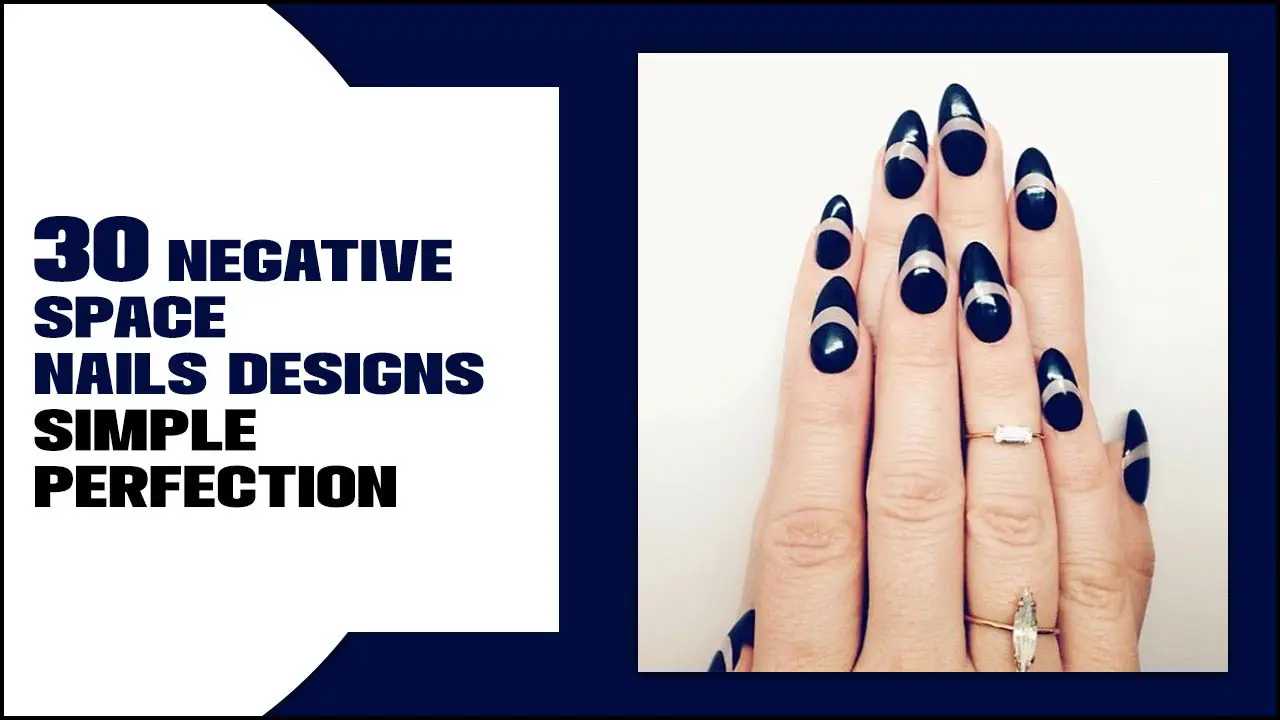
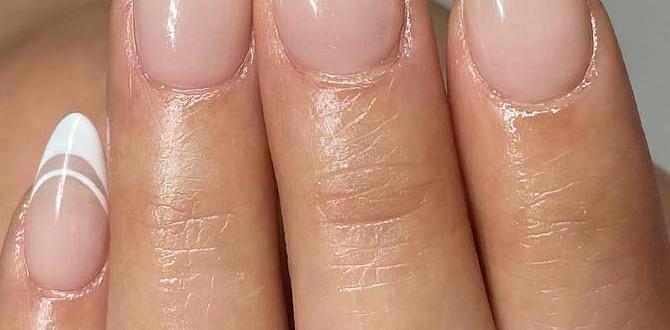
- Consider Negative Space: For a modern twist, leave a small section of your nail bare (no polish) between color blocks. This adds a sophisticated, almost deconstructed feel.
Maintaining Your Neutral Color-Block Nails
To keep your gorgeous color-block manicure looking fresh:
- Wear Gloves: When doing chores, especially washing dishes or cleaning, wear rubber gloves to protect your nails from harsh chemicals and excessive moisture, which can lift polish.
- Avoid Using Nails as Tools: Resist the urge to open cans or scratch labels with your nails. This can cause chips and breaks.
- Reapply Top Coat: Every 2-3 days, apply a fresh layer of top coat. This helps maintain the shine and adds an extra layer of protection against wear and tear.
- Moisturize: Keep your hands and cuticles hydrated with lotion and cuticle oil. Healthy skin makes polished nails look even better.
FAQ: Your Neutral Color-Block Nail Questions Answered
Q1: Can I do neutral color-blocking with gel polish?
A1: Absolutely! Gel polish is actually fantastic for color-blocking because it dries hard under a UV/LED lamp, reducing the risk of smudging as you work. You’ll follow similar steps but cure each layer of gel polish once applied.
Q2: What if my lines aren’t perfectly straight?
A2: Don’t stress! A slightly imperfect line can add a handmade charm. For cleaner lines, try using nail tape or a fine-tipped cleanup brush dipped in polish remover to neaten the edges after painting. Precision takes practice!
Q3: How many colors are too many for neutral color-blocking?
A3: For a truly “neutral” and sophisticated look, sticking to 2-4 shades is usually best. Too many colors, even neutrals, can start to look busy rather than chic. Focus on complementary tones.
Q4: Can I use matte finishes with glossy finishes in my design?
A4: Yes, mixing finishes is a great way to add depth and interest! You can paint your blocks with their respective matte or glossy polishes, and then seal everything with a glossy top coat for longevity. Alternatively, use a matte top coat over your entire design for a unified matte look.
Q5: How long do neutral color-block nails typically last?
A5: With proper prep and application, including a good base and top coat, you can expect your manicure to last anywhere from 7 to 14 days. Reapplying top coat every few days can extend this.
Q6: What’s the difference between color-blocking and geometric nails?
A6: They are very similar! Color-blocking refers to using blocks of solid color. Geometric nails often incorporate these blocks but can also include lines, dots, triangles, and other shapes in a structured, geometric pattern. Neutral color-blocking is a type of geometric nail art.
Q7: Are there any nail shapes that work best for color-blocking?
A7: Not really! Neutral color-blocking looks fantastic on all nail shapes, from short squares to long almond or stiletto nails. The design itself adapts to the nail’s canvas.
Conclusion: Elevate Your Style with Genius Neutrals
Neutral color-block nails are proof that you don’t need complicated techniques or flashy colors to make a major style statement. They are the epitome of understated chic, offering endless versatility and a touch of modern art for your fingertips. Whether you’re a seasoned nail art enthusiast or just dipping your toes into DIY manicures, this design is accessible, forgiving, and stylish.
By mastering a few simple steps and using the right tools, you can effortlessly create salon-worthy neutral color-block nails at home. From the crisp contrast of white and gray to the warmth of beige and cream, the possibilities are as vast as your imagination. So go ahead, experiment with your favorite neutral shades, embrace those clean lines, and let your nails do the talking. You’ve got this!

