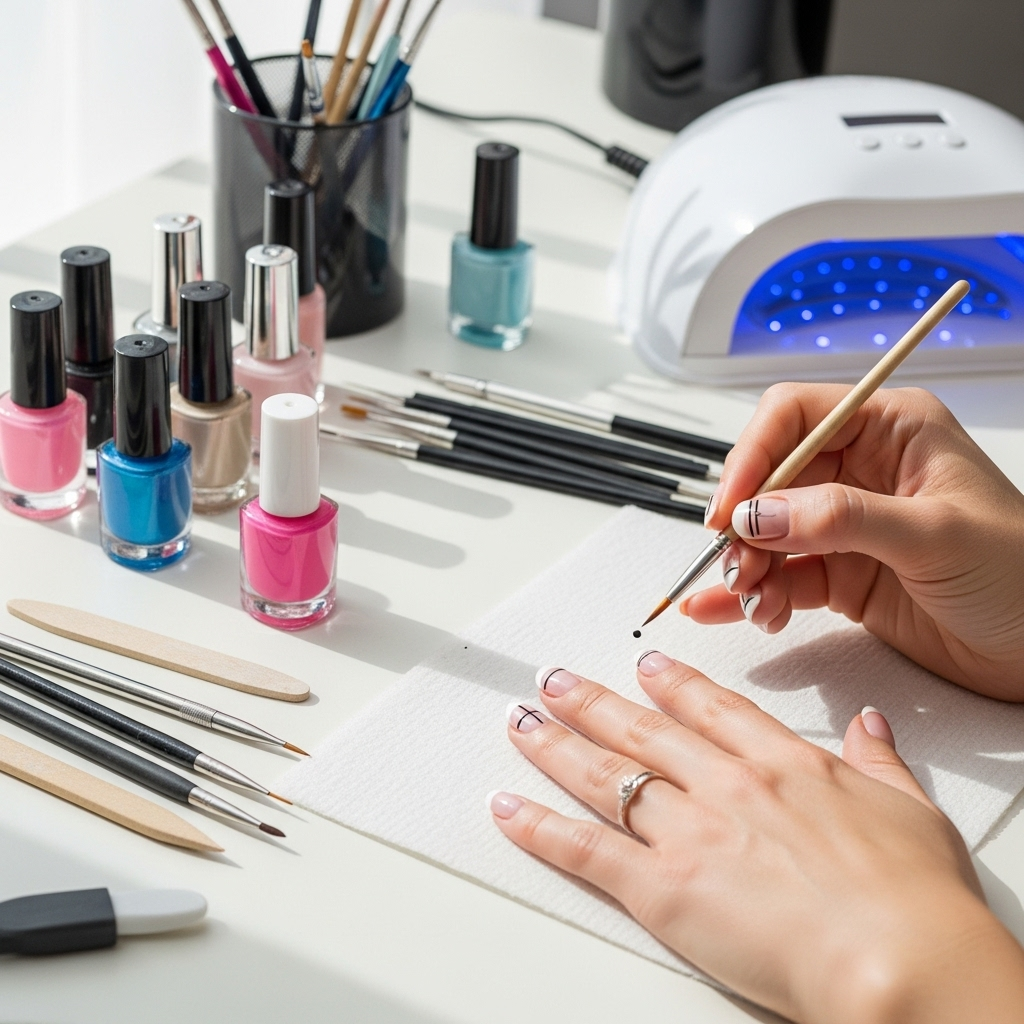
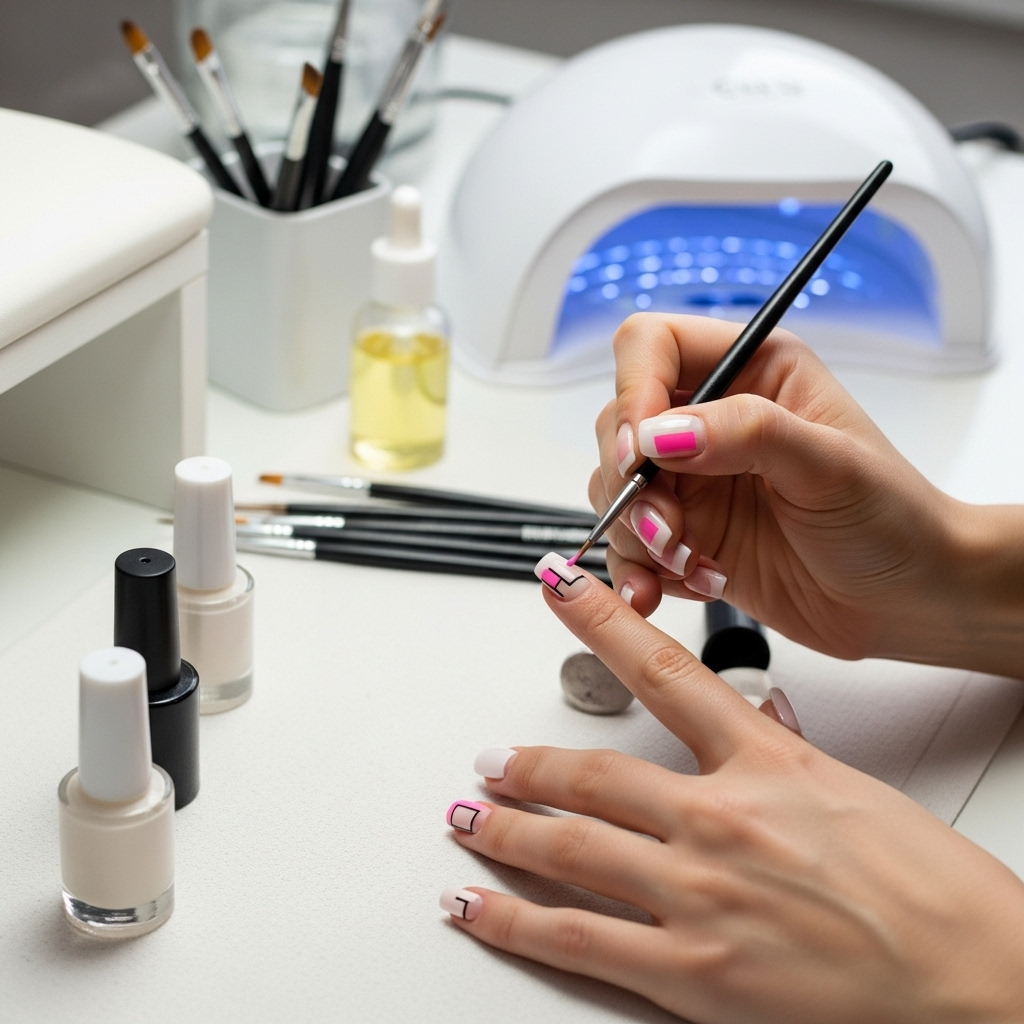
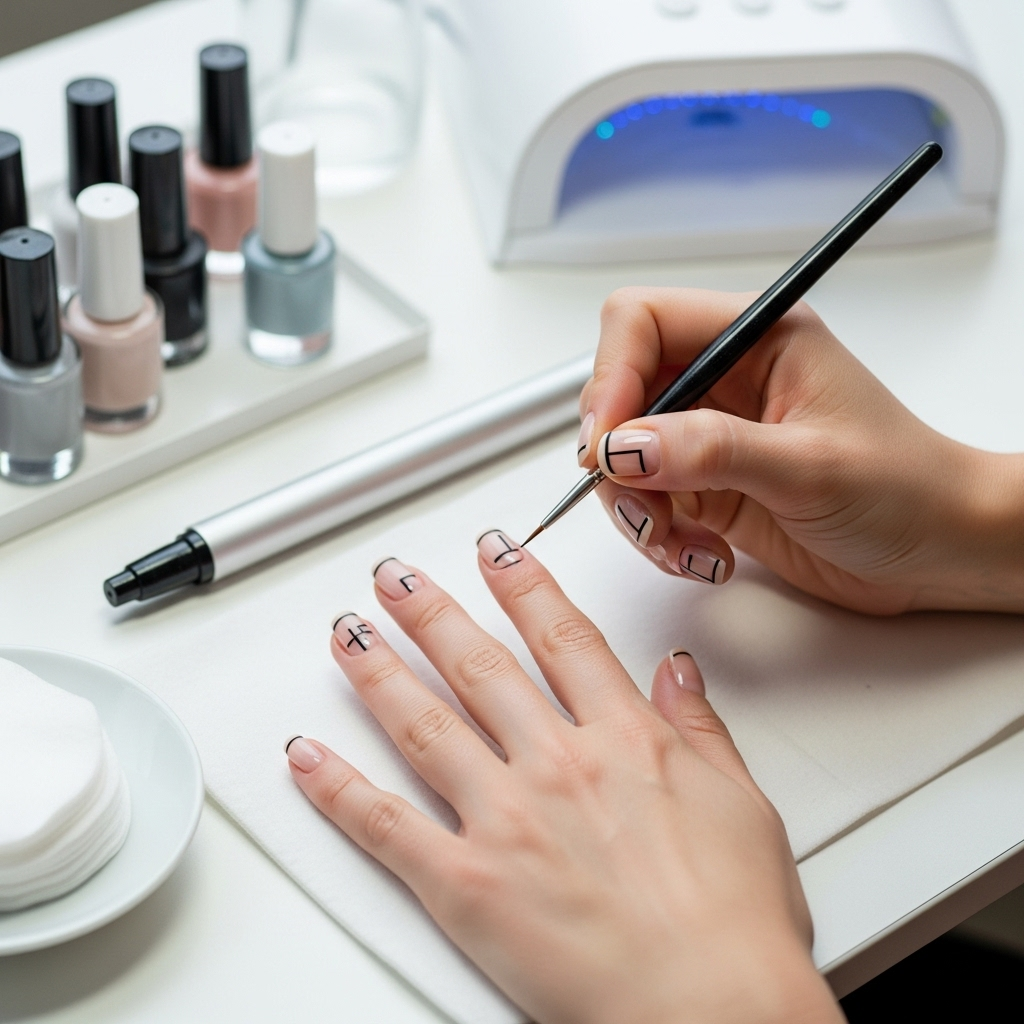
Negative space minimalist nail art is a chic and effortless way to elevate your manicure. It uses unpainted areas on the nail to create designs. Perfect for beginners, these designs are stunning and easy to achieve, offering a fresh, modern look without being complicated.
Are you looking for a nail art style that’s both sophisticated and super easy to do? Sometimes, nail art can feel intimidating, with complex steps and hard-to-find tools. But what if we told you that some of the most stylish looks actually involve less polish? That’s where negative space minimalist nail art comes in! It’s a trend that’s taken the beauty world by storm, and for good reason. It’s chic, modern, and surprisingly simple to recreate at home. Get ready to transform your nails with designs that are as easy to create as they are beautiful to look at. We’ll walk you through everything you need to know to master this stunning trend.
What is Negative Space Minimalist Nail Art?
Negative space minimalist nail art is a design technique where the unpainted areas of your nails become part of the overall design. Instead of covering the entire nail with color, you strategically leave sections bare. This creates a sense of depth, dimension, and a modern, airy aesthetic. Think simple lines, dots, geometric shapes, or even abstract patterns that use the natural nail or a clear base coat as a canvas. It’s ‘minimalist’ because the designs are usually simple, clean, and uncluttered, focusing on essential elements for maximum impact.

Imagine this: clean lines and simple shapes that let your natural nail shine through!
Why You’ll Love Negative Space Nails
This trend is fabulous for so many reasons. It’s incredibly versatile, fitting for any occasion from a casual day out to a formal event. Plus, it’s surprisingly forgiving, making it a dream for beginners. You don’t need to be a professional artist to achieve these looks. It’s also a fantastic way to experiment with color accents without committing to a full-coverage manicure, making it ideal for those who love to switch up their style.
The Allure of Simplicity
The beauty of minimalist nail art lies in its simplicity. It doesn’t scream for attention but rather offers a subtle, sophisticated accent. This is perfect for anyone who wants their nails to look polished and chic without being overly flashy. It’s a nod to modern design principles, where less is often more. You can achieve a high-fashion look with minimal effort, which is a win-win for busy individuals!
Beginner-Friendly Charm
If you’re new to nail art, negative space designs are your secret weapon. They often require fewer steps and less precision than intricate, full-coverage designs. You might only need a few carefully placed dots, a simple stripe, or geometric shapes. This means less room for error and more confidence as you practice. It’s a gentle introduction to the world of creative manicures.
Versatility for Every Occasion
One of the best things about negative space nails is their adaptability. A subtle design with a nude polish and a thin black line can be perfect for the office. A bolder geometric pattern with vibrant contrasting colors can be your go-to for a night out. You can tailor the colors and patterns to match your outfit, your mood, or the season. They’re the chameleon of nail art!
Essential Tools for Your Negative Space Masterpiece

You don’t need a professional nail kit to create stunning negative space designs. With just a few basic tools and your favorite nail polishes, you’re ready to go! Here’s what we recommend having on hand:
- Base Coat: This protects your natural nails and helps your polish last longer. Plus, for negative space, a clear or nude base can be the negative space!
- Top Coat: Essential for sealing your design, adding shine, and preventing chips.
- Nail Polish Colors: Choose one or two colors that complement each other, or simply use a clear polish and your preferred shade for accents.
- Fine-Tipped Nail Art Brush or Dotting Tool: These are crucial for creating precise lines and dots. A toothpick can work in a pinch for dots!
- Nail Polish Remover and Cotton Swabs: For cleaning up any mistakes and perfecting those clean edges.
- Cuticle Pusher or Orange Stick: To prepare your nail surface by gently pushing back cuticles for a clean canvas.
Having the right tools makes all the difference, turning a potentially messy attempt into a smooth, satisfying creative process. Think of them as your artistic collaborators!
Essential Negative Space Minimalist Nail Art Designs
Ready to get creative? These designs are perfect for beginners and offer endless possibilities. Let’s dive into some essential looks!
1. The Classic Half-Moon
This design is incredibly chic and simple. It focuses on leaving the cuticle area of your nail unpolished or filled with a contrasting color, creating a beautiful half-moon shape at the base.

A simple curve can make a big statement!
How to Create the Half-Moon:
- Apply a base coat and let it dry completely.
- Paint your desired color over the entire nail, stopping just before the cuticle. Leave the half-moon area at the base bare. Alternatively, use a sticker or a steady hand to define a clean curve.
- Let the polish dry thoroughly.
- Apply a top coat over the entire nail to seal the design.
Pro Tip: For a cleaner line, try using a small circular sticker or a stencil placed at the base of your nail before painting. Peel it off carefully once the polish is almost dry.
2. The Geometric Edge
Geometric shapes add a modern, edgy feel. Think clean lines, triangles, or squares strategically placed on the nail, often near the tip or along the sides. This design uses the natural nail as one of its ‘colors’.
How to Create Geometric Edges:
- Start with a clean, prepped nail and apply a base coat. Let it dry.
- Decide on your shape. For a simple edge design, you might paint a triangle or a block of color at the tip of your nail.
- Use a fine-tipped brush for precision. Carefully paint your chosen shape.
- Allow the polish to dry completely.
- Apply a top coat.
Design Ideas:
- Diagonal Line: A single, sharp diagonal line from one side of the nail to the other, leaving the rest bare.
- Triangle Tip: A triangle at the very tip of your nail.
- Corner Block: A square or rectangle in one of the upper corners of the nail.
3. The Minimalist Dot
Dots are pure simplicity and elegance. A single, well-placed dot can be incredibly impactful. You can scatter a few dots or place one strategic dot near the cuticle or towards the tip.

Sometimes, less is truly more.
How to Create Dot Designs:
- Apply your base coat and let it dry.
- Using a dotting tool or the tip of a toothpick, dip into your chosen polish color.
- Gently place a dot onto your nail where you want it. The size of the dot depends on the thickness of the polish on your tool.
- Let the dot(s) dry completely.
- Apply a top coat.
Placement Ideas:
- Single Dot: A solitary dot at the base, just above the cuticle.
- Scattered Dots: A few small dots randomly placed.
- Line of Dots: A small row of dots along the side of the nail.
4. The Chic Stripe
A single, thin stripe can add a touch of sophistication. This is perfect for adding a subtle pop of color or metallic sheen. You can place it horizontally, vertically, or diagonally.
How to Create Stripe Designs:
- Start with a base coat and let it dry.
- Using a very fine nail art brush, load it with polish. Gently wipe off excess polish on the edge of the bottle to ensure a thin, controlled line.
- Draw a single, steady line across your nail. For beginners, painting from cuticle to tip (or vice versa) can work well.
- Let the stripe dry completely.
- Apply a top coat carefully, avoiding smudging the line.
Styling Tip: Pair a metallic stripe (like gold or silver) over a sheer nude or pastel base for an elegant look.
5. The Abstract Swirl or Blob
Embrace your inner artist with a freeform, abstract design. This is where you can really let loose and create something unique. Don’t worry about perfection; the beauty is in the organic feel.
How to Create Abstract Designs:
- Apply your base coat.
- Using a fine brush or even the tip of your polish brush, create a freeform shape. It could be a gentle swirl, a soft blob, or a more angular, modern shape.
- Focus on letting the natural nail show through the design.
- Allow it to dry thoroughly.
- Apply a top coat.
Experiment with:
- Half-and-Half: Paint one half of the nail and leave the other half bare.
- Floating Shapes: Create a shape that doesn’t quite touch the edges or cuticle.
Top Color Combinations for Negative Space Nails

The color palette you choose can dramatically change the vibe of your negative space design. Here are some winning combinations:
| Vibe | Color Combination | Negative Space Use |
|---|---|---|
| Classic & Elegant | Nude + Black | Black lines/dots on nude base, or black polish with nude negative space. |
| Modern & Chic | Sheer Pink + White | White geometric shapes or lines on a sheer pink base. |
| Bold & Trendy | Clear + Cobalt Blue | Cobalt blue geometric accents on a clear (unpolished) nail. |
| Glamorous | Beige + Gold Metallic | A thin gold stripe or a gold half-moon on a beige base. |
| Playful | Clear + Pastel Colors (e.g., mint, lavender) | Scattered pastel dots or minimalist pastel shapes on a clear nail. |
When to Use Your Natural Nail as Negative Space
The most common way to incorporate negative space is to leave parts of your natural nail unpolished. This works best when your natural nails are healthy and look good on their own. Ensure your nails are clean, filed, and free of any oils or residue before you start. A good base coat is still important to protect the nail plate, even if it stays unpainted!
When to Use a Clear or Nude Polish as Negative Space
If your natural nails aren’t in the best condition for showing, or if you want a slightly more uniform look, opt for a clear or sheer nude polish as your base. This provides a smooth, clean canvas while still giving the appearance of negative space. It’s especially useful for techniques like the half-moon, where you want a crisp line between the colored polish and the ‘negative’ part.
Tips for Achieving Flawless Negative Space Nails
Even simple designs can have a few tricky spots. Here are some expert tips to make sure your negative space manicures turn out perfectly every time:
- Prep is Key: Always start with clean, dry nails. Push back your cuticles and file them to your desired shape. This creates a smooth surface for your polish and ensures clean lines.
- Thin Coats are Your Friend: Don’t overload your brush. Apply thin, even coats of polish. This dries faster and helps prevent bumps or smudges, which is crucial for sharp negative space designs.
- Steady Your Hand: Rest your wrists on a stable surface. If you’re struggling with fine lines, try holding the brush from the middle of the handle rather than the end. For ultimate steadiness, consider using a nail art brush holder or a tool like Winstonia Nail Art Brush Set which offers a variety of fine tips.
- Clean Up Mistakes Immediately: Keep a small brush (like an old eyeliner brush) dipped in nail polish remover handy. Gently swipe away any stray marks or wobbly lines while the polish is still wet. This makes a huge difference!
- Patience is a Virtue: Let each layer of polish dry completely before adding the next or applying a top coat. Rushing can lead to smudges and ruined


