Quick Summary: Nail sticker designs explained! These easy-to-use decals offer instant nail art for beginners. From simple shapes to intricate patterns, they’re a foolproof way to elevate your manicure. Discover the best types, application tips, and how to make them last like a pro.
Want fabulous nails without the fuss? Nail sticker designs are your secret weapon! They’re the quickest way to get salon-worthy art right at home. Whether you’re a total beginner or just short on time, nail stickers make creative manicures accessible to everyone. Forget complicated techniques; we’re breaking down the amazing world of nail stickers so you can start crafting stunning looks today. Let’s dive in and unlock your inner nail artist!
How to Use Nail Sticker Designs: Your Essential Guide
Nail stickers are a game-changer for anyone who loves stylish nails but finds freehand art a bit daunting. They’re pre-designed decals that you can apply directly to your nails. Think of them as instant nail art! They come in an astonishing variety of designs, from delicate floral patterns to bold geometric shapes, shimmery metallics, and even tiny characters. They take the guesswork out of nail art, offering a perfect, polished look with minimal effort. This guide will walk you through everything you need to know to get the best results.
Ready to transform your nails? Let’s get started!
Types of Nail Sticker Designs
The world of nail stickers is vast and exciting, with something for every taste and occasion. Understanding the different types can help you choose exactly what you’re looking for. Here are the most common and popular categories:
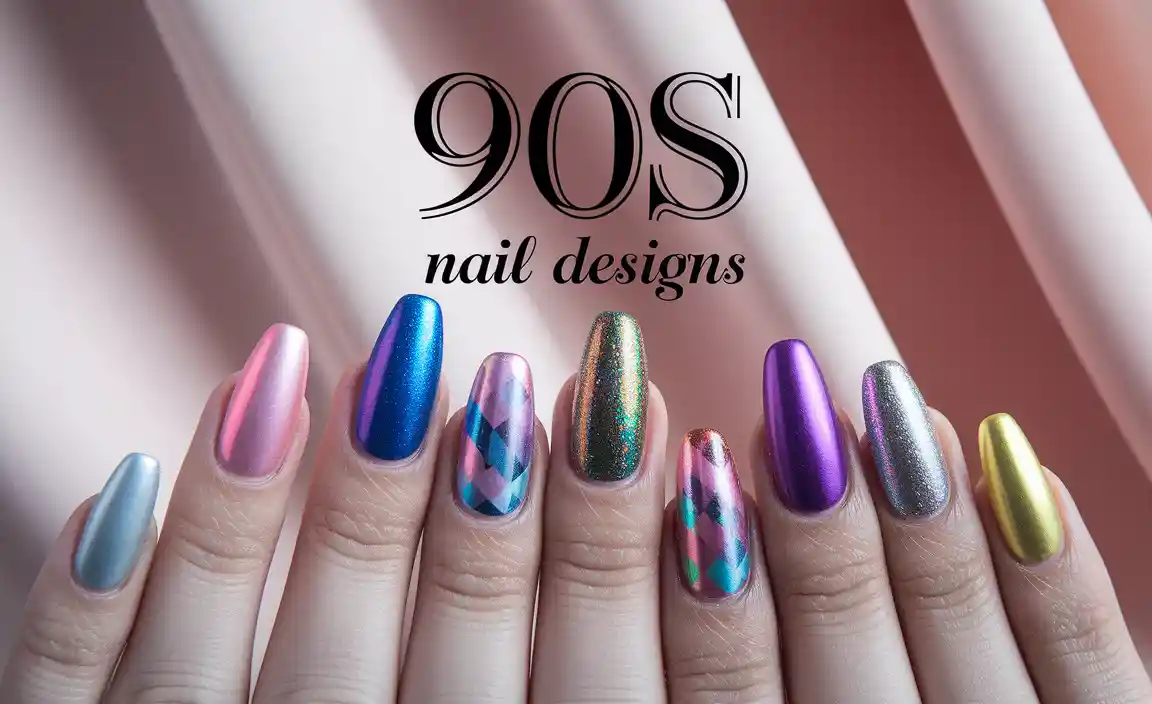
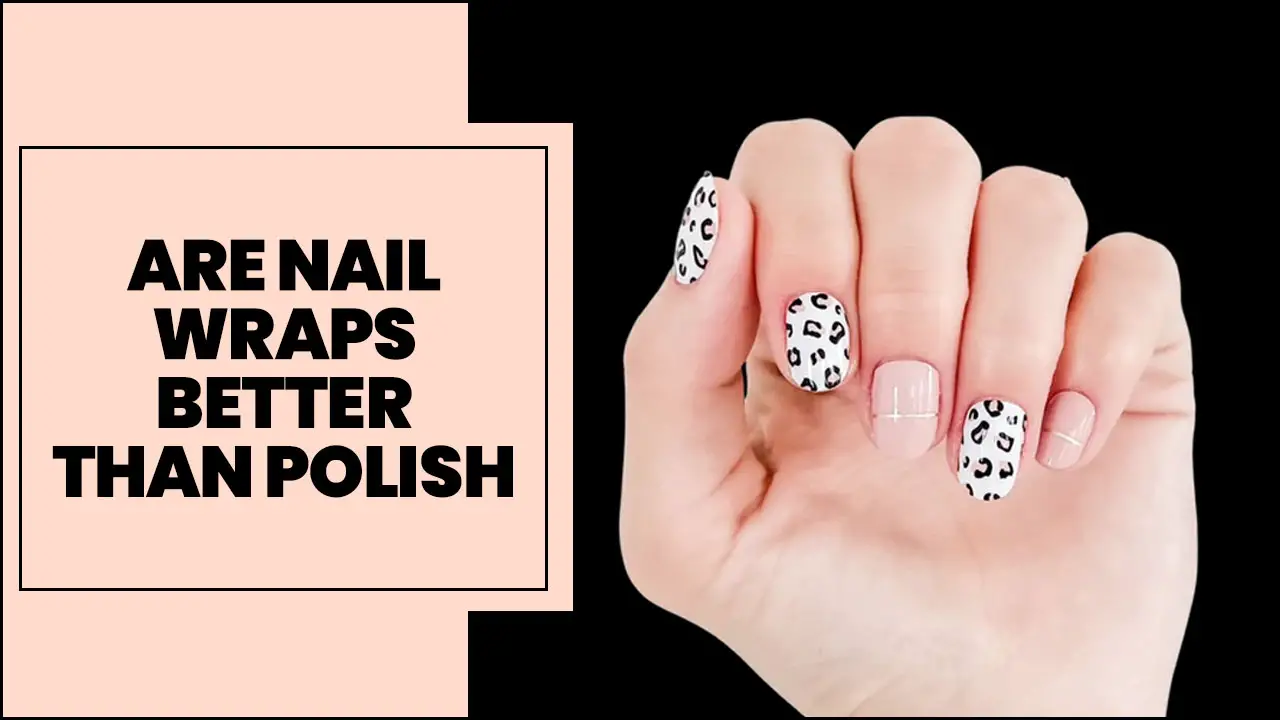
- Full Nail Stickers (Wraps): These cover the entire nail surface. They’re excellent for a complete design and often come in solid colors, gradients, or intricate patterns. They’re very beginner-friendly as they require minimal placement precision.
- Decals/Appliques: These are smaller, often more intricate designs that you place strategically on your nail once it’s painted. Think tiny flowers, bows, stars, or French tip designs. They allow for more customizable placement.
- 3D Nail Stickers: These stickers have a raised texture, adding a tactile element to your manicure. They can give a more luxurious, dimensional look, mimicking charms or embellishments.
- Glitter and Metallic Stickers: Perfect for adding sparkle and shine, these come in solid metallic finishes or as glitter patterns. They’re a fantastic way to add glamour without dealing with loose glitter.
- French Tip Stickers: These are C-shaped stickers designed to help you achieve a perfect, crisp French manicure line effortlessly.
What You’ll Need: Essential Tools for Sticker Application
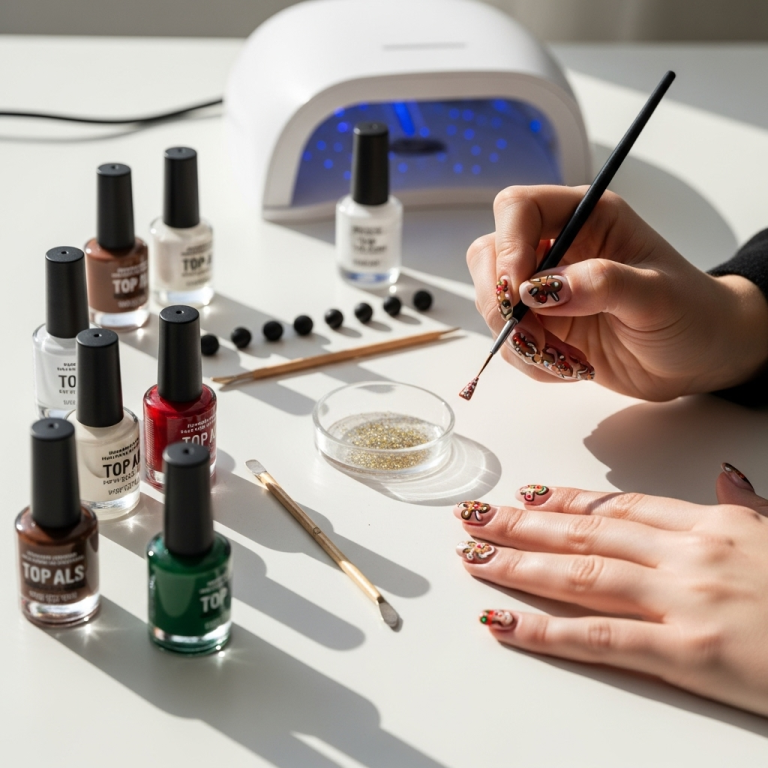
While nail stickers are super easy to use, having a few key tools can make the application process even smoother and help your designs last longer. Most of these are probably already in your nail care stash!
- Nail Polish or Gel Polish: Your base color is crucial! Make sure it’s completely dry (for regular polish) or cured (for gel polish) before applying stickers.
- Nail Stickers: Of course! Choose your design based on the look you want.
- Tweezers: For precise picking up and placement of stickers, especially smaller ones. You can use fine-tipped tweezers.
- Cuticle Pusher or Orangewood Stick: To gently press down the edges of the sticker and ensure it’s smoothed out and adhered well.
- Top Coat: This is your secret weapon for making stickers last! A good quality top coat will seal the design and add shine.
- Rubbing Alcohol or Nail Polish Remover: To clean and dehydrate the nail surface before application. This helps with adhesion.
- Small Scissors or Nail Clippers (Optional): For trimming full nail stickers to fit your nail shape.
- Buffer (Optional): To smooth out any minor bumps or ridges on your natural nail before applying the sticker.
Step-by-Step Guide: Applying Nail Sticker Designs Like a Pro
Applying nail stickers might seem straightforward, but a few little tricks can make all the difference in achieving a flawless, long-lasting manicure. Follow these simple steps:
- Prepare Your Nails: Start with clean, dry nails. Ensure any base coat, color polish, or gel polish is completely dry or cured. If you’re using regular nail polish, wait at least 5-10 minutes after your last coat for it to set. For gel polish, ensure it’s fully cured under a UV/LED lamp. Wipe each nail with rubbing alcohol or nail polish remover on a lint-free wipe; this removes oils and ensures the sticker adheres properly.
- Select Your Sticker: Choose the sticker design you want to use. For full nail stickers, select one that closely matches the size of your nail. For decals, pick out the specific elements you want to place.
- Apply the Sticker:
- For Full Nail Stickers: Carefully peel the sticker from its backing. Starting from the cuticle area, gently press the sticker onto your nail, smoothing it down as you go. Work from the center outwards to push out any air bubbles.
- For Decals/Appliques/French Tip Stickers: Carefully peel the small design from its backing using tweezers. Position it on your nail where you want it. Gently press it down.
- Trim and File (for Full Stickers): If you’re using a full nail sticker, you’ll likely need to trim the excess. You can do this carefully with small scissors or nail clippers, getting as close to the free edge of your nail as possible. Then, use a fine-grit file to gently file away any remaining excess sticker from the free edge of your nail. File in one direction downwards to prevent lifting.
- Smooth and Secure: Once the sticker is in place, use a cuticle pusher or orangewood stick to gently press down all the edges of the sticker. Pay extra attention to the tips and sides to ensure there are no lifted areas. This helps the sticker meld with your nail.
- Seal with Top Coat: This is the most important step for longevity! Apply a generous layer of your favorite top coat over the entire nail, making sure to cap the free edge. This seals the sticker, protects it from chipping, and gives your nails a beautiful, glossy finish. For gel polish, cure the top coat under your lamp. For regular polish top coats, let it dry completely.
- Final Touches: If needed, you can apply a second layer of top coat after the first one has dried for extra durability. Clean up any stray polish or sticker residue around your cuticles with a small brush dipped in remover.
And voilà! You’ve just created a stunning nail art look using nail stickers.
Making Your Nail Sticker Designs Last: Pro Tips
Nail stickers are fantastic for a quick style update, but you want them to stick around, right? With a few simple techniques, you can significantly extend the life of your sticker manicure. It’s all about preparation and sealing!
- Start with a Pristine Canvas: As mentioned in the application steps, clean and dehydrated nails are non-negotiable. Any oils or residue will prevent the sticker adhesive from gripping properly.
- Smooth as Silk: Ensure the sticker is perfectly smooth and adhered. Even tiny little bubbles or lifted edges will eventually catch and start peeling. Gentle pressure with a smoothing tool is key.
- The Power of the Top Coat: Don’t skimp on this! A good quality top coat is your best friend. For regular polish, choose a quick-drying, chip-resistant formula. For gel users, a high-gloss gel top coat will provide maximum protection. Always cap the free edge of your nail with the top coat – this is where most wear and tear happens.
- Be Gentle: While stickers are durable once sealed, try to avoid aggressively picking at things with your nails or exposing them to prolonged harsh conditions (like soaking in hot water for extended periods) in the first 24 hours.
- Refresh and Refurbish (Optional): If you notice a sticker lifting slightly after a few days, you can sometimes carefully apply a tiny bit of nail glue under the edge and press it down, then reapply top coat. However, this is a temporary fix and might not work for all sticker types.
Nail Sticker Designs vs. Other Nail Art Methods
It’s helpful to see how nail stickers stack up against other popular nail art techniques. Each has its own pros and cons, making them suitable for different needs and skill levels.
| Method | Pros | Cons | Best For |
|---|---|---|---|
| Nail Stickers | Extremely easy to use, instant results, wide variety of designs, affordable, no drying time for the art itself. | Can sometimes look less “natural” if not applied perfectly, may not be as durable as professional gel art without a good top coat, design choices are limited to what’s available. | Beginners, quick manicures, busy individuals, achieving intricate patterns easily. |
| Nail Polish Stamping | Achieves intricate and detailed designs, relatively quick once practiced, good variety of plates and polishes. | Requires specific tools (stamping plates, stamper, scraper), can have a learning curve for clean transfers, requires practice. | Intermediate users wanting detailed patterns, DIY enthusiasts with some practice. |
| Freehand Painting | Unlimited design possibilities, complete creative control, can customize colors and details precisely. | Requires significant artistic skill, steady hand, specific brushes, and time. Very difficult for beginners to achieve complex designs. | Experienced nail artists, custom designs, unique artistic expressions. |
| Press-On Nails with Art | Instant salon-quality look, wide range of intricate designs available, reusable (sometimes). | Can be bulky, may pop off if not applied correctly, doesn’t allow for customisation of existing art, limited to specific sets. | Special occasions, dramatic transformations, those wanting a quick, bold change. |
| Gel Polish Art (with tools/stencils) | Very durable, long-lasting, high gloss finish, can achieve intricate designs with practice. | Requires UV/LED lamp to cure, can have a learning curve, more expensive initial investment in materials. | Long-term manicures, durable and professional-looking art, gel polish enthusiasts. |
Troubleshooting Common Nail Sticker Issues
Even with the easiest techniques, a few hiccups can happen. Don’t worry, most common sticker problems have simple solutions!
- Problem: Air Bubbles Trapped Under the Sticker.
Solution: This is common with full nail wraps. Try gently warming the sticker with a hairdryer on a low setting (from a distance!) to make it more pliable, then smooth it out with your finger or an orangewood stick, working from the center outwards. If that doesn’t work, some people carefully use a fine needle to prick a tiny hole and then smooth it down.
- Problem: Sticker Lifting at the Edges.
Solution: Ensure your nail was completely clean and dry before application. After placing the sticker, use a cuticle pusher or orangewood stick to firmly press down all edges. The most crucial step is a thorough top coat application that caps the free edge. If it lifts a day or two later, you might be able to carefully lift it, apply a tiny dab of nail glue under the edge, press down firmly, and then reapply top coat.
- Problem: Sticker Wrinkling or Creasing.
Solution: This usually happens when the sticker is too stiff or when trying to apply it over a curved nail surface without proper smoothing. Again, gentle warming can help. For decals, try applying them to slightly tacky (but not wet) polish, which can give them a bit of grip and flexibility. Always smooth from the center outwards.
- Problem: Sticker Peeling Off Quickly.
Solution: The number one culprit is inadequate sealing. Ensure you’re using a good quality top coat and that it completely covers and ‘caps’ the free edge of your nail. If using regular polish, make sure your base color was completely dry before adding the sticker and top coat. For gel, ensure proper curing of both the base color and the top coat.
- Problem: Difficulty Removing the Sticker.
Solution: Most nail stickers are designed to be removed with nail polish remover. Soak a cotton ball in remover, place it over the sticker for a minute or two to let it dissolve, then gently wipe it away. If it’s proving stubborn, you can try gently lifting an edge with an orangewood stick after soaking.
Where to Find Amazing Nail Sticker Designs
You’re spoiled for choice when it comes to sourcing your nail sticker treasures! The accessibility and variety mean you can find them almost anywhere beauty products are sold.
- Drugstores and Supermarkets: Many popular brands offer a basic selection of nail stickers in their beauty aisles.
- Beauty Supply Stores: Stores like Sally Beauty often have a wider and more professional range of nail art supplies, including stickers.
- Online Retailers: This is where the magic truly happens! Websites like Amazon, eBay, Etsy, and specialized nail art supply sites offer an overwhelming selection. You can find everything from budget-friendly multi-packs to high-end, unique designs from independent artists.
- Direct from Brand Websites: Many nail polish and beauty brands now sell their own lines of nail stickers directly on their websites.
For a deep dive into sourcing reliable nail art supplies, sites like NailPro Magazine offer insights into ethical and quality purchasing.
Frequently Asked Questions About Nail Sticker Designs
Can I use nail stickers on natural nails without polish?
Yes, you absolutely can! For a bare-nails look with a bit of flair, simply apply stickers to clean, dry natural nails. For better adhesion and a smoother finish, you might want to lightly buff your nails first. A clear top coat applied over the sticker will help it last longer and protect your natural nail.
Do nail stickers work with gel polish?
Yes, they work wonderfully with gel polish! Apply and cure your gel polish as usual, then apply the sticker to the cured gel surface. For best results, ensure the gel surface is clean and free of tackiness (use an alcohol wipe). Seal the sticker with a gel top coat and cure it under your UV/LED lamp. This method often provides the longest-lasting results.
How do you remove nail stickers without damaging your nails?
The easiest way to remove nail stickers is with regular nail polish remover. Soak a cotton ball or pad in remover, hold it on the sticker for about 30 seconds to a minute to soften the adhesive, and then gently wipe the sticker away. For stubborn stickers, you might need a bit more soaking time or a gentle nudge with an orangewood stick.
Are nail stickers considered “real” nail art?
Absolutely! Nail art is all about creativity and self-expression. Nail stickers are a tool that allows people of all skill levels to achieve beautiful, intricate, or fun designs on their nails. They are a legitimate and popular method within the broader nail art community.
How long do nail stickers typically last?
The longevity of nail stickers can vary greatly depending on the type of sticker, how well they were applied, and what kind of top coat you use. On natural nails with a good top coat, they might last anywhere from a few days to a week. When applied over gel polish and sealed properly with a gel top coat, they can last two weeks or even longer, often as long as the gel manicure itself.
Do all types of nail stickers work the same way?
While the general application principle is the same (apply to a prepared nail and seal), different types might have slight variations. Full nail wraps require careful placement and trimming. Small decals are easier to position but need precise placement. 3D stickers might require a stronger adhesive or a thicker top coat to secure them properly. Always read any specific instructions that come with your chosen stickers!
What is a “tacky layer” and why is it important for stickers?
A “tacky layer” refers to the slightly sticky residue left on gel polish after it has been cured under a UV/LED lamp but before the top coat is applied. Many nail stickers, especially decals, can adhere beautifully to this tacky layer, making placement and smoothing easier. However, some stickers work best on a completely dry or non-tacky surface. If unsure, test on a nail or check the sticker’s instructions. For regular polish, you’re aiming


