Nail polish offers quick, easy at-home manicures that are budget-friendly and simple to change. Gel nails provide a longer-lasting, chip-resistant shine and are cured under a UV/LED lamp for professional durability, making them ideal for special occasions or extended wear.
Deciding between a classic coat of nail polish and the long-lasting allure of gel nails can feel like a big choice for your manicure. Both give you beautiful, color-coated nails, but they work in totally different ways and offer distinct results. You want nails that look amazing and last, right? It’s frustrating when polish chips after just a day or two, or when you can’t get that salon-smooth finish at home. But don’t worry! I’m here to break down the differences between nail polish and gel nails so you can choose the perfect option for your style and lifestyle. We’ll cover everything from application to removal, and what makes each one special. Get ready to become a nail expert!
Understanding the Basics: Nail Polish vs. Gel Nails
Nail polish, the OG of nail color, has been around for ages. It’s a liquid lacquer that dries through evaporation, typically taking just a few minutes to become touchably dry. Think of it as a beautiful, temporary accessory for your fingertips. It comes in endless colors and finishes, making it super versatile for changing your look whenever you want.
Gel nails, on the other hand, are a bit more of a commitment. They use a special gel formula that needs to be ‘cured’ or hardened under a UV or LED lamp. This curing process creates a much tougher, more durable finish that can last for weeks without chipping. It’s like giving your nails a protective, glossy shield.
How Does Regular Nail Polish Work?
Regular nail polish is essentially a pigment suspended in a solvent and a resin. When you apply it, the solvent evaporates, leaving behind the color pigment and the resin, which hardens into a shiny coating. It’s straightforward: apply, let dry, and go!
Pros of Regular Nail Polish:
- Easy Application: Anyone can learn to apply nail polish at home with a little practice.
- Quick Drying Time: Usually dry to the touch in 10-20 minutes.
- Endless Color Options: The market boasts an incredible variety of colors, finishes, and effects.
- Simple Removal: Acetone-based or non-acetone removers make cleanup a breeze.
- Budget-Friendly: Polishes and removers are generally inexpensive and widely available.
- Flexibility: Easy to change your color to match your outfit or mood.
Cons of Regular Nail Polish:
- Durability Issues: Prone to chipping and smudging, especially within a few days.
- Drying Time Nuances: While touch-dry quickly, it can remain soft and prone to dents for longer periods.
- Can Fade or Dull: Over time, the color can fade and the shine can diminish, especially with exposure to water or certain chemicals.
How Do Gel Nails Work?
Gel nails are created using a polymer resin that hardens when exposed to UV or LED light. This chemical reaction, known as polymerization, creates a strong, flexible, and glossy bond to your natural nail or nail enhancement. Because they don’t air dry, they achieve a perfectly smooth, hard finish from the start.
The process typically involves applying a base coat, one or two coats of colored gel polish, and a top coat, with each layer being cured under the lamp. This layered application is what gives gel its incredible strength and longevity.
Pros of Gel Nails:
- Exceptional Durability: Can last for 2-3 weeks without chipping, cracking, or peeling.
- High Shine: Gel provides a brilliant, mirror-like finish that lasts.
- Quick Curing: Once cured under the lamp, they are instantly hard and ready to go, with no risk of smudging.
- Stronger Nails: The gel layer can add strength to natural nails, preventing breakage.
- Resistant to Fading: Colors tend to stay vibrant longer than traditional polish.
Cons of Gel Nails:
- Requires Special Equipment: You need a UV or LED lamp for curing.
- More Complex Application: Application is more precise and can be trickier for beginners.
- Removal Can Be Challenging: Soaking in acetone is usually required, which can be drying to the nails and surrounding skin. Improper removal can damage the nail.
- Cost: Gel polishes and lamps can be more expensive upfront than regular polish.
- Less Flexibility: Not as easy to switch colors frequently.
Application: The Step-by-Step Process
Let’s dive into how you actually get these beautiful finishes on your nails. The application is where you’ll see some of the biggest differences.
Applying Regular Nail Polish
This is a classic for a reason – it’s super accessible and great for a quick color change.
- Prep Your Nails: Start by cleaning your nails. Remove any old polish. Push back your cuticles gently and lightly buff the surface of your nails to create a smooth canvas. For longer wear, you can also clean the nail surface with rubbing alcohol or a nail dehydrator.
- Apply a Base Coat: This is crucial! A base coat protects your natural nails from staining and helps the polish adhere better. Let it dry completely.
- Apply Color Coats: Apply a thin, even layer of your chosen nail polish. Work from the cuticle to the tip. Avoid painting the cuticle itself. Most polishes require two thin coats for full opacity. Let the first coat dry for a couple of minutes before applying the second.
- Apply a Top Coat: Once the color coats are dry, apply a clear top coat. This seals in the color, adds shine, and helps prevent chips.
- Drying Time: Allow ample time for your nails to dry completely. While they might feel dry to the touch in 10-20 minutes, they can remain pliable for an hour or more. Be gentle to avoid dents or smudges.
Applying Gel Nails (At Home)
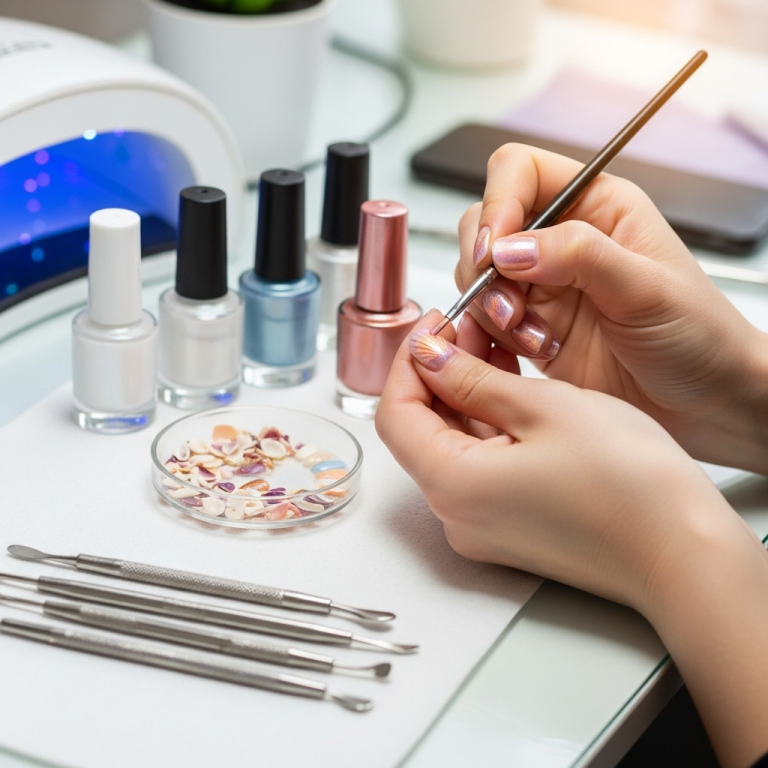
Getting that salon-quality gel finish at home is totally achievable with the right steps and tools. It just takes a bit more patience for each layer.
- Prep Your Nails: Just like with regular polish, clean and prep your nails. This includes removing old polish, pushing back and trimming cuticles, and lightly buffing the nail surface to remove the natural shine (this helps the gel adhere). For best results, cleanse the nail with a nail cleanser or isopropyl alcohol to remove any oils.
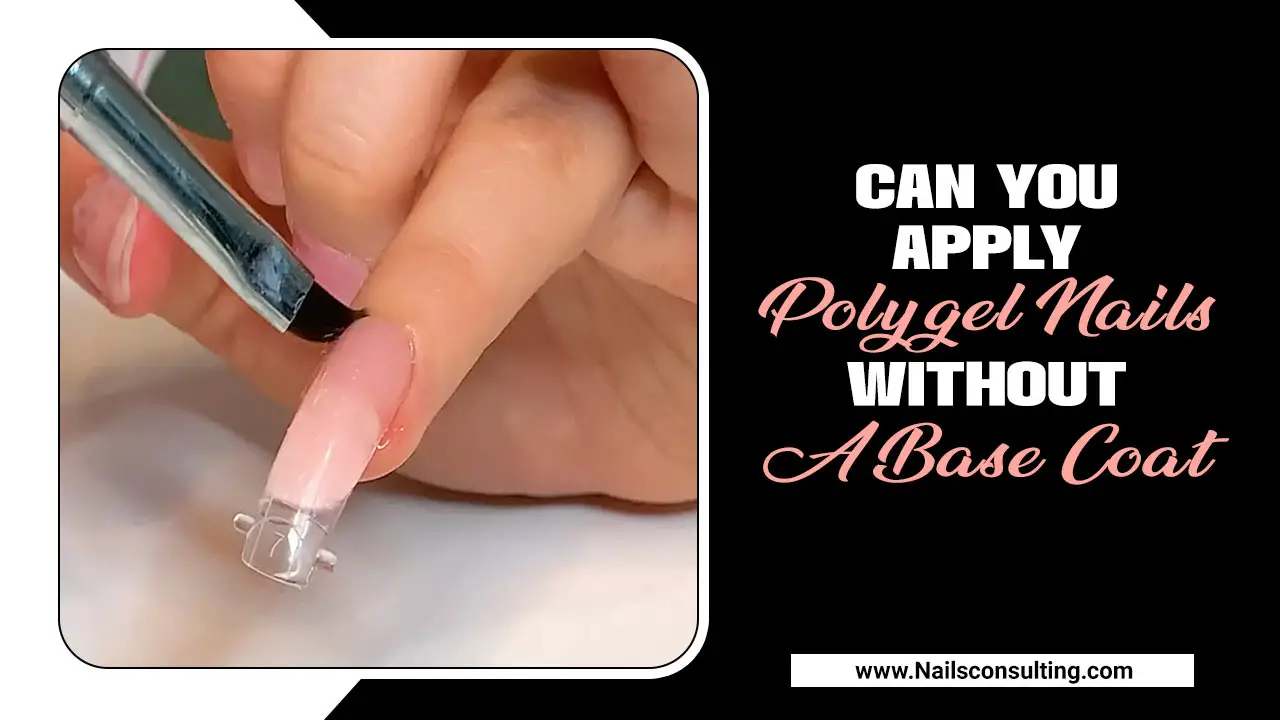
- Apply Gel Base Coat: Apply a thin layer of gel base coat. Make sure not to get it on your cuticles.
- Cure Under Lamp: Place your hand under your UV or LED lamp for the time recommended by the lamp manufacturer (usually 30-60 seconds for LED, 2 minutes for UV).
- Apply Gel Color: Apply a thin layer of your chosen gel color. Again, avoid the cuticles.
- Cure Under Lamp: Cure the color coat under the lamp for the specified time.
- Apply Second Color Coat (if needed): For deeper color, apply another thin layer of gel color and cure again.
- Apply Gel Top Coat: Apply a thin layer of gel top coat. This seals everything in and gives that amazing shine.
- Cure Under Lamp: Cure the top coat under the lamp.
- Remove Tackiness: Most gel systems leave a sticky residue called a “dispersion layer” after curing their top coat. Wipe this off with a lint-free cloth soaked in isopropyl alcohol or a specialized gel cleanser.
For more on the tools you’ll need, check out our Occupational Safety and Health Administration (OSHA) guidelines on chemical safety, as proper handling of nail products is important for your health.
Removal: What You Need to Know
This is a critical step for both types of manicures. Improper removal can damage your nails, so it’s worth paying attention!
Removing Regular Nail Polish
This is usually the easiest part of a regular polish manicure.
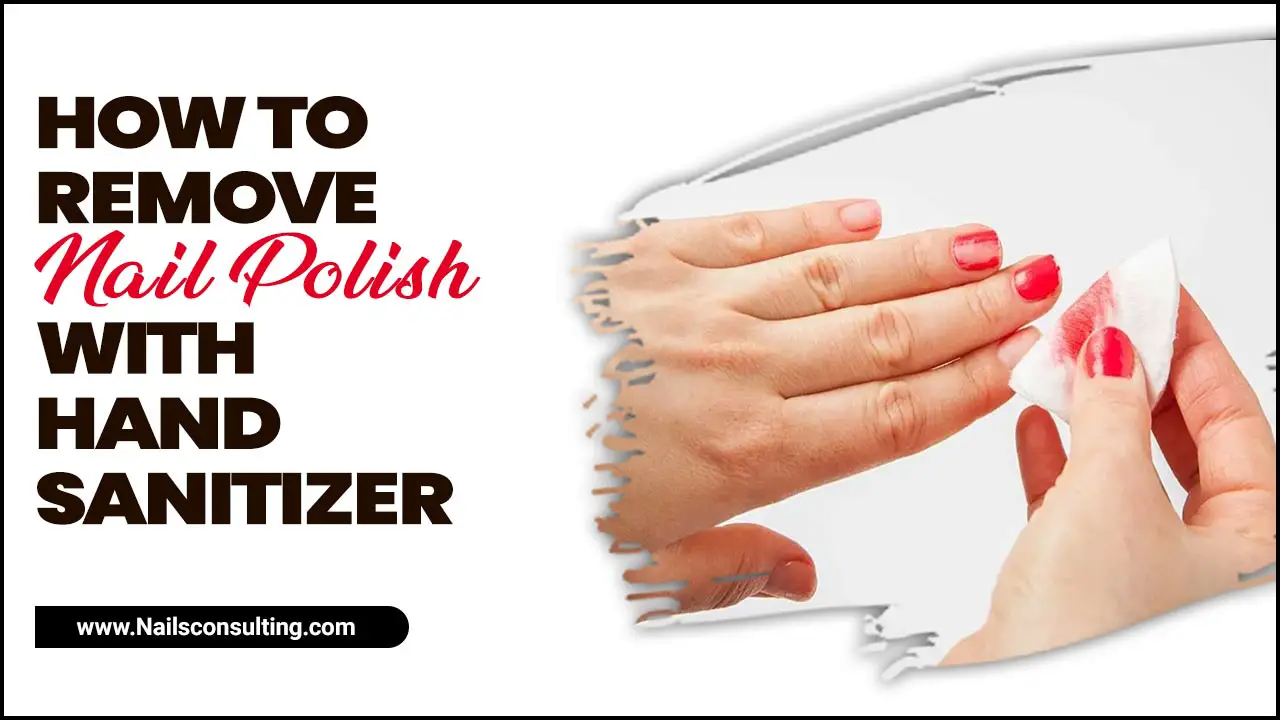
- Gather Supplies: You’ll need cotton pads or balls and nail polish remover (acetone-based for stubborn colors, or non-acetone for gentler removal).
- Apply Remover to Pad: Soak a cotton pad thoroughly with the remover.
- Press and Wipe: Press the saturated pad onto your nail for a few seconds to allow the remover to start breaking down the polish. Then, wipe from the cuticle to the tip of your nail.
- Repeat if Necessary: For stubborn glitter or dark colors, you might need to repeat this process with a fresh pad.
- Wash Hands: Once all polish is removed, wash your hands to get rid of any remover residue.
Removing Gel Nails
Gel removal requires a bit more time and care. Most salons will remove it, but you can do it at home too.
- Soothe Your Cuticles: Apply a generous amount of cuticle oil or petroleum jelly to the skin around your nails. This helps protect your skin from the acetone.
- Soak in Acetone: You have a couple of options here:
- Foil Method: Lightly buff the surface of your gel polish to break the top coat’s seal. Saturate a small piece of cotton with 100% acetone. Place the cotton on your nail and wrap your finger tightly with a small piece of aluminum foil, ensuring the cotton stays in place. Let it soak for 10-15 minutes.
- Soak Bowl Method: Pour 100% acetone into a glass bowl. Do NOT use plastic bowls as acetone can degrade them. Fill the bowl with just enough acetone for your fingertips. Dip your nails into the acetone and soak for 10-15 minutes. Some people prefer to warm the acetone slightly for faster removal, but be very cautious doing this.
- Gently Scrape: After the soaking time, the gel should look lifted and gooey. Use an orange wood stick or a cuticle pusher to gently push away the softened gel. Do not force it or scrape aggressively, as this can damage your natural nail. If the gel doesn’t lift easily, re-wrap or re-soak your nails for another few minutes.
- Buff and Buff: Once most of the gel is removed, you might have some stubborn bits. Gently buff these away with a fine-grit nail file or buffer.
- Moisturize: Acetone is very drying. After removing all the gel and any residue, wash your hands thoroughly and apply a generous amount of cuticle oil and hand cream to rehydrate your nails and skin.
If gel removal feels too daunting, it’s always a good idea to visit your local nail salon. They have the expertise and tools to remove it safely. For more on professional nail care practices, you can refer to resources like the CDC’s guidelines on infection control in nail salons.
When to Choose Which: Making the Decision
So, which one is right for you? It really depends on what you’re looking for in a manicure. Let’s break it down with a handy comparison table.
| Feature | Regular Nail Polish | Gel Nails |
|---|---|---|
| Longevity | 2-5 days, prone to chipping | 2-3 weeks, chip-resistant |
| Shine | Can be high initially, but dulls over time | High, glossy, and consistent |
| Application Time | 15-30 minutes (plus ample drying time) | 45-75 minutes (including curing times) |
| Drying Time | Air dries, can take hours to fully harden | Cured under UV/LED lamp, instantly hard |
| Removal | Quick and easy with standard remover | Requires soaking in acetone and gentle scraping |
| Durability | Lower, can smudge or scratch easily | Higher, more resistant to daily wear and tear |
| Cost (At Home) | Low upfront cost for polish and remover | Higher upfront cost for lamp and gel products |
| Nail Health Impact | Minimal if applied and removed correctly; staining is possible | Can be drying or damaging if removed improperly; requires careful application to avoid cuticle buildup |
| DIY Friendliness | Very high | Moderate; requires practice and specific tools |
| Flexibility to Change | High; easy to swap colors | Low; a full removal and reapplication is needed |
Choosing Regular Polish When:
- You love changing your nail color weekly to match your outfits or mood.
- You’re on a tight budget and want an affordable way to have pretty nails.
- You need a quick manicure for a last-minute event.
- You prefer a simple, no-fuss removal process.
- You’re brand new to DIY manicures and want to start with an easy technique.
Choosing Gel Nails When:
- You need a manicure that will last through vacations, busy work weeks, or major events without chipping.
- You desire a super glossy, salon-perfect finish.
- Your natural nails are weak or prone to breaking, and you want added strength.
- You don’t want to worry about smudging your nails right after application.
- You’re willing to invest a little more time and money for a longer-lasting result.
Tips for Healthier Nails, Regardless of Choice
No matter if you’re team nail polish or team gel, keeping your nails healthy is key! Here are some general tips to follow:
- Moisturize: Always use cuticle oil and hand cream, especially after removing polish or gel. This keeps your nails and surrounding skin hydrated and supple.
- Gentle Removal: Never rip or peel off polish or gel. Always use the proper removal methods (acetone for gel, remover for polish) and be patient.
- Take Breaks: If you notice your nails becoming weak or discolored, consider taking a break from polish or gel for a week or two. Let them breathe and recover.
- Protect Your Nails: Wear gloves when doing chores that involve water or harsh chemicals, as these can weaken and damage your nails.
- Eat Well: A balanced diet rich in vitamins and minerals (like biotin, vitamin E, and iron) can contribute to stronger, healthier nails from the inside out!
Frequently Asked Questions (FAQ)
Q1: Can I use regular nail polish top coat over gel polish?
A1: While you might be tempted, regular top coats are not designed to cure under a UV/LED lamp. They won’t harden properly over gel polish, and the results will likely be dull, smudgy, and will chip very quickly. It’s best to use a gel-specific top coat for gel manicures.
Q2: Will gel nails damage my natural nails?
A2: Gel itself doesn’t inherently damage your nails. The damage usually comes from improper application (e.g., filing too aggressively) or, more commonly, incorrect removal. When gel is soaked off or filed off carefully according to instructions, it’s generally safe. Taking breaks and moisturizing regularly also helps maintain nail health.
Q3: How long does a UV/LED lamp for gel nails last?
A3: The lifespan of a UV/LED lamp can vary depending on the model, how often it’s used, and the type of bulbs. LED lamps typically last longer (around 50,000 hours) than traditional UV lamps (which have bulbs that may need replacing every 6-12 months of regular use). Always check the manufacturer’s specifications.
Q4: Is regular nail polish better for my nails?
A4: Neither is inherently “better” for your nails; it’s more about how you use them and remove them. Regular polish is less invasive during application and removal. Gel offers protection and strength but requires more careful removal


