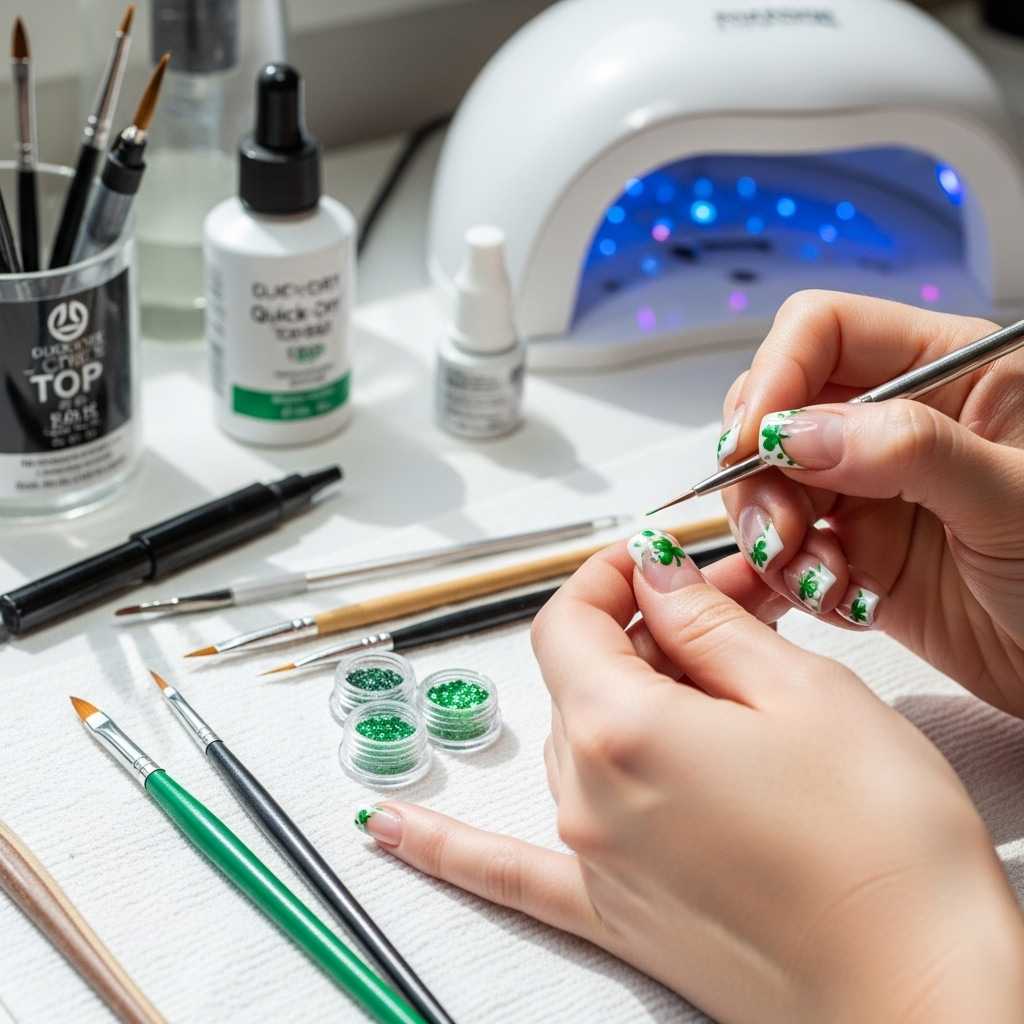
Unlock Chic Nails with Just Two Colors! Master simple, elegant nail designs using only two colors to create stunning looks for any occasion. This guide breaks down easy techniques and stylish ideas for beginners.
Welcome to Nailerguy! Ever feel overwhelmed by complicated nail art tutorials? Us too! Sometimes, all you need is a dash of creativity and a couple of your favorite nail polish shades to achieve gorgeous results. Mastering nail designs with just two colors is your first step to a stylish, DIY manicure that looks like it came straight from a salon. It’s easier than you think, and we’re here to guide you through it. Get ready to explore simple, elegant patterns that will make your nails pop!
—
Why Two Colors Are Your New Best Friends for Nail Art
Let’s be honest, the world of nail art can sometimes feel like a competitive sport. So many tools, so many colors, so many techniques! But what if I told you that you can create incredibly chic and eye-catching nail designs with just two colors? It’s true! Using a limited palette simplifies the process, reduces decision fatigue, and often leads to more sophisticated results. Think of it as a design challenge that actually empowers your creativity.
For beginners, starting with two colors is the perfect gateway into the fun world of nail art. It allows you to focus on technique and design principles without getting lost in a rainbow of options. Plus, it’s budget-friendly! You don’t need a massive collection of polishes to achieve truly stunning looks.
The Magic of Minimalist Manicures
Minimalist manicures are having a major moment, and for good reason. They’re elegant, versatile, and incredibly easy to wear. The beauty of using only two colors lies in its ability to create contrast and visual interest without being loud. Whether you choose a classic pairing like black and white, or a bolder duo like navy and copper, the impact is undeniable.
What You’ll Need to Get Started
Before we dive into the designs, let’s make sure you have the essential tools. Don’t worry, it’s a short and sweet list, and many of these items are probably already in your beauty bag!
Base Coat: This is crucial for protecting your nails and ensuring your polish lasts longer. A good base coat prevents staining and creates a smooth surface for your color. You can find a wide variety of base coats at most beauty supply stores.
Two Nail Polish Colors: Choose shades that complement each other. Think about the effect you want – classic, bold, pastel, or metallic. We’ll discuss color combinations later!
Top Coat: This seals your design, adds shine, and prevents chipping. A quick-dry top coat is a lifesaver for busy bees!
Optional (but helpful!):
Dotting Tool or Toothpick: For creating dots and small details.
Thin Nail Art Brush: For drawing fine lines or patterns.
Nail Polish Corrector Pen: To clean up any mistakes with precision.
Choosing Your Color Palette: The Foundation of Your Design
The right color combination is key to a successful two-color nail design. Here are a few ideas to get your inspiration flowing, categorized by the mood they evoke:
Classic & Elegant Pairings
These combinations are timeless and work for almost any outfit or occasion.
Black and White: The ultimate classic. Sophisticated, bold, and so versatile.
Navy Blue and Gold/Silver: Deep, rich, and luxurious. Great for evening wear or a touch of glam.
Cream and Burgundy/Deep Red: Warm, inviting, and incredibly chic. Perfect for fall and winter.
Pale Pink and Charcoal Grey: A soft yet sophisticated contrast. Modern and understated.
Bold & Playful Duos
Want to make a statement? These pairings are for you!
Teal and Coral: A vibrant and energetic combination.
Yellow and Grey: Sunny and modern, offering a cheerful yet stylish contrast.
Electric Blue and Hot Pink: Fun, futuristic, and attention-grabbing.
Lime Green and Deep Purple: Unexpected and artistic.
Subtle & Chic Combinations
For those who prefer understated elegance.
Taupe and Rose Gold: Earthy and metallic, a sophisticated blend.
Mint Green and White: Fresh, airy, and perfect for spring.
Lavender and Grey: Soft, calming, and modern.
Peach and Cream: Gentle and warm, ideal for a soft, natural look.
Pro Tip: When choosing colors, consider their undertones. Cool colors (blues, purples, greens) often pair well with each other. Warm colors (reds, oranges, yellows) also have a natural harmony, but warm and cool can create striking juxtapositions too!
—
Easy Two-Color Nail Designs for Beginners: Step-by-Step
Now for the fun part! Here are a few simple yet impactful nail designs you can create with just two colors.
Design 1: The Chic Half-Moon Manicure
This design is incredibly popular for its clean lines and modern feel. It’s perfect for showcasing two complementary colors.
What you’ll need:
Base Coat
Color A (e.g., Nude)
Color B (e.g., Black)
Top Coat
Round stickers or guide tape (found in most beauty stores or online)
Steps:
1. Prep Your Nails: Start with clean, dry nails. Apply your base coat and let it dry completely.
2. Apply Color A: Paint all your nails with your first color (Color A). Let it dry thoroughly. A second thin coat might be needed for full opacity.
3. Place the Sticker: Once Color A is completely dry, take a round sticker (like those used for French tips, but the round kind). Carefully place it at the base of your nail, curving along the cuticle line, to create a half-moon shape. Ensure the sticker adheres well to prevent polish from bleeding underneath.
4. Apply Color B: Paint the exposed half-moon area above the sticker with your second color (Color B). Be precise.
5. Carefully Remove the Sticker: While Color B is still slightly wet (but not pooling), carefully peel off the sticker. This is the trickiest part – pull slowly and deliberately. If you wait too long, the polish can peel up with the sticker. If it’s too wet, it will smudge.
6. Touch-ups (if needed): Use a toothpick or a nail art brush dipped in nail polish remover to clean up any jagged edges.
7. Apply Top Coat: Once everything is dry, apply a generous layer of top coat to seal your design and add a glossy finish.
Design 2: The Elegant Two-Tone French Ombre
Forget the classic white tip, let’s play with color! This gradient effect is surprisingly simple to achieve.
What you’ll need:
Base Coat
Color A (e.g., Light Pink)
Color B (e.g., White)
Top Coat
Makeup Sponge (a regular household one works, but a beauty blender type is great)
Steps:
1. Prep and Base: Apply base coat and let it dry.
2. Apply Color A: Paint your nails with Color A. Let it dry completely.
3. Create the Ombre:
Take your makeup sponge and paint a few thick stripes of Color A and Color B side-by-side on the sponge.
Gently dab the sponge onto a piece of paper or paper towel to remove excess polish.
Now, dab the sponge onto your nail, starting from the tip and gently blending downwards. You might need to dab a few times to build up the gradient effect.
4. Repeat on Other Nails: Reapply polish to the sponge as needed and repeat the dabbing process on all your nails.
5. Clean Up Edges: Use a nail polish corrector pen or a small brush with nail polish remover to clean up any polish that got onto your skin.
6. Apply Top Coat: Once the ombre is dry, apply a top coat to smooth out the texture and add shine.
Design 3: Bold Color Blocking
This is all about sharp, geometric shapes and striking contrast. It’s super easy and looks incredibly professional.
What you’ll need:
Base Coat
Color A (e.g., Coral)
Color B (e.g., Navy Blue)
Top Coat
Painter’s tape or nail art striping tape
Steps:
1. Prep and Base: Apply base coat and let it dry.
2. Apply Color A: Paint one or two nails with Color A and let them dry completely. You can also do this on all nails if you plan to cover the entire nail with tape one color.
3. Apply Tape: Once Color A is dry, carefully place strips of painter’s tape or nail art tape on the nail to create geometric shapes (e.g., a triangle, a stripe, dividing the nail in half). Press down the edges firmly to prevent color bleed.
4. Apply Color B: Paint over the taped sections with Color B. Ensure you get even coverage.
5. Remove Tape (Carefully!): While Color B is still slightly wet, very carefully peel off the tape. Try to lift it straight up to avoid smudging the wet polish.
6. Clean Up: Use a small brush and nail polish remover to fix any stray marks.
7. Top Coat: Apply top coat to seal and shine.
Tip: You can also do this design by painting one nail with Color A, applying tape, and then painting the exposed section with Color B. Then, repeat on another nail with the colors swapped, or with a different taped design. This creates a dynamic, mismatched look.
Design 4: The Simple Dotting Art
Dots are universally flattering and incredibly easy to create.
What you’ll need:
Base Coat
Color A (e.g., White)
Color B (e.g., Black)
Top Coat
Dotting tool (or the tip of a toothpick, pen, or even a bobby pin!)
Steps:
1. Prep and Base: Apply base coat and let it dry.
2. Apply Color A: Paint all your nails with Color A and let them dry completely.
3. Create the Dots: Dip the tip of your dotting tool into Color B. Gently press the dotting tool onto your nail to create dots.
For a single row: Place dots along the nail bed, cuticle line, or the tip.
For a scattered look: Place dots randomly across the nail.
For a gradient of sizes: Use a larger dotting tool for bigger dots and a smaller one for tiny dots.
4. Clean the Tool: Wipe your dotting tool clean with a bit of polish remover between each dot or after a few dots to keep them crisp.
5. Top Coat: Once all your dots are dry, apply a top coat to seal the design.
Design 5: The Chic Two-Tone Stripe
Clean, sharp lines are always in style. This design is minimalist yet impactful.
What you’ll need:
Base Coat
Color A (e.g., Grey)
Color B (e.g., Rose Gold)
Top Coat
Nail art striping tape or fine line brush
Steps:
1. Prep and Base: Apply base coat and let it dry.
2. Apply Color A: Paint your nails with Color A. Let it dry thoroughly.
3. Apply Tape (if using): Place a strip of nail art tape precisely on the nail, either vertically down the middle, diagonally, or horizontally. Press down the edges firmly.
4. Apply Color B: Carefully paint the section of the nail exposed by the tape with Color B.
5. Remove Tape: While Color B is still wet, peel off the tape carefully.
6. Alternative with Brush: If using a brush, paint Color A on all nails. Once dry, use a thin brush dipped in Color B to paint a straight line where you want it. Practice makes perfect for a super straight line!
7. Clean Up: Tidy up any messy edges with a corrector pen.
8. Top Coat: Seal with a clear top coat.
—
Beyond the Basics: Taking Your Two-Color Designs Further
Once you’ve mastered these basic designs, don’t be afraid to experiment! The beauty of using only two colors is that you can combine techniques and explore different finishes.
Mixing Finishes: Matte vs. Glossy
Consider using one matte polish and one glossy polish, or vice versa. For example, a glossy navy blue with matte white dots creates a lovely textural contrast. Many top coats come in matte finishes, so you can even apply a matte top coat over one of your solid colors (after the design is done and dry) to achieve this effect.
Playing with Placement
Accent Nail: Apply a simple two-color design to just one accent nail while the other nails have a solid coat of one of the colors.
Full Nail vs. Partial Design: Decide if you want the design to cover the whole nail or just a portion. The half-moon and stripe designs are great examples of partial coverage.
Reverse French Tips: Instead of the moon at the cuticle, try a “smile line” at the tip of the nail using your second color.
The Power of Metallics
Metallic polishes, like gold, silver, or rose gold, act as fantastic accent colors. They add a touch of luxury to almost any base shade. A simple metallic stripe or a few metallic dots can elevate a solid base color instantly.
Inspiration from Fashion and Art
Look to your wardrobe, jewelry, or even art pieces for color combination inspiration. Often, the most stylish duos emerge from unexpected sources. For instance, the colors in a favorite scarf or the design on a piece of pottery can spark your next nail art idea.
—
Maintaining Your Two-Color Masterpiece
Even the most beautiful nail designs need a little TLC to last. Here’s how to keep your two-color creations looking fresh:
1. Always Use a Top Coat: We’ve said it before, but it’s worth repeating! A good top coat is your best friend for longevity and shine. Reapplying every 2-3 days can extend the life of your manicure.
2. Moisturize Your Cuticles: Dry cuticles can make even the most perfect polish look less polished. Keep a cuticle oil handy and apply it daily.
3. Wear Gloves: When doing chores like washing dishes or cleaning, wear rubber gloves to protect your nails from harsh chemicals and prolonged water exposure, which can lift polish.
4. Avoid Using Nails as Tools: Resist the urge to open cans or scrape labels with your nails. This is a quick way to chip your polish.
5. Touch-Up If Necessary: If you get a tiny chip, you can sometimes fix it with a small dot of your base polish and a tiny bit of top coat. For more significant chips, it might be time for a fresh coat!
Quick Troubleshooting Tips
Polish Won’t Dry: Invest in a quick-dry top coat or use quick-dry drops. Avoid applying polish too thickly.
Color Bleed Under Tape: Ensure your base color is completely dry and press down tape edges firmly. Peel tape when polish is still slightly wet.
Uneven Dots/Lines: Practice makes perfect! Use a steady hand and clean your tool frequently for dots. For lines, striping tape is your best bet if freehanding is tricky.
—
Frequently Asked Questions About Two-Color Nail Designs
Q1: What are the easiest nail designs using only two colors?
A1: The easiest designs typically involve simple techniques like color blocking with tape, creating dots with a dotting tool, or applying a solid color and adding a single stripe or accent shape with the second color. The half-moon manicure is also quite forgiving for beginners.
Q2: Can I use any two colors together?
A2: Yes! While some color combinations are more traditionally pleasing than others, the most important thing is that you like the combination you choose. Experimentation is part of the fun of nail art. Consider color theory for balanced pairings, but don’t be afraid to break the rules for a unique look.
Q3: How do I make my two-color nail designs last longer?
A3: Always start with a good base coat, apply thin, even coats of polish, and finish with a high-quality top coat. Reapply the top coat every couple of days. Protecting your hands with gloves during chores also helps significantly.
Q4: My nail art looks messy. How can I get cleaner lines and shapes?
A4: Cleanliness comes with practice and the right tools. For sharp lines, use painter’s tape or nail art striping tape, ensuring the edges are firmly pressed down. A nail polish correction pen or a small brush dipped in nail polish remover is invaluable for cleaning up mistakes around the cuticle and sidewalls.
Q5: What if I don’t have a dotting tool? Can I still make dots?
A5: Absolutely! The tip of a toothpick, a ballpoint pen, the head of a pin, or even the end of a bobby pin can all be used to create dots. Just be sure to clean your chosen tool regularly to keep the dots defined.
Q6: How can I achieve the ombre effect with just two colors?
A6: You can achieve a simple ombre by using a makeup sponge. Paint stripes of your two colors onto the sponge, gently dab off excess on paper, and then dab the sponge onto your nail to blend the colors. Building up the color gradually works best.
Q7: Can I use glitter polish as one of my two colors?
A7: Yes! Glitter