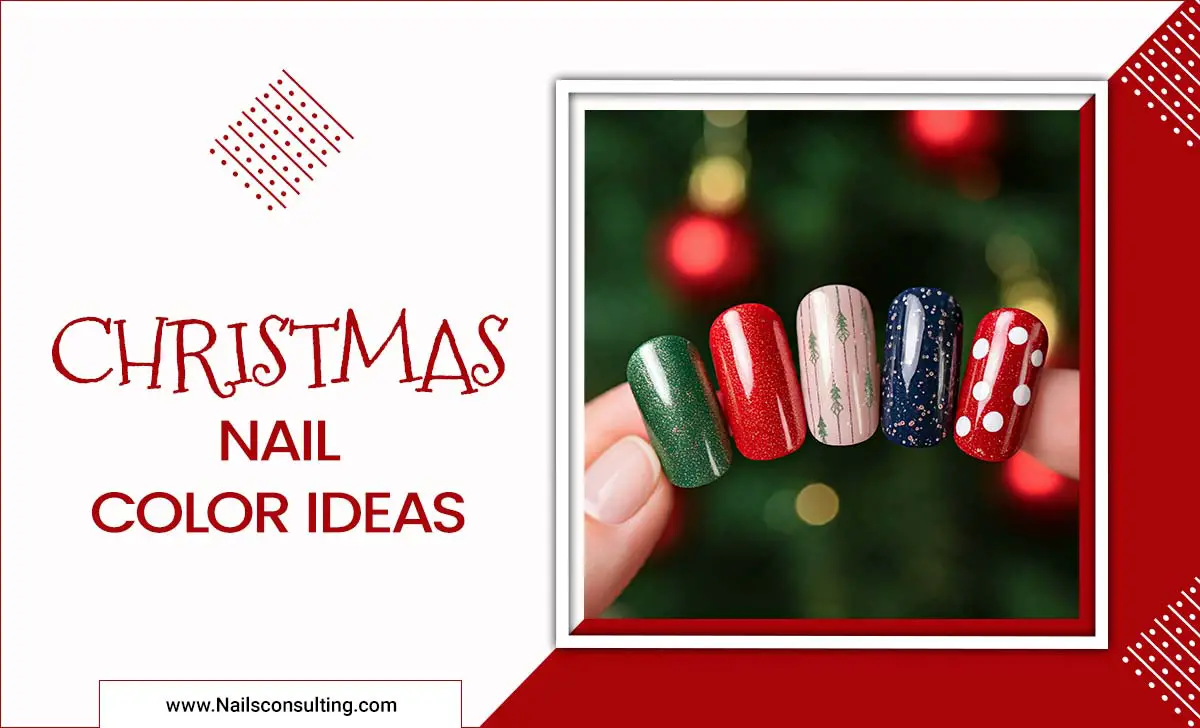
For olive skin tones, stunning nail designs often feature warm jewel tones, earthy neutrals, and vibrant pops of color that beautifully complement its natural warmth. Think rich emeralds, deep burgundies, creamy beiges, and bright corals or blues.
Olive skin is a beautiful, versatile canvas! If you’ve ever felt a little lost when choosing nail polish or design colors, you’re not alone. Finding shades that truly pop and enhance your gorgeous complexion can sometimes feel like a guessing game. But don’t worry, it’s easier than you think! With a few key pointers and some inspiration, you’ll be rocking stunning nail designs that make your olive skin glow. Let’s dive into the best colors and styles that work like magic, making your next manicure a showstopper designed just for you.
—
The Ultimate Guide to Nail Designs for Olive Skin
Hello, nail lovers and beauty explorers! It’s Lisa Drew from Nailerguy, here to help you unlock the secret to finding nail colors and designs that will make your olive skin look absolutely radiant. Olive skin tones are wonderfully unique, boasting a beautiful balance of warm and cool undertones. This means you have a fantastic range of colors that can look incredible, but sometimes knowing exactly which ones will give you that extra wow factor is the tricky part.
Fear not! We’re going to break down everything you need to know. From the perfect polish shades that enhance your skin’s natural glow to simple yet stunning nail art ideas that are beginner-friendly and totally achievable. We’ll explore how different finish types and design elements can elevate your look. Get ready to discover a spectrum of stunning essential nail designs that celebrate and highlight your beautiful olive complexion. It’s time to make your nails as vibrant and captivating as you are!
Understanding Undertones: The Key to Flattering Colors
Before we jump into specific designs, let’s quickly chat about undertones. Olive skin typically has a warm, golden, or sometimes even slightly greenish undertone. This is what makes certain colors sing and others… well, just fall a little flat. The goal is to choose nail colors that either create a beautiful contrast or a harmonious blend with these undertones.
Warm Undertones: These often lean towards golden, peachy, or yellow hues.
Cool Undertones (less common with olive, but possible): These might have a slightly pinker or rosier cast.
Neutral Undertones: A mix of warm and cool, giving you the widest range of options.
Most olive skin tones benefit from colors that acknowledge and enhance their inherent warmth. Think of it like choosing a complementary color in art; you want shades that make each other look even better!
Color Palette Perfection: Essential Hues for Olive Skin
This is where the fun really begins! Certain color families are known to be incredibly flattering for olive skin. Let’s explore some of the absolute must-haves for your nail polish collection.
1. Rich Jewel Tones
These deep, saturated colors are like diamonds for your nails against olive skin. They offer a luxurious contrast that looks sophisticated and eye-catching.
Emerald Green: A deep, vibrant green that looks stunning. It’s regal and pairs beautifully with gold jewelry often favored by those with olive undertones.
Sapphire Blue: A deep, true blue that offers a cool contrast without clashing. Think of a navy or deep royal blue.
Amethyst Purple: Rich, deep purples, from plum to amethyst, add a touch of elegance and mystery.
Ruby Red/Deep Burgundy: Classic and always a winner. A true red or a deep, wine-like burgundy looks incredibly chic.
2. Earthy Neutrals and Warm Browns
Don’t underestimate the power of neutrals! When chosen correctly, they can be incredibly sophisticated and make your skin look even more luminous.
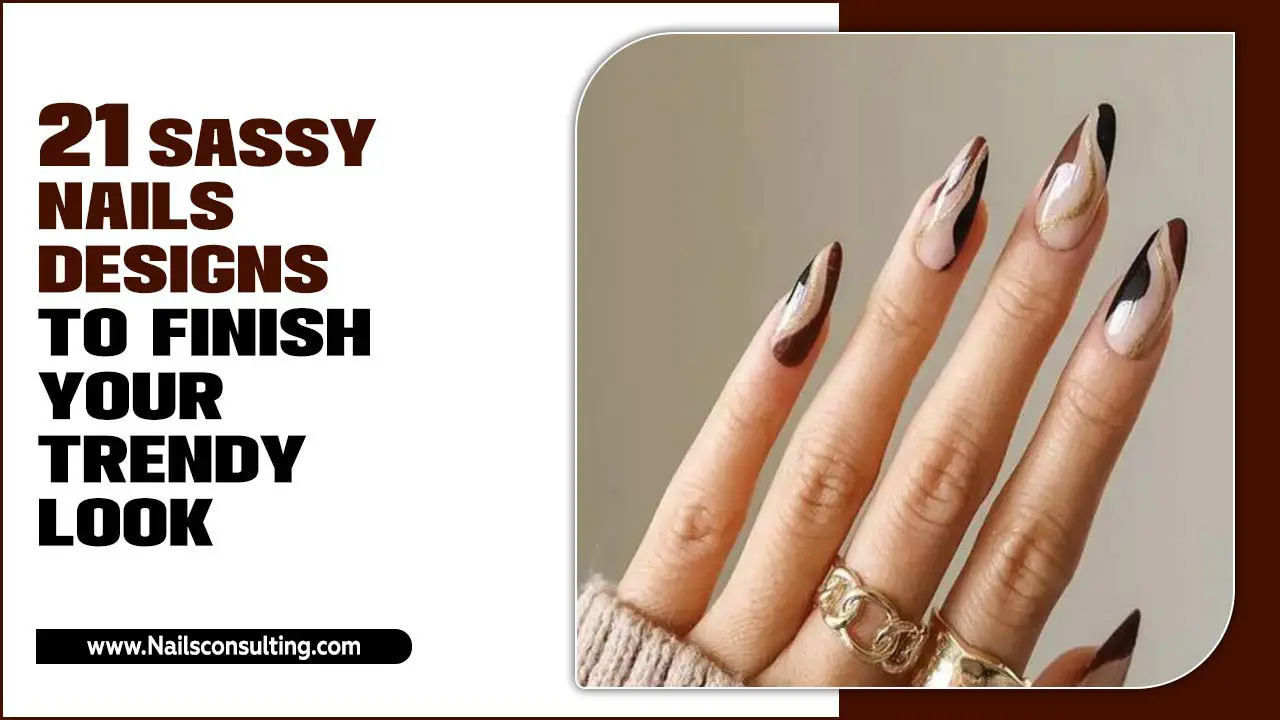
Caramel & Chocolate Browns: Warm, rich browns that are grounding and chic. Think of shades like milk chocolate, mocha, or even a deep espresso.
Terracotta & Rust: These warm, earthy oranges and reddish-browns echo natural pigments and look fantastic.
Creamy Beiges & Taupes: Soft, warm nudes and taupes that are just a shade or two darker than your skin tone create a beautiful “your nails but better” effect. Avoid very pale, cool-toned nudes that might wash you out.
3. Vibrant Pops and Sunset Hues
For when you want to make a statement! These colors bring energy and warmth, perfectly complementing olive skin.
Coral & Peach: These warm, orangey-pinks are incredibly flattering and evoke a sunny, cheerful vibe.
Warm Pinks: Think of shades like rose gold, salmon pink, or fuchsia. These warm-toned pinks are much more harmonious than cool, baby pinks.
Golden Yellows & Mustard: Unexpected but beautiful! A mustard yellow or a deep, golden yellow can look surprisingly chic.
Teal & Turquoise: These blue-green shades beautifully bridge the gap between warm and cool and look amazing.
4. Metallics and Shimmers
Metallics are a fantastic choice because they catch the light and play up the golden undertones in olive skin.
Gold: From rose gold to classic yellow gold, this is a universally flattering metallic.
Bronze: A richer, warmer metallic that looks incredibly luxurious.
Copper: A warm, earthy metallic that is a perfect bridge between gold and brown.
Polishing Your Skills: Essential Tools for DIY Nails
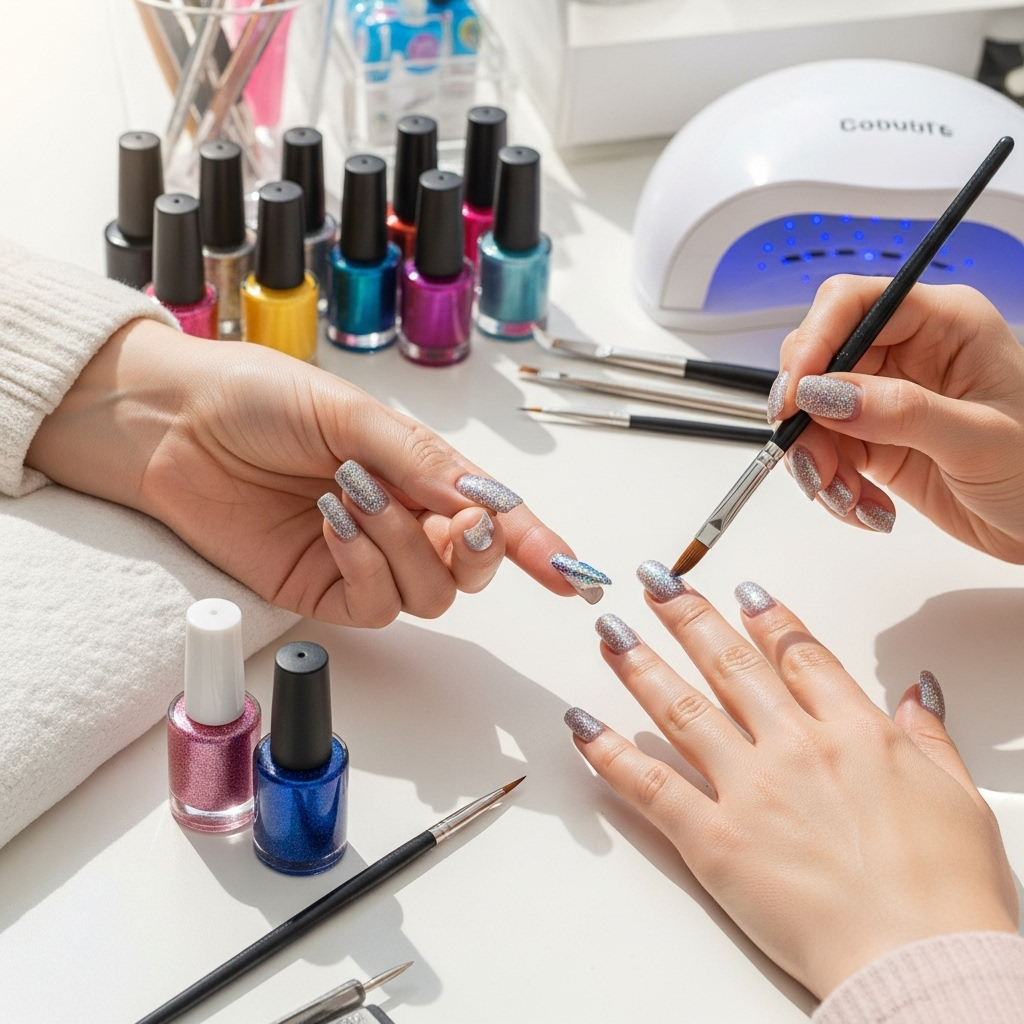
Ready to try some designs at home? Having the right tools makes all the difference, especially for beginners. Here are some essentials that will help you achieve salon-worthy results.
Nail File & Buffer: Crucial for shaping and smoothing. Look for a glass file for gentle shaping and a buffer to smooth imperfections.
Cuticle Pusher & Nippers: For neatening up the cuticle area. Be gentle!
Base Coat: Protects your natural nail and helps polish adhere better.
Top Coat: Seals your design, adds shine, and prevents chipping. A quick-dry top coat is a lifesaver!
Nail Polish Remover: For easy cleanup of mistakes or color changes.
Dotting Tools: Come in various sizes and are perfect for creating dots, simple flowers, and abstract designs.
Thin Striping Brush: Ideal for creating fine lines, French tips, or intricate details.
Tweezers: Handy for placement of small nail art stickers or rhinestones.
Clean-up Brush: An angled, fine-tipped brush (like a small makeup brush) dipped in remover is invaluable for cleaning up polish around the cuticles.
Stunning & Simple Nail Designs for Olive Skin (Beginner-Friendly!)
Let’s get creative! These designs are easy to execute and look phenomenal on olive skin tones.
1. The Chic Monochromatic Mani
This is the simplest yet most elegant way to wear color.
How-to:
1. Prep your nails: File, buff, and apply a base coat.
2. Apply two thin coats of your chosen color. Remember our flattering choices like deep emerald, caramel brown, or a warm coral?
3. Let each coat dry fully for best results.
4. Apply a generous layer of top coat for shine and durability.
Why it works for olive skin: A solid, beautiful color in a universally flattering shade makes a sophisticated statement.
2. The Golden Accent Nail
Add a touch of glamour with minimal effort.
How-to:
1. Paint all nails except one (your accent nail) with your chosen base color (e.g., deep burgundy, tealy blue).
2. Paint the accent nail with a stunning metallic gold polish.
3. Once dry, seal both hands with a good top coat.
Why it works for olive skin: The gold metallic provides a beautiful, warm contrast that highlights the skin’s undertones.
3. Easy Dotting Delight
Use dotting tools to create charming patterns.
How-to:
1. Apply your base color (e.g., creamy beige, terracotta).
2. Once dry, dip a dotting tool into a contrasting color (e.g., white, deep emerald, gold metallic).
3. Create dots in a pattern: evenly spaced across the nail, clustered in a corner, or forming a simple outline of a shape.
4. Seal with a top coat.
Why it works for olive skin: The contrast of the dots against a complementary base color adds visual interest without being overwhelming.
4. Simple Striping Sophistication
Use a thin brush or striping tape for clean lines.
How-to:
1. Apply your base color (e.g., sapphire blue, warm pink).
2. Once fully dry, carefully paint a thin line using a striping brush and a contrasting color (e.g., gold, white, black). You can do a diagonal line, a vertical line down the center, or a horizontal line near the tip.
3. Alternatively, use striping tape: apply tape over dry polish, paint over it, and carefully peel the tape away before the polish fully dries.
4. Finish with a top coat.
Why it works for olive skin: The clean lines add a modern, sharp look that is both refined and striking. Gold or bronze stripes are particularly stunning.
5. The Subtle Ombre Effect
A blended look that adds dimension.
How-to:
1. Apply your base color (e.g., a warm nude or a muted coral).
2. On a makeup sponge or the tip of a stiff brush, add a slightly lighter or darker shade of your base color (or a complementary metallic).
3. Gently dab the sponge onto the nail, starting from the tip and working downwards, to create a gradient effect. Blend carefully.
4. Clean up any excess color around the cuticle.
5. Seal with a top coat.
Why it works for olive skin: The soft transition of colors is elegant and can be customized to enhance your skin tone. Think of a sunset vibe with coral fading into peach.
Exploring Textures and Finishes
Beyond color, the finish of your polish can also make a big difference.
Cream: These are your standard, opaque polishes. They offer solid color payoff and are great for most designs.
Shimmer/Metallic: As we’ve discussed, these are fantastic for olive skin, adding warmth and light.
Matte: A matte finish can give a sophisticated, modern edge to deeper colors like burgundy or deep green.
Glitter: Chunky or fine glitter polishes in gold, bronze, or even jewel tones can add festive flair.
Nail Length and Shape Considerations
While color is key, nail shape and length can subtly enhance your chosen design.
Almond & Oval Shapes: These softer shapes tend to look very elegant on olive skin, elongating the fingers. Jewel tones and rich neutrals are especially striking.
Square & Squoval Shapes: These offer a more classic look. Simple solid colors, French tips, or designs with clean lines work beautifully.
Shorter Nails: Don’t feel limited! Deep berries, warm nudes, and even vibrant corals look amazing on shorter nails. Simple designs like accent nails or subtle dots are perfect.
Pro-Level Touches for Advanced Designs
Want to take things up a notch? Here are a few ideas and tips:
Gold Leaf Accents: A tiny piece of genuine gold leaf pressed onto a wet top coat can add an incredibly luxe feel to any color.
Geometric Patterns: Using striping tape or freehand with a thin brush, you can create chic geometric designs with contrasting colors. Think sharp lines in gold against a deep teal.
Abstract Swirls: Playful and artistic, abstract swirls in complementary colors (like deep olive green and a creamy beige) can be stunning.
Gemstones & Studs: A few well-placed gemstones or studs in gold or bronze can add a subtle, glamorous sparkle. Ensure they are securely applied with nail glue or a strong top coat.
Table: Flattering Polish Colors by Shade Family
Here’s a quick reference chart to help you choose!
| Shade Family | Examples for Olive Skin | Why They Work |
| :———————– | :——————————————————- | :—————————————————————————- |
| Jewel Tones | Emerald Green, Sapphire Blue, Amethyst Purple, Ruby Red | Offer rich contrast, sophisticated, play up undertones. |
| Earth Tones | Terracotta, Rust, Caramel Brown, Chocolate Brown, Taupe | Harmonious, grounding, enhance natural warmth. |
| Warm Brights | Coral, Peach, Warm Pink (Rose Gold, Salmon), Mustard Yellow | Energetic, sunny, create beautiful warm contrast. |
| Metallics | Gold (Rose, Yellow), Bronze, Copper | Catch light, amplify golden undertones, luxurious feel. |
| Classic Neutrals | Creamy Beige, Warm Taupe, Espresso Brown | Elegant, “your nails but better,” sophisticated base for designs. |
Mastering Nail Care for a Perfect Base
No matter how stunning the design, healthy nails make them look even better!
1. Moisturize: Keep cuticles and hands hydrated. This prevents hangnails and keeps your nails looking neat. A good cuticle oil is a game-changer.
2. Protect: Wear gloves when doing chores involving water or chemicals.
3. File Correctly: File in one direction to prevent splitting. Avoid sawing motions. For more on nail shaping, the NailCareHQ guide offers excellent visual examples.
4. Give Them a Break: If you wear gel or acrylics frequently, give your natural nails a break every so often to prevent thinning or damage.
5. Gentle Removal: Always use a nail polish remover designed for your polish type. Soak to avoid damaging your nails.
Frequently Asked Questions (FAQ)
Here are some common questions beginners have about nail designs for olive skin:
Q1: Can I wear cool-toned colors like pink or blue on olive skin?
A1: Yes, you absolutely can! The key is to opt for the warmest versions of these shades. Instead of a icy baby pink, choose a warm rose or a fuchsia. Instead of a sky blue, try a deep sapphire or a teal. These warmer undertones in blues and pinks will complement your skin tone beautifully.
Q2: What nail polish colors should I avoid with olive skin?
A2: Generally, you might want to steer clear of very pale, ashy, or cool-toned shades that can make your skin look sallow or washed out. This includes very pale grays, cool-toned lilacs, and some cool-toned nudes or whites. However, personal preference is key, and if you love a color, find a way to make it work for you!
Q3: Are pastels good for olive skin?
A3: Warmer pastels can be lovely! Think of soft peach, warm mint green, or a muted coral. Very cool, chalky pastels might not be as flattering. If you love pastels, try to find ones with a bit more warmth or vibrant intensity.
Q4: How important is it to match my nail polish to my outfit?
A4: It’s not essential at all! While coordinating can look polished, your nails are a form of self-expression. A pop of color that complements your skin tone can look amazing even if it clashes slightly with your outfit. The goal is for the color to look good on you*.
Q5: Can I combine different finishes on my nails?
A5: Absolutely! Mixing finishes can add depth and interest to your design. For example, a matte metallic stripe over a cream polish, or a glitter accent nail with a solid cream color. Just ensure the colors complement each other.
Q6: What is the best way to make simple nail art look neat?
A6: The most important tip is patience and clean-up! Use a clean-up brush dipped in nail polish remover to carefully neaten the edges around your cuticles and sidewalls after painting. Also, ensure your base polish is completely dry before adding any art on top.
Q7: Where can I find high-quality nail polish?
A7: Many brands offer excellent quality polish. Look for reputable brands found in drugstores, beauty supply stores, or online. For a wide selection of colors and finishes, brands like OPI, Essie, Orly, and Sally Hansen are popular choices. For more information on nail health and safety, the American Academy of Dermatology Association is a great resource.
Conclusion: Your Olive Skin, Your Stunning Nails
Finding the perfect nail designs for olive skin is all about embracing the beautiful warmth and depth of your complexion. By understanding which color families and shades truly enhance your natural glow, you unlock a world of gorgeous possibilities. From rich jewel tones and sophisticated earth tones to vibrant corals and dazzling metallics, there’s a perfect hue waiting for you.
Remember, nail art is a form of self-expression and fun! Don’t be afraid to experiment with these essential designs—the monochromatic mani, the golden accent, dotting,

