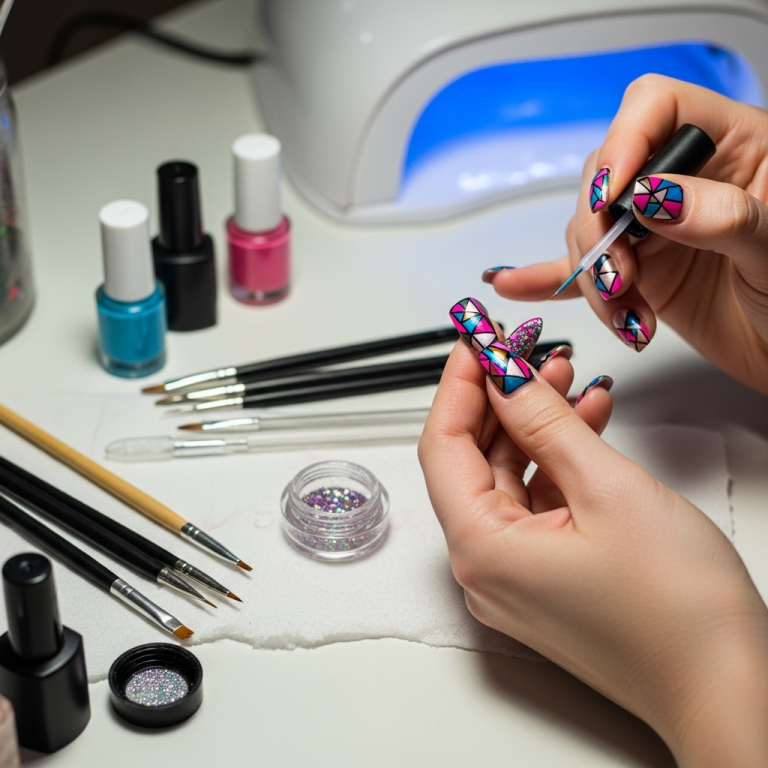
Lasting nail designs depend on a combination of the design’s simplicity, the polish type, and your nail care habits. Simple, solid colors and minimalist designs, especially when using gel polish and proper application techniques, tend to be the most durable. Protecting your manicure from daily wear and tear is key to making any design last longer.
Hey there, nail lovers! Ever spent time perfecting a gorgeous nail design, only to have it chip or fade within a few days? It’s a common frustration, right? We all want our beautiful manicures to stick around, looking fabulous for as long as possible. The good news is, a little knowledge about design longevity can make a huge difference. We’re going to dive into exactly which nail designs have the best staying power, what makes them last, and how you can make them endure. Get ready to keep your nails looking stunning, worry-free!
Understanding the Science Behind Lasting Nails
Before we get to the pretty designs, let’s quickly chat about what makes polish last. It’s not just about the art! The type of polish you use and how it’s applied plays a massive role. Think of it like building a strong foundation for a house – without it, even the most beautiful structure won’t stand the test of time.
Types of Nail Polish and Their Durability
Different polishes offer different levels of wear. Here’s a quick rundown:
- Traditional Nail Polish: The classic choice. It’s easy to apply at home and comes in endless colors. However, it’s the least durable, often chipping after just a few days, especially with heavy hand use.
- Gel Polish: This is where durability really steps up! Gel polish is cured under a UV or LED lamp, creating a hard, glossy finish that’s much more resistant to chips and scratches. A properly applied gel manicure can last 2-3 weeks.
- Dip Powder Nails: This method involves dipping the nail into a colored powder after applying a bonding agent. It creates a strong, durable overlay that can last 3-5 weeks, offering excellent resilience for active lifestyles.
- Acrylic Nails: A more intensive option, acrylics are a mixture of liquid monomer and powder polymer. They are very strong and can last for weeks, though they do require fills as your natural nail grows.
For the longest-lasting designs, gel polish is often the go-to for a professional look at home, while dip powder offers incredible strength and longevity.
Factors Affecting Polish Wear
Beyond the polish type, several other factors influence how long your manicure lasts:
- Nail Preparation: Proper cleaning, buffing, and dehydrating of the nail plate are crucial for adhesion.
- Application Technique: Thin, even coats cure better and are less prone to lifting than thick, gloppy ones. Curing each layer fully is also vital.
- Top Coat: A good quality top coat acts as a protective shield. Gel top coats are significantly more durable than traditional ones.
- Daily Habits: Opening cans, washing dishes without gloves, and harsh cleaning chemicals can all shorten the life of your manicure.
- Nail Health: Brittle or weak nails are more prone to breakage and chipping, which affects the polish.
Proven Nail Designs That Stand the Test of Time
Now for the fun part! We’ll explore designs that not only look amazing but also boast impressive longevity. The secret often lies in their simplicity and how they interact with the nail’s natural growth and strength.
1. The Timeless Solid Color
Is there anything more classic or chic than a perfectly polished solid color? This style is a champion for longevity for several reasons:
- Minimal Chip Risk: With no intricate details, there are fewer edges or raised parts for polish to snag on or chip away.
- Seamless Growth: As your nail grows, the solid color still looks cohesive, making the transition less noticeable than with intricate patterns.
- Versatility: From deep reds to soft nudes, a solid color is always in style and complements any outfit or occasion.
Best for Longevity: Gel polish in a single, rich shade. The hard, glossy finish of gel, combined with the simplicity of the design, creates a virtually unstoppable manicure. Think deep navy, classic crimson, or a sophisticated neutral.
2. Minimalist Accents
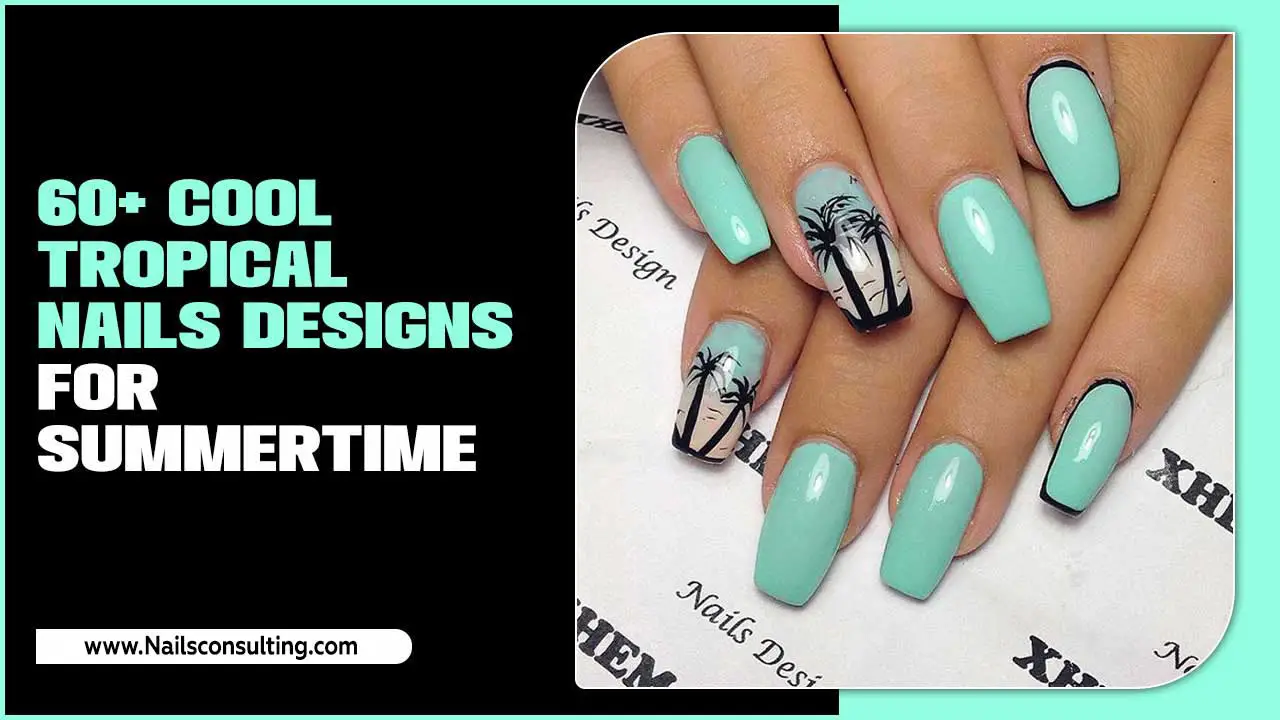
Less is often more when it comes to durability! Minimalist designs incorporate subtle touches that don’t compromise the overall strength of the polish.
- Fine Lines: A delicate line or two along the cuticle or across the nail bed.
- Tiny Dots: A single dot at the base or a few scattered strategically.
- Negative Space Elements: Leaving small parts of the natural nail visible with a clear polish base.
Why they last: These designs add visual interest without adding significant thickness or complexity that could snag. The majority of the nail is covered in a solid (ideally gel) polish, providing a strong base. The minimalist art is often done with fine detail brushes and sealed well with a top coat.
Pro Tip: Use a high-quality detail brush and gel polish for crisp lines. Seal over the artistry with your gel top coat to lock it in place.
3. The French Manicure (Done Right!)
The classic French manicure, with its clean white tip and nude or pink base, is a timeless choice. When applied correctly, especially with gel, it can last remarkably well.
- Subtle Transition: The color change at the tip is natural-looking, so nail growth is less apparent.
- Reinforced Tip: The thicker application of polish at the free edge can offer a bit of extra strength.
- Professional Finish: When done with precision, it’s a sophisticated look that doesn’t easily show minor wear.
To Maximize Longevity: While a traditional French can chip at the tip, a gel French manicure is far more durable. Ensure the white tip is applied thinly and perfectly sealed with the top coat. A “reverse French” or “cuticle-line French” can also hold up well, as it focuses on the nail’s base.
4. Ombre and Gradient Manicures
These designs involve a smooth blend of two or more colors. They are surprisingly resilient!
- Seamless Blends: The gradual transition in color means there’s no harsh line to chip.
- Natural Growth Coverage: As your nail grows, the ombre effect continues, making the growth point less obvious.
- Visually Appealing: They look intricate and “designed” without relying on raised elements.
Application is Key: Best achieved with gel polish for a smooth, durable finish. The blending technique itself requires skill, but once cured, the smooth surface is excellent for wear. For a DIY approach, using makeup sponges can create a beautiful gradient effect that, with a good gel top coat, can last.
5. Glitter and Chrome Nails
Sparkle and shine often equal strength!
- Glitter: Glitter particles are embedded within the polish or layered on top, creating a textured but strong surface. When fully encapsulated by a gel top coat, glitters are very resistant to chipping. Full glitter nails, or glitter ombres, are excellent for longevity.
- Chrome Powder: Applied over a gel polish base and sealed with a gel top coat, chrome finishes create a smooth, hard, and reflective surface. Because the powder is buffed into the polish and sealed, it doesn’t easily lift or peel. You must ensure the chrome powder is fully “locked in” with a sufficient top coat, often two layers.
Why they are great: The texture of glitter or the smooth, hard surface of chrome adds an extra layer of visual durability. When applied correctly over gel or acrylic, these finishes can withstand a lot of wear and tear.
How to Make ANY Nail Design Last Longer: Your Step-by-Step Guide
No matter your chosen design, these essential steps will significantly boost its lifespan. This is where the real magic happens to protect your art!
Step 1: Proper Nail Prep is Non-Negotiable
This is the foundation! Without proper prep, even the most durable polish will lift or peel.
- Cleanse: Wash your hands thoroughly and ensure nails are free from lotion, oil, or old polish. Use an alcohol wipe or nail cleanser to remove any residue.
- Shape: File your nails to your desired shape. It’s often best to file in one direction to avoid weakening the nail.
- Cuticle Care: Gently push back or trim your cuticles. Avoid cutting them too aggressively, as this can lead to infection.
- Buff: Lightly buff the surface of your natural nail with a fine-grit buffer (around 180-240 grit). This creates a slightly roughened surface for the polish to adhere to. Don’t over-buff!
- Dehydrate: Apply a nail dehydrator or isopropyl alcohol to remove any remaining oils and moisture. This is a crucial step for adhesion, especially for gel polish. If you have oily nail beds, this is your best friend.
Step 2: The Right Base Coat
A good base coat is essential for protecting your natural nail and ensuring polish adhesion.
- For Gel: Always use a gel base coat designed to be cured under a lamp. This provides a strong bond between your natural nail and the gel color.
- For Traditional Polish: Use a quality base coat that includes ridge-filling properties if needed, or a quick-dry formula.
Apply a thin, even layer and let it dry or cure completely according to the product’s instructions. For gel, ensuring edge-to-edge coverage is key.
Step 3: Thin Coats of Color
Resist the urge to slather on thick layers of polish. Thin, even coats are much more durable and cure better.
- Gel Polish: Apply 2-3 thin coats of your chosen color. Cure each layer under the lamp for the recommended time (usually 30-60 seconds for LED, 2 minutes for UV). Ensuring you cap the free edge (painting the very tip of your nail) with each coat helps prevent chipping.
- Traditional Polish: Apply 2 thin coats, allowing each to dry partially before adding the next.
Detail Work: For minimalist line art or dots, use a fine brush and gel polish. Apply the detail, cure, and then proceed to your top coat.
Step 4: The All-Important Top Coat
The top coat is your manicure’s bodyguard! It seals in the color, adds shine, and protects against chips and scratches.
- Gel Top Coat: This is highly recommended for maximum durability. Look for “no-wipe” or “high gloss” top coats. Again, cap the free edge for ultimate protection. Cure thoroughly.
- Traditional Top Coat: Choose a quick-dry or long-lasting formula. Reapply every few days to refresh the shine and add an extra layer of protection.
Double Up: For extra durability on any design, consider a second layer of top coat, especially for the free edge and any areas that might see heavy wear.
Step 5: Curing Matters (For Gel)
If you’re using gel polish, the curing process under a UV or LED lamp is absolutely critical. Incomplete curing is a leading cause of premature lifting and peeling.
- Use the Right Lamp: Ensure your lamp is strong enough for the polish you are using. LEDs cure faster and more efficiently than older UV lamps. You can check out lamp recommendations from reputable sources like Nailpro’s guide to best lamps.
- Follow Instructions: Always follow the polish manufacturer’s recommended curing time.
- Thin Coats: Curing is most effective on thin layers of polish.
Gel Polish Curing Time Guide (General):
| Polish Layer | LED Lamp (60-90 seconds) | UV Lamp (2 minutes) |
|---|---|---|
| Base Coat | 60 seconds | 2 minutes |
| Color Coat (each) | 60 seconds | 2 minutes |
| Top Coat | 60-90 seconds | 2 minutes |
Note: Times can vary based on lamp wattage and polish brand. Always check product specifics.
Step 6: Aftercare – Your Daily Defense
Your daily habits have a huge impact on how long your manicure stays pristine.
- Wear Gloves: For dishwashing, cleaning, or any task involving prolonged water or harsh chemicals, wear rubber gloves. This is the single most effective way to protect your manicure.
- Moisturize: Keep your cuticles and hands moisturized with cuticle oil and hand lotion. Dry skin can lead to hangnails or weakened nails, which can pull at your polish.
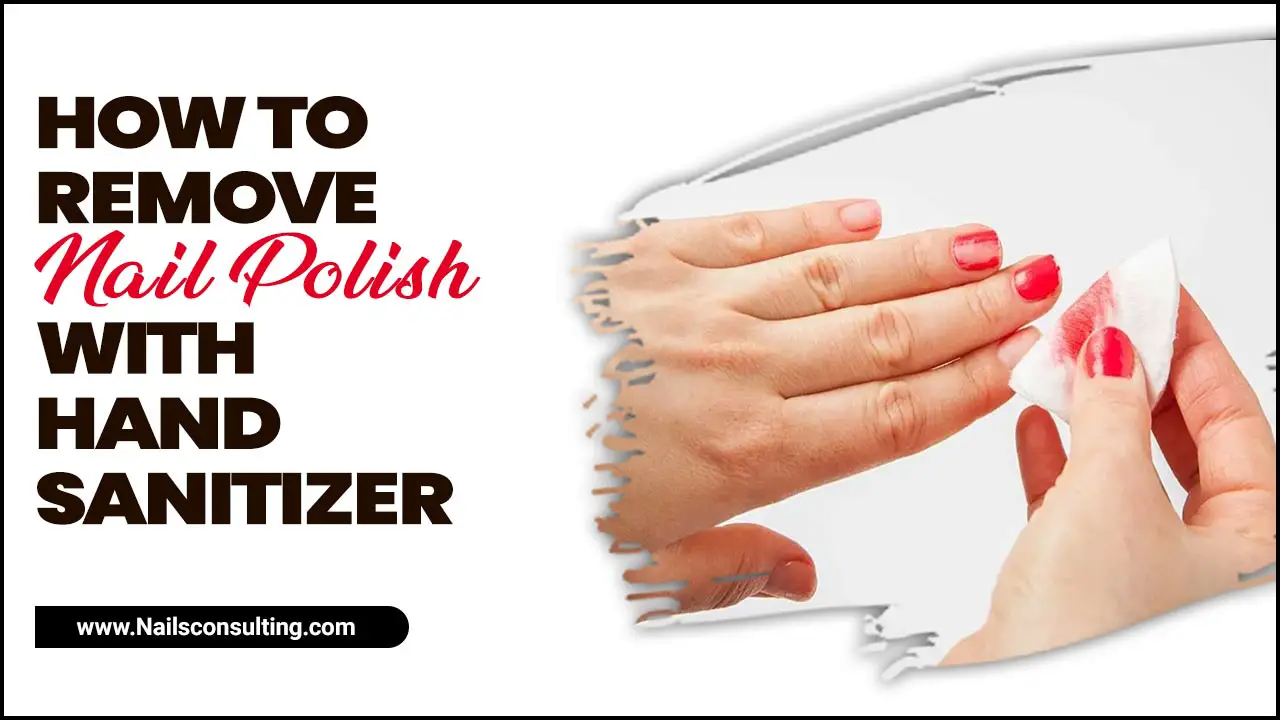
- Avoid Picking: Resist the urge to pick at or peel off polish, especially if it starts to lift. The best way to remove polish is with the proper remover. According to the National Library of Medicine, chemical burns can occur from improper nail product removal, so always be cautious.
- Be Mindful: Try to use your nails less as tools. Avoid using them to scrape, pry, or open things.
- Refresh Top Coat: For traditional polish, consider applying a layer of top coat every 2-3 days to maintain shine and add protection.
Table of Long-Lasting Nail Design Pros and Cons
Choosing the right design involves balancing aesthetics with practicality. Here’s a quick comparison to help you decide:
| Nail Design Style | Pros for Longevity | Cons for Longevity | Best For |
|---|---|---|---|
| Solid Color (Gel) | Highly durable, seamless grow-out, minimal chipping risk. | Can be seen as basic if not in a trendy color. | Busy lifestyles, everyday wear, formal events. |
| Minimalist Accents (Gel) | Adds interest without bulk, solid base provides strength. | Artistry can be delicate; potential for tiny chips on lines. | Those wanting subtle flair, office-friendly. |
| French Manicure (Gel) | Natural grow-out appearance, classic look. | Tip can be prone to wear if not sealed perfectly; precision required. | Professional settings, timeless elegance. |
| Ombre/Gradient (Gel) | No harsh lines, growth less noticeable, smooth surface. | Application can be tricky for DIY; requires good blending. | Trendsetters, those wanting a smooth transition. |
| Glitter/Chrome (Gel) | Textured or smooth hard surface, excellent adhesion when sealed. | Full glitter can be bulky; chrome requires precise application. | Statement looks, parties, those wanting maximum sparkle/shine. |
| Dip Powder | Extremely durable, strong overlay, can last 3-5 weeks. | Requires professional application or practice, removal can be longer. | Active individuals, those wanting very long wear without
|

