Nail design with UV gel polish is achievable and beautiful! Get salon-quality results at home with these genius tips for prep, application, and stunning designs, even as a beginner.
Dreaming of gorgeous, long-lasting nail designs? UV gel polish can seem a bit intimidating, but it’s surprisingly beginner-friendly! Many people struggle with getting that smooth finish, avoiding smudges, or making their designs last. But don’t worry! With a few smart tricks, you can create stunning, professional-looking nail art right at your kitchen table. We’ll guide you step-by-step, making nail design with UV gel polish fun and totally achievable. Get ready to unleash your inner nail artist!
What is UV Gel Polish and Why is it So Popular?
UV gel polish is a type of nail polish that is cured (hardened) using an ultraviolet (UV) or LED lamp. Unlike traditional nail polish, which air-dries, gel polish contains special polymers that create a durable, glossy, and long-lasting finish. This is why gel manicures are known for their impressive longevity, often lasting two to three weeks without chipping or fading. For anyone who loves a perfect manicure that stands up to daily life, UV gel polish is a game-changer.
Essential Tools for Your UV Gel Nail Design Journey
Before you dive into creating beautiful nail designs, having the right tools makes all the difference. Think of it like painting – you need your brushes and colors ready! Here’s a rundown of what you’ll need to get started with nail design using UV gel polish:
- UV/LED Nail Lamp: This is non-negotiable! It’s what cures and hardens the gel polish. Most lamps have timers for different curing times. A good LED lamp is generally faster and more energy-efficient. Check out options from reputable brands like SUNUV or MelodySusie.
- Gel Base Coat: This sticky layer helps the gel polish adhere to your natural nail and prevents staining.
- Gel Color Polish: Your chosen shades for your designs!
- Gel Top Coat: This seals your design, provides shine, and protects against chips and scratches.
- Nail Cleanser/Rubbing Alcohol (99% Isopropyl Alcohol): For dehydrating the nail plate before application and removing the sticky inhibition layer after curing.
- Lint-Free Wipes: Essential for cleaning the nail and removing the sticky layer without leaving fuzzy residues. Paper towels can leave fibers behind!
- Cuticle Pusher/Orange Stick: To gently push back your cuticles for a clean canvas.
- Nail File & Buffer: To shape your nails and create a smooth surface for polish adherence. A fine-grit file (180-240 grit) is ideal.
- Optional: Nail Prep Dehydrator & Primer: These can enhance adhesion and longevity, especially if you have oily nails.
- Detail Brushes/Dotting Tools: For creating intricate designs, dots, and fine lines.
- Nail Polish Remover (Acetone-based): For safely removing the gel polish when you’re ready for a change.
The Magic of Preparation: Setting the Stage for Flawless Gel Nails
This is the most crucial step, even before you touch polish! Proper preparation ensures your gel polish adheres well and lasts for weeks. Think of it as building a strong foundation for your dream house!
Step 1: Cleanse and Sanitize
Start with clean hands. Wash them thoroughly with soap and water, then dry them completely. Apply a nail cleanser or 99% isopropyl alcohol to a lint-free wipe and swipe over each nail. This removes any oils or residues that could interfere with adhesion.
Step 2: Shape Your Nails
Gently file your nails to your desired shape. Use a nail file with a fine grit (around 180-240) to avoid damaging the nail. File in one direction to prevent weakening the nail edge. Don’t over-file, especially at the tips.
Step 3: Gently Push Back Cuticles
Using a cuticle pusher or an orange stick, carefully push back your cuticles. This exposes the entire nail plate, allowing for a cleaner polish application and preventing gel from lifting off the cuticle area. Avoid cutting your cuticles unless you are very experienced, as nicks can lead to infection.
Step 4: Buff the Nail Surface
Lightly buff the surface of your nails with a fine-grit buffer. The goal isn’t to remove much of the nail, but to create a slightly rough texture. This helps the base coat adhere better. Be very gentle! Over-buffing can thin your natural nails.
Step 5: Remove Dust and Dehydrate
Wipe each nail with a clean, dry brush or a lint-free wipe to remove any dust from buffing. Then, swipe again with nail cleanser or alcohol to ensure the nail is completely dry and oil-free. If you’re using a nail dehydrator, apply it now according to the product instructions.
Mastering the Application: Your Step-by-Step Guide to Smooth Gel Nails
Now for the fun part! Applying gel polish correctly is key to a beautiful, chip-free manicure. Remember, thin coats are your best friend. Thick coats are more prone to wrinkling or not curing properly.
Step 1: Apply the Gel Base Coat
Apply a thin, even layer of your gel base coat. Cap the free edge of your nail by brushing a little bit of polish across the tip. This helps prevent chipping. Avoid getting the base coat on your cuticles or skin. Cure under your UV/LED lamp according to the manufacturer’s instructions (usually 30-60 seconds for LED, 2 minutes for UV). Don’t wipe off the sticky layer after curing – it’s supposed to be there!
Step 2: Apply Your Gel Color Polish
Apply your first thin coat of gel color. Again, cap the free edge. Use smooth, even strokes. You might not get full opacity in one coat, and that’s okay! Cure under the lamp. Repeat with a second thin coat for full coverage and cure again. For darker colors, you might need a third coat. Always cap the edges with each layer.
Step 3: Time for Nail Design Magic!
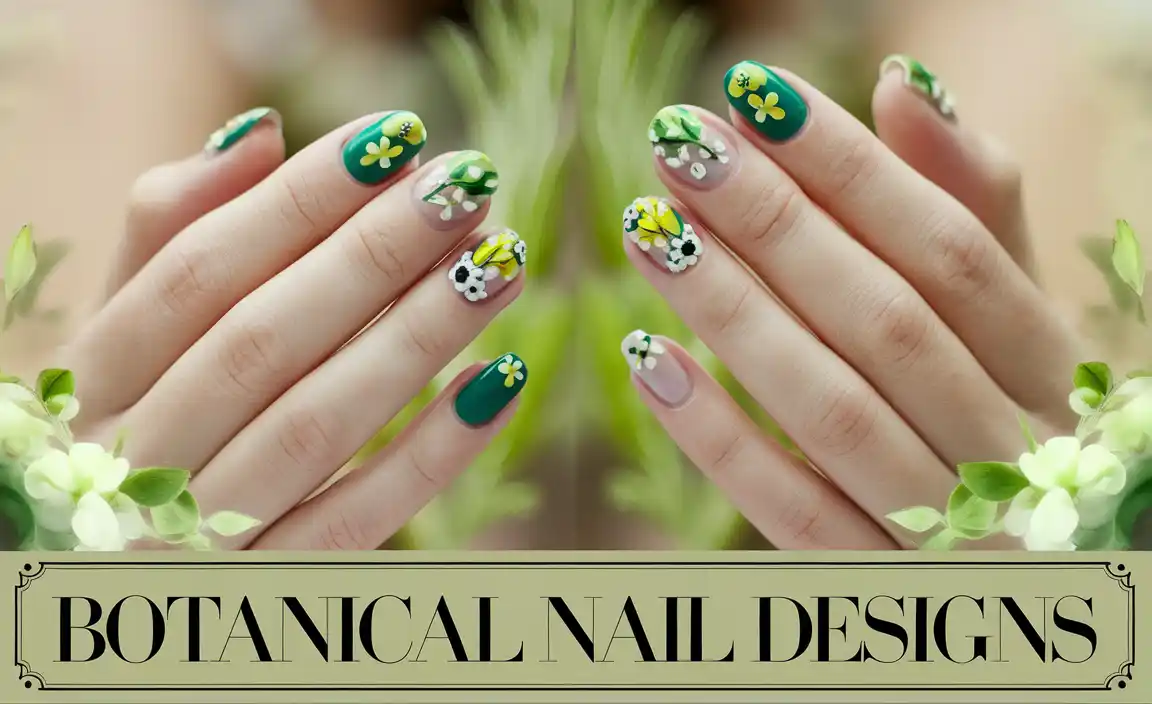
This is where you get creative! You can apply simple designs on top of your cured color coats, or create intricate patterns. Here are some beginner-friendly ideas:
- Simple Dotting: Use a dotting tool or the end of a toothpick to create small dots in a line or pattern.
- Thin Lines: Use a fine nail art brush dipped in gel polish to draw straight lines, wavy lines, or geometric shapes.
- Stamping: Use nail stamping plates and a stamper to transfer intricate designs onto your nails.
- Glitter Accent: Apply a thin layer of top coat to a section of your nail and sprinkle fine glitter over it before curing.
- French Tips: Use a fine brush and a white or colored gel polish to create crisp French tips.
Important Design Tip: If your design involves multiple colors or intricate steps, apply and cure each thin layer of color or design element individually. For example, if you’re doing a marble effect, paint a base color, cure, then add swirls of other colors, cure that, and repeat as needed before the final top coat.
Step 4: Apply the Gel Top Coat
Once your design is complete and cured, apply a thin, even layer of gel top coat. Make sure to cap the free edge. This is what gives your manicure its signature shine and long-lasting finish. Cure under the lamp for the recommended time. Some top coats are “no-wipe,” meaning they have no sticky residue; others will leave a sticky inhibition layer. If yours does, gently remove it with a lint-free wipe soaked in nail cleanser or alcohol.
Troubleshooting Common UV Gel Polish Issues
Even with the best intentions, sometimes things don’t go perfectly. Here are some common problems and how to fix them:
Problem: Gel Polish is Clinching or Wrinkling
Cause: Usually due to applying the gel polish too thickly. The UV/LED lamp can’t cure the deep layers effectively, causing the surface to wrinkle.
Solution: Always apply gel polish in thin, even coats. If you notice wrinkling, carefully remove the polish with acetone remover and start over with thin layers. Ensure your lamp is working correctly and that you’re using the recommended curing time.
Problem: Gel Polish is Peeling or Chipping Quickly
Cause: Poor nail preparation, not capping the free edge, or incompatible products.
Solution: Double-check your prep steps! Ensure nails are clean, dry, and lightly buffed. Always cap the free edge of each nail with every coat (base, color, top). Using a system of base, color, and top coat from the same reputable brand can also help ensure compatibility.
Problem: Gel Polish Isn’t Curing Properly (Still Sticky)
Cause: Lamp issue, incorrect curing time, or too thick of a coat.
Solution: Make sure your UV/LED lamp is functioning correctly and that you’re using the recommended curing time for each layer. Do not over-saturate your brush with polish; aim for thin coats. If you’re using a very dark or highly pigmented color, it might need a slightly longer cure time.
Problem: Gel Polish is Staining Natural Nails
Cause: Not using a base coat or using a very heavily pigmented color without a barrier.
Solution: A good quality gel base coat is essential! It acts as a protective barrier. If you’re concerned about staining from dark or vibrant colors, consider applying an extra thin layer of base coat before your colored gel.
Design Inspiration: Easy & Chic Ideas for Beginners
Ready to try some actual designs? Here are a few super simple yet chic ideas that anyone can master:
Minimalist Lines
Apply a solid color base (like nude, white, or black). Once cured and no-wipe top coat is applied and cured, use a fine nail art brush and a contrasting gel color to draw one or two thin, delicate lines across one or two nails. Keep it simple!
Elegant Dots
After applying your base color and curing the top coat, use a dotting tool or even the tip of a toothpick. Create a small cluster of dots on one side of the nail, or a neat row of dots along the free edge. Varying the size of the dots can add visual interest.
Color Block Chic
Paint your nails with a solid color. Once cured, use nail tape or a very steady hand with a fine brush to create a sharp line across the nail. Paint the section above or below the line with a different gel color. Cure, and repeat if necessary. Seal with top coat! This creates bold, geometric looks.
Subtle Glitter Fade
Apply your base color and cure. Using a fine brush, gently dust fine cosmetic-grade glitter onto the tip of the nail over a thin layer of uncured top coat. Blend it upwards for a subtle fade-out effect. Press lightly to embed the glitter, then cure. Cap with a final top coat.
Removing UV Gel Polish Safely
When it’s time for a change, proper removal is key to keeping your natural nails healthy. Ripping or peeling gel polish off will damage your nail bed. Here’s the safe way:
- Soak Off: File off the top shiny layer of the gel polish with a coarse grit file (around 100-150 grit). This breaks the seal.
- Saturate: Soak cotton balls in 100% acetone. Place a cotton ball on top of each nail and wrap it securely with foil.
- Wait: Let the foils sit for about 10-15 minutes. The acetone will break down the gel polish. Check one nail; if the polish isn’t soft and lifted, re-wrap and wait a few more minutes.
- Gently Scrape: Remove the foil and cotton ball. The gel polish should be soft and gummy. Gently push it off with an orange stick or cuticle pusher. If there’s resistance, re-soak.
- Clean Up: Once all the gel is removed, wash your hands with soap and water. You can buff your nails gently to smooth any remaining residue and apply a nourishing cuticle oil and hand cream.
For a more detailed guide on safe removal, the U.S. Food & Drug Administration (FDA) also provides information on nail product safety that can be helpful: FDA on Nail Polish.
Is Gel Polish Right for You? Pros and Cons
While genius tips can make nail design with UV gel polish a breeze, it’s helpful to know the advantages and disadvantages. Here’s a quick breakdown:
| Pros | Cons |
|---|---|
| Durability: Lasts 2-3 weeks without chipping or peeling. | Requires UV/LED Lamp: An upfront investment for the lamp. |
| High Shine: Maintains a glossy finish. | Removal Process: Requires soaking in acetone, which can be drying if not done properly. |
| Quick Drying (Curing): Cures instantly under the lamp, eliminating smudge risks. | Potential for Nail Damage: If removed improperly or applied too thickly, it can weaken natural nails. |
| Endless Design Potential: Holds intricate designs, glitters, and embellishments securely. | Can Be More Expensive: Initial kit and individual polish bottles can add up compared to traditional polish. |
| No Smudging: Once cured, it’s hard as a rock! | Requires Specific Removal Products: Needs pure acetone and appropriate tools. |
Frequently Asked Questions About UV Gel Polish Design
Let’s tackle some common questions beginners have about nail design with UV gel polish.
Q1: How many coats of gel polish should I use?
A: Generally, two thin coats of color polish are sufficient for full opacity and even color. Always apply a thin base coat first and a thin top coat last. Ensure each coat is fully cured under the lamp.
Q2: Can I use regular nail polish designs with gel polish?
A: You can, but it’s best to use gel-based art supplies for designs on top of gel polish. This ensures compatibility during curing and longevity. If you must use regular polish, it should be done on the very last cured gel color layer, and then sealed with a gel top coat. However, this can sometimes cause lifting or smudging.
Q3: How long does a UV gel manicure typically last?
A: When applied correctly, a UV gel manicure can last anywhere from two to three weeks without chipping, peeling, or losing its shine. Longevity can also depend on lifestyle and nail maintenance.
Q4: Do I really need a UV or LED lamp?
A: Yes, a UV or LED lamp is absolutely essential for curing gel polish. Gel polish contains photoinitiators that react to the UV or LED light, causing it to harden. Without the lamp, the polish will remain wet and sticky.
Q5: Can I mix gel polish brands?
A: While you can mix brands, it’s often best to use a system from the same brand (base, color, top coat). Different formulas might not be perfectly compatible, which could lead to issues like lifting, peeling, or uneven curing. Sticking to one brand often yields the best results.
Q6: What’s the difference between UV and LED lamps?
A: LED lamps are generally faster, cure more evenly, last longer, and are more energy-efficient than traditional UV lamps. Most modern gel polishes are formulated to cure under both, but always check the polish manufacturer’s recommendations.
Conclusion: Your Creative Canvas Awaits!
Nail design with UV gel polish is an exciting way to express yourself and enjoy beautiful, lasting manicures. We’ve covered everything from essential tools and meticulous preparation to seamless application techniques and simple, stunning design ideas. Remember, practice truly makes perfect, so don’t be discouraged if your first few attempts aren’t flawless. Each manicure is a learning opportunity, and with these genius tips, you’re well on your way to mastering the art of gel nail design. Embrace the process, have fun experimenting with colors and patterns, and let your creativity shine through your fingertips!


