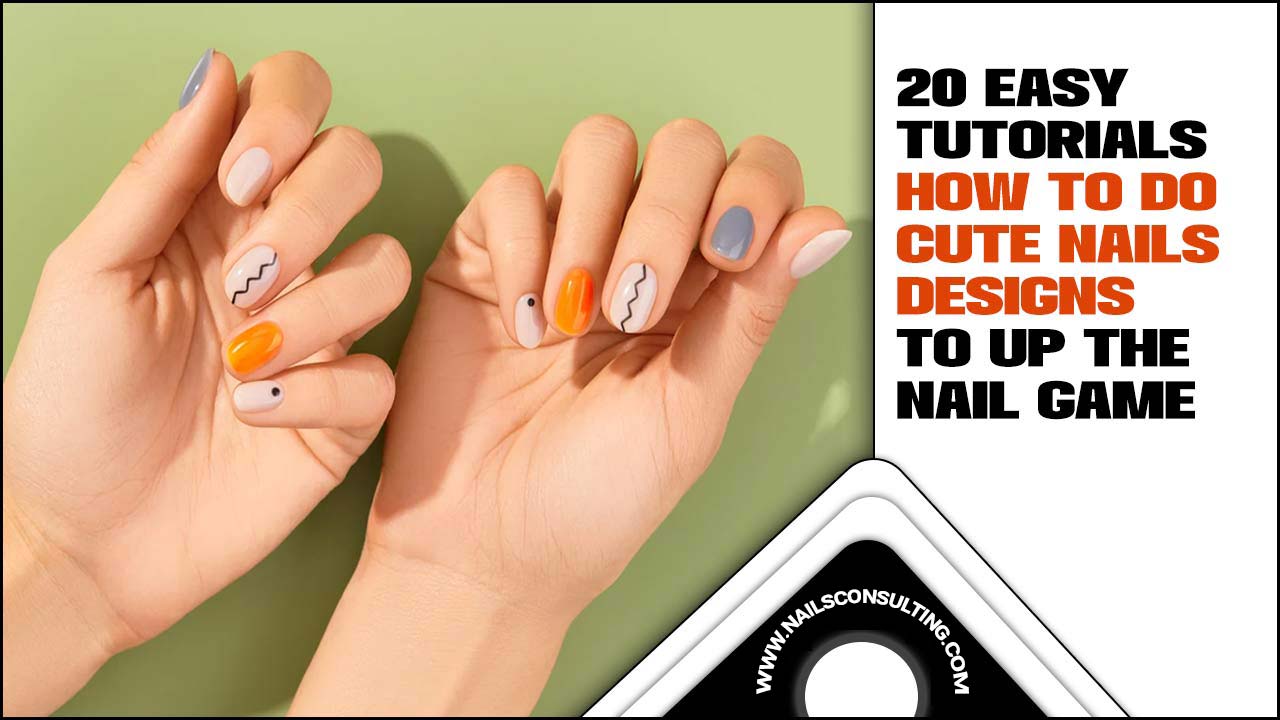
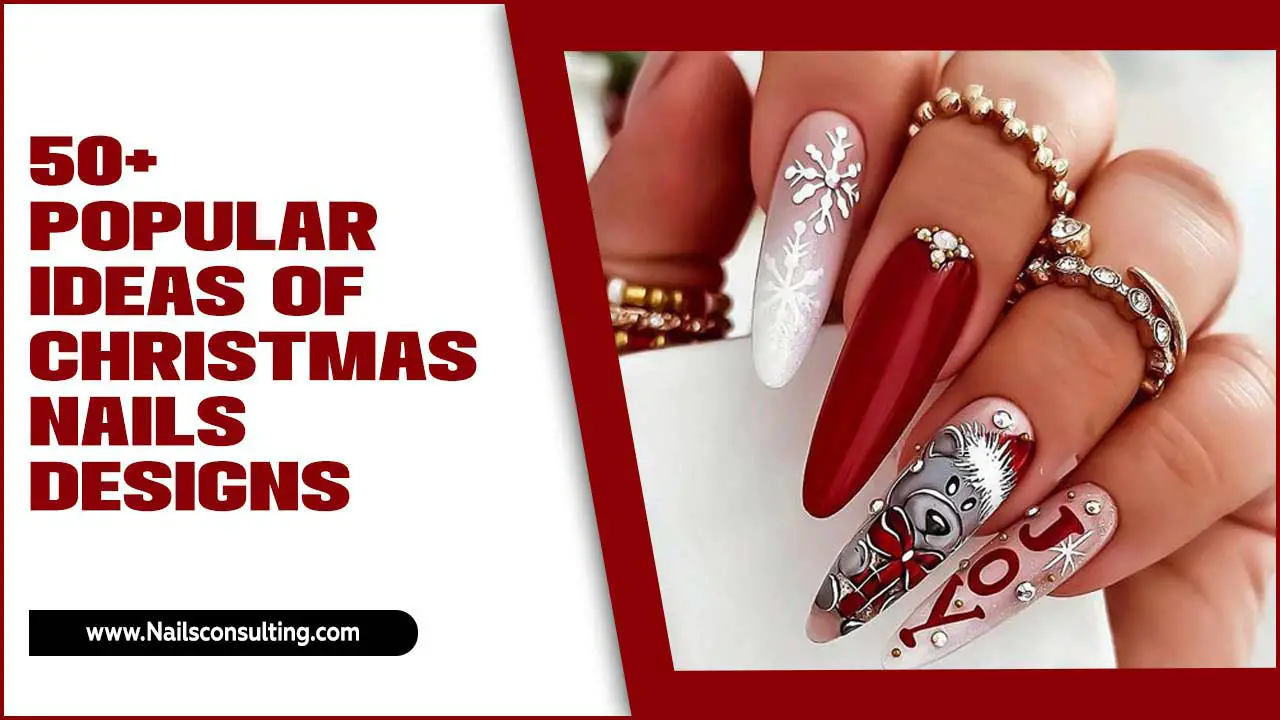
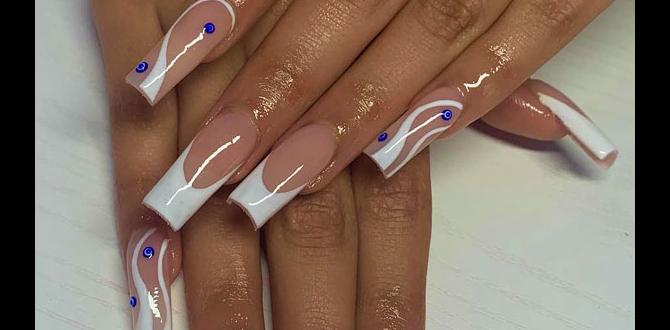
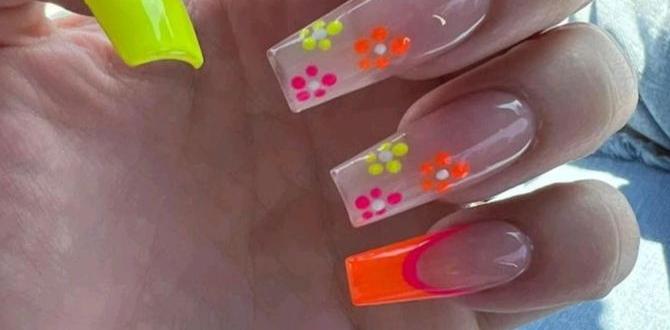
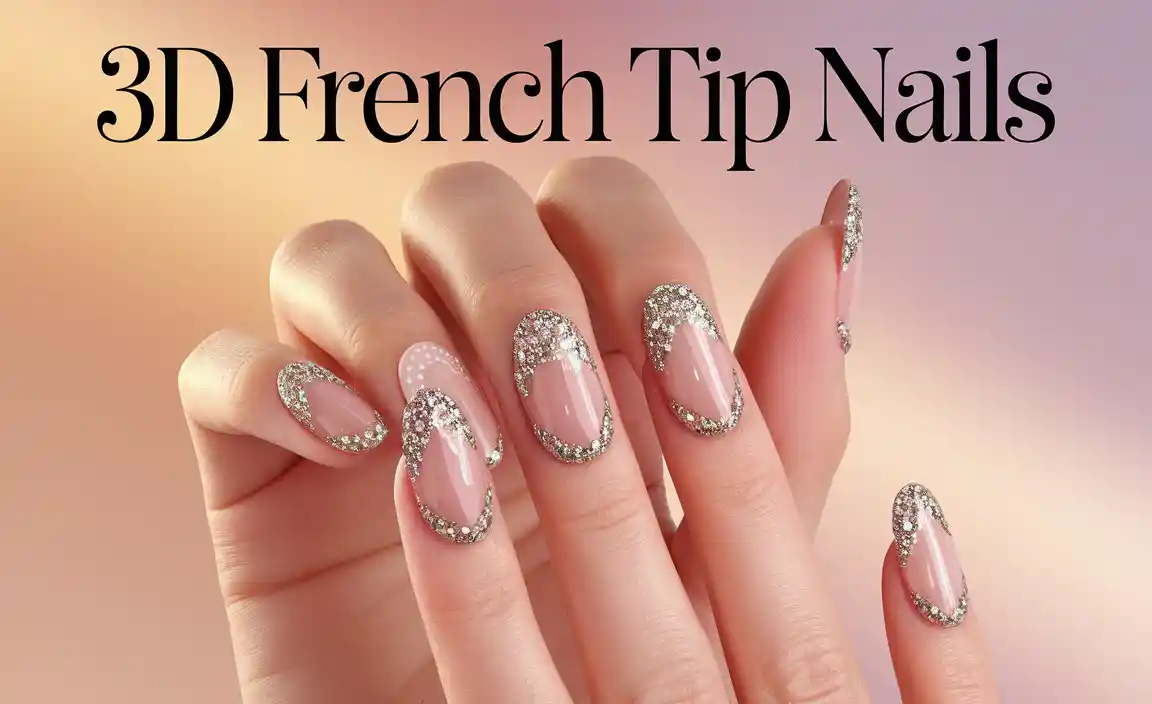
Nail design ideas without tools are totally achievable! With just your nail polish and a few everyday items you likely already have, you can create stunning, unique manicures that look like you spent hours at the salon. Get ready to unleash your inner artist with these simple, tool-free techniques!
Ever stare at a gorgeous nail design online and think, “I could never do that”? You probably pictured tweezers, dotting tools, and fancy brushes. But what if I told you that you can achieve amazing nail art with just what’s in your makeup bag or kitchen drawer? It’s true! Many of us feel intimidated by nail design because we think we need a whole arsenal of specialized tools. This can be super frustrating when all you want is a little something extra on your nails without a big fuss or expense. But don’t worry! As Lisa Drew from Nailerguy, I’m here to show you that beautiful, creative nails are within everyone’s reach. Forget the fancy gadgets; we’re going back to basics and using everyday items for some genius nail design ideas without tools. Get ready to transform your fingertips into tiny canvases!
Unlocking Your Inner Nail Artist: The Power of Everyday Essentials
The beauty of nail design without tools is its accessibility. It’s about seeing the potential in ordinary objects and using them in creative ways. Think about it: what’s more empowering than creating something beautiful using items you already own? This approach not only saves you money but also encourages a playful, experimental mindset. You don’t need to be a professional to have fun with your nails. These techniques are perfect for beginners, busy bees, or anyone looking for a quick, fun way to express themselves. We’ll explore how common items can become your go-to nail art companions.
The Magic Trio: Your Foundation for Tool-Free Designs
Before we dive into specific designs, let’s talk about the absolute essentials you’ll need. These aren’t fancy nail art brushes; they’re simple items that will help you create a variety of effects. Having these on hand will open up a world of possibilities for your next manicure.
Your Essential Kit:
- Nail Polish: Obviously! Grab your favorite colors, including a base coat and a top coat. A variety will give you more creative freedom.
- A Toothpick or Pin: Your new best friend for fine lines, dots, and small swirls.
- A Sponge (Cosmetic or Kitchen): Perfect for creating gradient and marble effects.
- Scotch Tape or Painter’s Tape: For crisp lines and geometric designs.
- Paper Towels or a Flat Surface: To dab excess polish or create textured effects.
- Cotton Swabs and Remover: For cleaning up any slips and creating sharp edges.
These items are your secret weapons. They’re readily available, inexpensive, and incredibly versatile. With just these, you’re ready to start creating!
Genius Nail Design Ideas Without Tools: Step-by-Step
Now for the fun part! Let’s get creative with some easy, impactful nail designs you can do right now. Each of these requires minimal effort and delivers maximum style.
1. The Sponged Ombre/Gradient Effect
This technique is a salon favorite but incredibly simple to DIY with a sponge. It creates a beautiful, blended look that’s perfect for summer or any time you want a pop of color.
What You’ll Need:
- Base coat and top coat
- 2-3 shades of nail polish that complement each other
- A makeup sponge or a clean kitchen sponge (cut into a small piece)
- A piece of paper or cardboard
- Cotton swabs and nail polish remover
Steps:
- Prep Your Nails: Apply a base coat and let it dry completely. Then, apply your lightest color polish as a base. Let it dry thoroughly. This helps the colors blend better.
- Create Your Palette: On your piece of paper or cardboard, paint a few stripes of your chosen colors next to each other. Make sure the stripes are touching. For example, if you’re doing a pink to orange gradient, paint a stripe of pink next to a stripe of orange.
- Sponge the Colors: Gently dab your sponge onto the painted stripes, picking up the colors. You want to pick up a bit of each color in the stripe.
- Apply to Your Nail: Carefully dab the sponge onto your nail. You may need to dab a few times to build up the color and blend it. Aim to apply the colors from the cuticle to the tip, or side to side, depending on the gradient direction you want.
- Repeat and Blend: You can re-apply polish to your sponge and repeat the dabbing process on your nail to intensify the colors or improve the blend.
- Clean Up: Use a cotton swab dipped in nail polish remover to carefully clean up any polish that got on your skin. This is crucial for a polished look!
- Seal the Deal: Once dry, apply a generous layer of top coat to smooth out the sponged texture and add shine.
This technique is fantastic for achieving a seamless blend that looks intricate but is surprisingly easy. You can use as many or as few colors as you like!
2. The Simple Dot & Swirl with a Toothpick
Dots are a classic for a reason – they’re cute, versatile, and super simple to create. A toothpick is all you need to add a touch of playful elegance.
What You’ll Need:
- Base coat and top coat
- Your chosen base color polish
- A contrasting color polish for dots
- A clean toothpick
Steps:
- Base Coat and Color: Apply your base coat and let it dry. Paint your nails with your base color and let it dry completely. Patience is key here to avoid smudging!
- Dip Your Toothpick: Dip the very tip of the toothpick into your contrasting polish. You only need a tiny amount of polish on the tip.
- Place Your Dots: Gently touch the tip of the toothpick to your nail to create a dot. Start with one dot, or create a pattern of dots. You can place them along the free edge, create a full nail of dots, or make a simple line.
- Create Swirls (Optional): To create a swirl, place two dots near each other and then use the toothpick to gently drag the polish from one dot into the other, creating a curved line.
- Clean as You Go: If the toothpick gets too much polish, wipe it on a paper towel or switch to a fresh one to keep your dots clean and precise.
- Top Coat: Once your dots and swirls are dry, finish with a top coat to seal your design and add shine.
You can use this technique to create simple polka dots, heart shapes (by making two dots close together and connecting them into a V), or cute little smiley faces!
3. The Tape-Tacular French or Geometric Mani
For perfectly straight lines and sharp geometric shapes, tape is your best friend. This is how you get those crisp, clean lines that look professionally done.
What You’ll Need:
- Base coat and top coat
- Your chosen base color polish
- A contrasting color polish for the lines/tips
- Scotch tape or painter’s tape
- A pair of sharp scissors or a craft knife (use with caution!)
- Cotton swabs and nail polish remover
Steps:
- Apply Base and Color: Apply your base coat and let it dry. Paint your nails with your base color and let it dry completely. This is vital for the tape to peel off cleanly without lifting the polish.
- Cut Your Tape: Cut strips of tape. For a French tip, you might cut a small curve. For geometric designs, cut straight lines or triangles. You can also use whole strips.
- Place the Tape: Carefully press the tape onto your nail. Ensure the edges are smooth and sealed down firmly to prevent polish from seeping underneath. For a French tip, place the tape strategically to mark where the white tip will go.
- Paint Over the Tape: Apply your contrasting colorpolish over the taped section or across the entire nail if you’re doing a full geometric design.
- Peel Away the Tape: This is the exciting part! While the polish is still WET (or very slightly tacky), carefully and slowly peel off the tape. Peeling when wet prevents the polish from chipping.
- Clean and Top Coat: Use a cotton swab and remover to neaten up any edges. Once completely dry, apply a top coat for protection and shine.
Painter’s tape is often preferred for manicures as it’s less likely to damage the base coat when removed. For more intricate geometric designs, explore how different tape shapes can create stunning patterns. A great resource for understanding tape applications in design can be found through art supply guides, demonstrating how tape creates defined edges, much like it does in painting. For instance, brands like Scotch® Magic™ Tape offer a matte finish that can work well, though specific art tapes might offer even better adhesion and clean removal for nail art.
4. The Marble Magic with Water
Water marbling is a fan favorite for its organic, swirling patterns that look incredibly complex. You can achieve this with minimal fuss using just water and polish.
What You’ll Need:
- Base coat and top coat
- A few different shades of nail polish
- A cup or bowl of room temperature water
- A toothpick or needle
- A piece of tape or petroleum jelly to protect your skin
- Cotton swabs and nail polish remover
Steps:
- Prep Your Nail: Apply base coat and one coat of your lightest polish to your nail. Let it dry.
- Protect Your Skin: This is messy! Wrap tape around your finger, leaving only your nail exposed, or apply a thick layer of petroleum jelly around your cuticle.
- Create the Marble: Drop a few drops of your first polish onto the surface of the water. Immediately drop a different color polish onto the first drop. Continue alternating colors, letting each drop spread slightly.
- Swirl the Colors: Take your toothpick or needle and gently swirl the colors together. You can create simple concentric circles or more intricate patterns, but don’t over-swirl, or the colors will become muddy.
- Dip Your Nail: Carefully dip your nail into the water, aiming to have the swirling polish coat the surface of your nail. You can angle your finger to get the pattern you like.
- Remove Excess Polish: While your finger is still in the water, use a toothpick to gather the excess polish from around your nail. Then, gently pull your finger out of the water.
- Clean Up: Remove the tape or petroleum jelly and use cotton swabs with remover to clean up any stray polish on your skin.
- Top Coat: Once the design is completely dry, apply a top coat to seal and add shine.
Water marbling takes a little practice, but the results are stunning and totally unique every time. It’s like a mini art experiment for your nails!
5. The Simple Striping with a Brush or Toothpick
Thin, delicate lines can add a sophisticated touch. You don’t need a special striping brush; a fine-tipped toothpick or even the edge of a thin brush can work wonders.
What You’ll Need:
- Base coat and top coat
- Your base color polish
- A contrasting color polish for the lines
- A clean toothpick or a very fine brush (like an old lip brush or eyeliner brush that’s been cleaned thoroughly)
Steps:
- Base and Color Prep: Apply base coat, then your base color polish. Let it dry completely.
- Get Your Line Polish: Dip your toothpick or fine brush into the contrasting polish. Wipe off any excess on a paper towel so you have just a small amount of polish for a fine line.
- Draw Your Lines: Gently draw lines onto your dried nail. You can create a single line across the nail, a few parallel lines, or a simple criss-cross pattern. A very light touch is best.
- Clean and Refine: If the line isn’t as thin as you’d like, you can use the dry edge of your toothpick or brush to gently drag and refine the line. Clean up any mistakes with a fine-tipped cotton swab dipped in remover.
- Top Coat: Once everything is dry, seal your work with a top coat.
This is a fantastic way to add subtle detail. Think thin vertical stripes on an accent nail, or a single line near the cuticle for a modern look.
Beyond the Basics: Enhancing Your Tool-Free Designs
Once you’ve mastered the basic techniques, you can start experimenting with combinations or adding simple embellishments. The key is to start small and build confidence.
Adding Depth and Dimension
- Layering Colors: Try sponging with three colors instead of two for a richer gradient.
- Dot Layering: Place a larger matte dot, then add a smaller, shiner dot on top with a toothpick.
- Dual-Color Lines: After drawing a line with one color, wait for it to dry and then draw a thinner line of a different color right next to it.
The “Found Object” Embellishment
Sometimes, you can find interesting textures or shapes in everyday items. A quick dab with a crinkled paper towel can give a textured effect. The edge of a business card can be used to scrape a design into wet polish. Get creative!
When To Use What: A Quick Guide
To help you decide which tool-free technique to try next, here’s a quick rundown of what each method is best for and common pitfalls to avoid.
| Design Technique | Best For | Tips for Success | Common Pitfalls & How to Avoid |
|---|---|---|---|
| Sponged Ombre/Gradient | Seamless color blending, vibrant transitions. | Use complementary or analogous colors. Let layers dry. Dab, don’t rub. | Muddy colors (colors mixed too much before application), streaky finish (not enough polish on sponge or not enough dabbing). |
| Toothpick Dots & Swirls | Cute accents, simple patterns, small details. | Use only a tiny amount of polish on the toothpick. Clean toothpick often. | Blobby dots (too much polish), messy lines (too much polish or shaky hand). |
| Tape French/Geometric | Crisp lines, bold shapes, clean French tips. | Ensure base color is COMPLETELY dry. Press tape down firmly. Peel tape while polish is WET. | Ragged lines (polish seeped under tape – not pressed down enough), chipped polish (peeled tape when dry). |
| Water Marble | Unique, organic, intricate swirling patterns. | Practice patience! Protect surrounding skin. Don’t over-swirl. | Muddy colors (over-swirling), uneven patterns (poor dipping technique or polish not spreading), messy cleanup (skin not protected). |
| Toothpick/Fine Brush Lines | Delicate accents, subtle details, modern minimalist looks. | Use minimal polish on the tool. Practice drawing straight lines on paper first. | Thick or uneven lines (too much polish or lack of control), broken lines (tool dried out), smudged lines (base not dry enough). |
Understanding these nuances will help you troubleshoot and achieve the best possible results with your tool-free designs.
Keeping Your Masterpieces Looking Fresh
Creating beautiful nails is only half the battle; keeping them looking great is the other! A good top coat is your best friend for extending the life of any nail design. Reapplying top coat every couple of days can also refresh the shine and add an extra layer of protection against chips and smudges.
For any nail design, proper nail care is essential. Ensure your nails are clean and filed properly before you start. Keeping your cuticles moisturized will also make your manicures look more professional and polished. Resources like the American Academy of Dermatology offer excellent advice on general nail health and care, which forms the perfect backdrop for any creative polish work: <a href="https://www.aad.org/

