Discover stunning nail design ideas using gel polish for a salon-quality look at home! This guide offers beginner-friendly tips, easy techniques like the French tip, negative space, and simple abstract patterns, plus essential tool recommendations to elevate your DIY manicures and express your unique style confidently.
Gel polish manicures are a game-changer! They offer a beautiful, long-lasting finish that regular polish just can’t match. But what if you want more than just a single color? You might be dreaming of gorgeous nail art but feel a little intimidated. Don’t worry! Creating stunning nail designs with gel polish at home is totally doable, even if you’re a total beginner.
This guide is here to break down the magic of gel polish nail art for you. We’ll explore simple yet impactful design ideas that will make your nails pop. Get ready to unleash your inner artist and have some serious fun transforming your fingertips into tiny masterpieces. Let’s dive into the world of creative gel polish manicures!
Why Gel Polish is Your Best Friend for Nail Designs
Before we get our hands messy (in the best way possible!), let’s chat about why gel polish is a fantastic choice for creating beautiful nail designs. It’s not just about the shine and the fact that it lasts for weeks without chipping (though that’s a huge perk!).
Gel polish offers a unique canvas for creativity:
Smooth, Even Finish: Gel polish dries hard and smooth under a UV/LED lamp, creating a perfect base for intricate designs. There are no brush strokes like you might find with regular polish, giving a professional look.
Buildability: You can layer colors and even add subtle textures with gel polish. This is key for creating depth in your designs.
Longevity: This is the big one! Designs painted with gel polish are sealed and protected, meaning they’re less likely to smudge, chip, or fade. Your creation stays looking fresh for weeks.
Correction Made Easy (with caveats!): Unlike regular polish, gel doesn’t dry on its own. This gives you a little wiggle room to correct mistakes before curing under the lamp. Just wipe away with a cleanser and try again! Just remember, once it’s cured, it’s set.
Essential Tools for Your Gel Polish Nail Design Journey
To get started with beautiful gel polish nail designs, you’ll need a few key items. Think of these as your artist’s palette and brushes!
Here’s a breakdown of what’s essential:
- UV/LED Nail Lamp: This is non-negotiable for curing gel polish. LED lamps cure faster and are more energy-efficient. Most are suitable for home use. Look for one with at least 24 watts for a decent curing time. You can find reliable options from brands like Gelish or OPI, or many affordable generic models online. For a deeper dive into choosing the right lamp, check out resources on nail technician training websites which often detail lamp wattage and curing times.
- Gel Base Coat: This protects your natural nail and helps the color coat adhere better.
- Gel Color Coats: Choose your favorite shades! A good starter set might include classic reds, nudes, and black or white.
- Gel Top Coat: This locks in your design, adds shine, and provides protection. Some top coats are “no-wipe,” meaning they don’t leave a sticky residue after curing. Others require a final wipe with isopropyl alcohol or a special cleanser.
- Nail Cleanser/Isopropyl Alcohol: Used to remove the sticky inhibition layer after curing (if your top coat isn’t no-wipe) and to clean your brushes or any stray gel.
- Lint-Free Wipes: Regular cotton balls can leave fibers behind, which is a big no-no for a clean gel finish.
- Nail Files and Buffers: For shaping and gently prepping the natural nail surface. A fine-grit buffer (around 180-240 grit) is perfect for this.
- Cuticle Pusher/Orange Stick: To gently push back and tidy up cuticles.
- Gel Brushes: A few fine-tipped brushes are perfect for creating lines, dots, and simple shapes. You can find specialized gel art brushes online.
- Optional: Gel Polish Remover: For when it’s time for a change! Acetone-based removers are most effective.
Pro Tip: Invest in a good quality lamp. A weak lamp won’t cure your gel properly, leading to lifting and a manicure that doesn’t last!
Get Started: The Basic Gel Polish Application
Before we jump into designs, it’s crucial to master the basic gel polish application. A flawless base makes any design look ten times better!
Follow these steps for a perfect gel manicure:
- Prep Your Nails:
- Wash and dry your hands thoroughly.
- Gently push back your cuticles using a cuticle pusher.
- Shape your nails with a file.
- Lightly buff the surface of your nails with a fine-grit buffer. This removes shine and creates a slightly rough surface for the polish to grip. Don’t over-buff!
- Wipe away any dust with a lint-free wipe and nail cleanser.
- Apply Base Coat:
- Apply a thin, even layer of gel base coat.
- Cap the free edge (the tip of your nail) by running your brush along it. This helps prevent chipping.
- Cure under your UV/LED lamp according to the lamp’s instructions (usually 30-60 seconds for LED).
- Apply Color Coats:
- Apply a thin layer of your chosen gel color.
- Cap the free edge.
- Cure under the lamp.
- Apply a second thin layer of color for opacity.
- Cap the free edge.
- Cure under the lamp. (Two thin coats are always better than one thick coat for even curing and a smooth finish!).
- Apply Top Coat:
- Apply your gel top coat.
- Cap the free edge.
- Cure under the lamp.
- Cleanse (if needed):
- If you used a top coat that leaves a sticky residue, gently wipe each nail with a lint-free wipe doused in nail cleanser or isopropyl alcohol.
And voilà! A smooth, glossy, long-lasting gel polish manicure.
Beginner-Friendly Gel Polish Nail Design Ideas
Now for the fun part! These designs are simple to achieve but look incredibly chic. We’ll focus on techniques that don’t require a steady hand of a neurosurgeon.
1. The Classic French Tip with a Twist
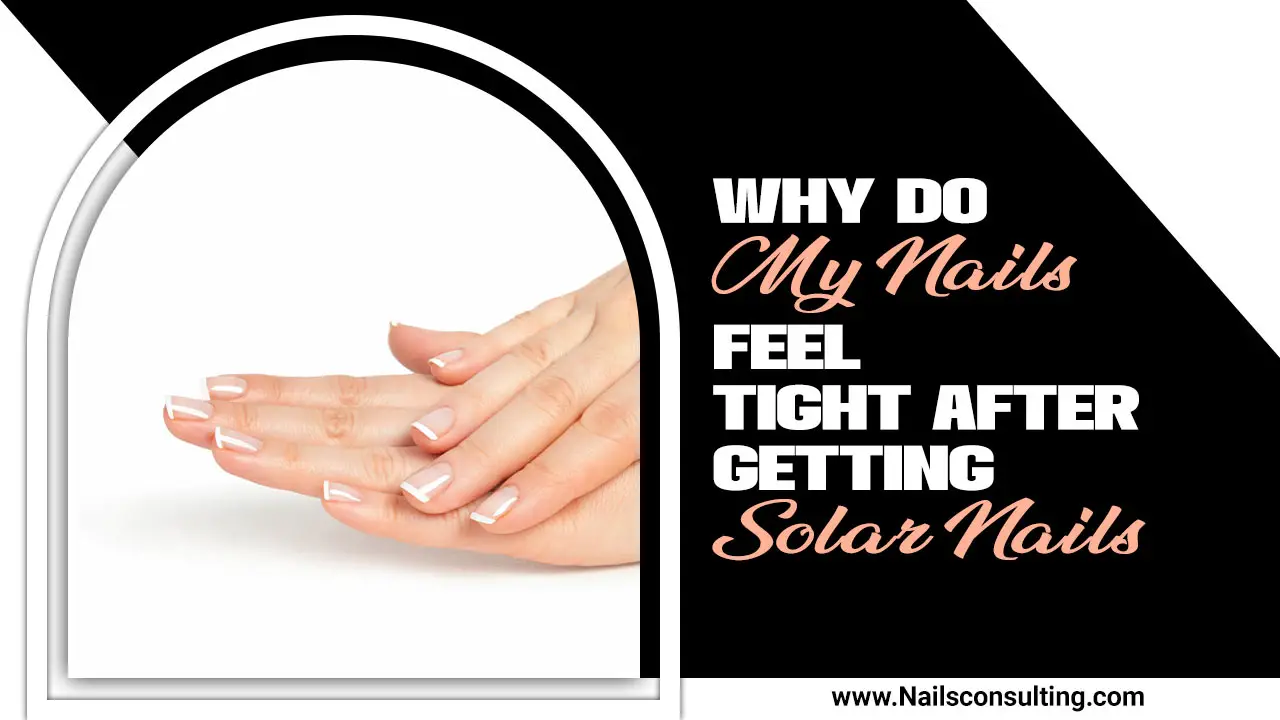
The French manicure is timeless, and gel polish makes it easier to get those crisp lines.
What you’ll need: Base coat, white gel polish, nude or sheer pink gel polish, top coat, a fine detail brush or a French tip guide sticker.
How to do it:
- Apply your base coat and cure.
- Apply 1-2 coats of your nude or sheer pink polish and cure each layer.
- For Freehand French: Dip your fine detail brush into the white gel polish. Gently float the brush along the free edge of your nail to create a smile line. Don’t press too hard. It’s okay if it’s not perfect; you can clean up the edges with a small cleanup brush dipped in cleanser before curing.
- For Guide Stickers: Apply the sticker just below where you want your white tip to be. Paint the white gel polish above the sticker. Carefully remove the sticker before curing.
- Cap the free edge with white polish and cure.
- Apply top coat and cure.
The Twist: Use a colored gel polish (like black, navy, or even a metallic) instead of white for a modern take. Or, add a thin metallic stripe just at the base of the white French tip line!
2. Negative Space Designs
This trend is super forgiving and looks effortlessly cool. It involves leaving parts of your natural nail or base color visible.
What you’ll need: Base coat, sheer or nude gel polish, your chosen design gel color, top coat, fine detail brush.
How to do it:
- Apply your base coat and cure.
- Apply 1-2 coats of your sheer or nude gel polish, leaving the tips or a section of the nail bare (this is your negative space). Cure each layer.
- Using your fine detail brush and the design color, paint simple shapes or lines onto the polished part of the nail, stopping at the edge of the bare nail. Think geometric shapes, a single abstract swirl, or a few dots.
- Cap the free edge of the entire nail, including the negative space, if you wish (this helps seal the design). Cure.
- Apply top coat and cure.
Why it’s beginner-friendly: If you make a wobbly line, it often just adds to the abstract, minimalist vibe. The visible nail allows for imperfections.
3. Polka Dots Galore
Dots are fun, easy, and endlessly customizable!
What you’ll need: Base coat, your chosen base gel polish color, contrasting gel color for dots, top coat, dotting tool or fine detail brush.
How to do it:
- Apply your base coat and cure.
- Apply 1-2 coats of your base color and cure each layer.
- Dip your dotting tool (or the ball tip of a ballpoint pen if desperate!) into the contrasting gel color.
- Gently press the dotting tool onto your nail to create a dot. For variation, use different sizes of dotting tools or brushes.
- Create dots in a pattern (evenly spaced, scattered, random) or just a few strategically placed ones.
- Cure the nail.
- Apply top coat and cure.
Tip: For perfectly uniform dots, practice on a piece of paper or a spare nail tip first. Remember that gel polish is thicker, so a little goes a long way.
4. Simple Stripes
Adding lines can elevate a simple manicure to something special.
What you’ll need: Base coat, your chosen base gel polish color, contrasting gel color for stripes, top coat, very fine detail brush or striping tape.
How to do it (Brush Method):
- Apply base coat and cure.
- Apply 1-2 coats of base color and cure each layer.
- Dip your ultra-fine detail brush into the contrasting gel color.
- Carefully draw thin, straight lines across the nail. You can go horizontally, diagonally, or vertically.
- For a clean finish, ensure your lines are not too thick. If needed, clean up edges before curing.
- Cure the nail.
- Apply top coat and cure.
How to do it (Striping Tape Method):
- Apply base coat and cure.
- Apply 1-2 coats of base color and cure each layer.
- Apply your first stripe of contrasting gel color and cure.
- Carefully place striping tape onto the cured gel layer to create your desired line. Press down firmly to ensure it adheres well.
- Apply a thin coat of the base color over the striping tape. This seals the tape and prevents the top coat from seeping underneath. Cure.
- Carefully peel off the striping tape while the gel is still tacky (or after curing, depending on the tape and gel formula – test a small spot first!). Ideally, you want to remove it while it’s still a little soft to avoid lifting the underlying color.
- Apply top coat and cure.
Tip: Striping tape allows for very crisp lines, but practice removing it smoothly!
5. Ombre (Gradient) Effect
This looks complex but is surprisingly achievable with a bit of patience.
What you’ll need: Base coat, two complementary gel colors (e.g., light pink and dark pink, or blue and purple), top coat, sponge (makeup sponge or nail art sponge), fine brush for cleanup.
How to do it:
- Apply base coat and cure.
- Apply 1-2 coats of your lighter shade and cure each layer. This acts as your base.
- On a palette or a foil piece, paint thin stripes of your two chosen colors next to each other.
- Immediately use your sponge to gently dab and blend the colors on the palette. The goal is a smooth transition between the two.
- Dab the blended color onto your nail. You may need to re-apply to the palette and dab more onto the nail to build up the color and gradient effect.
- Cleanup is crucial here: Use a fine brush dipped in nail cleanser (not alcohol, as it can smudge uncured gel) to carefully clean the edges around your cuticle and sidewalls before curing.
- Cure the nail.
- Apply top coat, ensuring you cap all edges, and cure.
Tip: Start with a wider sponge tip for easier application, then move to a smaller one for precision if needed. You can also use this technique with 3+ colors!
Elevating Your Designs: Easy Additions
Once you’re comfortable with the basics, try adding these simple elements to make your designs pop!
Chrome Powder Application
Chrome nails are super popular and surprisingly easy to achieve with gel.
What you’ll need: Base coat, black or dark gel color (for best contrast), gel top coat (a specific “chrome” or “no-wipe” top coat is best), chrome powder, silicone applicator or fingertip.
How to do it:
- Apply base coat and cure.
- Apply and cure 1-2 coats of your black or dark gel color. This creates a dark canvas for the chrome effect.
- Apply a thin, even layer of your no-wipe or chrome gel top coat. Cure it fully – an incomplete cure will prevent the powder from adhering. Some chrome top coats require a slightly longer cure time.
- Dip your silicone applicator or fingertip into the chrome powder.
- Rub the powder firmly onto the cured top coat until the entire nail surface is covered and has a mirror-like shine.
- Gently brush away any excess powder with a soft brush.
- Apply another layer of top coat to seal the chrome and provide durability. Cure.
Tip: Make sure to use a top coat specifically designed for chrome powders. Not all top coats will allow the powder to adhere correctly.
Glitter & Flakes
Adding a touch of sparkle is always a good idea!
What you’ll need: Base coat, your chosen base gel color, glitter or flakes, top coat.
How to do it:
- Apply base coat and cure.
- Apply and cure 1-2 coats of your base color.
- For a full glitter nail: Apply a layer of top coat, then sprinkle or place your glitter or flakes onto the wet top coat. Gently pat them down with your finger or a brush. Cure.
- For targeted glitter: Apply your base color, cure. Use top coat as an adhesive for glitter/flakes in specific areas (like French tips, stripes, or around cuticles). Cure.
- For both methods, apply a generous layer of top coat to encapsulate all the glitter/flakes smoothly. Ensure you cap edges well to prevent snagging. Cure.
Troubleshooting Common Gel Polish Design Issues
Even with the best intentions, things can go sideways. Here are solutions to common problems beginners face.
Problem: Bubbles in Gel Polish
Cause: Gel polish was applied too thickly, not cured long enough, or exposed to heat before curing.
Solution: Always apply gel polish in thin, even layers. Ensure your lamp is functioning correctly and cure for the recommended time. Store your gel polish away from direct sunlight and heat sources.
Problem: Design Smudged or Streaky
Cause: The design layer wasn’t cured properly, or oil/lotion was present on the nails.
Solution: Ensure each layer of gel (color, design elements) is cured adequately. Always cleanse your nails thoroughly before starting. A good quality, fine detail brush and mindful application can also prevent streaks.
Problem: Gel Polish Lifting or Peeling
Cause: Improper nail prep (not buffing enough), polish touching the cuticle, or hitting the free edge, or the gel


