Nail Design Ideas: Genius Tips For Stunning Nails
Ready to transform your nails from drab to fab? Discover easy, beginner-friendly nail design ideas and genius tips to create stunning manicures at home. Learn about simple techniques, essential tools, and how to achieve salon-worthy results without the salon price tag. Get inspired to express your unique style with beautiful, achievable nail art!
Do you ever look at your nails and wish they had a little more sparkle? Maybe you see amazing nail art online and think, “I could never do that!” It’s a common feeling, but guess what? Creating beautiful nail designs is more accessible than you might think! You don’t need to be a pro artist. With a few clever tips and some simple supplies, you can achieve gorgeous nails that shine. Let’s unlock your inner nail artist and discover how fun and easy it can be to design stunning nails right at home. Get ready to fall in love with your manicure!
Frequently Asked Questions About Nail Design
What are the easiest nail design ideas for beginners?
Simple dotting with a contrasting polish color, adding glitter accents, or trying a basic French tip are fantastic starting points. Even stripes or a single accent nail with a unique color can make a big impact!
What are the essential tools for DIY nail art?
You’ll need a good base coat, top coat, and your favorite nail polishes. For designs, consider dotting tools (or a toothpick!), striping tape, and fine-tipped brushes. Nail polish remover and cotton pads are a must for fixing mistakes!
How can I make my DIY nail designs last longer?
Start with clean, dry nails. Always use a good base coat to protect your nails and help polish adhere. Apply thin layers of polish, allowing each to dry slightly before adding the next. Finish with a high-quality top coat and reapply it every few days to seal and protect your design.
What’s the best way to remove nail polish without staining?
Use an acetone-free nail polish remover, especially if you have sensitive skin or wear polish frequently. Apply it to a cotton pad, hold it on your nail for a few seconds to let the polish soften, then wipe gently. Don’t rub excessively. For stubborn glitter polish, try soaking a cotton ball in remover, cutting it into smaller pieces, placing them on your nails, and wrapping them in foil for a few minutes before wiping.
How do I achieve clean lines in nail art?
Clean lines are often achieved with striping tape or stencils. Apply your base polish and let it dry completely. Place the tape or stencil precisely where you want the edge of your design. Apply your contrasting color layer over the tape. Once the new color is almost dry (but not completely), carefully peel off the tape. This prevents smudging and leaves a crisp line.
Can I do nail art if my nails are short?
Absolutely! Short nails are perfect for many nail designs. Simple patterns, geometric shapes, accent nails, and ombre effects can look stunning on shorter lengths. In fact, some intricate designs can even make short nails appear longer.
Where can I find inspiration for nail design ideas?
Inspiration is everywhere! Look at Pinterest, Instagram (search #naildesigns or #nailarttutorials), fashion magazines, nature, art, and even patterns on clothing. Don’t be afraid to combine elements from different sources to create something uniquely yours.
Your Nail Design Journey Starts Here!
Welcome, nail lovers! Are you ready to dive into the exciting world of nail design? It’s a fantastic way to express yourself, boost your confidence, and add a touch of sparkle to your everyday look. Whether you’re a complete beginner or looking to refine your skills, this guide is packed with genius tips and inspiring ideas to help you create stunning nails right at home. Forget complicated techniques; we’re focusing on simple, achievable designs that anyone can master. Let’s get those nails looking fabulous!
The Foundation: Perfect Nail Prep
Before we even think about adding color or designs, the most important step is proper nail preparation. Think of it like preparing a canvas for a masterpiece – a smooth, healthy surface makes all the difference! Healthy nails not only look better but also help your nail polish and designs last longer.
Step 1: Cleanse and Shape
Start by removing any old nail polish. Then, gently push back your cuticles with an orangewood stick or a cuticle pusher. Avoid cutting your cuticles, as they protect your nail bed from bacteria. For shaping, use a fine-grit nail file. File in one direction, from the side of the nail to the tip, to prevent weakening and splitting. Choose a shape that suits your lifestyle and nail type – squares, rounds, and squovals (a soft square shape) are popular and easy to maintain.
Step 2: Buff and Smooth
Gently buff the surface of your nails with a fine-grit buffer. This removes any ridges and creates a smooth surface for polish to adhere to. Don’t over-buff, as this can thin your nail plate. After buffing, wipe your nails with a lint-free cloth or a nail cleanser to remove dust.
Step 3: Prime Your Nails
Apply a thin layer of high-quality nail strengthener or a hydrating base coat depending on your nail’s needs. A base coat is crucial! It prevents staining from darker polishes and creates a slightly tacky surface for your color coat to grip onto, improving longevity. Let it dry completely.
A well-prepped nail is less likely to chip and will showcase your designs beautifully. It’s worth the extra few minutes!
Essential Tools for Nail Art Beginners
You don’t need a professional salon to create amazing nail art! A few key tools can unlock a world of design possibilities. Here’s a look at what’s super helpful to have on hand:
Must-Have Polishes:
- Base Coat: Essential for nail health and polish grip.
- Top Coat: Seals your design, adds shine, and prevents chips.
- Colors: A few favorite shades you love!
- White and Black Polish: These are incredibly versatile for creating contrast and detail.
Design Tools:
- Dotting Tools: Come in various tip sizes for perfect dots. If you don’t have these, the tip of a bobby pin or a toothpick can work in a pinch!
- Fine-Tipped Brushes: For drawing thin lines, swirls, and intricate details. You can find these at art supply stores or dedicated beauty stores.
- Striping Tape: Thin, adhesive tapes that create sharp, clean lines.
- Dotting Sticks or Toothpicks: For creating dots of various sizes.
- Stencils: Pre-cut designs that help create patterns.
- Nail Art Pens: Similar to markers, they offer a simple way to draw designs.
Cleanup Essentials:
- Nail Polish Remover: Acetone-free is gentler.
- Cotton Pads or Lint-Free Wipes: For clean application and removal.
- Small Brush (e.g., an old, clean makeup brush): Dip lightly in remover to clean up polish mistakes around the cuticle area without smudging your design.
Don’t feel like you need to buy everything at once! Start with the basics like dotting tools or toothpicks, and gradually add more as you get comfortable. The most important thing is to have fun experimenting!
Easy Nail Design Ideas You Can Do Today
Ready to get creative? These beginner-friendly ideas will make your nails pop without requiring advanced skills. Let’s explore some simple yet stunning nail design concepts!
The Chic Accent Nail
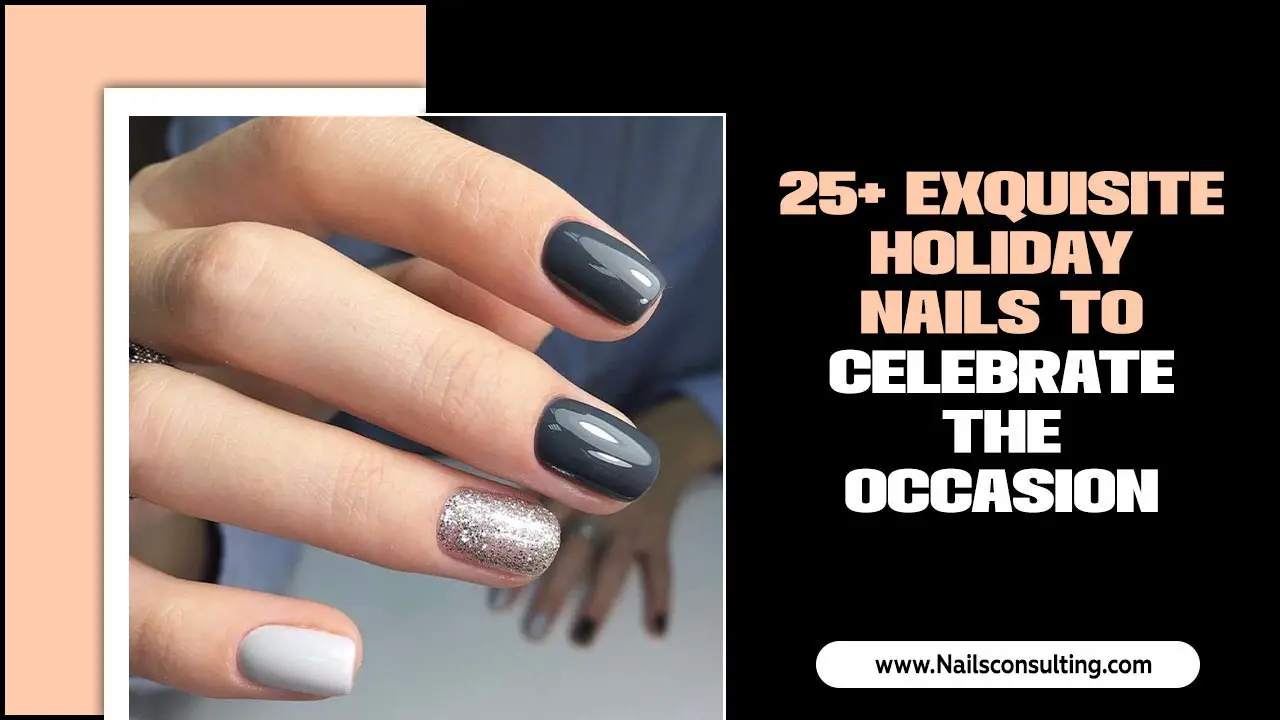
This is the easiest way to jazz up your manicure. Paint all your nails in one color, then choose one nail (usually your ring finger) to create a different design. You could fill it with glitter polish, paint it a contrasting color, add a simple stripe, or even a few polka dots. It’s a subtle touch that makes a big statement!
Polka Dots Made Easy
This classic design is fun and forgiving!
- Apply your base color and let it dry completely.
- Dip a dotting tool (or the tip of a toothpick) into a contrasting polish color.
- Gently dab the polish onto your nail to create dots. You can make them uniform in size or vary them for a more playful look.
- Let them dry, then seal with a top coat.
Try different color combinations for endless possibilities!”;
Simple Stripes with Tape
Sharp, clean lines are achievable with striping tape.
- Paint your nails with your first color and let them dry thoroughly.
- Cut small pieces of striping tape and carefully apply them to your nail to create your desired stripe pattern.
- Paint over the tape with your second color.
- While the second color is still slightly wet, but not smudgy, carefully peel off the striping tape using tweezers.
- Allow to dry, then apply a top coat.
Horizontal, vertical, or diagonal – the choice is yours!
Glitter Explosion
Glitter adds instant glamour!
- Apply your base coat and let it dry.
- For full coverage, apply glitter polish like any other polish.
- For a glitter gradient (ombre effect), start with more glitter at the tip or base and gradually less as you move towards the other end. You can dab the glitter polish with a sponge for a softer blend.
- Seal with a thick top coat to smooth out the glitter texture.
Glitter is always a good idea!
The Modern French Tip
Forget the traditional white! Experiment with colored tips.
- Paint your nails with a nude or sheer base color and let it dry.
- Use a fine brush or the tip of a nail polish bottle to carefully paint colored tips onto your nails.
- Alternatively, use striping tape to create a clean edge for your colored tip.
- Seal with a top coat.
Try metallic colors, neons, or even a different shade for each nail!
Geometric Shapes Made Easy
With striping tape or stencils, creating geometric patterns is simple.
- Paint your nails in a base color and let them dry completely.
- Use striping tape to outline shapes like triangles, squares, or diamonds.
- Fill in the taped-off sections with contrasting colors.
- Carefully remove the tape while the polish is still slightly wet.
- Seal with a top coat once dry.
These look super chic and professional!
Ombré Transition
Achieve a beautiful color blend with a simple sponge technique.
- Apply a base color and let it dry.
- Apply two complementary polish colors next to each other on a makeup sponge.
- Gently dab the sponge onto your nail, pressing down and slightly rolling to blend the colors.
- You might need a few passes to build up the color.
- Clean up any excess polish around the edges with a cleanup brush dipped in remover.
- Seal with a top coat.
This technique creates a stunning gradient effect.
Marble Magic
Create an artistic, marbled effect.
- Apply your base color and let it dry.
- On a piece of foil or a palette, add a few drops of 2-3 different colored polishes.
- Swirl them together gently with a toothpick.
- Dip your nail (or a cleanup brush) into the swirls on the foil and rotate slightly to pick up the pattern.
- Alternatively, use a fine brush to paint wispy lines on your nail and then blend them with a cleanup brush dipped in remover.
- Clean up any mess around the cuticle and seal with a top coat.
Each nail will be a unique piece of art!
Advanced Techniques for the Adventurous (But Still Beginner-Friendly!)
Once you’ve mastered the basics, you might feel brave enough to try a few slightly more intricate designs. These still rely on simple principles but offer a step up in complexity. Remember, practice makes progress!
Simple Floral Elements
You don’t need to be Picasso to draw little flowers!
- Use a dotting tool to create a few dots in a circle to form petals.
- Add a smaller dot in the center for the flower’s middle.
- Alternatively, use a fine brush to paint tiny leaf shapes or simple petals.
Try this on an accent nail for a sweet touch.
Negative Space Designs
This involves leaving parts of your natural nail visible. Using striping tape is perfect for this.
- Apply your base coat.
- Place striping tape on your nail in a geometric pattern.
- Paint over the sections not covered by tape.
- Carefully remove the tape while the polish is still a little wet.
The exposed nail (negative space) adds a modern, edgy feel.
Foil Accents
Transfer foils can add a metallic pop.
- Apply a special foil adhesive or a sticky base coat.
- Let it become tacky according to the product instructions.
- Press a piece of foil onto the tacky surface.
- Peel off the foil to reveal the metallic design.
- Seal with a top coat.
You can cover the whole nail or just add small accents.
Stamped Designs Using Nail Stamping Plates
Nail stamping kits make intricate designs surprisingly easy.
- You’ll need a stamping plate with etched designs, a stamper, and a scraper.
- Apply a thick layer of special stamping polish onto the etched design on the plate.
- Use the scraper to remove excess polish quickly.
- Immediately roll or press the stamper onto the design to pick it up.
- Quickly stamp the design onto your nail.
- Clean up any smudges and seal with a top coat.
This is an amazing way to get complex patterns like lace or detailed images without freehand painting.
Using Stickers and Decals
The ultimate beginner hack!
- Apply your base polish and let it dry.
- Carefully peel a sticker or decal from its backing.
- Place it onto your nail.
- Gently but firmly press it down, smoothing out any edges.
- Apply a generous top coat to seal it and prevent peeling.
There are endless designs available, from minimalist shapes to elaborate artwork.
Expert Tips for Long-Lasting Designs
Creating beautiful nail designs is one thing, but making them last is the real win! Here are some pro secrets to extend the life of your manicure:
- Thin Layers are Key: Resist the urge to go thick. Multiple thin coats dry better, adhere more firmly, and are less prone to chipping than one thick coat.
- Seal the Deal with a Top Coat: Don’t skip this step! A good top coat protects your design from wear and tear, adds shine, and prevents chipping. Reapply every 2-3 days to keep your manicure looking fresh.
- Beware of Water and Chemicals: Wear gloves when doing chores, washing dishes, or using cleaning products. Prolonged exposure to water and harsh chemicals can lift polish and damage your design.
- Avoid Biting or Picking: Easier said than done, I know! But picking at your polish, especially the edges or designs, is a surefire way to cause chips and lifting.
- Carry a Mini Top Coat: For touch-ups on the go, a mini top coat can


