Multichrome shift nail art is a magical way to add dazzling, color-changing effects to your nails. With a few key products and simple steps, you can easily create this eye-catching look at home, transforming your manicure into a wearable piece of art that shifts and shimmers with every move.
Ever seen nails that change color as you move them? That’s the magic of multichrome shift nail art! It might look super pro, but getting that stunning, iridescent effect is totally doable, even for nail art beginners. Forget spending a fortune at the salon; we’re going to break down how you can achieve this mesmerizing look right in your own home. Get ready to impress yourself (and everyone else!) with nails that are as dynamic as you are. Let’s dive into making your fingertips the center of attention!
What is Multichrome Shift Nail Art?
Multichrome shift nail art is a type of nail design that features polishes or pigments designed to change color when viewed from different angles or under various lighting conditions. Unlike duochrome (which typically shifts between two colors), multichrome offers a spectrum of colors, creating a dynamic and fluid effect. This illusion is achieved through specialized pigments that reflect light in unique ways.
The “shift” happens because these pigments contain micro-particles that are coated with multiple, ultra-thin layers of different metallic or oxide compounds. Each layer is precisely engineered to refract light at specific wavelengths. When light hits your nails, different colors are reflected back to your eyes depending on the angle of incidence and the angle of observation. It’s like owning a tiny disco ball on each fingertip!
Why You’ll Love Multichrome Nails
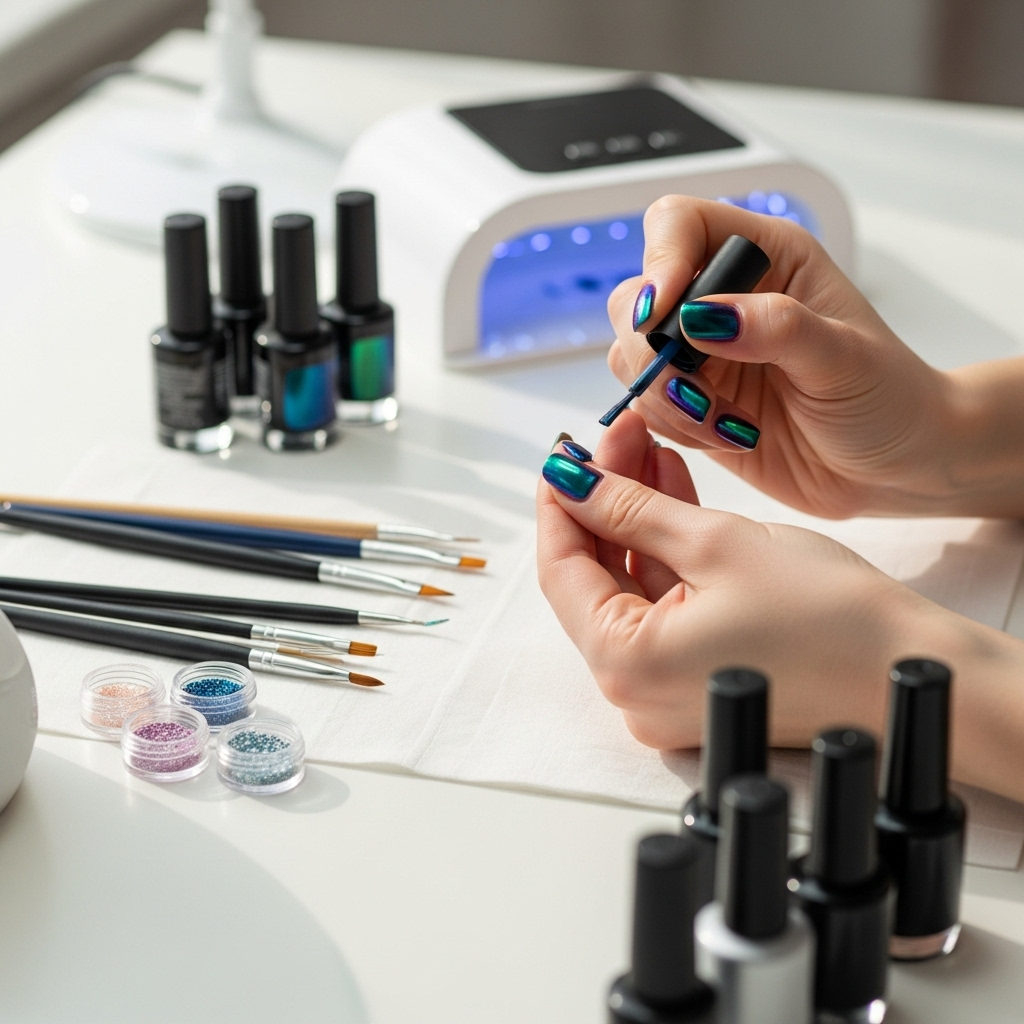
Multichrome nails are more than just pretty; they’re a statement! Here’s why they’re quickly becoming a favorite among nail enthusiasts:
- Unmatched Wow Factor: They grab attention without needing any complex designs. The color-shifting quality itself is the star.
- Versatility: Multichromes can look sophisticated and subtle in one light, then explosive and vibrant in another. They adapt to your mood and outfit.
- Easy Application: Many multichrome effects come from simple pigment powders or polishes, making them surprisingly beginner-friendly.
- Endless Combinations: You can wear them on their own, over black for intensity, or over lighter colors for a softer hue.
- Self-Expression: They offer a unique way to express your personality and love for all things glamorous and magical.
Essential Tools and Materials for Multichrome Nail Art
To create stunning multichrome shift nail art, you don’t need a million fancy gadgets. Here’s a simple list of what will help you achieve that magical color-changing effect:
For the Base:
- Base Coat: Essential for protecting your natural nails and helping polish adhere.
- Black Nail Polish: Most multichrome pigments look most vibrant over a dark base, especially black. This creates a deep canvas for the colors to pop.
- Top Coat: A good quality, non-wipe (or gel) top coat is crucial for sealing in the effect and adding shine.
For the Multichrome Magic:
- Multichrome Nail Polish: These are polishes formulated with multichrome pigments. They’re the easiest option for beginners.
- Multichrome Pigment Powder: These fine powders are applied over a sticky surface (like a tacky top coat or gel polish) and then sealed. They offer the most intense color shift.
- Silicone Tools or Eyeshadow Applicators: Used to rub the pigment powder onto the nail.
Optional (but helpful!):
- Cuticle Oil: To moisturize your skin after applying polish.
- Nail File and Buffer: For shaping and smoothing nails before you start.
- Orange Stick or Cuticle Pusher: To clean up edges.
Step-by-Step Guide: Achieving the Multichrome Shift
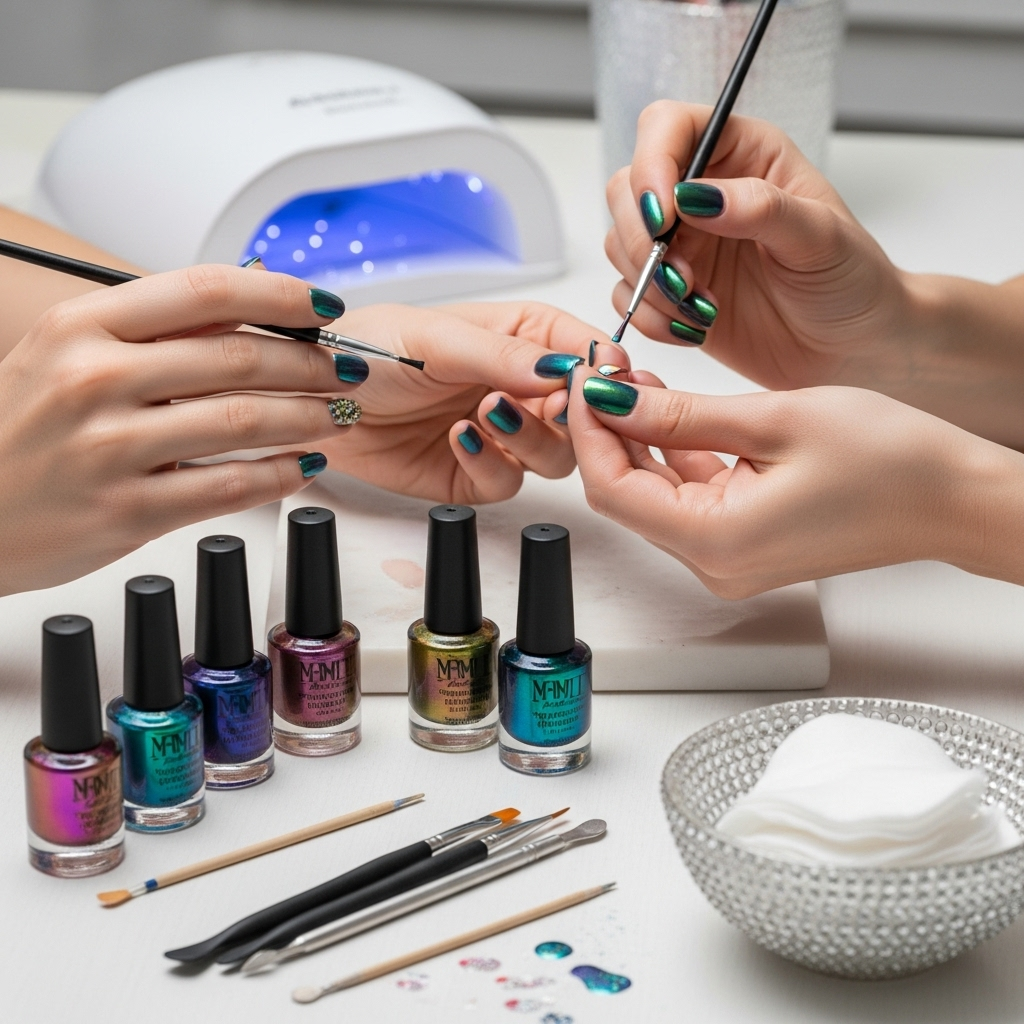
Let’s get down to business! Here are two popular methods for creating beautiful multichrome shift nail art.
Method 1: Using Multichrome Nail Polish (Beginner Friendly!)
This is the simplest way to get started with multichrome effects. You just need your polish and a few basics.
- Prep Your Nails: Start with clean, dry nails. Shape them with a nail file and gently push back your cuticles. Apply a thin layer of base coat and let it dry completely.
- Apply Black Polish: Apply two thin coats of black nail polish. The black base is key for making the multichrome colors really pop and show their full spectrum. Let each coat dry thoroughly.
- Apply Multichrome Polish: Apply one or two thin coats of your multichrome nail polish. You’ll immediately see the color shift as you move your nails! Let it dry completely. For truly opaque, intense multichrome, you might need two coats.
- Seal the Deal: Apply a generous layer of your favorite clear top coat. This will lock in the color and give your nails a high-gloss shine. Reapply periodically to keep your manicure looking fresh.
Method 2: Using Multichrome Pigment Powder (For Maximum Impact!)
This method offers the most intense and dramatic color shift. It requires a little more precision, but the results are absolutely breathtaking!
- Prep and Base: Follow steps 1 and 2 from Method 1: prep your nails, apply base coat, and then apply two thin coats of black nail polish, allowing each to dry completely.
- Apply a Sticky Top Coat: Apply a thin, even layer of a sticky top coat. This could be a special “pigment application ” top coat, or a regular gel top coat that you cure under a UV/LED lamp but don’t wipe off the sticky residue. If using regular nail polish, a quick-dry top coat can sometimes work if it remains slightly tacky. If using gel, cure it according to the lamp’s instructions. The surface needs to be slightly tacky for the powder to adhere.
- Apply the Multichrome Pigment: Dip a silicone tool or a clean eyeshadow applicator into your chosen multichrome pigment powder. Gently pat and rub the powder onto the tacky nail surface. Use small, circular motions to ensure an even application. You’ll see the color begin to shift as you work! Ensure you cover the entire nail, going slightly over the edges if needed to avoid a “frame” of black.
- Buff and Blend (Optional): If there are any patchy spots or excess powder, gently buff them with a clean part of your applicator or a soft brush. For a super smooth finish, you can gently buff the surface with a fine-grit buffer, but be careful not to rub through the pigment.
- Clean Up: Gently brush away any loose powder from around the nail and cuticles. A small brush is perfect for this.
- Seal the Magic: Apply a generous layer of a non-wipe gel top coat or a very good quality regular top coat. This is critical to prevent the pigment from rubbing off and to seal in the incredible color shift. Cure gel top coats under a UV/LED lamp. For regular top coats, let them dry completely. Applying a second layer of top coat can further protect the pigment and add extra shine.
Choosing Your Multichrome Colors and Effects
The world of multichrome is vast and exciting! Understanding a few basics can help you pick the perfect shades:
Common Color Shifts:
Multichrome pigments and polishes are categorized by their primary color shifts. Some popular examples include:
| Shift Name/Description | Typical Color Range | Commonly Seen Colors |
|---|---|---|
| Blue-Purple-Pink | Starts with blue, shifts to purple, then to pink/red. | Deep navy, amethyst, magenta, crimson. |
| Green-Gold-Orange | Begins green, moves to golden-yellow, then to orange/red. | Emerald, chartreuse, rich gold, burnt sienna. |
| Purple-Blue-Green | Starts with purple, transitions to blue, then to green. | Deep violet, sapphire, teal, lime green. |
| Red-Gold-Green | Shifts from red through gold to green. | Ruby, bronze, olive, forest green. |
| Teal-Purple-Pink | A shift from a vibrant teal to a deep purple and then a bright pink. | Aqua, orchid, fuchsia. |
Tips for Color Selection:
- Consider Your Undertones: Like clothing or makeup, some color shifts will complement your skin tone better than others. Cool-toned individuals might gravitate towards blues, purples, and greens, while warm-toned individuals might prefer golds, reds, and oranges. However, multichromes are so dynamic they often look good on everyone!
- Think About the Occasion: Do you want something subtle yet intriguing for work, or a bold, attention-grabbing shade for a night out? Multichromes can do both!
- Experiment with Bases: While black is a go-to for intensity, try applying multichrome over white for a pastel, ethereal shift, or over a complementary color for a unique layered effect. For instance, a blue-based multichrome over a light teal might enhance the green undertones.
- Check Swatches: Look for online swatches that show the shift in different lighting. User-generated content on social media can be incredibly helpful.
Troubleshooting Common Multichrome Nail Art Issues
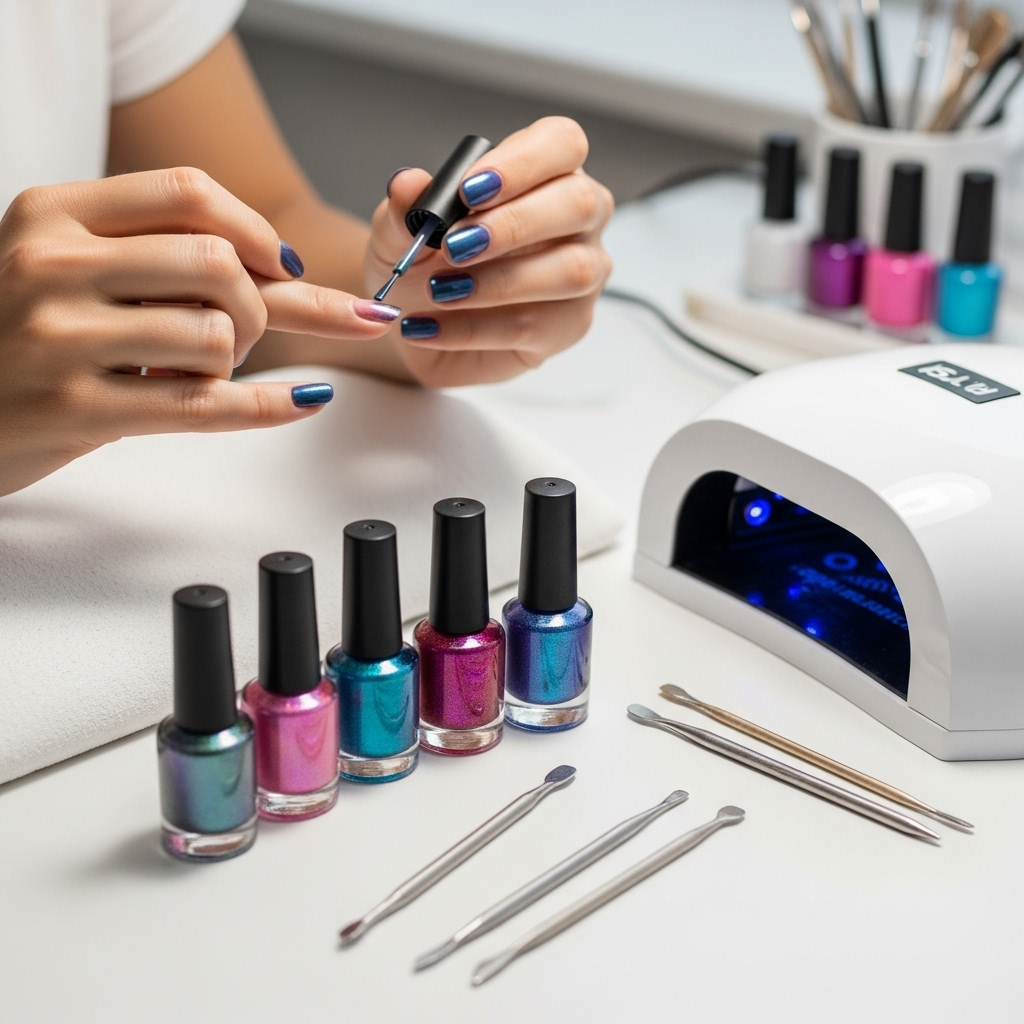
Even the best manicures hit a snag sometimes! Here are solutions to common multichrome problems:
- Problem: The color shift isn’t very noticeable.
- Solution: Ensure you’re using a dark base polish (black is best for most pigments). If using powder, make sure you’re applying enough and rubbing it in thoroughly until the surface is fully covered. Also, check your top coat – some top coats can slightly mute the shift. A high-gloss, non-wipe gel top coat usually preserves the most vibrancy.
- Problem: The pigment rubs off after applying the top coat.
- Solution: This usually means the “sticky layer” wasn’t quite right for the pigment to adhere to, or the top coat wasn’t applied thick or long enough. Ensure you’re using a truly sticky surface (for gels, this is the uncured layer). If using a non-gel top coat, make sure it’s a high-quality one designed to seal well and let it dry completely. Applying a second layer of top coat can also help.
- Problem: The application looks patchy or streaky.
- Solution: This often happens when the pigment isn’t evenly distributed. Use a dabbing or patting motion with your applicator rather than swiping. Ensure you cover the entire nail surface before adding the top coat. For powders, a second light application might be needed in thinner areas.
- Problem: The multichrome color looks different than expected.
- Solution: Pigments can look different in the jar/pan than they do on the nail, especially depending on the base color and lighting. Always check swatches under various lights if possible. Also, the angle of application and the pressure applied can slightly alter how the colors appear.
- Problem: My natural nails are stained after removing the polish.
- Solution: This is why a base coat is so important! A good quality base coat creates a barrier. If staining occurs, try a nail bleach pen or a lemon juice soak. For future manicures, consider using a thicker base coat or two layers of it, especially when working with dark or highly pigmented polishes.
Caring for Your Multichrome Nails
To keep your stunning multichrome shift nail art looking its best, follow these simple care tips:
- Apply a fresh layer of top coat every 2-3 days to maintain shine and protect the color.
- Wear gloves when doing household chores, especially washing dishes or cleaning with harsh chemicals, as these can break down the top coat and dull the polish.
- Avoid using your nails as tools (like scraping or prying).
- Moisturize your cuticles regularly with oil. Healthy cuticles make your whole manicure look better!
- If you notice any chipping or lifting, address it promptly by touching up the polish or reapplying top coat to prevent further damage.
Frequently Asked Questions About Multichrome Nail Art
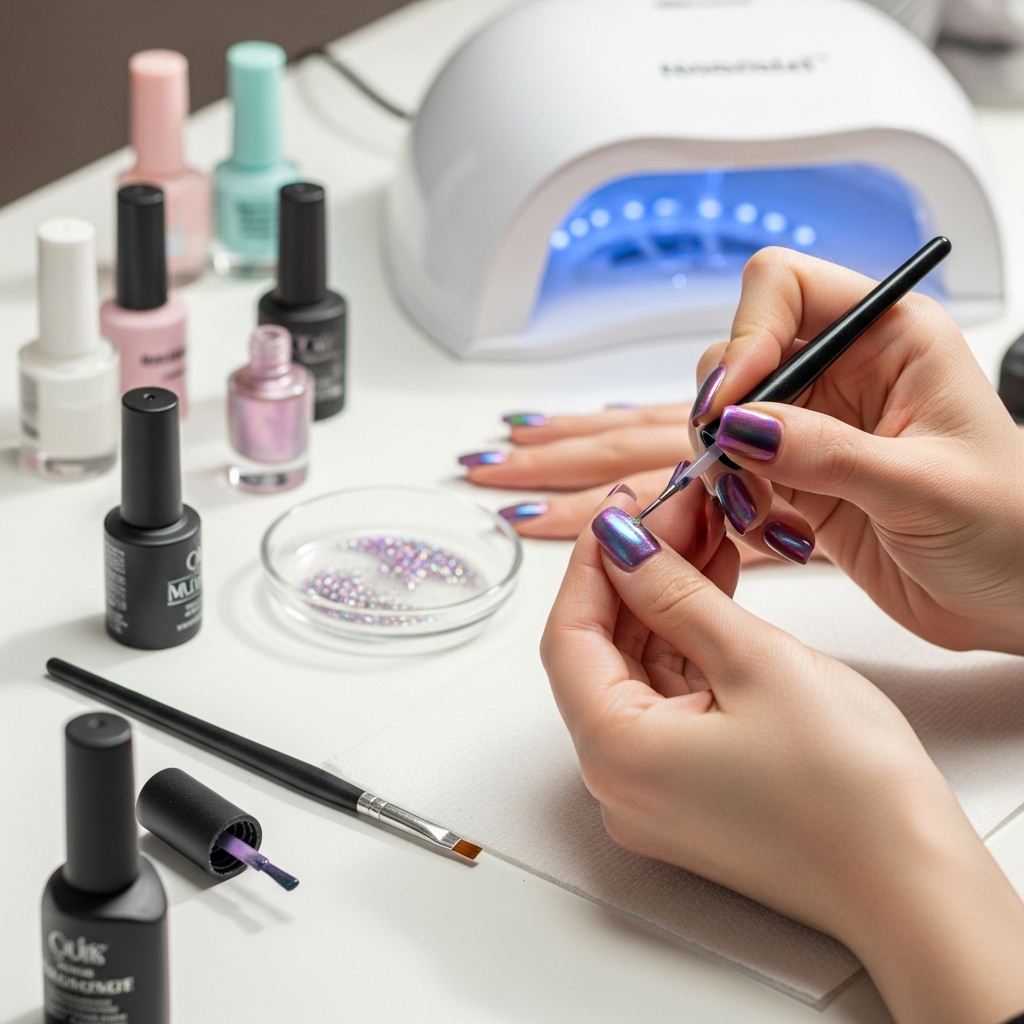
Here are some common questions beginners have about multichrome shift nail art:
Q1: Do I need a special base coat for multichrome pigments?
A: While specific “pigment application” base coats exist, you can usually achieve great results with a regular, sticky gel top coat that you cure under a UV/LED lamp but don’t wipe. For regular polishes, a good quality sticky top coat works best. Always ensure the surface you’re applying the pigment to is tacky!
Q2: Can I use multichrome polish or powder over my natural nails without a dark base?
A: Yes, you can! However, a dark base like black is highly recommended to make the shifting colors appear most vibrant and dramatic. Applying over lighter colors will give a softer, more pastel, or different hue than a dark base. For example, a blue-green multichrome over white might look more pastel blue-green, while over black it could shift from deep teal to violet.
Q3: How long do multichrome nails typically last?
A: With proper application and care, multichrome nail polish manicures can last 1-2 weeks. If using gel polish and gel top coats, they can last even longer, often 2-3 weeks before significant chipping or lifting occurs.
Q4: Are multichrome powders safe for my nails?
A: Yes, when used correctly, multichrome powders are safe. The key is to apply them over a protective base coat and seal them completely with a good quality top coat. Always ensure you’re getting your pigments from reputable, beauty-supply trusted sources. As with any cosmetic product, discontinue use if irritation occurs.
Q5: Can I mix different multichrome colors or pigments?
A: Absolutely! This is where the real creativity comes in. You can layer different multichrome polishes or carefully blend pigment powders to create unique, custom shifts. Experimentation is key!
Q6: What’s the difference between duochrome and multichrome?
A: Duochrome polishes typically shift between two distinct colors. Multichrome polishes or pigments display a shift across three or more colors, offering a more complex and dynamic visual effect.
Conclusion
There you have it – your essential guide to multichrome shift nail art! From understanding the science behind the shimmer to mastering application techniques, you’re now equipped to create salon-worthy, color-changing manicures at home. Whether you opt for the simplicity of a multichrome polish or the dramatic flair of pigment powders, the results are sure to be dazzling. Don’t be afraid to experiment with different color combinations and bases; the beauty of multichrome is its versatility and unique way of reflecting light and your personal style. So go ahead, grab your polishes, embrace the magic, and let your nails do the talking. Happy painting!

