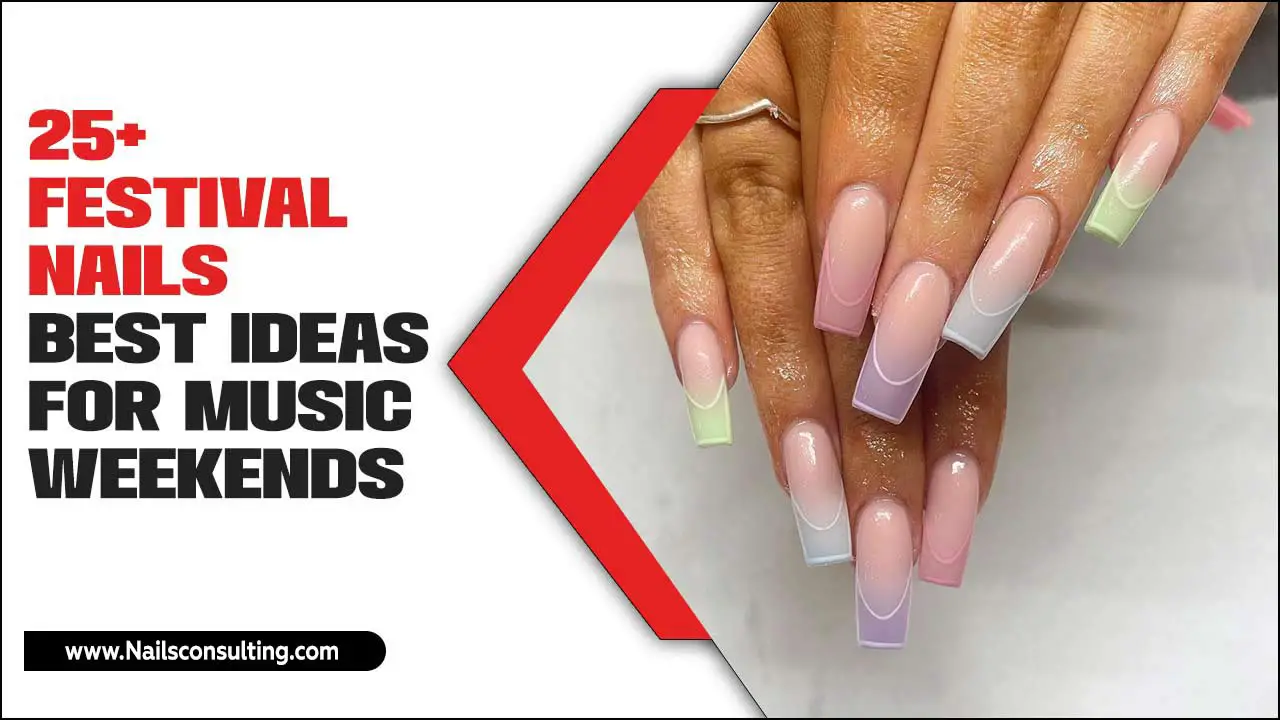
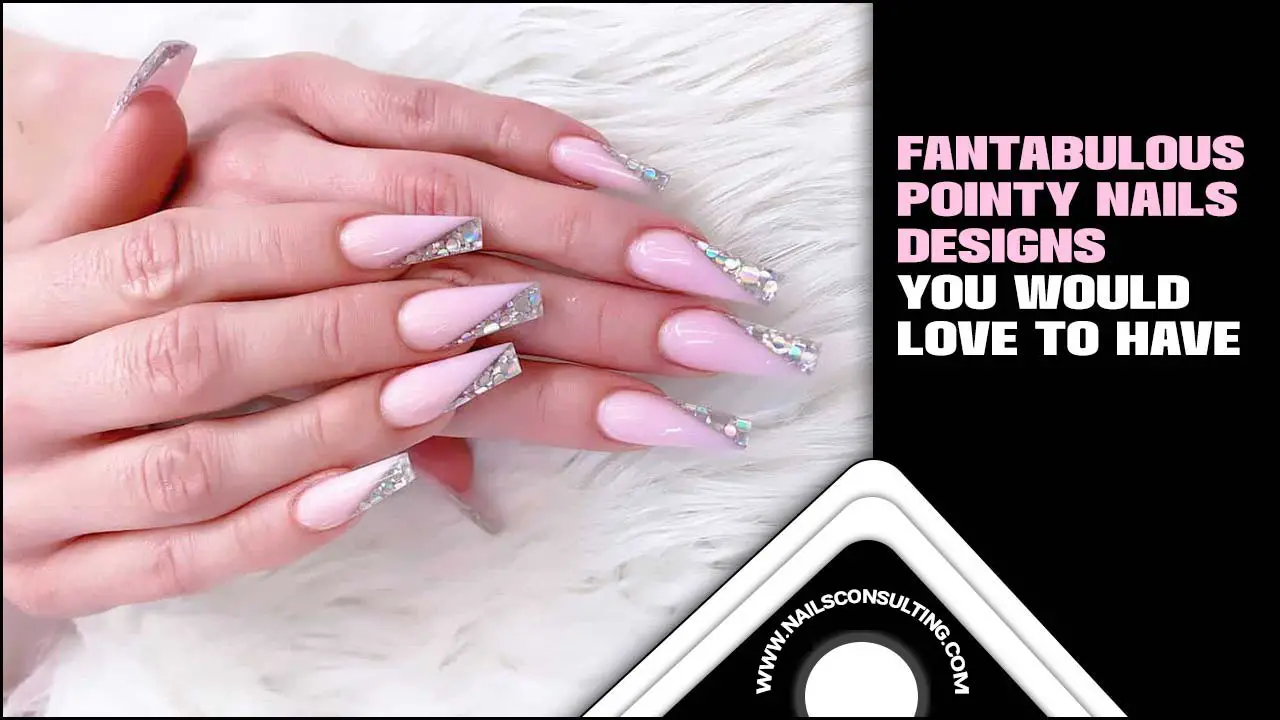
Multi-color nail art is achievable for beginners! Learn easy techniques and stunning design ideas to create vibrant, eye-catching manicures using multiple shades, from simple gradients to playful patterns. Get ready to express your creativity and transform your nails into colorful masterpieces with our beginner-friendly guide.
Hooray for colorful nails! Sometimes, a single polish shade just doesn’t capture the vibrant mood you’re feeling. You see those gorgeous, multi-hued manicures online and think, “That looks amazing, but it’s way too complicated for me!” I totally get it. The thought of mixing colors, applying them perfectly, and ending up with a mess can be a little intimidating. But guess what? Creating stunning multi-color nail art is totally doable, even if you’re just starting out. It’s all about simple techniques and a dash of creativity. Ready to dive into a world of color and make your nails pop? Let’s explore how you can achieve these beautiful looks with ease!
In this guide, we’ll break down everything you need to know to get started with multi-color nail art. We’ll cover essential tools, simple techniques for creating different effects, and a few must-try stunning looks that are perfect for beginners. Get ready to unleash your inner artist and have some fun!
Why Embrace Multi-Color Nail Art?
Who says your nails have to stick to just one color? Multi-color nail art is your chance to play, experiment, and show off your unique personality. It’s an instant mood-booster, a way to get creative, and a fantastic conversation starter. Plus, the possibilities are literally endless! You can match your nails to your outfit, the season, or just how you’re feeling that day. It’s all about fun and self-expression.
Getting Started: Your Multi-Color Nail Art Toolkit
Before we jump into the fun designs, let’s make sure you have the basic tools. Don’t worry, you don’t need a professional kit to start! Many of these items you might already have, or they’re easy to find at your local drugstore.
Essential Polishes:
You’ll need a few different nail polish colors. Think about:
* Your theme: Are you going for a sunset vibe with oranges, pinks, and yellows? Or maybe a galaxy look with blues, purples, and black? Having a color palette in mind helps!
Here are some great color combinations to spark your inspiration:
| Vibe/Theme | Color Palette Ideas | Occasion/Mood |
|---|---|---|
| Sunset Dreams | Warm oranges, sunny yellows, soft pinks, deep purples | Summer vibes, relaxed evenings, cheerful mood |
| Ocean Breeze | Aqua blues, seafoam greens, sandy beiges, pearly whites | Vacation, calming, refreshing |
| Fruity Fun | Bright reds, vibrant pinks, zesty yellows, lime greens | Playful, energetic, summer parties |
| Cosmic Wonder | Deep blues, starry blacks, shimmery purples, silver accents | Mysterious, evening wear, artistic flair |
| Pastel Paradise | Soft lavenders, baby blues, mint greens, blush pinks, pale yellows | Springtime, gentle, dreamy |
Application Tools:
These are your best friends for creating those multi-color effects:
- Thin Nail Art Brushes: Perfect for drawing lines, dots, and small details.
- Dotting Tools: These have little balls on the end, great for making perfect dots of various sizes.
- Sponge: A clean makeup sponge (the kind you use for foundation) is fantastic for creating beautiful gradients.
- Top Coat: Essential for sealing your art and adding shine.
- Base Coat: Protects your natural nails and helps polish adhere better.
- Nail Polish Remover & Cotton Pads: For any little oopsies!
- Manicure Stick or Cuticle Pusher: To clean up edges.
Easy Multi-Color Nail Art Techniques for Beginners
Let’s get down to the fun part! These techniques are simple to master and give you stunning results.
1. The Gradient (Ombre) Effect:
This is a super popular look that gives a smooth blend of colors, like a sunset or a soft wash of color. Using a sponge makes this easier than you’d think!
How to Create a Gradient:
- Prep Your Nails: Start with a base coat, let it dry completely. You can paint your nails your lightest color or a neutral shade as a base if you like.
- Apply Polishes to a Sponge: On a clean makeup sponge, paint 2-3 stripes of the colors you want to blend. Apply them right next to each other. Work quickly!
- Dab Onto Your Nail: Gently press the sponge onto your nail, applying the colors. You might need to dab a few times to get full coverage. It will look a bit messy!
- Clean Up the Edges: Use a small brush dipped in nail polish remover to clean up any polish that got on your skin. This is key for a polished look.
- Repeat if Needed: For a more intense blend, let the first layer dry slightly and repeat the sponging process.
- Apply Top Coat: Once your gradient is perfect and dry, seal it with a good top coat for shine and longevity.
Tip: Using polishes that are a bit thinner tends to blend better for gradients. Some polishes are specifically designed for easy blending!
2. The Dotted Delight:
Dots are simple, playful, and incredibly versatile. You can create patterns, borders, or just scatter them for a cute effect.
How to Create Perfect Dots:
- Prep and Base Coat: Apply your base coat and let it dry. Paint your nails your desired base color.
- Load Your Dotting Tool: Dip the ball end of your dotting tool into a polish color. You don’t need a huge amount of polish.
- Place Your Dots: Gently touch the dotting tool to your nail where you want the dot. Lift straight up. The size of the dot depends on the size of your tool and how much polish you use.
- Create Patterns: You can make rows of dots, scatter them randomly, or use different sized dots to create a fun design!
- Mix and Match: Use multiple colors for your dots to really make them pop.
- Seal with Top Coat: Once all your dots are dry, apply a top coat to protect your design.
You can find dotting tools in various sizes online or at beauty supply stores. The National Institute of Standards and Technology (NIST) even provides guidelines on material precision, which is fascinating when you think about how detailed even small nail art tools can be!
3. Wavy Lines and Squiggles:
Adding a few freehand lines or squiggly patterns can instantly elevate your manicure. This technique is all about embracing a bit of imperfection!
How to Create Wavy Lines:
- Base Color: Apply your base coat and let your nail polish dry completely.
- Choose Your Accent Color: Pick a contrasting or complementary color for your lines.
- Use a Thin Brush: Dip a thin nail art brush into the polish. Wipe off excess on a paper towel so you have control.
- Freehand Your Lines: Gently draw your lines. Don’t worry if they aren’t perfectly straight. Wavy lines and squiggles look great! Start with one color, then perhaps add another color alongside it.
- Clean Up: Carefully clean up any stray marks with a brush and remover.
- Finish with Top Coat: Apply a top coat once everything is dry.
Don’t be afraid to experiment with thickness and spacing. Sometimes a single bold line across the nail can make a huge impact!
Stunning Multi-Color Looks for Beginners
Ready to see these techniques in action? Here are some looks that are easy to achieve and look incredibly professional.
1. The “Color Block” Chic
Concept: Divide your nail into geometric sections and fill each section with a different color. It’s bold, modern, and surprisingly simple.
How-To:
- Start with a clean, prepped nail and base coat.
- Paint each nail with 2-3 different solid colors, using tape to create clean dividing lines if you want precision. For a more freeform look, just paint sections freehand using a fine brush.
- For example, one nail might have a pink triangle on one side and a blue square on the other.
- Let each color dry before applying the next to prevent smudging.
- Finish with a clear top coat.
2. The “Confetti” Pop
Concept: A playful scattering of dots in various colors and sizes over a contrasting or neutral base. It’s like your nails are having a party!
How-To:
- Apply a neutral or light-colored base polish and let it dry.
- Using dotting tools of different sizes, pick up various bright polish colors.
- Dot them randomly all over the nail, overlapping slightly. Vary the colors and sizes for a dynamic look.
- Don’t aim for perfection; the more random, the better.
- Seal with a glossy top coat.
3. The “Rainbow Gradient”
Concept: A beautiful blend of multiple colors, like a mini rainbow on each nail. This uses the sponge technique.
How-To:
- Choose 3-5 rainbow colors (red, orange, yellow, green, blue, purple).
- On your sponge, paint thin stripes of these colors next to each other.
- Dab your nail onto the sponge. You might need to do this a couple of times to get a good blend.
- Clean up the edges carefully.
- Apply a top coat.
This look is especially stunning on longer nails where you have more space for the colors to blend.
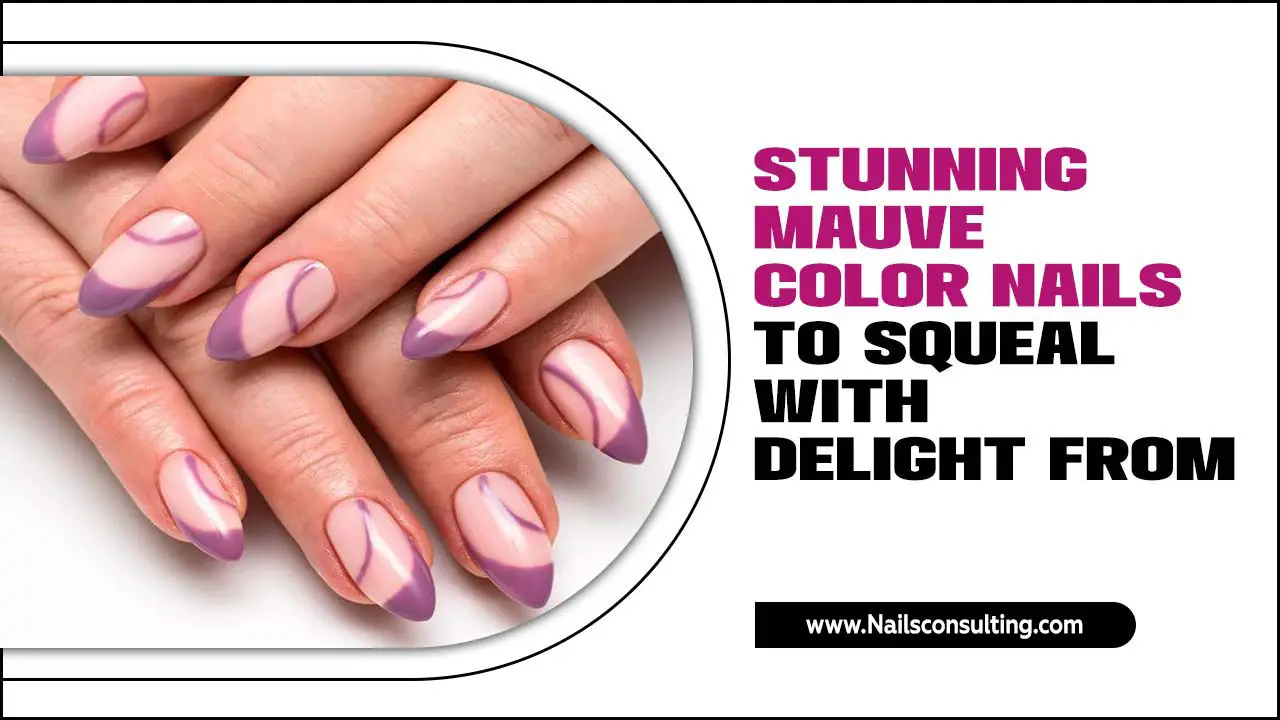
4. The “Two-Tone Twist”
Concept: Simple and chic, this involves using two complementary or contrasting colors on each nail, often split diagonally or with a colored tip.
How-To:
- Paint your nail with your first color and let it dry.
- Use a fine brush or a striping tape to mark where you want the second color to start.
- Carefully paint the second color in the remaining section.
- For a French tip variation, paint your nail a base color, let it dry, and then paint a colored tip in a different shade.
- Clean up edges and apply a top coat.
Tips for Flawless Multi-Color Nail Art
Here are a few extra pointers to help you achieve stellar results every time:
- Work in Thin Coats: Multiple thin layers of polish are better than one thick, gloopy layer. They dry faster and reduce the risk of smudges.
- Let Each Layer Dry: Patience is key! Waiting for one color or design element to dry before adding the next prevents colors from mixing unintentionally and causing muddy messes.
- Clean Up as You Go: Keep your nail polish remover and a fine brush handy. Cleaning up mistakes immediately makes a huge difference in the final appearance.
- Use Quality Top Coat: A good top coat not only adds shine but also protects your artwork from chipping and fading, making your manicure last longer. Consider a quick-dry top coat for busy bees!
- Practice Makes Perfect: Your first attempt might not be salon-perfect, but don’t get discouraged! The more you practice these techniques, the more confident and skilled you’ll become.
- Experiment with Textures: Try combining a matte color with a shiny top coat, or use glitter polishes as accents for extra flair.
Caring for Your Multi-Color Masterpiece
Once you’ve created your beautiful multi-color nail art, you’ll want it to last! Proper care is simple:
- Avoid Harsh Chemicals: When doing chores, wear gloves to protect your nails from water and cleaning products, which can dull the polish or cause chipping.
- Moisturize: Keep your cuticles and hands hydrated with a good hand cream and cuticle oil. Healthy skin around your nails makes your art look even better.
- Gentle Filing: If you need to trim or file your nails, do so gently. File in one direction to avoid weakening the polish.
- Top Coat Touch-Ups: If you notice a little wear on the tips of your nails, a quick touch-up with a clear top coat can revive them.
Frequently Asked Questions (FAQ)
Q1: Can I do multi-color nail art with regular nail polish, or do I need gel?
A1: Absolutely! You can achieve beautiful multi-color nail art with regular nail polish, especially with the techniques we’ve discussed. Gel polish offers more durability and shine, but it also requires a UV/LED lamp to cure. For beginners, regular polish is more forgiving and easier to work with.
Q2: How do I prevent the colors from smudging when I apply the top coat?
A2: Make sure each layer of polish is completely dry before applying the top coat. For gradients, some people prefer to use a quick-dry top coat and apply it in a “dabbing” motion rather than brushing it on, to avoid disturbing the sponge effect.
Q3: My sponge gradients look streaky. What am I doing wrong?
A3: Ensure you’re pressing the sponge firmly and evenly onto the nail. Also, try painting the colors on the sponge closer together and working quickly before the polish dries. Sometimes, a second sponging pass or a slightly different polish formula can help achieve a smoother blend.
Q4: How can I get my dots to be the same size?
A4: Using different-sized dotting tools is the easiest way to control dot size. If you only have one tool, try to dip it into the polish to the same depth each time and apply consistent pressure when dotting.
Q5: My lines are too thick or wobbly. Any tips?
A5: Thin your polish slightly with a drop of nail polish thinner if it’s too thick. For lines, use a very fine nail art brush and wipe off excess polish on a paper towel before touching your nail. Practice drawing strokes on paper first to get a feel for the brush.
Q6: How do I avoid getting polish all over my skin?
A6: You can apply a thin layer of petroleum jelly (like Vaseline) or a liquid latex peel-off product around your cuticles before you start painting. This creates a barrier that you can easily peel off once your nail art is done, taking any stray polish with it.
Conclusion: Your Colorful Nail Journey Begins!
See? Multi-color nail art is so much more accessible than it might seem. With a few basic tools and these simple techniques, you can transform your nails into vibrant canvases of creativity. Whether you’re aiming for a smooth gradient, a playful scattering of dots, or bold color-blocked designs, the key is to have fun and let your personality shine through. Don’t be afraid to experiment with different color combinations and patterns. Each manicure is an opportunity to express yourself and boost your confidence. So grab those polishes, get creative, and enjoy the beautiful, colorful results you achieve. Your stunning multi-color nail art adventure awaits!

