Mughal art inspired nail designs are a stunning way to add timeless elegance and intricate beauty to your manicure. You can easily recreate these designs with simple techniques and a few key colors, bringing a touch of royal history to your fingertips for effortless charm and sophistication.
Ever admired the breathtaking beauty of Mughal art and wished you could wear a piece of that history on your nails? Traditional Indian art, with its rich colors and intricate patterns, can seem a bit intimidating to translate onto tiny canvases like our nails. But don’t worry! You absolutely can capture that majestic feel with simple and beautiful nail designs. This guide is all about making Mughal art inspired nail designs accessible, even if you’re just starting out. We’ll break down how to achieve these elegant looks without any fuss, so you can feel like royalty every day.
Unveiling the Majestic World of Mughal Art & Nails
Mughal art is a treasure trove of inspiration, exploding with vibrant colors, delicate floral motifs, geometric precision, and rich symbolism. Think of sprawling Mughal gardens, the mirrored intricacies of architecture at Fatehpur Sikri, or the detailed miniatures depicting royal life. These elements, when translated to nail art, offer a unique blend of tradition and trend. It’s about more than just pretty nails; it’s about wearing a story, a heritage that’s both profound and visually captivating.
For beginners, diving into this world might seem daunting. Where do you even start? What colors should you use? How do you create those tiny details? That’s where we come in. We’ll demystify the process, showing you how to select the right colors, the essential (and surprisingly simple!) tools, and practical, step-by-step methods to bring Mughal-inspired beauty right to your fingertips. Get ready to transform your nails into miniature masterpieces!
Key Elements of Mughal Art to Admire for Nail Designs
Before we grab our polish, let’s get inspired! Understanding the core elements of Mughal art will help guide your design choices. These are the building blocks of that luxurious, intricate feel.
- Vibrant Color Palettes: Rich reds, deep blues, emerald greens, saffron yellows, and regal purples are staples. Don’t shy away from gold and silver accents for that royal touch!
- Intricate Patterns: Think delicate paisley, swirling vines, geometric tessellations, and stylized floral sprays. Even tiny versions can pack a punch.
- Floral Motifs: Mughals were masters of depicting flowers, especially roses, tulips, and lotuses. These often appear in repeating patterns or as central elements.
- Symmetry and Repetition: Many Mughal designs rely on balanced compositions and repeating motifs to create a sense of harmony and grandeur.
- The “Chintz” Influence: Originating from India, chintz fabric often features detailed botanical prints, which are a fantastic inspiration for floral nail designs.
Effortless Mughal Inspired Nail Design Ideas for Beginners
Ready to bring the grandeur of Mughal art to your nails? We’ve curated some beginner-friendly ideas that are easy to achieve and stunningly effective. These designs focus on capturing the essence without requiring advanced artistic skills.
1. The Elegance of Paisley Power
The paisley motif, a symbol of fertility and life, is a hallmark of Indian art and looks incredibly chic on nails. For a beginner-friendly approach, we’ll focus on simplified paisley shapes.
How to Create a Simple Paisley Design:
- Base Coat: Start with a clean, prepped nail and apply a base coat. For a Mughal feel, choose a deep jewel tone like emerald green, sapphire blue, or a rich burgundy. Let it dry completely.
- Paint the Paisley: Using a fine-tip nail art brush or a dotting tool, carefully draw a rounded, teardrop shape. This is your basic paisley outline. You can create a single, elegant paisley on an accent nail or repeat smaller ones across all nails.
- Add a Dotting Accent: Inside or at the wider end of the paisley shape, add a small dot using a contrasting color, like gold, cream, or a lighter shade of your base color.
- Outline (Optional but Recommended): For a crisper look, use a very fine brush and white or gold polish to lightly outline your paisley.
- Top Coat: Seal your masterpiece with a quick-drying top coat.
Pro Tip: If freehand drawing feels tricky, try using dotting tools to create the outline of the paisley symbol by connecting dots. Or, explore stamping plates that feature paisley designs!
2. The Majestic Floral Bloom
Floral patterns are central to Mughal art. We’ll create a simplified floral design that’s both beautiful and achievable.
How to Create a Simple Floral Design:
- Base Color: Apply a solid base color. A soft cream, a blush pink, or a deep teal works wonderfully.
- Create the Petals: With a fine nail art brush, draw four to five small, rounded strokes (like tiny curved hearts) radiating from a central point to form a flower. Aim for a simple, stylized bloom.
- Centre of the Flower: Use a dotting tool or the tip of your fine brush to add a small dot in the center of your flower. Gold or a bright contrasting color makes it pop.
- Stem and Leaves (Optional): If you’re feeling adventurous, add a thin stem and a couple of small, pointed leaf shapes extending from the flower’s base using a green polish.
- Finishing Touch: Add a layer of glossy top coat to seal the design and give it that polished, royal sheen.
Beginner’s Lifesaver: Instead of a brush, you can use the tip of a toothpick gently dipped in polish to make small dots that, when connected, form petal shapes. For even simpler flowers, use a small dotting tool to make a cluster of dots for the center and a few more dot “petals” around it!
3. Geometric Grace: The Power of Lines and Dots
Mughal architecture is famous for its stunning geometric patterns. Recreating these on nails can be surprisingly simple and incredibly elegant.
How to Create a Simple Geometric Design:
- Base Coat: Choose a sophisticated base color like nude, a deep navy, or a classic black.
- Line Work: Using a striper brush or a very fine nail art brush, create clean, straight lines. You can make a single diagonal line across the nail, a cross, or a simple grid.
- Dot Accents: Use a dotting tool to add accent dots at the intersections of lines or at the tips of your lines. Gold, silver, or white polishes are excellent choices for these details.
- Think Balanced: Aim for a design that feels balanced. Even a single clean line with a few dots can feel very refined and inspired by Mughal symmetry.
- Seal & Shine: Apply a generous top coat to protect your geometric masterpiece.
Top Tip: Nail tape or striping tape can be your best friend here! Apply the tape to your dried base coat, paint over it, and carefully peel away the tape once the polish is slightly tacky for super-sharp lines. Learn more about using nail tape for precision at Nailpro.
4. The “Jewel Box” Accent Nail
This is the ultimate beginner-friendly way to incorporate Mughal opulence. You focus all the detail on one nail, letting it be the star.
How to Create a Jewel Box Accent Nail:
- The Canvas: Paint your accent nail (usually the ring finger) in a rich, solid color like deep red, royal blue, or a shimmering gold.
- Add a Central Gem: Using a dotting tool, create a larger dot in the center of the nail. You can use a contrasting color or even a glitter polish for a gem-like effect.
- Surround with Sparkle: Use a fine brush or dotting tool to add tiny dots around the central “gem” or along the cuticle line. Gold or silver work best for this.
- Simple Outline: A thin outline of gold or silver polish around the edge of the nail can add a framed, luxurious feel, mimicking the settings of precious jewels.
- Seal It In: A good top coat is essential to keep all those tiny details in place and add a brilliant shine.
Easy Upgrade: Instead of painting dots, consider using tiny adhesive nail gems or rhinestones in place of some of the painted dots for an instant, high-impact sparkle!
Essential Tools for Your Mughal Nail Art Journey
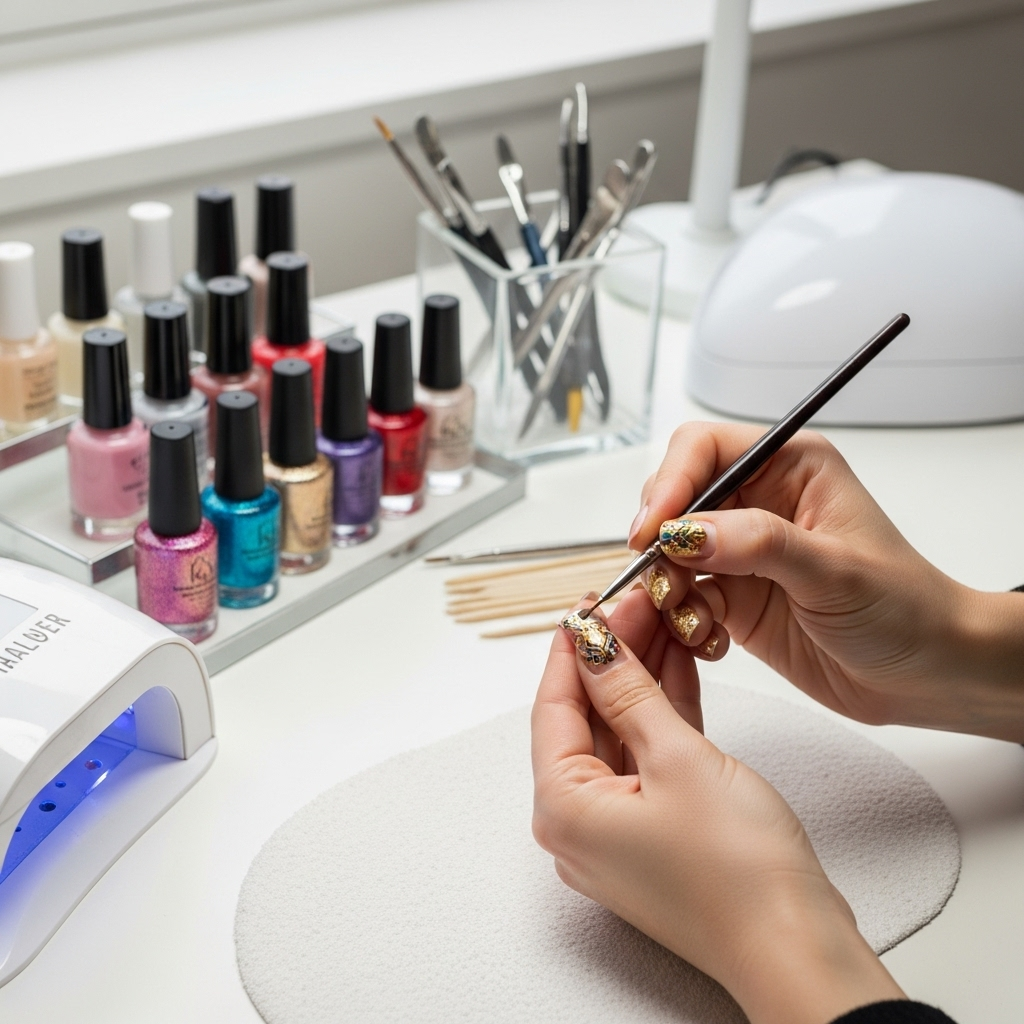
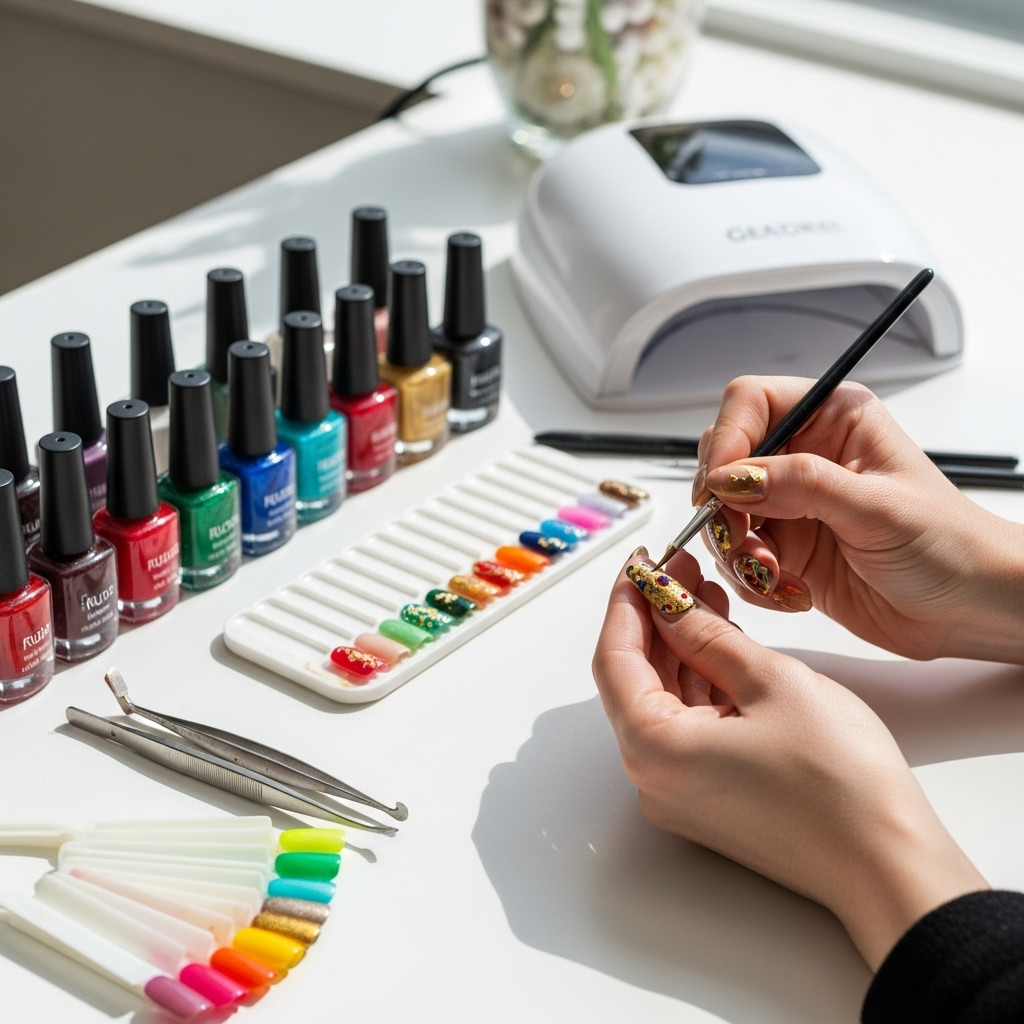
You don’t need a professional nail salon to create these beautiful designs! A few simple tools can make all the difference. Here’s what I recommend for beginners:
| Tool | Description | Why It’s Great for Mughal Designs |
|---|---|---|
| Fine-Tip Nail Art Brush | A brush with very fine, precise bristles, perfect for detailed lines and small shapes. | Ideal for drawing delicate floral tendrils, paisley outlines, and intricate geometric lines. |
| Dotting Tools | Tools with small metal balls at the ends, available in various sizes. | Excellent for creating consistent dots for floral centers, detailed patterns, or filling in shapes. Different sizes allow for variety. |
| Nail Polish in Key Colors | Rich jewel tones (emerald, sapphire, ruby, amethyst) and metallics (gold, silver). Also, white and cream for accents. | These are the foundational colors that evoke the luxurious palette of Mughal art. |
| Base Coat | A clear polish applied before colored polish. | Protects your natural nails and helps polish adhere better, ensuring your designs last longer. It also prevents staining from dark colors. |
| Top Coat | A clear, glossy polish applied last. | Seals your design, adds incredible shine, prevents chipping, and makes your intricate details pop. A quick-dry formula is a bonus! |
| Nail Polish Remover & Cotton Swabs | For cleaning up mistakes. | Essential for refining lines and correcting any slips of the brush. |
| Nail Wipes/Pads | Lint-free pads for cleaning brushes and removing polish. | Ensures your brushes stay clean and your designs don’t get smudged with lint. |
Getting Started with Mughal Inspired Nail Art: Your Step-by-Step Guide
Let’s put it all together! Follow these steps for a beautiful, Mughal-inspired manicure. We’ll use a simplified floral design as an example.
A. Nail Preparation: The Foundation of Beauty
- Cleanse: Start with clean, dry nails. Remove any old polish with a good nail polish remover.
- Shape: File your nails to your preferred shape. A slightly rounded or squoval shape tends to look elegant with these designs.
- Cuticle Care: Gently push back your cuticles. This creates a larger canvas and makes your nails look neater. For a quick guide on cuticle care, check out Mayo Clinic’s advice, which emphasizes gentle handling.
- Buff (Optional): Lightly buff the nail surface if it’s uneven, but be gentle.
- Base Coat: Apply a thin layer of your favorite base coat and let it dry completely. This is crucial for polish longevity and nail health.
B. Applying the Base Color: Setting the Royal Tone
- Choose Your Color: Select a rich, deep color from your collection. Think emerald green, deep royal blue, or even a sophisticated muted gold.
- Apply Polish: Apply two thin coats of your chosen color. Allow each coat to dry for a couple of minutes before applying the next. Thin coats dry faster and look smoother.
- Let It Dry: Ensure the base color is completely dry before moving on to the design. This usually takes about 5-10 minutes, but can vary. Patience here prevents smudging later!
C. Creating the Mughal Design: Focus on an Accent Nail
For your first attempt, let’s focus on creating a simple floral design on your ring finger. This makes the process more manageable and still delivers a big impact.
- Prepare Your Tools: Have your fine-tip brush, dotting tool, and chosen design colors (e.g., white and gold polish) ready.
- Draw the Flower Outline: Dip your fine-tip brush into the white polish. Starting near the center of your nail, create a small, rounded petal shape. Work your way around, creating about 4-5 petals. Don’t worry about perfection; slightly imperfect petals can look charmingly hand-drawn.
- Add the Center: Take your dotting tool and dip it into your gold polish. Carefully place a dot right in the middle of your flower where all the petals meet.
- Add a Leaf (Optional): Using a fine brush and a touch of green polish, draw a small, pointed leaf shape coming from the base of your flower.
- Refine (If Needed): If any lines are wobbly, use a brush dipped in nail polish remover to gently clean them up.
D. Finishing Touches: Adding Shine and Durability
- Allow to Dry: Let the design dry for at least a few minutes. The polish will feel less tacky.
- Top Coat Application: Apply a generous layer of your favorite top coat over all your nails, including the accent nail. Make sure to cap the free edge by brushing a little top coat across the tip of your nail. This helps prevent chipping.
- Final Dry: Let your nails dry completely. Quick-dry drops or sprays can be helpful if you’re in a hurry.
The Color Palette: A Mughal Master’s Choice
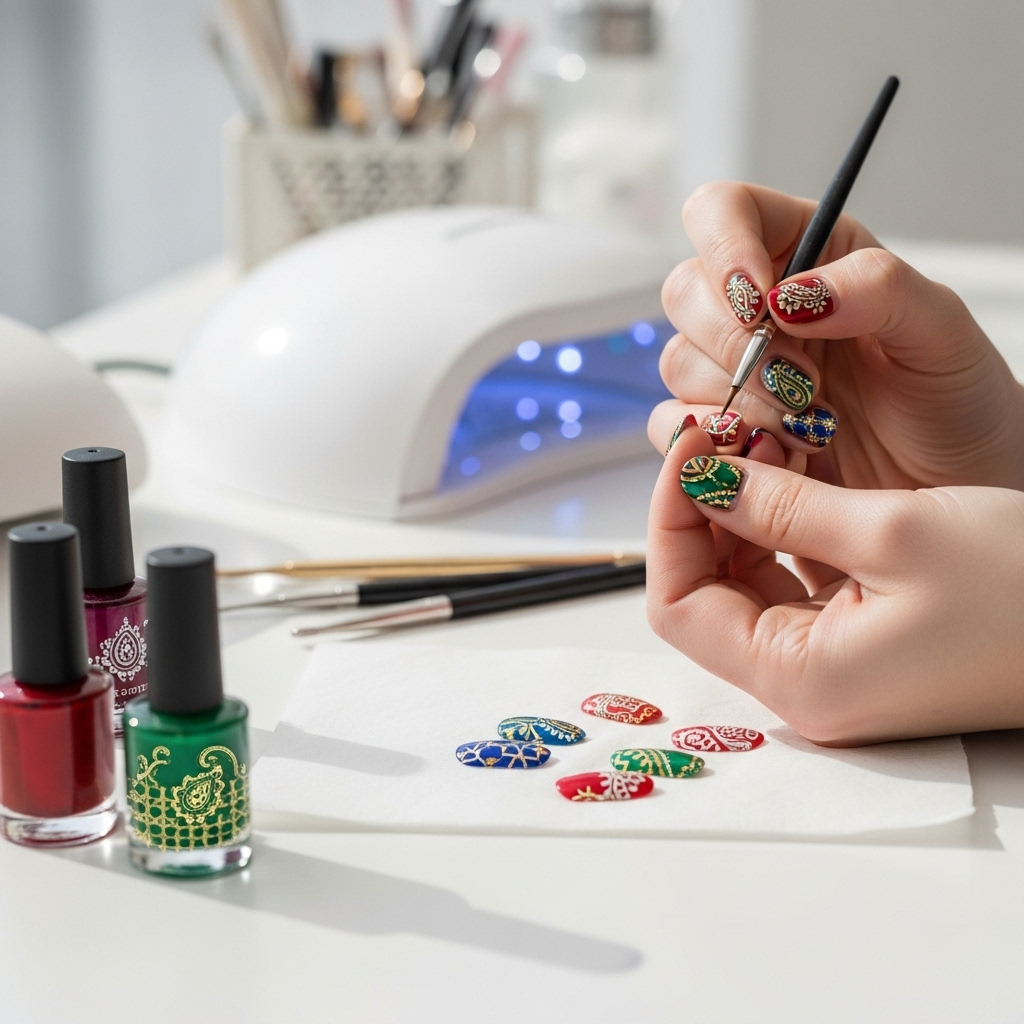
Choosing the right colors is key to channeling the Mughal aesthetic. Here’s a breakdown of classic choices that evoke that regal feel:
- Deep Jewel Tones:
- Emerald Green
- Sapphire Blue
- Ruby Red
- Amethyst Purple
- Deep Teal
- Regal Neutrals & Pastels:
- Cream
- Ivory
- Muted Gold
- Soft Peach
- Rose Pink
- Metallic Accents:
- Shimmering Gold
- Bright Silver
- Bronze
These are perfect for outlining, adding dots, or even as a full nail accent.
- Classic Whites and Blacks:
- Pure White
- Deep Black
These are versatile for creating contrast, outlines, or graphic elements.
When combining colors, think about contrast and harmony. A deep blue base with gold floral accents, or an ivory base with deep red paisley motifs, creates that striking, elegant look.
Beyond the Basics: Elevating Your Mughal Nail Art
Once you’ve mastered the simple designs, here are a few ways to take your Mughal art inspired nails to the next level:
- Layering Colors: Add a subtle shimmer over a solid base color before starting your design.
- Textured Finishes: Experiment with matte top coats over glossy designs for sophisticated contrast, reminiscent of intricate carvings.
- Micro-Beads or Studs: Carefully apply tiny metallic beads or small rhinestones to mimic the look of precious stones in delicate settings. Use strong nail glue or strategically placed top coat for adhesion.
- Gradient Base: Instead of a solid color, try a subtle gradient for your base, transitioning from one jewel tone to another.
- Inspired by Architecture: Look at photos of Mughal architecture and try to simplify repeating geometric patterns or archways for a more abstract take.
For deeper dives into color theory and combinations, resources like Pantone offer insights into trending and classic color pairings that can inspire your nail art palettes.
Frequently Asked Questions (FAQ) on Mughal Art Inspired Nail Designs
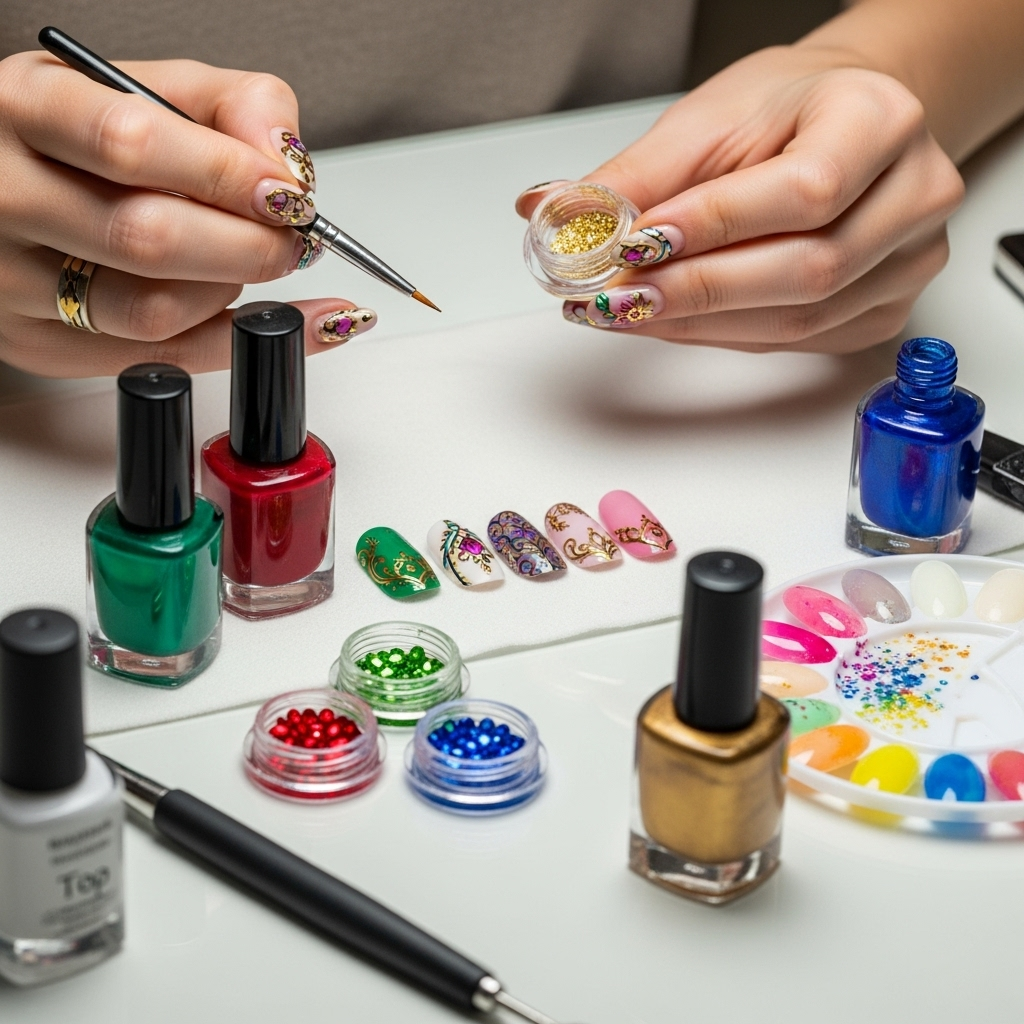
Nail enthusiasts often have questions when trying new styles. Here are some common ones about Mughal art inspired nail designs:

