Mother of Pearl Nails: Stunning, Easy, and Essential for a Gorgeous Glow! Learn how to achieve this mesmerizing nail trend with simple steps and tips, perfect for beginners. Get ready for a luminous, iridescent finish that elevates any look!
Dreaming of nails that shimmer with an ethereal glow? Mother of pearl nails are incredibly popular for a reason! They bring that touch of iridescent magic that looks sophisticated and oh-so-chic. But sometimes, getting that perfect, luminous finish can feel a bit tricky, right? Especially if you’re new to nail art. Well, fret no more! This guide is here to break down exactly how to create stunning mother of pearl nails without any fuss. We’ll cover everything you need, from simple techniques to insider tips, so you can rock this gorgeous trend with confidence. Get ready to transform your fingertips into tiny works of art!
What Exactly Are Mother Of Pearl Nails?
Mother of pearl nails, often called mermaid nails or opal nails, mimic the stunning, iridescent sheen found on the inside of an oyster shell or a precious pearl. This nail art style isn’t about painting a literal oyster on your nail; it’s about capturing that unique, multi-dimensional shimmer. The effect is achieved by using special powders or polishes that reflect light in soft, pastel hues, creating a dreamy, almost holographic look. It’s subtle yet eye-catching, making it perfect for everyday wear and special occasions alike.
Why You’ll Love Mother Of Pearl Nails
There are so many reasons why this trend is a must-try! Here’s why we think you’ll be obsessed:
- Universally Flattering: The soft, pearlescent tones complement almost every skin tone.
- Versatile Style: It can be dialed up for a dramatic statement or kept minimal for a touch of elegance.
- Easy to Achieve: With the right tools and techniques, it’s surprisingly beginner-friendly!
- Endless Variations: From soft pastels to vibrant rainbows, the possibilities are limitless.
- Sophisticated Shine: It adds a polished, luminous finish that instantly elevates your look.
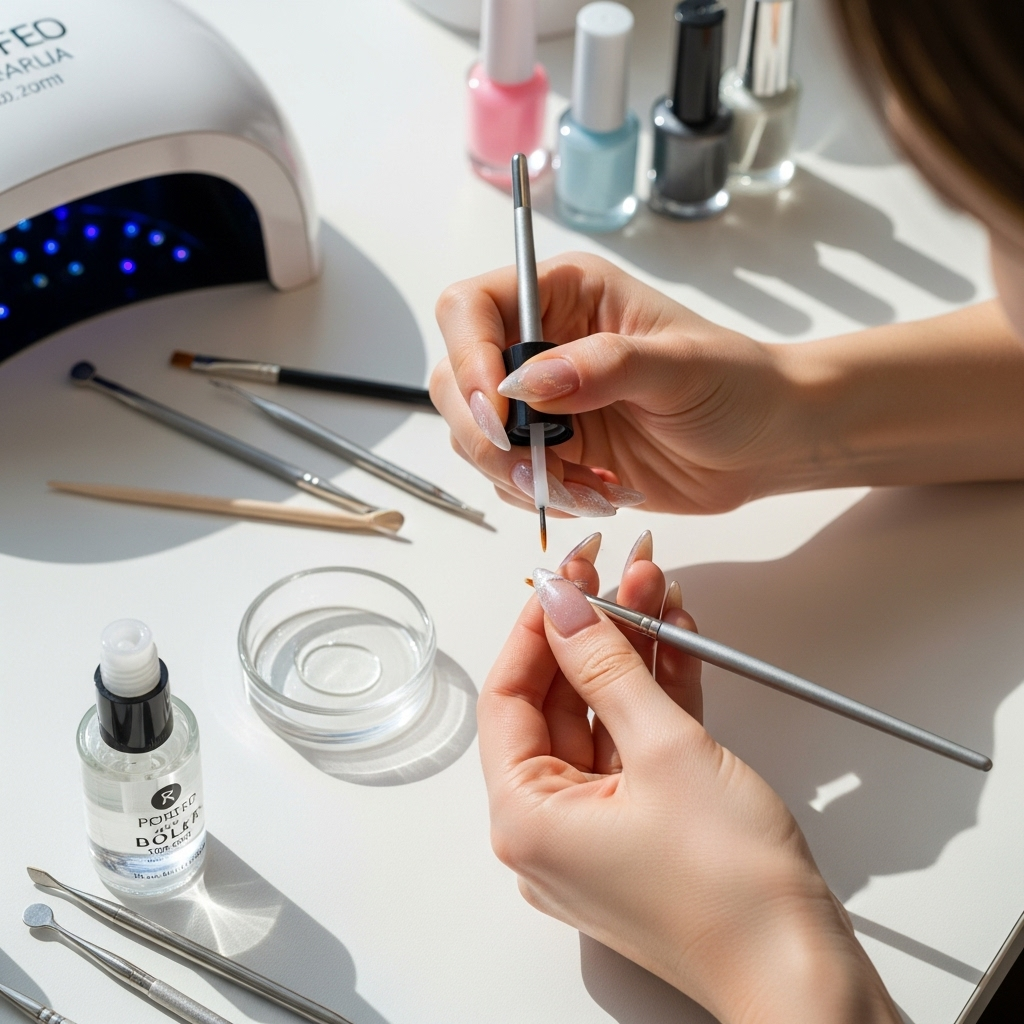
Your Mother Of Pearl Nail Toolkit: What You’ll Need
Gathering your supplies is the first step to nail art success! Don’t worry; you don’t need a professional salon to achieve this look. Here’s what will help you get those gorgeous mother of pearl nails:
Essential Supplies:
- Base Coat: To protect your natural nails and help polish adhere.
- Your Chosen Polish Color: Often a pale pink, milky white, or sheer nude works beautifully as a base for the pearlescent effect.
- Top Coat: To seal your design and add shine.
- Mother of Pearl / Chrome / Iridescent Powder: This is the magic ingredient! You can find these in various finishes and colors.
- Silicone Applicator Tool or Eyeshadow Sponge: For smoothly applying the powder.
- Cuticle Pusher and/or Orange Stick: For tidying up around the nail.
- Nail File and Buffer: To shape and smooth your nails.
- Lint-Free Wipes: To clean up any dust and prevent lint from interfering.
- Optional: Rubbing Alcohol or Cleanser: To ensure nails are perfectly clean and dry before powder application.
Choosing Your Powder:
The type of powder you select will greatly influence the final look. Here’s a quick rundown:
- Mother of Pearl Powder: Typically offers a soft, milky iridescence with subtle color shifts.
- Chrome Powder: Provides a more intense, mirror-like finish, often with a stronger color payoff.
- Iridescent Powder: Can range from very subtle shimmer to a more pronounced holographic effect, often with distinct color flashes.
For a classic mother of pearl look, opt for powders with subtle pink, blue, or lavender undertones.
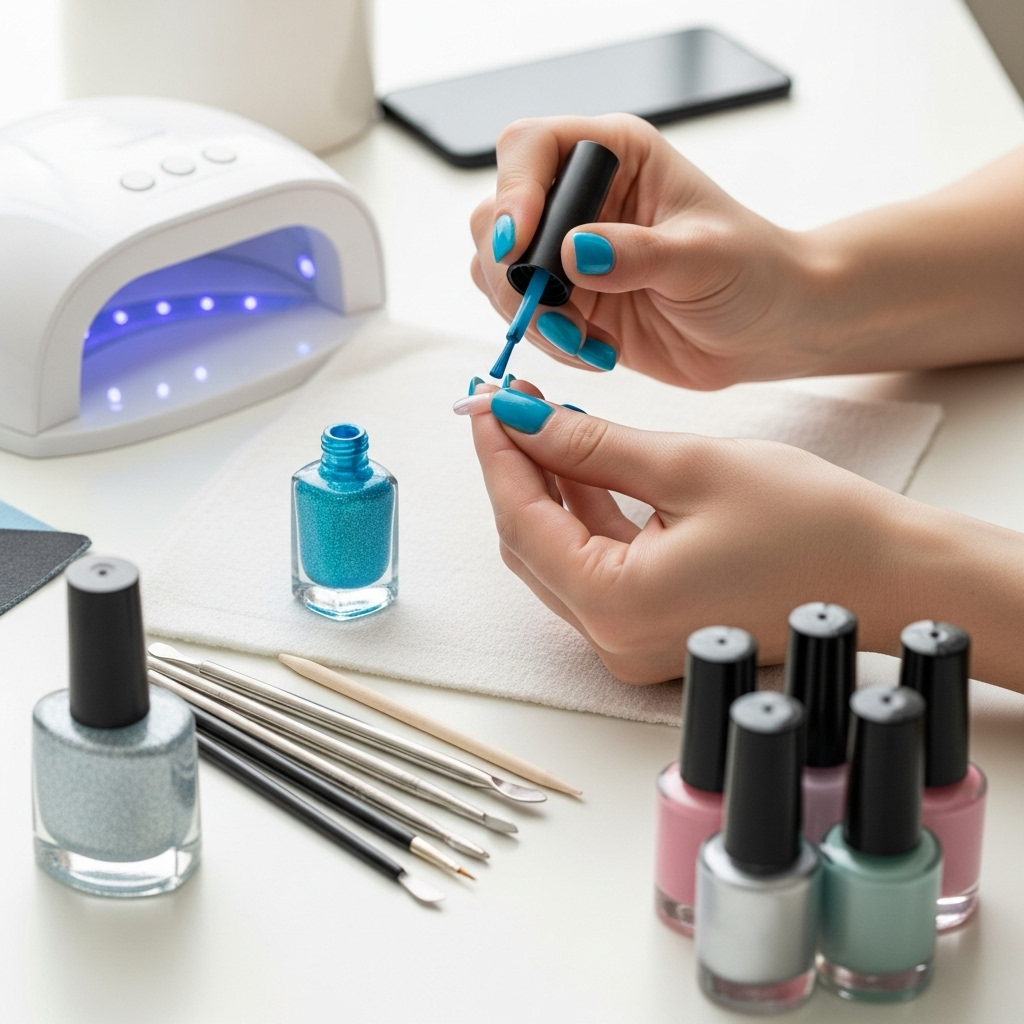
How To Get Stunning Mother Of Pearl Nails: Step-by-Step Guide
Ready to create some magic? Follow these simple steps for a salon-worthy finish at home. This method uses a no-wipe top coat and pigment powder, which is a popular and effective way to achieve the mother of pearl effect.
Step 1: Prep Your Nails
Proper nail prep is key for a long-lasting manicure. Start by cleaning your nails thoroughly. Gently push back your cuticles using a cuticle pusher or orange stick. Shape your nails with a nail file to your desired length and style. Then, use a nail buffer to smooth out the surface of your nails. This provides a good canvas for your polish and powder.
Step 2: Apply Base Coat and Color
Apply a thin layer of your favorite base coat and let it dry completely. Next, apply one or two thin coats of your chosen polish color. A pale shade like milky white, soft pink, or even a sheer nude works wonders as a base. Make sure each coat is fully dry before proceeding to the next. This foundational color will subtly influence the final mother of pearl effect.
Step 3: Apply the No-Wipe Top Coat
This step is crucial! Apply a thin, even layer of a no-wipe top coat. This type of top coat cures under a UV/LED lamp but doesn’t leave a sticky residue on the surface. You want a smooth, streak-free application. Once applied, cure the top coat under your UV/LED lamp according to the lamp’s instructions. Typically, this is around 30-60 seconds. Do not wipe or cleanse after curing. The slightly tacky (but not sticky) surface of the cured no-wipe top coat is what the powder will adhere to.
Step 4: Apply the Mother Of Pearl Powder
This is where the magic happens! Dip your silicone applicator tool or eyeshadow sponge into your mother of pearl (or iridescent/chrome) powder. Gently dab and rub the powder all over the cured no-wipe top coat. The trick is to use light, even pressure to build up the shimmering effect. Keep applying and buffing until you achieve your desired level of iridescence. You want to ensure the entire nail surface is covered smoothly.
Pro Tip: Start with a small amount of powder and build it up. It’s easier to add more than to take away!
Step 5: Clean Up and Seal
Once you’re happy with the mother of pearl effect, gently brush away any excess powder from around your nails and cuticles using a soft brush or lint-free wipe. Be careful not to disturb the powder on the nail surface. Finally, apply another layer of a good quality top coat over the entire nail to seal in the powder and protect the design. Make sure to cap the free edge (the tip of your nail) by running the brush along it to prevent chipping. Cure this final top coat under your UV/LED lamp as usual.
Step 6: Admire Your Work!
Once your nails have cooled and fully cured, you’re done! You should have a stunning, luminous mother of pearl finish that looks like it came straight from a high-end salon. Enjoy your gorgeous, shimmery nails!
Mistakes to Avoid for Flawless Mother Of Pearl Nails
Even the best nail artists can run into a few snags. Here are some common mistakes to steer clear of for a perfect mother of pearl finish:
- Using a Regular (Sticky) Top Coat: Attempting to apply powder over a regular, uncured or wiped-down top coat won’t work. The powder needs a specific surface to adhere to – the cured surface of a no-wipe top coat is ideal.
- Applying Too Much Powder at Once: This can lead to a clumpy or uneven finish. It’s always better to go light and build up the effect gradually.
- Not Curing the No-Wipe Top Coat Fully: If the top coat isn’t properly cured, the powder might not adhere well, leading to premature flaking. Follow your lamp’s timing precisely.
- Rough Application: Scrubbing the powder on aggressively can create streaks or uneven coverage. Gentle, buffing motions are key for a smooth, blended look.
- Skipping the Final Top Coat: The powder needs to be sealed. Skipping the final top coat will cause the effect to wear off quickly and could leave a gritty texture.
- Dirty Tools: Using a dirty applicator or brush can transfer unwanted colors or debris, affecting the pristine look.
Tips for Long-Lasting Mother Of Pearl Nails
Want your beautiful mother of pearl nails to stay looking fabulous for as long as possible? Here are some expert tips:
- Always Cap the Edges: When applying your top coat (both the no-wipe layer and the final sealing layer), make sure to brush a thin layer along the free edge (the tip) of your nail. This seals the polish and powder, preventing lifting and chipping.
- Wear Gloves for Chores: Water and harsh cleaning chemicals are the enemies of any manicure. Protect your nails by wearing rubber gloves when washing dishes, cleaning, or gardening.
- Avoid Using Nails as Tools: Try not to use your nails to scrape, pry, or open things. This puts unnecessary pressure on the polish and can lead to chips.
- Moisturize Regularly: Keep your cuticles and the skin around your nails hydrated with cuticle oil and hand cream. Healthy skin around your nails makes your manicure look even better.
- Gentle Removal: When it’s time to remove your polish, use an acetone-based remover and soak your nails gently. Avoid picking or peeling off the polish, as this can damage your natural nails.
Mother Of Pearl Nail Variations to Try
The beauty of mother of pearl nails is their adaptability! Here are some fun ways to play with this trend:
Solid Shimmer
Apply the powder over a single color for a cohesive, mesmerizing look. White, pale pink, beige, or even black bases create different moods.
French Tips or Ombre
Use the mother of pearl powder to highlight standard designs. A pearlescent French tip or an ombre where the shimmer fades from the tip to the cuticle can be stunningly subtle. For ombre, you might apply the powder only to the tips or blend it across the nail.
Accent Nails
If a full set feels like a lot, try mother of pearl on just one or two accent nails. This adds a special sparkle without being overwhelming.
Color Play
Don’t be afraid to experiment with different colored powders or even layer them! A subtle shift from blue to pink or purple to green can create a rainbow effect.
Matte Finish
For a softer, more subdued take on the trend, apply a matte top coat after sealing the mother of pearl powder. This gives a unique, velvety sheen.
Comparison: Powder vs. Gel Polish for Mother of Pearl Effect
While there are now gel polishes that offer a mother of pearl effect, using pigment powder over a gel polish base is still the most popular and effective method for achieving that true, foiled shimmer. Here’s a quick comparison:
| Feature | Pigment Powder Method | Mother of Pearl Gel Polish |
|---|---|---|
| Application Ease | Slightly more steps, but very forgiving. Buffing technique is simple. | As easy as applying regular gel polish. |
| Shimmer Intensity | Highly customizable. Can achieve a very dense, foiled effect. | Often more subtle, can be less reflective. |
| Longevity | Excellent when properly sealed with a no-wipe top coat and finished with a strong top coat. | Standard gel polish longevity, can be very good. |
| Variety of Effects | Huge range of powders available (chrome, iridescent, holographic, mother of pearl). Can layer for unique looks. | Limited to the specific shade and finish of the polish. |
| Beginner Friendliness | Very beginner-friendly once the no-wipe top coat technique is mastered. | Extremely beginner-friendly. |
For that authentic, dazzling mother of pearl glow, the powder method often provides the most impressive results. It also allows for more creativity in mixing and layering!
A Note on Nail Health
While we love a beautiful manicure, it’s vital to keep our natural nails healthy. Ensure you’re not over-filing your nails to the point of thinning them. When applying gel polish, avoid flooding your cuticles. If you wear gel polish frequently, consider taking breaks to let your nails breathe. Proper cuticle care and regular moisturizing can make a world of difference in the overall health and appearance of your nails.
The National Institutes of Health (NIH) provides extensive resources on maintaining nail health, emphasizing proper hygiene and avoiding damage. Understanding the science behind nail health can help you enjoy beautiful manicures safely.
Frequently Asked Questions (FAQ)
Q1: Do I need a UV/LED lamp for mother of pearl nails?
A: Yes, if you are using the pigment powder method with a no-wipe top coat, you’ll need a UV/LED lamp to cure the top coat. If you are using a special mother of pearl effect gel polish, that will also require curing under a lamp.
Q2: Can I use regular nail polish instead of gel polish?
A: The traditional and most effective mother of pearl nail technique relies on the cured surface of a no-wipe gel top coat for the powder to adhere properly. Regular nail polish dries by evaporation and doesn’t create the right surface. There are some iridescent top coats for regular polish, but they won’t give the same foiled, intense effect as the powder method.
Q3: How do I prevent the mother of pearl powder from looking chunky?
A: Apply the powder in thin layers using gentle buffing motions. Don’t try to apply a thick layer of powder all at once. Build up the intensity gradually. Ensure your no-wipe top coat is applied thinly and evenly, as this provides a smooth canvas.
Q4: Can I do mother of pearl nails on natural nails without gel polish?
A: For the best and longest-lasting mother of pearl effect, using a gel polish system (specifically a no-wipe top coat) is highly recommended because of how the powder adheres to the cured surface. While some iridescent polishes exist for regular nail polish, they won’t achieve the signature foiled look of mother of pearl powder.
Q5: My mother of pearl effect is rubbing off. How can I fix this?
A: This usually means the powder wasn’t sealed properly. Ensure you used a no-wipe top coat, cured it fully, applied the powder, and then applied a strong, non-wipe top coat over the powder, making sure to cap the edges. If it’s already happening, you might need to gently remove the top layer and reapply the sealing top coat.
Q6: What’s the difference between mother of pearl powder and chrome powder?
A: Mother of pearl powders typically provide a softer, more subtle iridescence with milky undertones, mimicking the natural sheen of pearls. Chrome powders are more intense, offering a highly reflective, mirror-like finish. You can often layer them or use them in conjunction for unique looks!
Conclusion
There you have it – your ultimate guide to achieving stunning mother of pearl nails! We’ve explored why this trend is so beloved, gathered all the essential tools, and walked through the simple-yet-magical process of creating that ethereal shimmer. Remember, practice makes perfect! Don’t be discouraged if your first attempt isn’t exactly what you envisioned. Experiment with different base colors, powder shades, and application techniques. Soon, you’ll be a pro at creating these luminous, eye-catching nails that add a touch of luxury to your everyday style. So go ahead, embrace the glow, and let your fingertips shine!