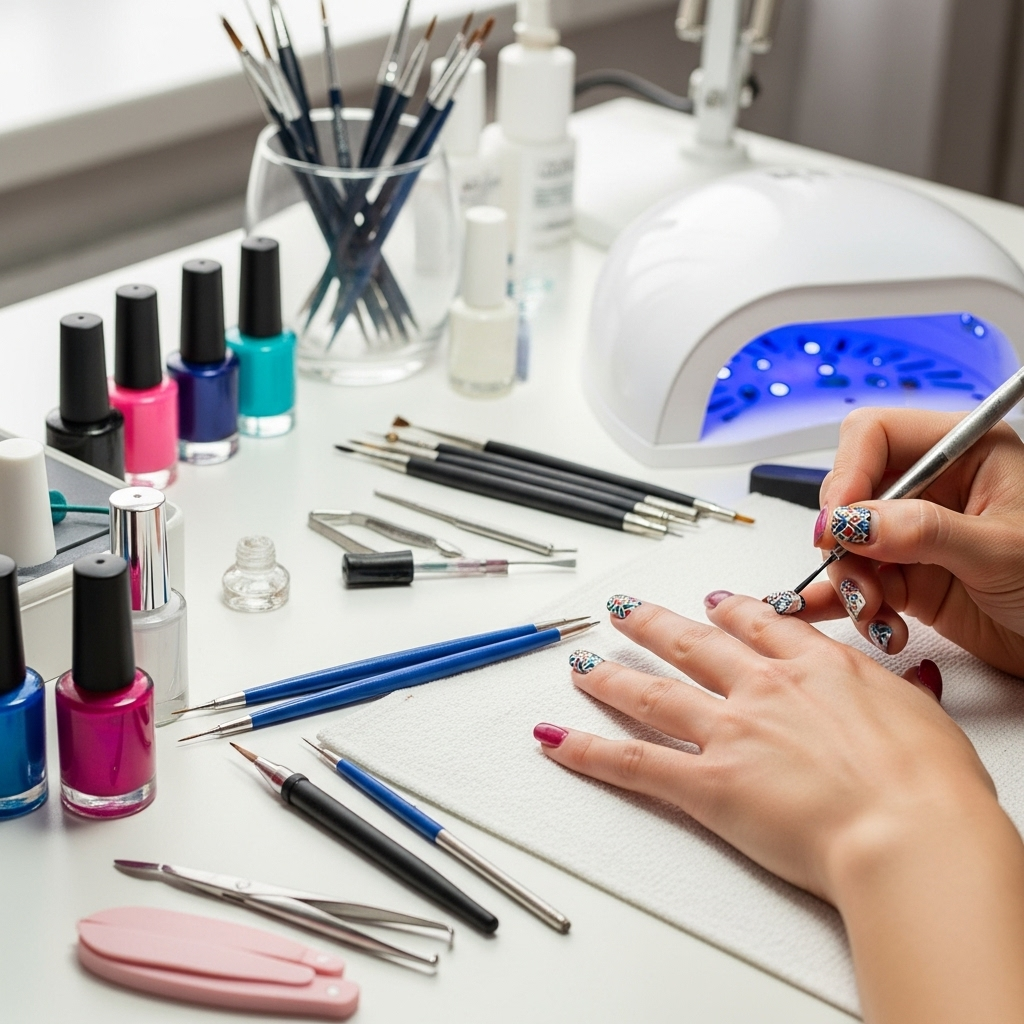
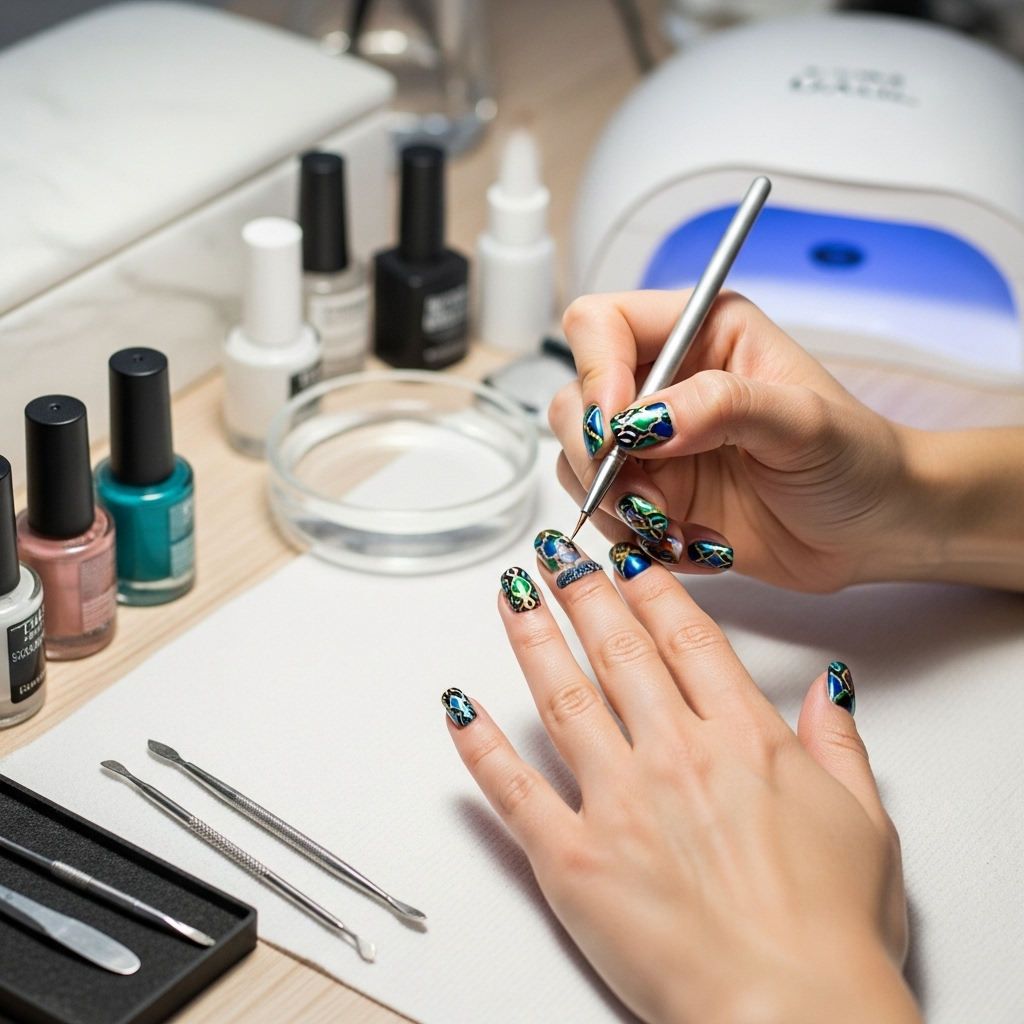
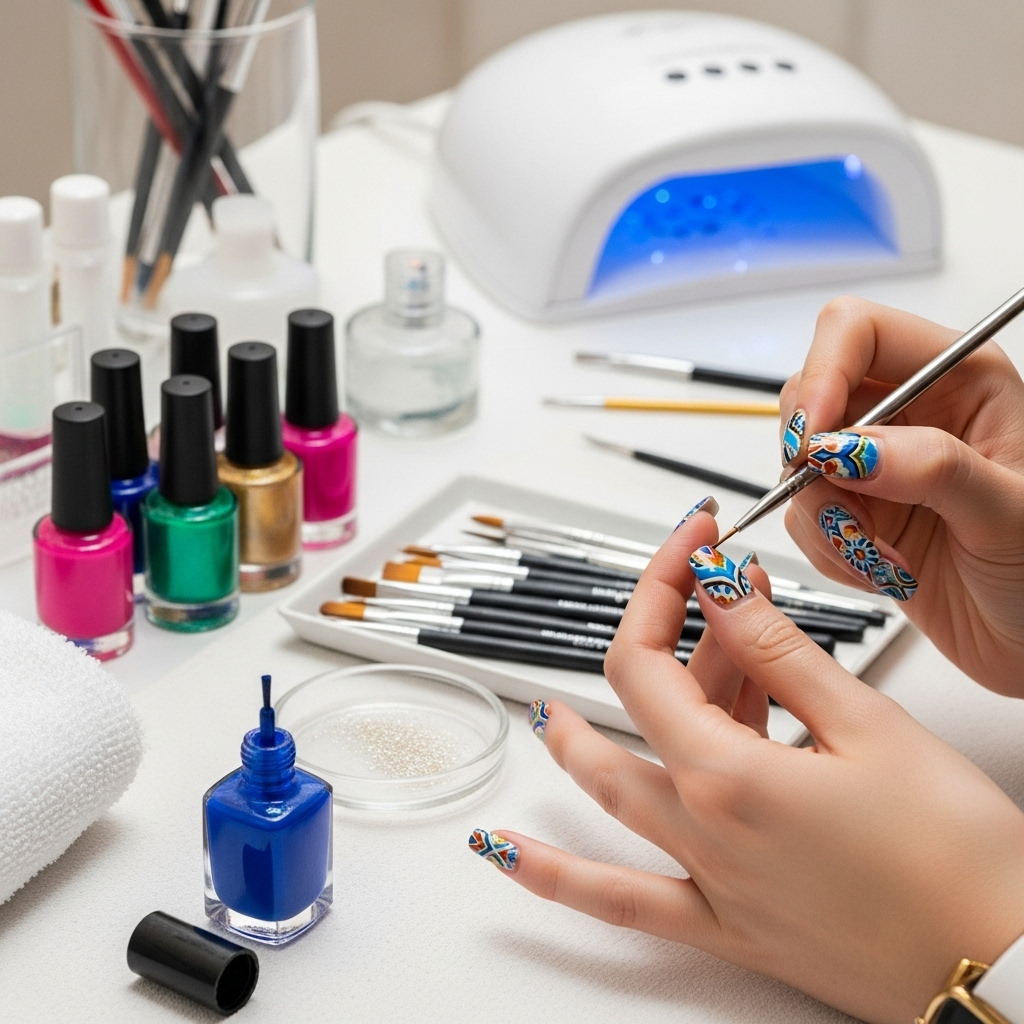
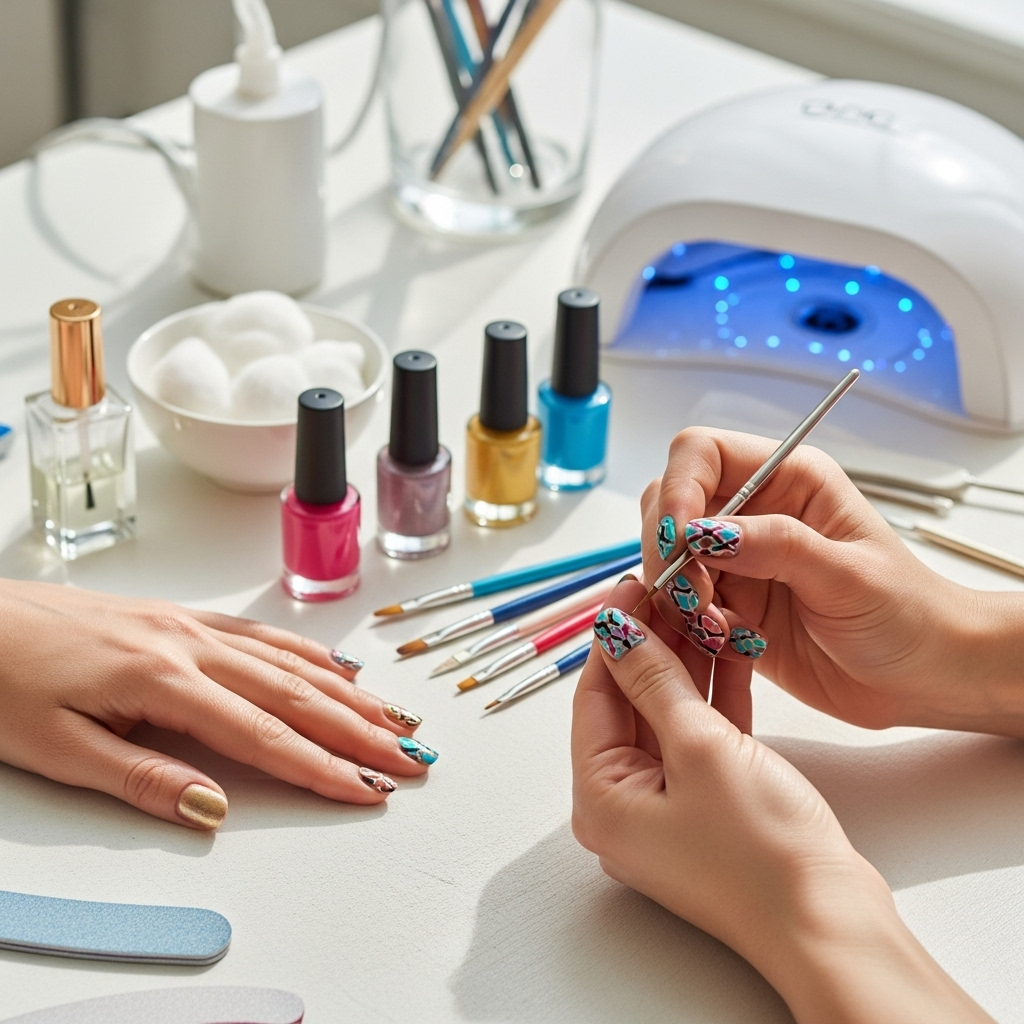
Moroccan pattern nail art is a stunning way to elevate your manicure with intricate, geometric designs inspired by Moroccan architecture and decor. Mastering these elegant looks at home is achievable with simple tools and a few key techniques, allowing you to create beautiful, eye-catching nails that express your unique style.
Step into a world of intricate beauty with Moroccan pattern nail art! Have you ever admired those complex, mesmerizing designs and thought, “I could never do that”? Many of us have been there, feeling a bit intimidated by the detail. But guess what? You absolutely can! Moroccan-inspired nails are all about geometric shapes, swirling lines, and a touch of exotic flair, and with a little guidance, you can recreate these stunning looks right at your fingertips. Get ready to unleash your inner artist and transform your nails into miniature masterpieces that are sure to impress. We’ll break down everything you need to know, from the basic tools to creating your very own breathtaking designs.
Why Moroccan Pattern Nail Art is Trending
Moroccan pattern nail art isn’t just a fleeting trend; it’s a celebration of rich cultural aesthetics translated into wearable art. The appeal lies in its timeless elegance and versatility. These patterns, often seen in Moroccan tiles, mosaics, and textiles, bring a sense of exotic sophistication to any look.
Unique Visual Appeal: The intricate geometry and often bold color combinations create a visually striking effect that stands out.
Cultural Connection: It offers a way to connect with and appreciate a beautiful art history.
Adaptable Designs: From minimal accents to full-nail coverage, Moroccan patterns can be scaled to suit any preference.
Sophisticated Aesthetic: The clean lines and geometric precision lend a polished and refined look to your nails.
Essential Tools for Your Moroccan Nail Art Journey

Don’t worry if you’re new to nail art tools! You likely have many of these items already, or they are easy to find. The key is to equip yourself with a few specialized items to make creating those detailed Moroccan patterns a breeze.
Here’s your must-have toolkit:
Base Coat: Essential for protecting your natural nails and ensuring a smooth canvas for your designs. A good quality base coat prevents staining and helps your polish last longer.
Top Coat: Seals in your design, adds shine, and protects against chipping.
Nail Polish Colors: Choose a palette that speaks to you. Earthy tones like terracotta, sand, and deep blues, along with vibrant jewel tones, often complement Moroccan aesthetics. Metallics, especially gold and silver, are fantastic for adding intricate details.
Fine-Tip Nail Art Brush: This is your workhorse for drawing lines, dots, and intricate details. A brush with very fine bristles allows for precision. Look for synthetic bristles that are easy to clean.
Dotting Tools: These come with various sized ball-shaped tips. They are perfect for creating consistent dots, filling in small spaces, and adding floral elements often seen in Moroccan-inspired art.
Striping Tape or Thin Washi Tape: For creating crisp, clean straight lines and geometric sections. This is a lifesaver for beginners to achieve sharp edges.
Toothpick or Orangewood Stick: Great for cleaning up polish mistakes or for picking up small embellishments.
Nail Polish Remover and Cotton Pads: For correcting errors and cleaning up the cuticles.
Cuticle Pusher or Orange Stick: To gently push back your cuticles, creating a clean nail surface for art.
Understanding Moroccan Nail Art Patterns
The beauty of Moroccan art lies in its repeating motifs and geometric precision. When translating this to nails, we focus on simplified versions of these complex designs. Think stars, intricate lattice work, floral elements, and tessellations.
The core elements you’ll often see are:
Geometric Shapes: Squares, hexagons, octagons, and stars form the backbone of many Moroccan patterns.
Symmetry and Repetition: Patterns are often symmetrical and repeat across a surface, which translates well to nails.
Interlocking Lines: Delicate lines weave together to create intricate, almost lace-like effects.
Focal Motifs: Often, a central element like a stylized flower or a larger star is surrounded by smaller geometric details.
Here’s a quick look at some popular styles and how they can be adapted for nails:
| Pattern Type | Description | Nail Art Adaptation |
|---|---|---|
| Zellige Tiles | Intricate mosaic patterns made from hand-cut glazed tiles, often featuring stars and geometric polygons. | Recreate star shapes, tessellating polygons, or small mosaic-like squares on accent nails using dotting tools or fine brushes. |
| Arabesque | Intertwining, flowing lines and floral designs, often creating a sense of movement and organic complexity. | Use a fine brush to draw delicate, swirling lines and vine-like elements. Small, stylized floral dots can also form part of an arabesque. |
| Moorish Star | Complex, multi-pointed star patterns formed by overlapping geometric shapes. | Focus on drawing an 8-pointed or 12-pointed star using a striping brush or tape. Add lines connecting the points or smaller dots within. |
| Lattice Work | Interconnected geometric shapes forming a net-like pattern. | Use striping tape to create a grid or diagonal lines, then fill in some squares or create a diamond overlay with a fine brush or dots. |
Beginner-Friendly Moroccan Pattern Nail Art Designs

Ready to get creative? These designs are perfect for beginners and use simple techniques to achieve a big impact. Remember, practice makes perfect, and a steady hand will develop over time!
Design 1: The Simple Geometric Accent
This design focuses on one or two nails, keeping it chic and manageable.
What You’ll Need:
Base coat and top coat
Your main polish color
A contrasting metallic polish (gold or silver works beautifully)
Fine-tip nail art brush or dotting tool
Steps:
1. Prep Your Nails: Start with clean, dry nails. Apply a base coat and let it dry completely.
2. Apply Main Color: Paint your nails with your chosen main polish color. Let it dry thoroughly. This might take two coats for opaque coverage.
3. Choose Your Accent Nail(s): Decide which nail(s) you want to decorate. Often, the ring finger or all nails except one are chosen.
4. Draw a Simple Star: Using your metallic polish and fine-tip brush, paint a simple 4-pointed or 8-pointed star in the center of your accent nail. Don’t worry about perfection; slight irregularities add character!
5. Add Dots: Use your dotting tool to add small dots around the points of the star, or in the corners of the nail.
6. Optional: Outline: If you’re feeling brave, use the fine brush to lightly outline your star with the metallic polish.
7. Clean Up: Use a toothpick dipped in nail polish remover to clean up any stray polish around your cuticles or nail edge.
8. Seal the Deal: Apply a layer of top coat over all your nails to add shine and protect your design.
Design 2: The Striped Lattice Look
This design uses striping tape to create sharp, precise lines, making it easier for beginners to achieve a complex look.
What You’ll Need:
Base coat and top coat
Two complementary polish colors (e.g., a deep teal and a sandy beige)
Metallic polish for accents (optional)
Fine-tip nail art brush or dotting tool
Striping tape (thin width is best)
Steps:
1. Prep and Base Color: Apply base coat, then your first polish color to all nails. Let it dry completely.
2. Apply Second Color: Apply your second polish color to all nails. Let it dry until it’s almost fully set but still slightly tacky. This is crucial for the tape to stick without peeling off the polish.
3. Apply Striping Tape: Carefully place strips of striping tape onto your nails. You can lay them straight across, diagonally, or in a criss-cross pattern to create a lattice effect. Press the tape down firmly to prevent polish from seeping underneath.
4. Paint Over Tape: Apply a thin coat of your first polish color (the one underneath the tape) over the taped sections. This will be the color that shows through the gaps.
5. Remove Tape Carefully: While the top polish is still wet, gently peel off the striping tape. Do this slowly and at an angle. If the polish is too dry, it might lift with the tape. If it’s too wet, it will smudge.
6. Let it Dry: Allow the polish to dry completely.
7. Add Metallic Accents (Optional): Once dry, use a fine brush and metallic polish to add a few dots in the corners where the lines intersect, or to outline any of the taped sections.
8. Top Coat: Apply a generous layer of top coat.
Design 3: The Moroccan Medallion
This design creates a focal point on one nail, inspired by the intricate medallions found in Moroccan art.
What You’ll Need:
Base coat and top coat
Base polish color
Contrasting color for the medallion (e.g., a deep blue or burgundy)
Metallic polish (gold or silver)
Fine-tip brush
Dotting tools (small and medium)
Steps:
1. Prep and Base Color: Start with a clean, prepped nail and apply your base color. Allow it to dry.
2. The Central Dot: On your accent nail, use a medium dotting tool to place a single, solid dot of your contrasting medallion color in the center of the nail.
3. Build Around the Center:
Using a fine brush and the same contrasting color, draw small, curved lines or petals radiating outwards from the central dot, forming a simple flower or star shape. Think of it like drawing teardrops around the dot.
Alternatively, use a small dotting tool to place a ring of small dots around the central dot.
4. Add the Geometric Framework:
Using your metallic polish and fine brush, carefully draw thin lines connecting the points of your medallion.
You can also add small, precise dots at the end of these lines or along the nail edges.
5. Fill In (Optional): If there are larger empty spaces, you can use the dotting tool and your contrasting color to fill them with more dots, creating a mosaic-like effect.
6. Refine and Clean Up: Use your fine brush to sharpen any lines or clean up edges. A toothpick dipped in remover is your best friend for tidying up.
7. Final Top Coat: Apply a good layer of top coat to seal everything in.
Taking Your Moroccan Nail Art to the Next Level
Once you’ve mastered the basics, you might want to experiment with more advanced techniques or elements. Remember to keep it fun and don’t be afraid to try new combinations!
Color Combinations: Don’t shy away from bold contrasts. Teal and gold, deep red and cream, or navy and silver can create striking Moroccan-inspired looks.
Mixing Textures: Consider using matte top coats over glossy designs for added depth and sophistication.
Embellishments: Small rhinestones or glitter can be strategically placed at the intersections of lines or at the center of floral motifs for an extra touch of glamour.
Gradient Backgrounds: Instead of a solid base color, try a subtle ombre or gradient as the backdrop for your geometric patterns.
Negative Space: Incorporate negative space by leaving parts of your nail bare. This can make intricate patterns feel lighter and more modern, much like contemporary interpretations of traditional designs.
The Importance of Nail Health
Before diving into intricate designs, always ensure your nails are healthy. Healthy nails provide the best canvas and make the application process smoother.
Moisturize: Regular use of cuticle oil and hand cream keeps your skin and nails hydrated.
File Correctly: File your nails in one direction to prevent splitting.
Give Them Breaks: If you wear a lot of polish, give your nails a “breather” without polish periodically.
Proper Removal: Always remove polish gently. Avoid soaking nails in harsh removers for too long. The FDA recommends avoiding acetone if possible due to its drying effect, though it’s highly effective. Consider non-acetone removers for less harshness.
Resources for Inspiration and Learning
Staying inspired is key to enjoying nail art!
Pinterest & Instagram: Search for #MoroccanNailArt, #GeometricNails, or #ArabesqueNails. You’ll find an endless stream of ideas.
Cultural Art Sources: Look at images of Moroccan tiles, architecture, and textiles online. Sites like The Metropolitan Museum of Art or historical architecture blogs can provide brilliant pattern inspiration.
Nail Art Blogs & YouTube Channels: Many talented artists share tutorials and tips for recreating various styles.
Frequently Asked Questions about Moroccan Pattern Nail Art

Q1: What are the easiest Moroccan patterns for beginners?
A1: Simple geometric shapes like stars, dots, and straight line patterns are the easiest. Designs using striping tape are also very beginner-friendly as they help create clean lines.
Q2: What colors are best for Moroccan nail art?
A2: Earthy tones (terracotta, sand, deep blues, greens) combined with metallics (gold, silver) are classic. Jewel tones also work wonderfully. The key is often contrast!
Q3: How do I get my lines sharp and clean?
A3: For straight lines, use striping tape, pressing it down firmly. For freehand lines, ensure your brush is clean and has a fine tip, and use a thin layer of polish on the brush. Practice on a piece of paper first!
Q4: Can I do Moroccan nail art on short nails?
A4: Absolutely! Smaller, simpler geometric patterns or single accent motifs often look best on short nails. Avoid overly complex or large patterns that might overwhelm the nail shape.
Q5: How long does Moroccan pattern nail art usually last?
A5: With proper preparation (base coat, clean surface) and a good quality top coat, your nail art can last between 5-10 days, depending on your daily activities and how well you care for your hands.
Q6: My polish smudges when I apply the top coat. What can I do?
A6: Make sure each layer of polish and design is completely dry before applying the top coat. Apply the top coat in a single, smooth motion, rather than dabbing or going back and forth too much, which can cause smudging.
Q7: Where can I find good quality nail art brushes?
A7: You can find them at most beauty supply stores, online retailers like Amazon, or specialized nail art supply websites. Look for brushes with fine synthetic bristles designed for detail work.
Conclusion
You’ve got this! Moroccan pattern nail art is a beautiful and achievable way to express your style. By gathering your essential tools, understanding the core design elements, and practicing these beginner-friendly techniques, you can create stunning, intricate looks that will have everyone asking about your manicure. Remember to keep your nails healthy as your canvas and have fun experimenting with different colors and patterns. The world of Moroccan-inspired beauty is vast and inspiring, and your nails are the perfect place to start exploring it. So, grab your polishes, your brushes, and let your creativity flow – your next favorite nail design awaits!


