Turn your nails into a cosmic canvas! Moon and stars nail designs are surprisingly easy, offering endless style. Learn essential tips and stunning ideas to create your own celestial manicure at home.
Have you ever looked up at the night sky and wished you could capture that magic on your fingertips? Celestial-inspired nails, especially moon and stars nail designs, are totally in vogue! But if you’re new to nail art, the thought of creating intricate moons and twinkling stars can feel a bit daunting. Don’t worry, fellow nail lovers! It’s easier than you think to achieve dazzling results that will make your nails shine like the cosmos. We’ll guide you through everything, from the basic tools to creating show-stopping looks. Get ready to explore the universe of nail art!
Why Moon and Stars Nail Designs Are a Stellar Choice
Moon and stars nail designs have a timeless appeal. They’re mystical, chic, and incredibly versatile. Whether you’re aiming for a subtle, dreamy look or a bold, cosmic statement, this theme has you covered. Plus, they’re perfect for almost any occasion – from a casual day out to a special celestial-themed party or even everyday elegance.
Essential Tools for Your Cosmic Manicure
Before we dive into the creative designs, let’s gather your nail art arsenal. Don’t feel overwhelmed; you likely have some of these items already! For stunning moon and stars nail designs, these are your must-haves:
- Base Coat: This protects your natural nails and helps your polish adhere better.
- Top Coat: Seals in your design and adds a brilliant shine, making your manicure last longer.
- Nail Polish: A variety of colors, but especially deep blues, blacks, grays, whites, silvers, and golds, are perfect for a cosmos vibe.
- Dotting Tools: These come in various sizes and are amazing for creating perfect dots (perfect for stars!).
- Fine-Tip Nail Art Brush: Essential for drawing precise lines, small stars, and crescent moons.
- Nail Polish Remover: For cleaning up any mistakes.
- Cotton Swabs/Pads: Also for cleanup.
- Stencils or Nail Decals (Optional): If you’re not ready to freehand, these can be lifesavers! You can find moon and star-shaped stencils or adhesive decals online or at beauty stores.
- Tweezers: Handy for positioning small decals precisely.
Understanding Nail Polish Finishes for Cosmic Effects
The finish of your nail polish can really enhance your moon and stars nail designs. Here’s a quick rundown:
| Finish | Description | Best For |
|---|---|---|
| Cream/Opaque | Smooth, solid color with no shimmer. | Base colors, defining moons. |
| Metallic | Shiny, reflective, like polished metal. | Stars, outlining moons, accents. |
| Glitter | Contains small particles of glitter. | Creating a starry sky effect, adding sparkle. |
| Shimmer/Pearl | Subtle glow or iridescent sheen. | Adding depth to the night sky base. |
Beginner-Friendly Moon and Stars Nail Design Ideas
Ready to create some magic? Let’s start with some simple yet stunning designs that are perfect for beginners!
1. The Classic Crescent Moon Accent
This is a super easy way to dip your toes into celestial nails. It focuses on one simple, impactful element.
- Prep Your Nails: Start with clean, dry nails. Apply a base coat and let it dry completely.
- Apply Base Color: Paint all your nails with a deep, dark color like navy blue, black, or deep purple. Apply two coats if needed for full opacity. Let it dry thoroughly. This dark base represents the night sky.
- Create the Moon: On your ring finger (or any accent nail you choose), use a white, silver, or gold polish with your dotting tool or a small brush. You can either:
- Dotting Tool Method: Dip your dotting tool into the polish and carefully create a C-shape near the cuticle of your accent nail.
- Brush Method: Use your fine-tip brush to draw a smooth crescent moon shape.
- Add a Star (Optional): With a smaller dotting tool or brush, add a tiny dot of the same color as the moon, or a contrasting metallic color, near the moon.
- Seal It In: Once everything is completely dry, apply a generous coat of top coat.
2. The Simple Starry Sky
This design is all about creating texture and depth, mimicking a sky full of stars.
- Prep and Base: Apply base coat. Paint all nails with your chosen night sky color (dark blue, black, etc.). Let it dry completely.
- Add Stars with Glitter Polish: Take a silver or gold glitter polish. You can either:
- Light Sprinkle: Lightly brush or dab the glitter polish randomly over your nails to create a scattered star effect.
- Concentrated Clusters: Dab more glitter polish in certain areas to create “constellations” or more densely star-filled sections.
- Accent Moon (Optional): On one nail, add a simple crescent moon using a white or silver cream polish and a dotting tool or brush, just like in the previous design.
- Seal: Apply top coat once everything is dry.
3. Half-Moon French Tips
A modern twist on the classic French manicure, using the moon shape instead of a smile line.
- Prep and Base: Apply base coat. Paint your nails with your desired base color (e.g., a sheer nude, a soft gray, or even the dark night sky color). Let dry.
- Create the Half-Moon: This is where it gets fun! You can use a small circular sticker or create the shape freehand.
- Using Stickers: Place a small circular sticker just above your natural smile line, curving along the nail bed. Then, paint the tip of your nail with a contrasting color (like gold, silver, or white). Carefully peel off the sticker while the polish is still wet.
- Freehand Method: Use a fine-tip brush or a dotting tool to carefully paint a U-shape or crescent moon shape along your cuticle. Fill it in with your chosen accent color (gold, silver, white, etc.).
- Seal: Apply top coat once dry.
Stepping Up Your Celestial Game: Intermediate Techniques
Once you’ve mastered the basics, try these slightly more involved designs:
4. Constellation Designs
Recreate famous constellations or create your own star patterns!
- Prep & Base: Apply base coat. Paint nails with a dark polish. Let dry thoroughly.
- Draw the Stars: Use a fine-tip nail art brush or a dotting tool with white, silver, or gold polish to create small dots representing stars. Vary the size slightly for a more natural look.
- Connect the Stars: Using the same fine-tip brush and a slightly more liquidy polish (or thin it out with a drop of nail polish thinner), carefully draw thin lines connecting some of the dots to form constellations. Think Ursa Major, Orion, or even a custom pattern! A useful resource for understanding real constellations is NASA’s Astronomy Picture of the Day (APOD) archive, which often features sky maps.
- Add a Moon (Optional): Add a crescent or full moon on an accent nail.
- Seal: Apply top coat when all polish is completely dry.
5. Galaxy Nails with Stars
This technique creates a mesmerizing, swirling effect reminiscent of a galaxy.
- Prep & Base: Apply base coat. Paint your nails with a dark base color. Let dry.
- Create the Swirls: This technique often uses a sponge or a makeup wedge.
- Lightly dab a few colors onto your sponge – think blues, purples, pinks, and black.
- Gently dab the sponge onto your nail, layering the colors and blending them to create a galaxy effect. Repetition may be needed with different color combinations.
- Work in small sections and allow each layer to slightly dry before adding more, or use a dabbing motion with a slightly damp sponge to blend colors.
- Add Stars: While the galaxy base is still slightly tacky (or after it’s dry, you can use a very thin layer of top coat), use a white or silver polish with a stiff-bristled brush or a toothbrush. Dip the bristles in polish, then flick them onto your nails to create tiny splatters that look like distant stars. You can also use a dotting tool for more controlled stars. Visit the NASA StarChild website for inspiration on cosmic colors and formations.
- Add Moon Accents: On one or two nails, you can add a simple white or silver crescent or full moon.
- Seal: Apply a thick layer of top coat to smooth out any texture from the sponging and splattering.
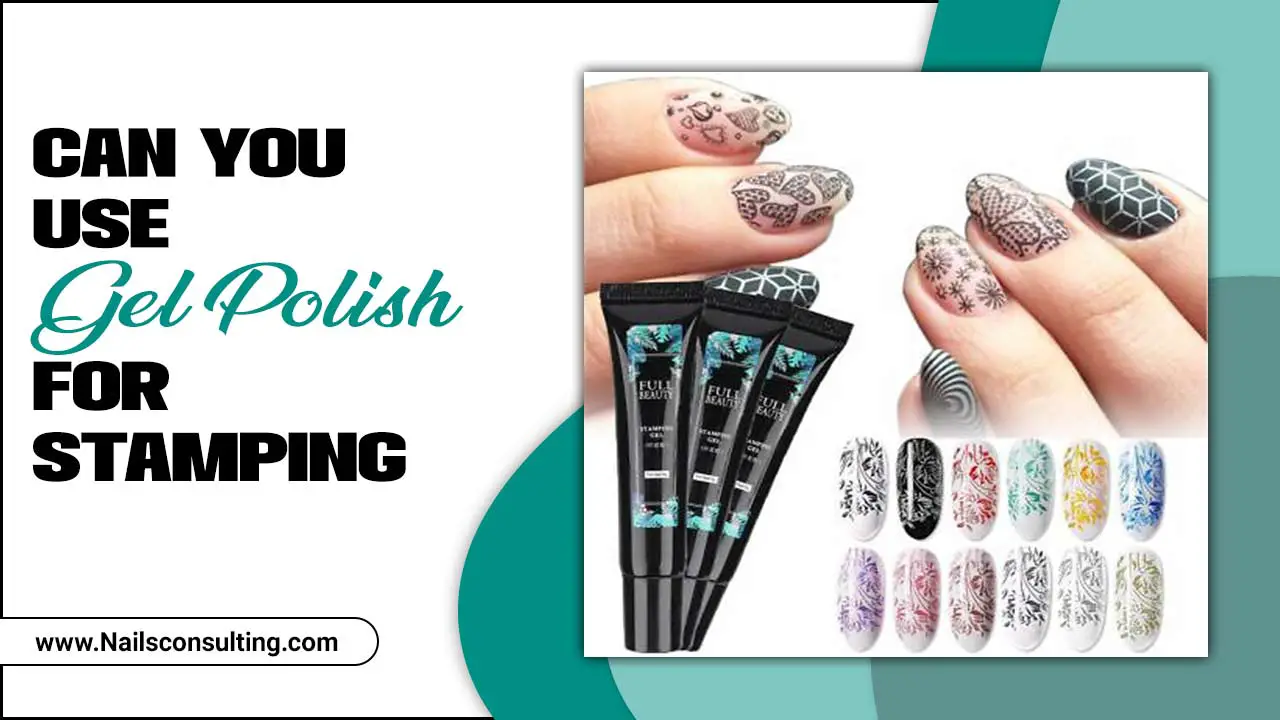
6. Stamped Celestial Designs
Stamping plates offer incredibly detailed and repeatable designs with ease.
- Prep & Base: Apply base coat. Paint nails with a solid color (a dark color works best for contrast against metallic or white polish). Let dry.
- Apply Stamping Polish: Apply a good quality stamping polish (these are more pigmented) to your chosen constellation or moon/star stamp on the stamping plate.
- Scrape and Stamp: Use a stamper and scraper tool to quickly scrape off the excess polish and then pick up the design with your stamper.
- Transfer to Nail: Immediately roll the stamper gently onto your nail where you want the design to appear.
- Clean Up and Seal: Clean up any stray polish around your nails with remover and a brush. Once dry, apply a top coat. For more information on stamping tools and techniques, resources like the Nail Artistry Stamping Tutorial can be very helpful.
Pro Tips for Perfect Moon and Stars Nail Designs
Here are a few extra tricks to elevate your celestial manicures:
- Patience is Key: Always let each layer of polish dry completely before moving to the next step. This prevents smudging and makes clean lines possible.
- Thin Layers are Better: Apply multiple thin coats of polish rather than one thick one for a smoother, more professional finish.
- Clean Polish Lines: Dip a small brush (like a flat liner brush or even an old, clean makeup brush) into nail polish remover to clean up any edges or mistakes around your cuticles and sidewalls. This makes a huge difference!
- Experiment with Colors: Don’t be afraid to play with different color palettes. Pastels can create a dreamy, ethereal moon and stars look, while neons can make a bold, statement galaxy.
- Matte Top Coat: For a different look, try a matte top coat over your finished design. It can give your starry sky a more “velvety” or deep space appearance.
Maintaining Your Celestial Masterpiece
To make your moon and stars nail designs last:
- Wear Gloves: When doing chores or handling harsh chemicals, wear gloves to protect your polish from chipping.
- Moisturize: Keep your cuticles and hands moisturized with cuticle oil and hand cream. Healthy nails are the best canvas!
- Touch-Ups: If a small chip occurs, you can sometimes fix it with a tiny bit of polish and a steady hand, followed by a touch-up of top coat.
Frequently Asked Questions About Moon and Stars Nail Designs
Q1: What are the easiest moon and stars nail designs for beginners?
The easiest designs involve using dotting tools or stickers. A simple crescent moon on an accent nail or using glitter polish to create a starry effect are great starting points. You can also use adhesive nail decals.
Q2: What colors are best for moon and stars nail designs?
Classic choices include deep blues, blacks, purples, and grays for the “night sky” base. For moons and stars, use white, silver, gold, or even bright contrasting colors like yellow or pink for a playful look.
Q3: How do I get clean lines for my moons?
Use a fine-tip nail art brush or a dotting tool with precise control. For perfect curves, consider using small circular stickers or French tip guides as stencils. Always work on a dry base layer and clean up mistakes with a brush dipped in nail polish remover.
Q4: Can I do moon and stars nail designs with regular nail polish?
Yes! While gel polish offers more durability and a high-shine finish, regular nail polish works perfectly for creating beautiful moon and stars nail designs. Just ensure each layer is completely dry before proceeding and use a good quality top coat.
Q5: How can I make my glitter stars look less chunky?
For a smoother glitter effect, try applying a clear polish or a bit of top coat over the glitter layer. Alternatively, use a glitter polish with finer glitter particles or dab on glitter polish strategically rather than applying thick coats.
Q6: What’s the best way to create a starry sky effect?
The toothbrush or stiff-bristled brush flicking technique is excellent for a realistic scattered star effect. For a more concentrated starry look, use glitter polishes or tiny dot stickers.
Q7: Do I need special tools for moon and stars nail designs?
While special tools like dotting tools and fine brushes make it easier, you can achieve simple designs with everyday items. A toothpick can work as a dotting tool in a pinch, and a steady hand with a regular nail art brush is also effective!
Conclusion: Your Cosmic Journey Awaits!
There you have it – a complete guide to creating stunning moon and stars nail designs, from the absolute basics to a few more advanced techniques. We’ve covered the essential tools, color choices, and simple step-by-step methods that will have you feeling like a nail art pro in no time. Remember, nail art is all about self-expression and having fun. Don’t aim for perfection on your first try; enjoy the process of creating your own little piece of the cosmos right on your fingertips.
So grab your polishes, embrace your creativity, and let your nails shine like the night sky. Whether you choose a minimalist crescent moon or a full-blown galaxy, these designs are sure to bring a touch of magic to your day. Happy painting, and may your nails be ever celestial!


