Quick Summary:
Creating beautiful moon and stars nail art is achievable for beginners! This guide provides simple steps, essential tools, and easy techniques to achieve a cosmic manicure that’s out of this world. Get ready to shine with your DIY celestial nails!
Dreaming of a manicure that twinkles with celestial charm? Moon and stars nail art is a super popular trend for a reason – it’s absolutely gorgeous and surprisingly easy to create! Whether you’re a nail art novice or just looking for a quick and stylish design, this guide is your perfect companion. We’ll break down everything you need to know, from the basic tools to dazzling finished looks. Let’s dive in and make your nails shine like the night sky!
Why Moon and Stars Nail Art?
There’s something inherently magical about the moon and stars. They evoke feelings of wonder, mystery, and calm. Translating this beauty onto your nails is a fantastic way to express your personal style and add a touch of enchantment to your everyday look. Plus, this design is incredibly versatile! It can be as subtle or as dramatic as you like, fitting for any occasion, from a casual day out to a special evening event.
Many people find nail art intimidating, thinking it requires a steady hand and professional skills. But honestly, moon and stars nail art is one of the most beginner-friendly designs out there. With a few simple tools and a little patience, you can achieve stunning results that look like you stepped right out of a salon. We’re here to demystify the process and show you just how fun and rewarding it can be!
Essential Tools for Your Cosmic Manicure
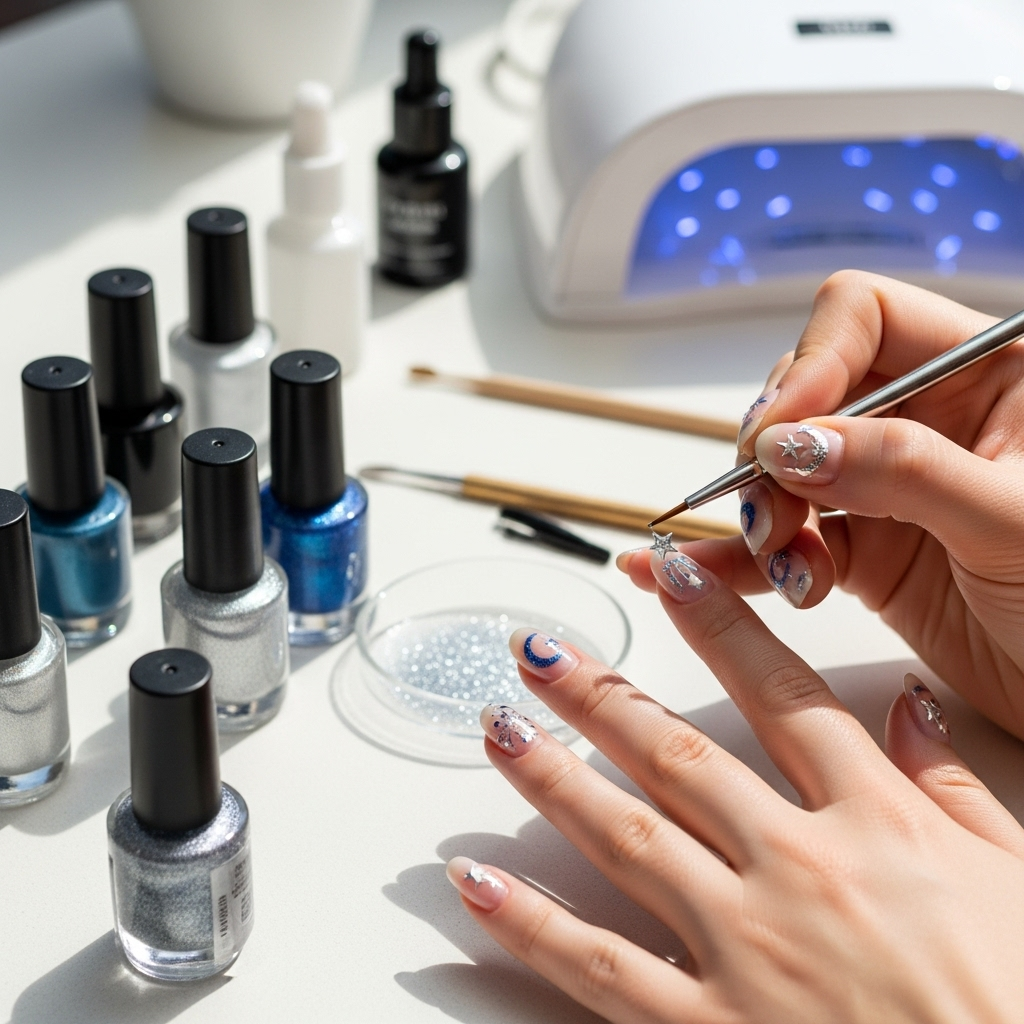
Before we start painting, let’s gather our supplies. You don’t need a shelf full of fancy gadgets. Most of these are basic nail care items you might already have, plus a few specific nail art tools that are super affordable.
Your Nail Art Toolkit:
- Base Coat: This protects your natural nails from staining and helps your polish last longer.
- Top Coat: Seals your design and adds a brilliant shine.
- Nail Polish Colors:
- Base Color: Think deep blues, blacks, purples, or even a soft nude or white for contrast.
- Moon/Star Colors: White, silver, gold, yellow, or even holographic shades work beautifully.
- Detail Brushes or Dotting Tools: These are your magic wands for creating small shapes. Dotting tools have a ball on the end, perfect for dots and small moons. Fine-tipped brushes are great for delicate lines and star points.
- Nail Polish Remover & Cotton Swabs: For cleaning up any mistakes (we all make them!).
- Optional: Nail Art Stencils: If freehand drawing feels too daunting, stencils can create perfect shapes easily.
- Optional: Glitter Polish: For an extra pop of sparkle!
My Top Picks for Nail Art Tools (Beginner Friendly!)
Choosing the right tools can make all the difference. Here are a few types that I find work wonderfully for beginners tackling moon and stars nail art:
| Tool Type | Why It’s Great for Moon & Stars | Tips for Use |
|---|---|---|
| Dotting Tools (Set of Various Sizes) | The rounded tips are perfect for creating the curved shape of a moon or consistent dots for the stars. Different sizes let you vary the scale of your celestial bodies. | Dip the ball tip into your polish (just a small amount!) and gently press onto the nail. For moons, make a curved stroke. For stars, try a few dots in a star shape. Tip: Clean the tool thoroughly after each color. |
| Fine-Liner Art Brushes | These brushes allow for more control and precision, making them ideal for drawing crisp crescent moons or drawing out the points of stars. | Load the brush with a tiny amount of polish. Practice drawing lines on paper first to get a feel for the pressure. For stars, you can dot a tiny circle and then draw lines out from it, or simply paint a star shape directly. |
| Nail Art Pens (like those from Kiss or similar brands) | These offer a pen-like application, which can feel very intuitive for beginners. They often have fine tips for detailed work. | Shake well before use. Draw your designs directly onto a dry polish layer. They are great for outlining moons or quickly dotting out star clusters. |
| Moon-Shaped Stencils | If freehand isn’t your jam, these adhesive stencils are lifesavers. They give you a perfect, crisp moon shape every time. | Apply the stencil to your dry base color. Paint over the opening. Carefully peel off the stencil while the polish is still slightly wet for the cleanest lines. |
Step-by-Step: Creating Your Moon and Stars Masterpiece
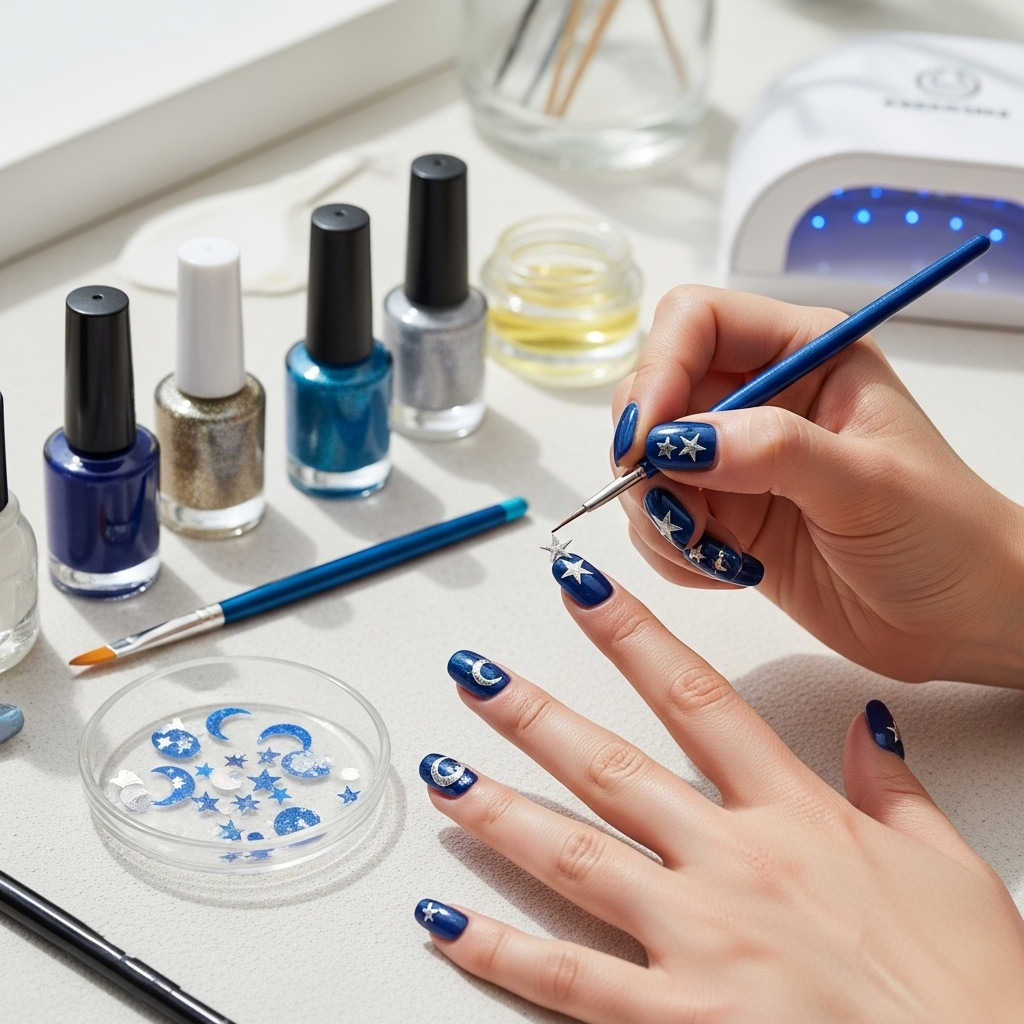
Ready to get creative? Let’s break down how to create a beautiful moon and stars nail design. I’ll give you a few variations, but feel free to mix and match!
The Classic Deep Space Look
This is perhaps the most iconic moon and stars design. Think of a deep, dark sky with bright celestial bodies.
- Prep Your Nails: Start with clean, smooth nails. File them to your desired shape and push back your cuticles.
- Apply Base Coat: Apply one coat of your favorite clear base coat. Let it dry completely. This step is crucial to prevent staining, especially with dark polishes.
- Paint Your Base Color: Apply 1-2 coats of your dark “night sky” polish (black, deep navy, dark purple). Ensure each coat is fully dry before applying the next. Patience here pays off for a smooth finish!
- Add the Moon:
- Using a Dotting Tool: Take a white, silver, or gold polish. Dip the ball end of a medium-sized dotting tool into the polish. Gently press and drag in a curved C-shape onto your nail. You can place it near the cuticle or in the middle of the nail.
- Using a Detail Brush: With a fine-tipped brush and a brighter polish, carefully paint a crescent moon shape.
- Using a Stencil: Apply a small adhesive moon stencil. Paint over the opening with your moon color. Peel off carefully.
- Create the Stars:
- Using a Dotting Tool: Use a small dotting tool with white, silver, or gold polish to create small dots scattered across the nail. You can make them random or cluster them.
- Using a Detail Brush: You can paint tiny star shapes by making a few dots and drawing short lines connecting them, or by painting a small “x” shape and adding tiny flicks at the end of each line.
- Using a Nail Art Pen: White or metallic nail art pens are fantastic for drawing tiny dots or simple star shapes.
- Add Extra Sparkle (Optional): If you love glitter, add a sheer glitter polish over the top or strategically place glitter dots to mimic distant stars.
- Apply Top Coat: Once everything is completely dry, apply a generous coat of clear top coat. This seals your design, adds shine, and helps prevent chips.
The Subtle Pastel Galaxy
This version uses softer colors for a dreamy, ethereal look. It’s perfect if you prefer a lighter palette.
- Prep and Base Coat: As always, start with a clean nail and a layer of base coat.
- Paint Your Base Color: Choose a soft pastel shade like baby blue, lilac, or a pale pink. Apply 1-2 coats for opaque coverage.
- Create a Faded Galaxy Effect (Optional): For a more dynamic background, before your base color is fully dry, use a makeup sponge to dab on slightly different pastel shades or a touch of white to create a subtle gradient. Let it dry completely.
- Add Pastel Moons: Use white, iridescent, or a slightly contrasting light color with a dotting tool or brush to create small crescent moons. Pastels like pale yellow or soft pink can also work for moons here.
- Stellar Dots: Use a slightly darker pastel or white with a fine dotting tool to add tiny dots for stars. You can also use a pearly white polish for a softer shimmer.
- Accent Nail Sparkle: Consider a solid glitter polish on one accent nail for a touch of shine.
- Seal It In: Apply your top coat to protect the design.
The Minimalist Moon Mani
Less is often more! This is for those who love a chic, understated design.
- Prep and Base Coat: Standard prep applies here.
- Choose a Neutral Base: Opt for a clear, nude, sheer pink, or a light grey polish. Apply 1-2 coats.
- The Single Moon: This is the star of the show. Use a fine liner brush or a small dotting tool with white, black, silver, or gold polish to create a delicate crescent moon on one or two accent nails. You can place it at the base of the nail or on the side.
- Optional: Tiny Star Accent: Add just one or two tiny dots with your star color near the moon for a subtle touch.
- Finish Strong: Apply a clear top coat.
Pro Tips for Flawless Moon and Stars Nail Art
Even simple designs can be improved with a few insider tricks. Here are some tips to elevate your moon and stars manicure:
- Thin Coats Rule: Always apply polish in thin, even coats rather than one thick one. This prevents bubbling and ensures faster drying times.
- Clean as You Go: Keep a bottle of nail polish remover and some pointed cotton swabs handy. Dip a swab in remover and carefully clean up any polish that strays onto your skin or mistakes you make on the nail before it dries. This makes a huge difference!
- Drying Time is Crucial: Resist the urge to rush! Always let each layer of polish dry completely before adding the next. This prevents smudging and dragging.
- Practice Makes Perfect: If you’re new to using dotting tools or detail brushes, practice on a piece of paper or even an old nail file first to get a feel for the pressure and polish flow.
- Don’t Be Afraid of Contrast: A dark base with light moons and stars generally pops the most, but consider lighter bases with dark designs for a different vibe.
- Layering is Your Friend: For a deeper galactic look, you can layer sheer polishes or glitters. A sheer black or navy over a lighter color can create depth.
- Consider Nail Art Foils: For a quick metallic moon or stars, look into nail art foils and foil adhesive. Apply foil where you want your metallic element, press, and peel.
Dealing with Common Nail Art Challenges
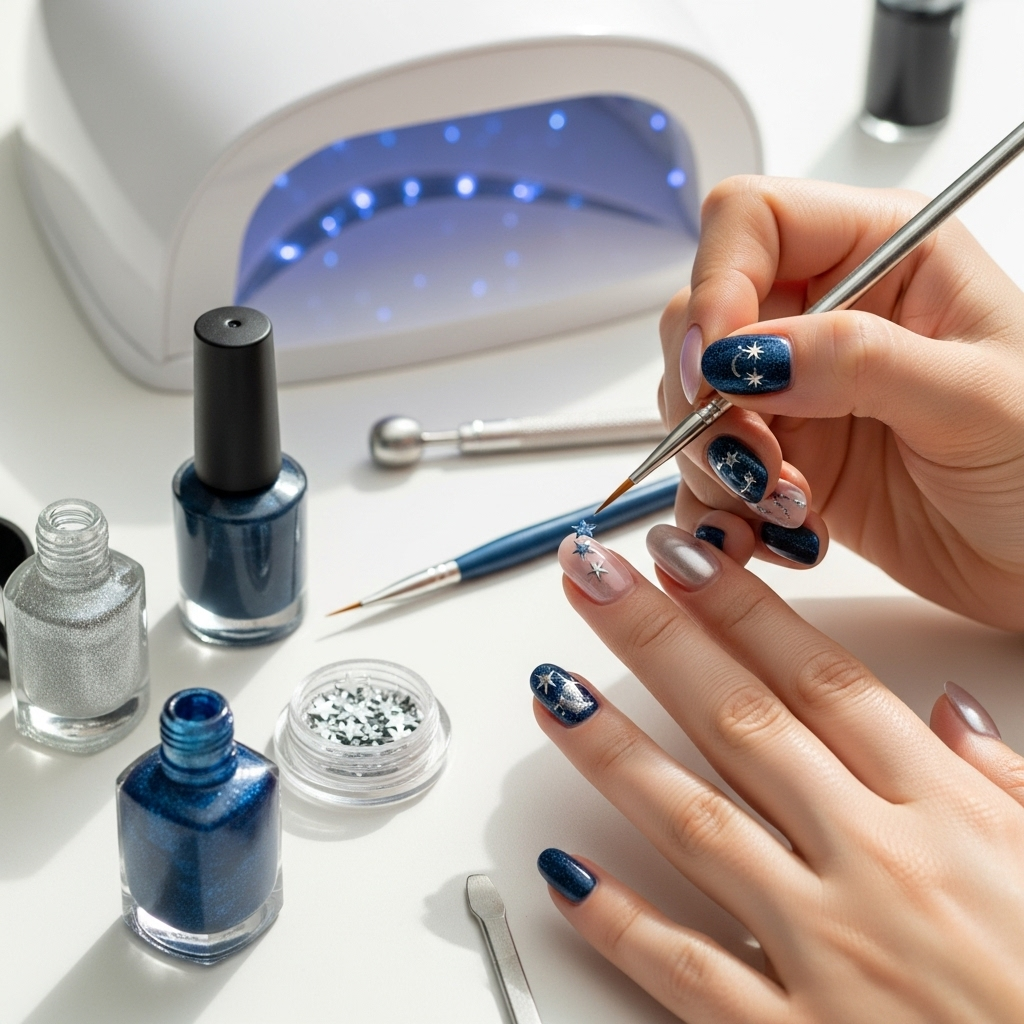
Even with the best intentions, sometimes things don’t go as planned. Here’s how to troubleshoot:
| Problem | Solution |
|---|---|
| Smudged Design | This usually happens when adding a new layer before the previous one is dry. If it’s a minor smudge, you can sometimes gently smooth it with a clean nail or a dotting tool. For bigger smudges, you might need to remove that nail’s polish and start again. Always wait for layers to dry! |
| Polish is too Thick/Thin | If your polish is too thick, it can be clumpy. If it’s too thin, it might be streaky. Polish thinners can revive old polish. For too-thin polish, focus on applying more coats. Don’t let your polishes sit open for too long, and always ensure the caps are sealed tightly. |
| Uneven Dots or Lines | Dip your dotting tool or brush into the polish cleanly – not too much, not too little. For lines, try a light, consistent pressure. If using a dotting tool for moons, a gentle swipe motion rather than just a press can create a smoother curve. Practice improves consistency. |
| Bubbles in Polish | Bubbles often occur from applying polish too thickly, or if the previous layer wasn’t dry. Ensure your coats are thin and allow ample drying time between them. Avoid shaking your polish bottles vigorously; roll them between your hands instead. |
| Chips on the First Day | This is often due to a lack of proper sealing. Ensure your top coat covers the entire nail, including the free edge (the tip of your nail). A good quality top coat applied thoroughly can significantly extend the life of your manicure. |
Beyond Basic Moons and Stars: Creative Variations
Once you’ve mastered the basics, why stop there? Moon and stars nail art offers endless possibilities for customization. Here are some ideas to spark your creativity:
- Constellation Nails: Connect dots with fine lines using a detail brush to recreate actual constellations.
- Ombre Galaxy: Blend multiple deep space colors for a stunning nebula effect before adding your moons and stars.
- Glow-in-the-Dark Stars: Use glow-in-the-dark polish for your stars for an extra surprise when the lights go out!
- Holographic Heavens: Incorporate holographic glitters or polishes to give your celestial bodies a shimmering, color-shifting effect.
- 3D Elements: For the adventurous, consider adding small 3D star charms or holographic flakes.
- Matte Finish: Try a matte top coat over your design for a sophisticated, velvety look.
- Color Play: Don’t limit yourself to dark backgrounds. Try a white or nude base with metallic moons and stars for a chic, modern feel.
For inspiration on creating different effects, resources like Nail Polish Canada’s beginner tutorials can offer fantastic visual guides on techniques like sponging and precise line work.
Frequently Asked Questions (FAQ)
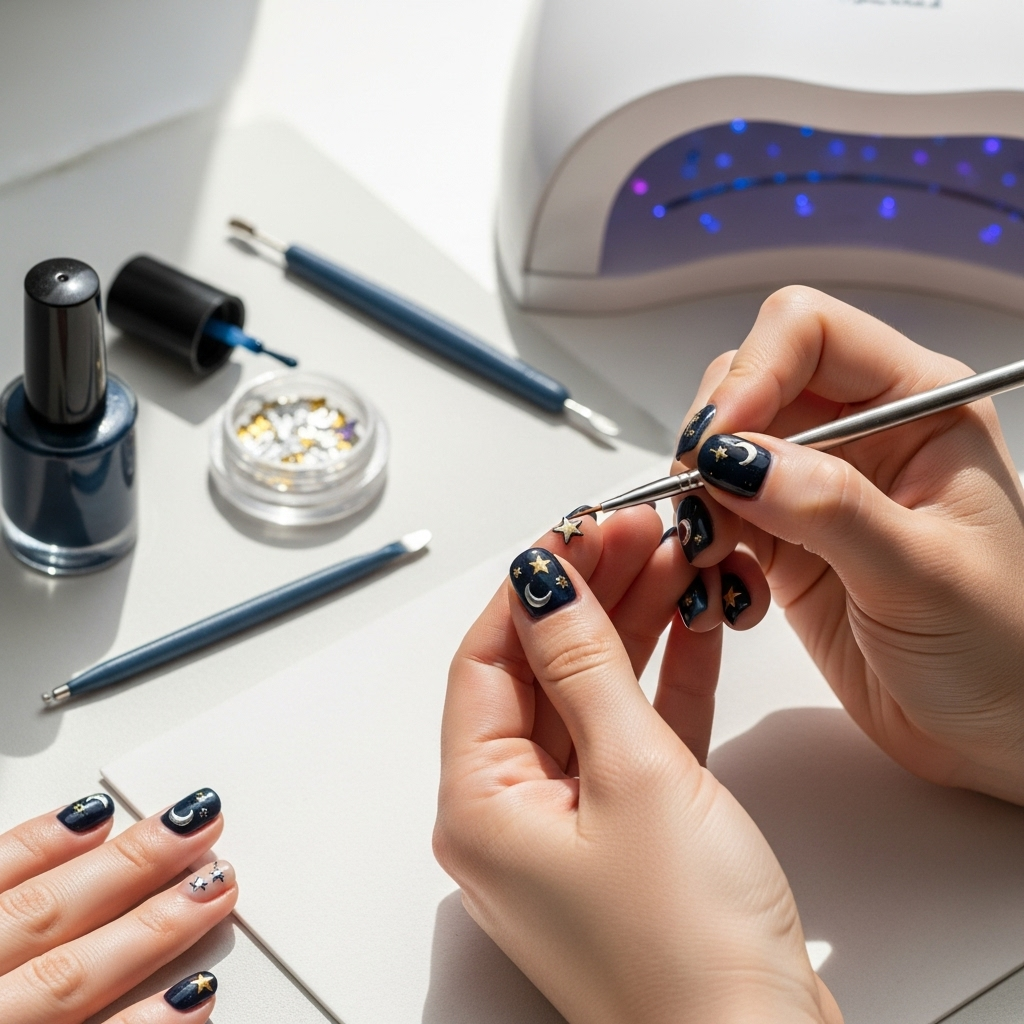
Q1: Can I really do moon and stars nail art myself if I’m a total beginner?
Absolutely! Moon and stars nail art is one of the most forgiving and beginner-friendly designs. With simple dotting tools or even toothpicks, and a little patience, you can achieve beautiful results. Our step-by-step guide is designed specifically for beginners.
Q2: What are the best colors for moon and stars nail art?
For a classic look, deep blues, black, or dark purple for the base with white, silver, or gold for the moons and stars works wonderfully. However, you can also play with pastels for a softer vibe, or even bright colors for a playful take. The key is good contrast.
Q3: How do I get my moons to look perfectly curved?
Using a dotting tool is easiest for beginners. Load a medium-sized ball tip with polish, then gently press and drag it in a smooth, curved motion across your nail to create the crescent shape. Alternatively, you can use an adhesive stencil for a crisp, perfect curve every time.
Q4: My stars look like blobs. How can I make them look like actual stars?
For smaller stars, use a very fine dotting tool or a thin nail art brush. You can create a tiny dot and then draw four short lines radiating outwards. For even simpler stars, a small “x” shape with tiny flicks at the ends of the lines can work. Focus on using just a tiny amount of polish.
Q5: How long does moon and stars nail art usually take to do?
For a basic design, including prep and drying time, expect to spend around 30-60 minutes. Rushing the drying process is the biggest mistake, so factor that in! More intricate designs might take a bit longer.
Q6: I don’t have fancy nail art brushes. Can I still do this?
Yes! A toothpick can be used as a makeshift dotting tool to create small dots for stars. For moons, you can try a careful swipe with a regular nail polish brush (ensure it’s clean and has minimal polish) or use the rounded end of a bobby pin. Makeup applicators like small sponge wedges for sponging gradients are also useful.
Q7: How can I make my moon and stars nail art last longer?
Proper nail prep (cleaning, filing, base coat), applying thin layers of polish, and ensuring each layer is completely dry before the next are crucial. Most importantly, always finish with a good quality, chip-resistant top coat, making sure to cap off

