Moon French tips offer a chic, updated twist on the classic French manicure, using a contrasting color on the cuticle line instead of the tip. This versatile style suits any occasion and is surprisingly easy to achieve at home, adding a sophisticated flair to your nails with a few simple steps.
Dreaming of nails that are both elegant and a little bit different? The moon French tip, also known as the reverse French manicure or crescent moon manicure, is your new best friend! It’s a super stylish way to elevate your nail game without being too complicated. You might see it on celebrities or in magazines and think it looks super tricky, but trust me, it’s totally doable for beginners. We’re going to break down exactly how to get those perfect moon shapes that look effortlessly chic. Get ready to ditch boring nails and embrace a look that’s polished, playful, and uniquely you!
What Exactly Are Moon French Tips?
So, what’s the buzz about moon French tips? Unlike the traditional French manicure where the white tip is painted onto the free edge of your nail, the moon French tip flips the design. Instead of the tip, you’re creating a distinct, curved shape right at the base of your nail, near the cuticle. This crescent moon shape is usually done in a contrasting color or a shimmery finish to the rest of your nail. It’s a subtle yet striking detail that adds a polished, modern vibe to any manicure.
Think of it as a sophisticated frame for your nail. This design is incredibly versatile. It can be as bold or as subtle as you like, depending on the color choices you make. From soft nudes with a metallic crescent to deep tones with a bright moon, the possibilities are endless. It’s a trend that has been around for ages in various forms but has seen a major resurgence, and for good reason – it’s just plain gorgeous!
Why Are Moon French Tips So Popular?
The enduring appeal of the moon French tip lies in its chic simplicity. It offers a sophisticated twist on a classic, making it a go-to for those who love a polished look. Here’s why everyone’s falling for this trend:
- Versatility: Moon French tips work with virtually any outfit and for any occasion, from a day at the office to a night out.
- Elegance: The curved shape adds a touch of refinement and visual interest that’s subtle yet eye-catching.
- Customization: You can play with countless color combinations, from minimalist neutrals and metallics to bold and vibrant pairings.
- Nail Shape Enhancement: The placement of the moon shape can visually lengthen or refine the appearance of your nail bed and nail shape.
- Relatively Easy DIY: While it might look intricate, achieving a clean moon French tip at home is more accessible than many other nail art designs.
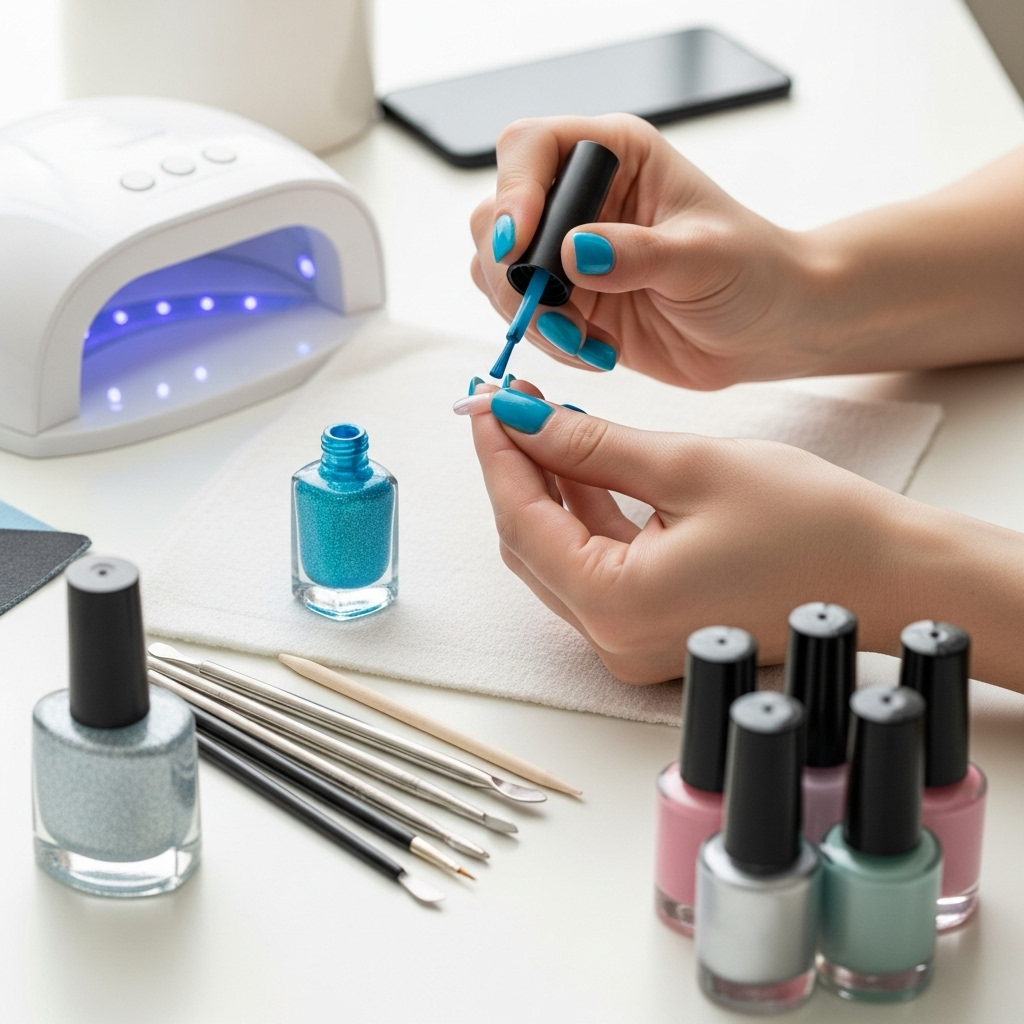
Essential Tools You’ll Need
Getting those perfect moon shapes at home is totally achievable with the right tools. Don’t worry if you don’t have a professional nail kit; most of these are common items found in a basic manicure set or are easy to pick up.
Here’s what you should have handy:
- Base Coat: Essential for protecting your natural nail and helping your polish adhere smoothly.
- Your Nail Polish Colors: You’ll need at least two polishes: one for the main nail bed and another for the moon shape.
- A Fine-Tipped Detail Brush or Striping Brush: This is your best friend for creating clean, precise curves. Look for brushes specifically designed for nail art.
- Small Round Stickers or Nail Art Stencils: These are optional but can be incredibly helpful for beginners to create a perfectly rounded moon shape. Think small circle stickers or specialized French tip guides for curves.
- Cuticle Pusher or Orange Stick: For tidying up the cuticle area before you start.
- Nail Polish Remover and Cotton Swabs: For cleaning up any mistakes and for precise application around the cuticle.
- Top Coat: To seal your design, add shine, and make your manicure last longer.
- Optional: Nail Polish Corrector Pen: A lifesaver for quick, clean touch-ups.
Step-by-Step Guide to Creating Moon French Tips
Ready to try it yourself? Let’s get those gorgeous moon French tips on your nails!
Step 1: Prep Your Nails
Just like any manicure, good prep is key! Start by removing any old polish. Gently push back your cuticles with a cuticle pusher or orange stick. If your nails are uneven, file them to your desired shape. A clean, smooth canvas makes all the difference.
Step 2: Apply Your Base Coat
Apply a thin, even layer of base coat. This protects your nails from staining and provides a good surface for your polish to stick to. Let it dry completely.
Step 3: Apply Your Main Nail Color
Now, apply your first color. This will be the main shade of your manicure. Apply one or two thin coats, depending on the opacity of the polish. Make sure each coat is fully dry before moving on – this is crucial to prevent smudging later!
Step 4: Create the Moon Shape
This is where the magic happens! There are a few ways to do this, so pick the method that feels easiest for you:
Method A: Using a Fine Brush
Dip your fine-tipped detail brush into your second polish color. Starting at one side of your cuticle, carefully paint a small, curved line that mirrors the shape of your cuticle. Work your way across, creating a rounded crescent moon shape. You can use your cuticle line as a guide. Clean up any wobbly bits with a cotton swab dipped in nail polish remover. This method takes a little practice but offers a lot of control.
Method B: Using Round Stickers or Stencils
This is a fantastic hack for beginners! Place a small, circular sticker or a curved nail stencil just above your cuticle, creating an inverted U-shape. The sticker acts as a guide. Paint the exposed area between the sticker and your cuticle with your second polish color. Carefully peel off the sticker while the polish is still slightly wet to reveal a clean, crisp moon shape. Let this dry completely.
Pro Tip: When using stickers, ensure they are adhered well to the nail to prevent polish from seeping underneath.
Method C: Using a Dotting Tool
For a slightly different take, you can create a curved line of dots using a small dotting tool dipped in your accent color. You can then connect these dots with your fine brush or leave it as a dotted crescent. This gives a more abstract, artsy feel.
Step 5: Clean Up Edges (If Needed)
Once the moon shape polish is dry, use a brush (a separate detail brush or even an old, clean small makeup brush) dipped in nail polish remover to clean up any stray polish around your cuticle and the edges of the moon shape. This will give your manicure a super professional finish. You can also use a nail polish corrector pen for precision.
Step 6: Apply Your Top Coat
Once everything is completely dry, apply a generous layer of top coat. This seals in your design, adds a beautiful glossy finish, and helps protect your manicure from chipping. Make sure to cap off the free edge of your nails by running the brush along the very tip of your nail.
Step 7: Let It Dry Thoroughly
Patience is a virtue! Allow ample time for your nails to dry completely. Avoid doing anything strenuous that could smudge or chip your fresh manicure for at least 30 minutes to an hour.
Color Combinations That Shine
The beauty of moon French tips is how adaptable they are to different color palettes. Here are some incredibly chic combinations to inspire you:
| Main Nail Color | Moon Tip Color | Vibe | Occasion |
|---|---|---|---|
| Sheer Nude or Milky White | Metallic Gold or Silver | Luxurious, Glamorous | Weddings, Evenings, Special Events |
| Classic Red | Black or Deep Burgundy | Bold, Sophisticated | Date Nights, Business Casual |
| Pale Pink or Baby Blue | White or Cream | Sweet, Feminine | Everyday Wear, Springtime |
| Deep Navy or Forest Green | Rose Gold or Copper | Earthy, Elegant | Autumn, Work, Casual |
| Matte Black | Iridescent or Holographic | Edgy, Trendy | Concerts, Fun Outings |
| Any pastel | A contrasting brighter pastel or white | Playful, Fresh | Summer, Casual Fridays |
Don’t be afraid to experiment! You can also play with finishes. For instance, pairing a glossy main color with a matte moon, or vice versa, can add another layer of visual interest.
Tips for a Flawless Finish
Achieving that salon-worthy look at home is all about the details. Here are some expert tips to ensure your moon French tips are always on point:
- Thin Coats are Your Friend: Always opt for thin, even coats of polish. This allows for faster drying times and prevents bulkiness, especially around the moon detail.
- Let Polish Dry Between Coats: Resist the urge to rush! Allowing each layer of polish to dry sufficiently will prevent smudging and lifting, giving you cleaner lines.
- Practice Makes Perfect: If you’re using a brush for the moon shape and finding it tricky, practice on a piece of paper or a nail wheel first. You’ll get the hang of the pressure and stroke needed.
- Cleanup is Crucial: Don’t skip the cleanup step. A nail polish remover-soaked cotton swab or a corrector pen can clean up mistakes and create sharp, defined edges for a professional look. You can find helpful articles on proper nail prep and cleanup techniques from reputable beauty sites or even nail care organizations. For instance, understanding the structure of the nail plate itself can inform your prep routine. Resources like those from the American Academy of Dermatology (.gov) sometimes offer insights into nail health and care that can benefit your manicure longevity.
- Use Quality Tools: Investing in a good quality fine-tipped brush or reliable nail art stickers can make a significant difference in the ease and quality of your application.
- Consider Nail Shape: Moon tips often look particularly stunning on almond or squoval nail shapes, as the curve of the moon complements these forms. However, they can be adapted to any nail shape!
- Seal It In: A good quality top coat not only adds shine but also protects your design from everyday wear and tear. Reapply every couple of days to extend the life of your manicure.
Common Mistakes to Avoid
Even with the best intentions, a few oopsies can happen. Here are some common pitfalls to watch out for when doing your moon French tips:
- Polish is Too Thick: Applying polish that is too thick can lead to extended drying times, potential smudging, and a clumpy appearance. Always aim for thin, even coats.
- Not Letting Polish Dry Fully: This is probably the most common mistake. Rushing between coats or before applying the top coat is a recipe for smudges and distorted patterns.
- Imperfect Moon Shape: If your moon shape isn’t perfectly curved, don’t panic! This is where cleanup with a brush and remover comes in handy. Also, consider using guides next time.
- Leaking Under Stencils: If you use stickers or stencils, make sure they’re sealed down firmly. If polish seeps underneath, you’ll get fuzzy edges instead of clean lines.
- Skipping the Base/Top Coat: These are essential steps. A base coat protects your natural nails, and a top coat seals your design, adding longevity and shine.
- Over-Filming: Trying to file or shape too aggressively after polish has been applied can damage the design. Stick to prep for shaping.
FAQ: Your Moon French Tip Questions Answered
Q1: What is a moon French tip manicure?
A moon French tip, also known as a reverse French manicure or crescent manicure, is a nail design where a contrasting color or metallic shade is applied in a curved shape near the cuticle, rather than on the tip of the nail. It’s a modern twist on the classic French manicure.
Q2: Is this design difficult for beginners?
While it might seem intricate, moon French tips are surprisingly beginner-friendly, especially when using tools like nail art stickers or stencils for guidance. With a little practice, anyone can achieve a beautiful result.
Q3: What colors work best for moon French tips?
Any color combination can work! Popular choices include nude bases with metallic moons (gold, silver, rose gold), classic red with black, or pastels with white. The key is contrast and personal preference.
Q4: How do I get a clean, curved moon shape?
For a crisp line, you can use fine-tipped detail brushes with steady hands, small circular stickers placed strategically, or specialized curved nail stencils. Cleanup with a cotton swab dipped in nail polish remover is also essential.
Q5: How long do moon French tips usually last?
With proper application, including a good base and top coat, and avoiding harsh activities with your hands, moon French tips can last as long as any other traditional polish manicure, typically 5-7 days before significant chipping might occur.
Q6: Can I do moon French tips on short nails?
Absolutely! Moon French tips can look fantastic on short nails. The key is to choose a crescent size that is proportionate to the length of your nail bed so it doesn’t look crowded.
Q7: Can I use gel polish for moon French tips?
Yes, you can definitely use gel polish. The application process is similar, but you’ll need a UV/LED lamp to cure each layer. Using nail art brushes or stencils works well with gel polish for creating the moon shape.
Conclusion
There you have it – your ultimate guide to rocking stunning moon French tips! We’ve covered what they are, why they’re a favorite, and most importantly, how to achieve them yourself with confidence. From selecting the perfect tools to mastering those delicate curves and choosing eye-catching color combos, you’re now equipped to give yourself a manicure that’s both sophisticated and on-trend.
Remember, nail art is all about fun and self-expression. Don’t be afraid to experiment with different shades and techniques. Whether you’re a seasoned nail art enthusiast or just starting out, the moon French tip is a versatile design that adds a special touch to your style. So grab your polish, get creative, and let your nails do the talking!