Moon accent nails, also known as reverse French manicures or half-moon manicures, are a chic and versatile nail trend. They’re easy to create, perfect for beginners, and add a sophisticated touch to any look. Learn how to achieve this stunning style for beautiful, eye-catching nails.
Nail lovers, get ready to fall in love with a truly timeless manicure trend: moon accent nails! Ever’ve you seen those gorgeous nails with a distinct ‘half-moon’ shape at the base, and wondered how they get that perfect, clean line? It looks so polished and chic, right? Well, guess what? You don’t need to be a nail pro to achieve this stunning look. If you’re looking for a way to upgrade your at-home manicures with something that’s both elegant and surprisingly simple, you’ve come to the right place. We’re going to break down exactly how to create these fabulous moon accent nails, step-by-step. Prepare for nails that are ready for any occasion!
What Exactly Are Moon Accent Nails?
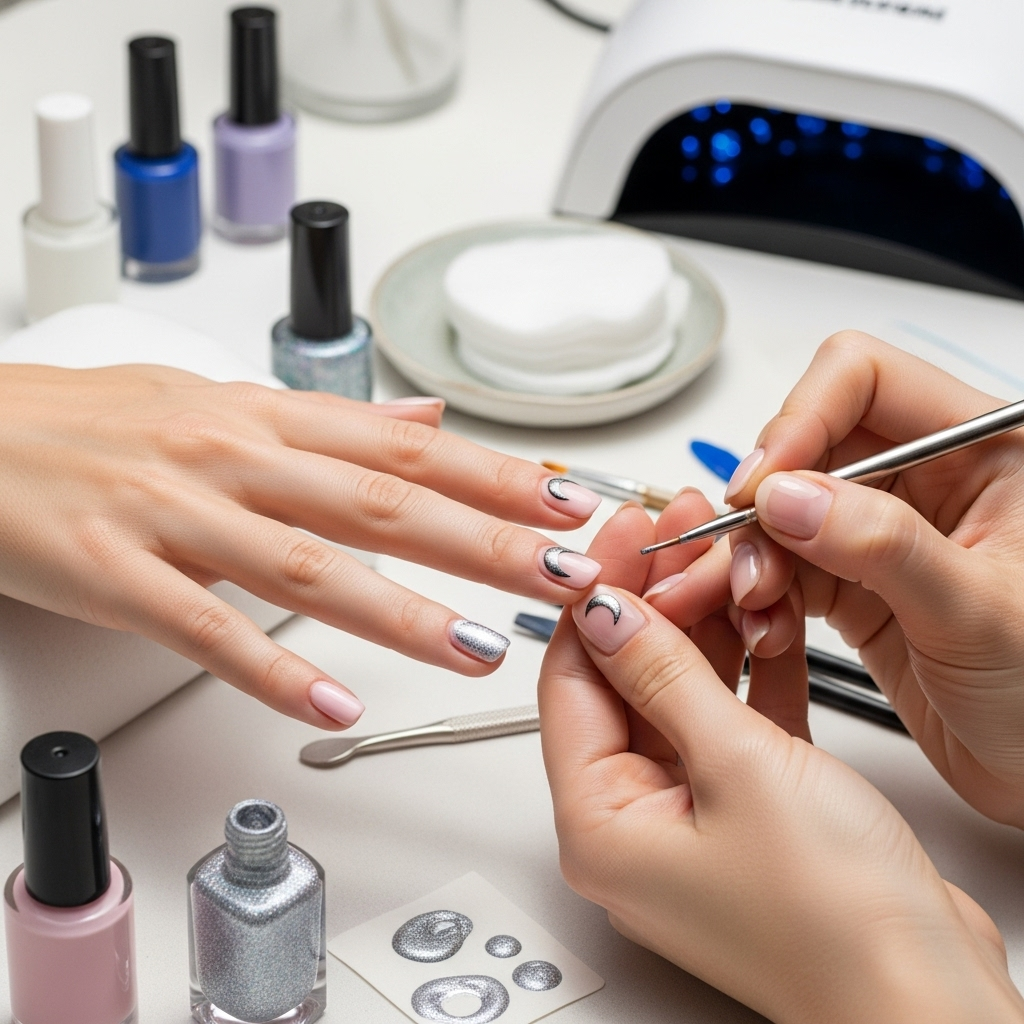
Moon accent nails, often called reverse French manicures or lunula manicures, are a nail design that highlights the natural curve of your nail’s cuticle area. Instead of the white tip of a traditional French manicure, this style features a contrasting color or finish on the base of the nail, forming a “moon” or “half-moon” shape. This creates a beautiful, often sophisticated, and sometimes playful look that can be customized endlessly.
This design is a fantastic way to add a little something extra to your nails without being overly complicated. It’s also super versatile – you can go for classic color combinations or get really creative with glitter, metallics, or even textures. It’s a favorite among nail enthusiasts because it’s elegant, a little retro, and always stylish. It’s a design that can be adapted to almost any outfit or event.
Why You’ll Love Moon Accent Nails
There are so many reasons why moon accent nails have captured the hearts of so many. Let’s dive into why this manicure style is such a hit, especially for us DIY nail art lovers!
- Sophistication with Simplicity: They instantly elevate your nail game, making your manicure look professionally done, even if you’re doing it yourself at home.
- Versatility is Key: Whether you’re heading to a formal event, a casual brunch, or just want to feel a little fancy on a Tuesday, moon accent nails can be adapted to fit any vibe.
- Endless Customization: The color possibilities are infinite! From soft nudes and pastels to bold neons and deep jewel tones, you can mix and match to your heart’s content. You can also play with finishes like glitter, metallic, matte, and glossy.
- Beginner-Friendly: While they look intricate, the technique is quite straightforward once you have the right tools and a little guidance. We’ll show you exactly how to get that clean line!
- Flattering on All Nail Shapes: This design works beautifully on short nails, long nails, square, round, almond – you name it!
- Can Hide Imperfections: The accent at the base can subtly help the nail look smoother, which is a nice bonus.
Getting Started: Essential Supplies
Before we dive into the step-by-step process, let’s make sure you have everything you need to create stunning moon accent nails at home. Don’t worry, most of these are standard nail polish items you might already have!
The Must-Haves:
- Base Coat: This protects your natural nails from staining and helps your polish adhere better. A good quality base coat is essential for any manicure.
- Top Coat: Crucial for sealing your design, adding shine, and making your manicure last longer.
- Your Chosen Nail Polishes: You’ll need at least two contrasting colors – one for the main part of your nail and one for the moon accent.
- Small Detail Brush or Fine-Tipped Applicator: This is key for creating a clean, precise line for your moon shape. A striping brush or even a clean, fine-tipped eyeliner brush can work wonders.
- Nail Polish Remover: For cleaning up any mistakes and for using with your detail brush to refine lines.
- Cotton Swabs or Pads: For general clean-up around the cuticle area.
- Optional: French Tip Guides or Stickers: While not strictly necessary (we’ll show you how to freehand!), these can be helpful for beginners to get a crisp shape. You can find specific half-moon stickers, or adapt standard French tip guides by placing them lower on the nail.
- Clean Up Tool (e.g., Cuticle Pusher or Orangewood Stick): To help refine the cuticle line and remove excess polish.
Having these supplies ready will make the process smooth and enjoyable. Remember, the goal is to have fun and express your style!
Step-by-Step Guide to Moon Accent Nails
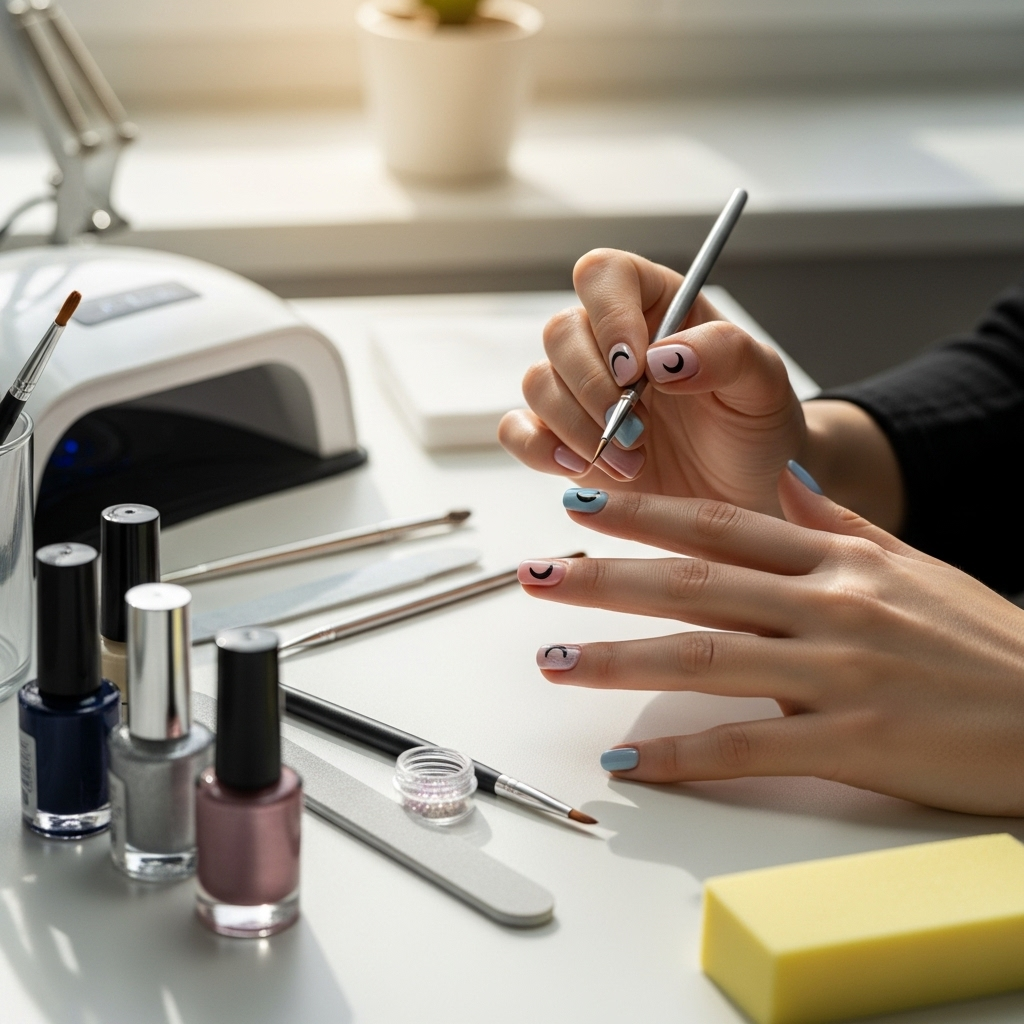
Ready to create your own gorgeous moon accent nails? Let’s break it down into simple, manageable steps. Remember to be patient with yourself, especially the first time! Every attempt gets you closer to perfection.
Step 1: Prep Your Nails
A good manicure always starts with clean, prepped nails.
- Remove Old Polish: Make sure all traces of previous nail polish are gone using a good nail polish remover.
- Shape Your Nails: File your nails to your desired shape. A slightly rounded or squoval shape often complements the moon accent beautifully.
- Push Back Cuticles: Gently push back your cuticles using a cuticle pusher or an orangewood stick. This prepares the nail bed and creates a clean canvas for your design.
- Buff (Optional): Lightly buff the surface of your nails to remove any natural oils and create a smooth surface for the polish to adhere to.
- Cleanse: Wipe each nail with a little nail polish remover or rubbing alcohol to ensure there are no oils or dust left.
Step 2: Apply Base Coat
Apply one coat of your clear base coat to each nail. This is super important for protecting your nails and making your polish last longer. Let it dry completely. A good base coat can make a world of difference in how your manicure wears and stays chip-free. It also helps prevent your nails from discoloring, especially with darker polish shades.
Step 3: Apply Your Main Polish Color
Now, apply your first nail polish color, which will be the main color of your nail (the larger portion). Apply two thin, even coats for the best coverage. Make sure each coat is completely dry before applying the next one. This might take a bit of patience, but it prevents smudging later.
Pro Tip: If using a lighter color as your base, ensure you get opaque coverage and let it dry thoroughly. A good opaque base makes the moon accent pop.
Step 4: Create the Moon Shape
This is where the magic happens! There are a few ways to achieve that perfect moon shape:
Method A: Using a Detail Brush (Recommended for Beginners)
- Dip your fine-tipped detail brush into your second, contrasting nail polish color.
- Starting at one side of your cuticle, draw a smooth, curved line upwards, following the natural shape of your lunula (the pale, half-moon-shaped area at the base of your nail).
- Continue the curve across the base and down to the other side. Aim for a smooth, consistent curve.
- Fill in the moon shape with the same color.
- If your line isn’t perfectly smooth, dip a clean cotton swab into nail polish remover and carefully clean up the edges to refine the shape. You can also use a clean, damp detail brush for this.
Method B: Using French Tip Guides or Stickers
- Once your main color is completely dry, carefully apply a curved French tip sticker or a half-moon shaped guide to each nail. Place it so it covers the area of your nail you don’t want to paint with the accent color (i.e., the base). Position it just above the cuticle, following the natural curve.
- Paint the exposed crescent area at the base of your nail with your contrasting polish color. Apply two thin coats if needed, ensuring the first coat is dry before the second.
-
Important!
Carefully peel off the sticker while the second coat of polish is still slightly wet. If you wait for it to dry completely, you risk peeling off the polish underneath!
Method C: Freehand with a Standard Polish Brush (Advanced)
- For those with a steady hand, you can try to freehand the curve using the curved edge of the polish bottle’s applicator. The key is to use a very small amount of polish on the brush and work slowly and deliberately.
- Start by creating a small arc on one side of the lunula. Then build upon that line, creating the curve across the base and down the other side.
- Refine with a detail brush or polish remover if needed.
Whichever method you choose, take your time and don’t be afraid to clean up any mistakes. Perfection is in the practice!
Step 5: Apply Top Coat
Once your moon accent color is completely dry, apply one or two coats of your shiny top coat over the entire nail. This seals everything in, gives a beautiful glossy finish, and adds durability to your manicure. Make sure to cap the free edge of your nail with the top coat – this means swiping the brush across the very tip of your nail to further prevent chipping.
Step 6: Clean Up
Use a small brush dipped in nail polish remover to clean up any polish that may have gotten onto your skin or cuticles. This final touch makes your manicure look super clean and professional.
And voilà! You’ve just created your own stunning moon accent nails. Admire your handiwork!
Color Inspiration & Combinations
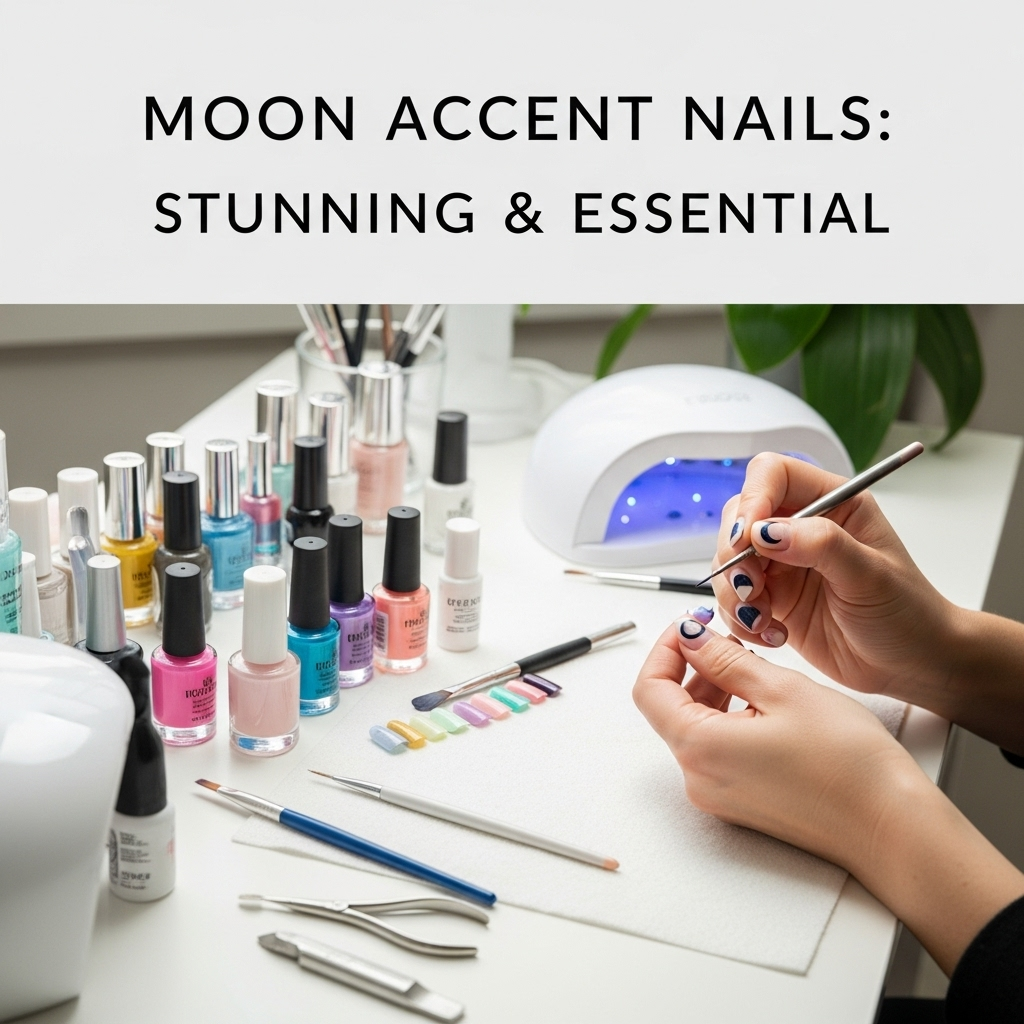
The beauty of moon accent nails is how adaptable they are to different colors and styles. Here are some ideas to get your creative juices flowing!
Classic & Chic
- Black and Nude: Timeless and elegant. The nude base lets the black moon pop for a sophisticated look.
- White and Red: A bolder, retro vibe. Think vintage glamour.
- Navy and Gold: Rich and luxurious, perfect for evening wear.
- Deep Burgundy and Cream: Warm and inviting, ideal for fall and winter.
- Pastel Pink and White: Soft and romantic, great for spring or a delicate look.
Modern & Trendy
- Metallic Accent: Use a shimmering metallic polish (silver, rose gold, holographic) for your moon over a matte or glossy base color.
- Glitter Moon: Apply a glitter polish for the moon accent over any base color for instant sparkle.
- Ombre Moon: Blend two complementary colors for the moon’s base for a gradient effect.
- Two-Tone Chic: Use two completely different, bold colors for a vibrant, modern statement.
- Clear and Color: A clear polish for the main nail with a colored moon accent can look super modern and light.
Playing with Finishes
- Glossy with Matte: Apply a glossy base with a matte moon accent (or vice-versa) for a sophisticated textural contrast.
- Sheer with Sparkle: A sheer base with a full-on glitter moon is fun and eye-catching.
Don’t be afraid to experiment! You can even use different colors on different nails for a unique multi-color look. The goal is to find combinations that make you feel confident and happy.
Troubleshooting Common Issues
Even with the best intentions, sometimes things don’t go perfectly. Here are a few common issues and how to fix them:
The Line Isn’t Clean!
Solution: This is probably the most common issue. Don’t panic! Use a thin brush dipped in nail polish remover to carefully “erase” the messy parts and redefine the curve. You can also use a small amount of your base nail color to clean up any paint that went too far into the cuticle. For future attempts, try using French tip guides or smaller, more controlled strokes with your detail brush.
My Polish is Smudged!
Solution: This usually happens when one layer isn’t dry before the next is applied. If it’s a minor smudge on a fully dried nail, you might try to gently smooth it with a tiny bit of polish remover on your detail brush. For significant smudges, it might be best to remove the polish on that nail and start that step over. Patience and allowing adequate drying time are key!
The Moon Shape Looks Uneven!
Solution: Compare it to other nails and try to even it out. A fine-tipped brush dipped in your base color can be used to gently shave down any high spots. For a more symmetrical look on all nails, consider using stickers or guides. You can also try to freehand the curve on each nail, aiming for a similar shape as you go. Sometimes, slight variations can add to the hand-painted charm!
My Polish Isn’t Opaque Enough
Solution: This is common with lighter or sheerer polishes. The trick is to apply thin, even coats and allow each to dry completely. If you’re still not getting good coverage, you might need to try a different polish or apply a third thin coat, making sure to let the previous one dry. Some brands are simply more opaque than others.
Remember, practice truly makes perfect. Don’t let minor hiccups discourage you; they are part of the learning process!
How to Make Your Moon Accent Nails Last
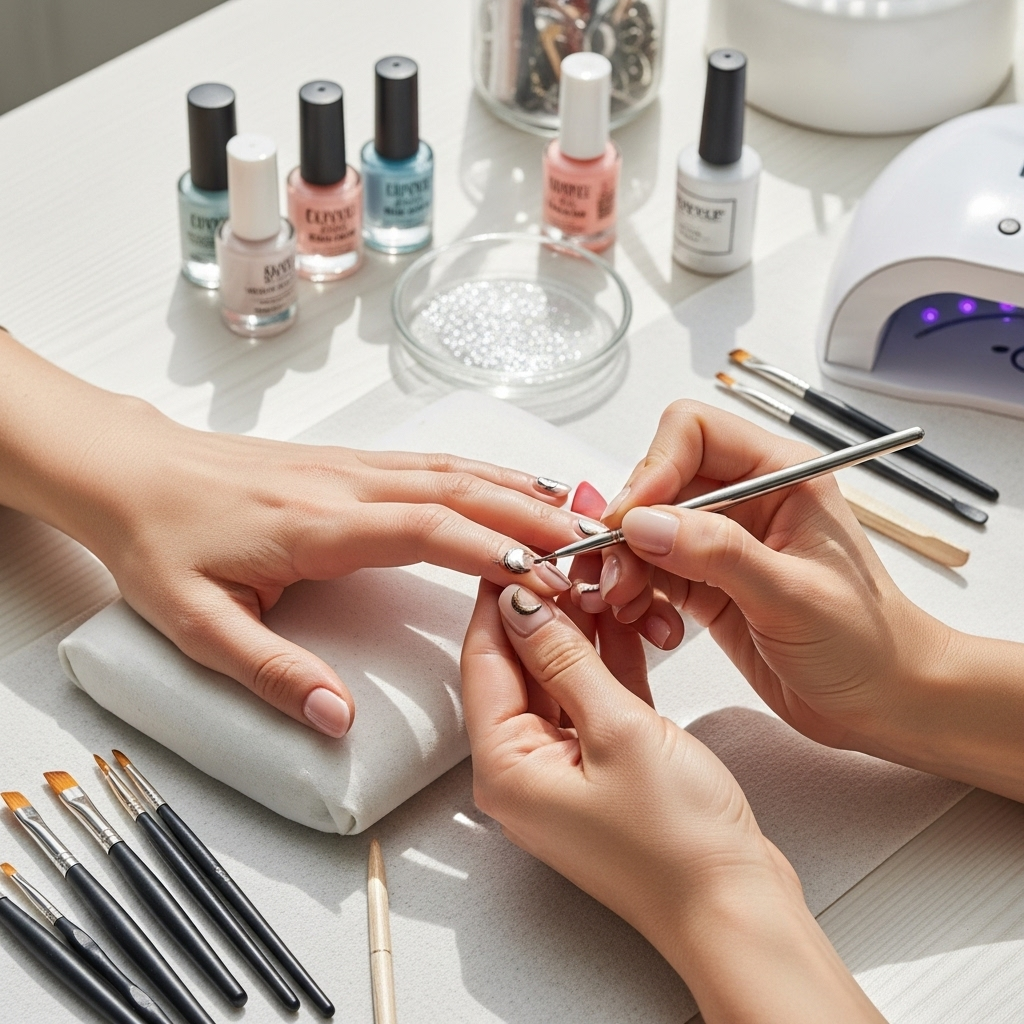
You’ve invested time and effort into creating beautiful moon accent nails, so let’s make them last as long as possible!
- Sealed with Top Coat: As we mentioned, a quality top coat applied evenly over the entire nail, including the free edge, is your best friend for durability and shine. Reapply a thin layer of top coat every 2-3 days to refresh the shine and add protection.
- Avoid Harsh Chemicals: Try to wear gloves when doing household chores that involve water and harsh cleaning chemicals. These can break down the polish and lead to chipping.
- Be Gentle: Avoid using your nails as tools to scrape or pry things open. This is a sure way to cause chips and breaks, regardless of how well your manicure was done.
- Moisturize: Keep your nails and cuticles hydrated by using cuticle oil or hand cream regularly. Healthy nails are less prone to breakage, and well-moisturized cuticles make your manicure look neater.
- Touch-Ups: Keep your base color and accent color, along with your top coat, handy for quick touch-ups if you notice any minor chips.
By following these simple tips, you can extend the life of your gorgeous moon accent manicure and keep your nails looking fabulous for days!
FAQ: Your Moon Accent Nail Questions Answered
What’s the difference between a moon accent nail and a reverse French manicure?
Great question! These terms are often used interchangeably. While a traditional French manicure has a white tip at the end of the nail, both “moon accent” and “reverse French” refer to painting the lunula (the crescent-shaped area at the base of the nail) with a contrasting color. So, for all practical purposes, they are the same design!
Can I do moon accent nails with gel polish?
Absolutely! Moon accent nails can be done with gel polishes using the same techniques. You’ll use gel base coat, your chosen gel polish colors, and a gel top coat, curing each layer under a UV/LED lamp. The precision brush method is still very effective with gel. Many find gel polishes even easier to clean up because they stay wet longer before curing.
Do I need special tools for moon accent nails?
While specialized tools like half-moon stickers or precise curved brushes can help, you don’t strictly need them. A fine-tipped art brush (even a clean, old eyeliner brush!) and nail polish remover are excellent for creating and refining the moon shape. Many people achieve beautiful results with just standard nail

