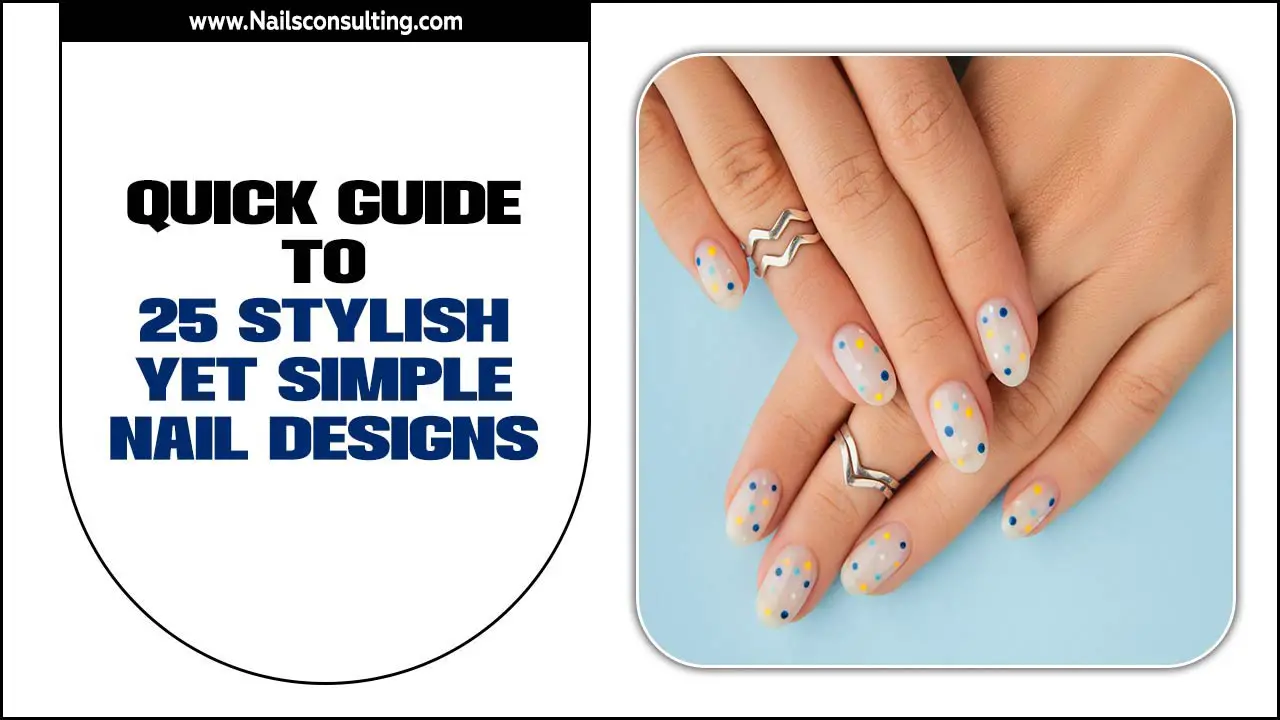
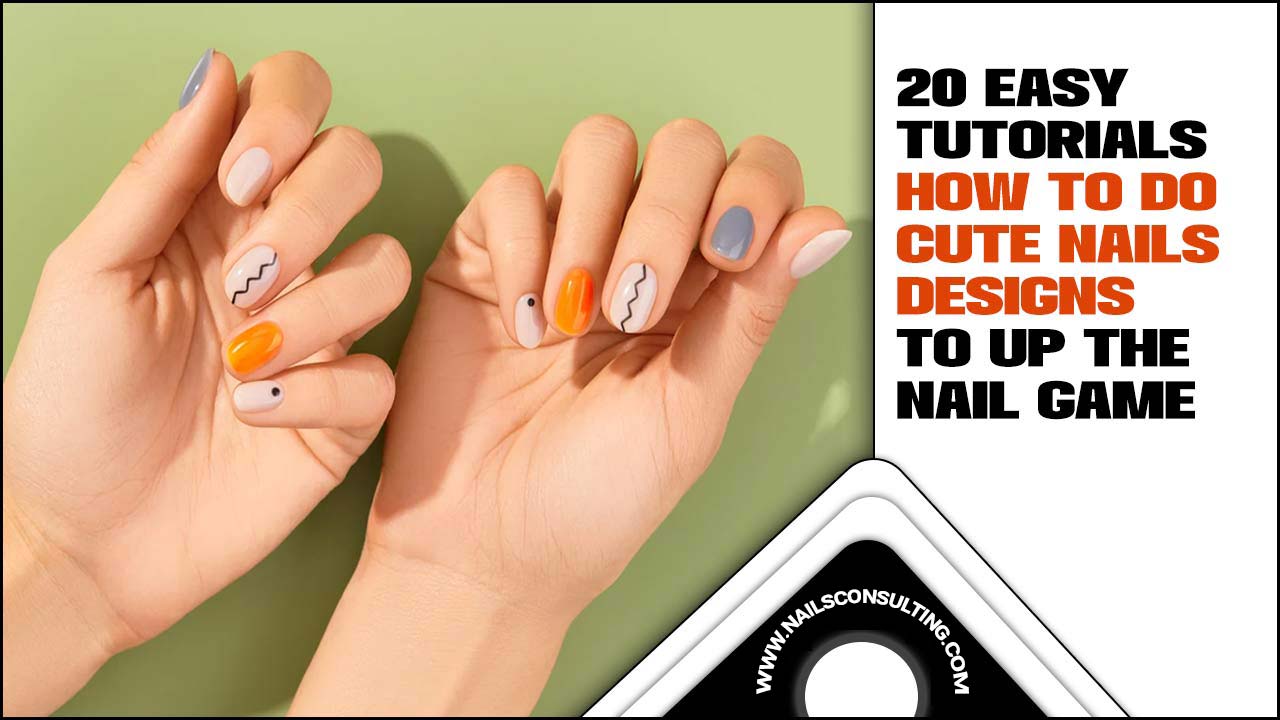
Discover stunning modern nail designs that are surprisingly easy to create at home! This guide covers essential techniques, trendy looks, and simple tips to elevate your manicure game for gorgeous, expressive nails that wow.
Are you looking to refresh your nail game with something fresh and exciting? Sometimes, the latest trends can seem intimidating, making us stick to the same old safe manicures. But what if we told you that achieving those chic, modern nail designs is totally within reach, even for beginners? You can totally express your unique style right at your fingertips!
This guide is your friendly roadmap to the world of modern nail art. We’ll break down everything you need to know, from the must-have tools to simple, step-by-step techniques for creating beautiful, eye-catching nails. Get ready to boost your confidence and unlock your inner nail artist!
What Exactly Are Modern Nail Designs?
Think beyond the classic solid color! “Modern nail designs” are all about embracing current trends, creative expression, and a touch of artistry. They often incorporate unique color palettes, abstract shapes, minimalist accents, or even subtle textures. It’s about taking your nails beyond just polish and turning them into a canvas for personal style. These designs are often seen as chic, sophisticated, and sometimes playful, reflecting a contemporary fashion sensibility.
Why Are Modern Nail Designs So Popular?
In a word? Self-expression! Our nails are a small but mighty way to showcase our personality, mood, and creativity. Modern designs offer a fresh way to do just that. They can be as subtle or as bold as you like, making them perfect for any occasion. Plus, with so many tutorials and easy techniques available, anyone can try them. It’s a fun, accessible way to keep your look current and unique.
Essential Tools for Your Modern Nail Design Journey
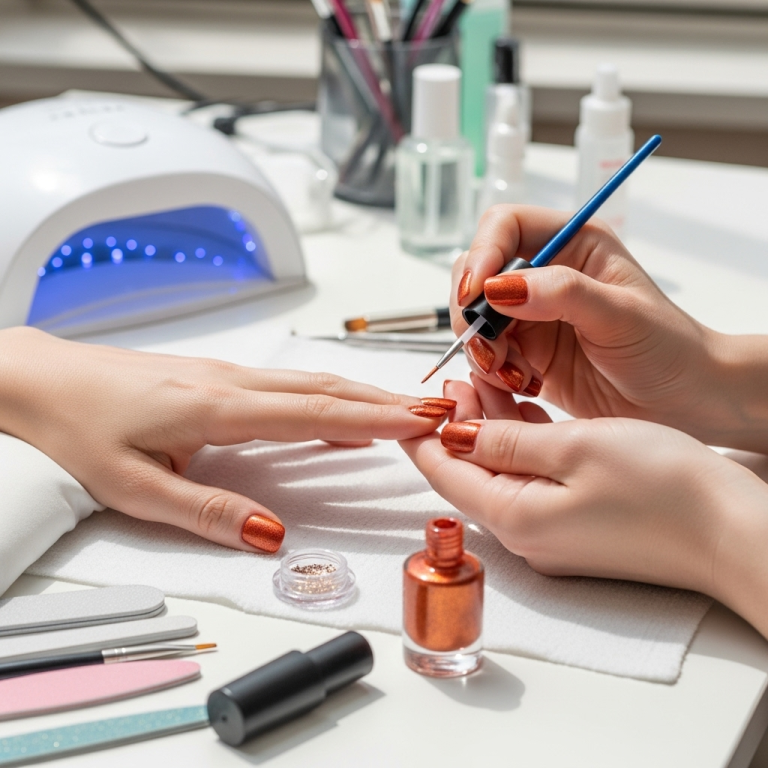
You don’t need a professional salon setup to create amazing modern nail designs! A few key tools can make a huge difference. Starting with a good base is always important, so make sure your nails are prepped and ready.
The Must-Haves:
- Nail File and Buffer: For shaping and smoothing your nails.
- Base Coat: Protects your natural nail and helps polish adhere better.
- Top Coat: Seals your design, adds shine, and prevents chipping.
- Cuticle Pusher/Orange Stick: To gently push back cuticles for a clean nail bed.
- Nail Polish Remover: For easy cleanup and corrections.
- Cotton Pads or Balls: For applying remover.
Leveling Up Your Designs:
- Thin Detail Brushes: Perfect for drawing fine lines, dots, and intricate details (e.g., a fine-liner brush from an art store).
- Dotting Tools: Come in various sizes for creating perfect dots, swirls, and patterns.
- Striping Tape: Adhesive tape that creates crisp, clean lines for geometric designs.
- Stencils: Pre-cut shapes that make it easy to achieve uniform designs.
- Gems, Glitter, or Flakes: For adding sparkle and texture.
- A Clean-Up Brush: A small, angled brush (like a flat eyeshadow brush) dipped in nail polish remover for cleaning up stray polish around the cuticle.
Here’s a quick look at some popular tools and their uses:
| Tool | Best For | Beginner Friendliness |
|---|---|---|
| Dotting Tool | Dots, swirls, creating small floral elements | Very High |
| Thin Detail Brush | Fine lines, intricate details, freehand art | Medium |
| Striping Tape | Geometric lines, color blocking, sharp edges | High |
| Stencils (Nail Art Stickers) | Replicable patterns, simple shapes | Very High |
| Tweezers | Applying small gems, gems, or 3D embellishments | High |
Top Modern Nail Design Trends for Beginners
Ready to dive into some seriously chic looks? These trends are perfect for anyone just starting out, and they all offer that “wow” factor without requiring advanced skills.
1. Minimalist French Manicure
This is a modern twist on a classic. Instead of a thick white tip, think ultra-fine, colored or metallic lines along the free edge of the nail. It’s sophisticated and subtle.
How to Get the Look:
- Start with a clean, shaped nail. Apply a sheer nude or pink base coat and let it dry completely.
- Using a very fine detail brush or a steady hand, carefully paint a thin line of your chosen polish (white, black, gold, or a pastel color) only on the very tip of your nail.
- Alternatively, use striping tape to create a crisp line before painting.
- Once dry, seal with a shiny top coat.
2. Negative Space Designs
This trend is all about letting your natural nail show through! It often involves geometric shapes or abstract lines that leave parts of the nail bare.
How to Get the Look:
- Apply a clear base coat.
- Use striping tape to create geometric patterns (like triangles, squares, or stripes) directly on your nail, leaving sections bare.
- Carefully paint polish over the taped-off sections, avoiding the negative space.
- While the polish is still wet, gently peel off the striping tape. This creates sharp, clean lines.
- Oops! Made a mistake? A clean-up brush dipped in remover is your best friend here.
- Once fully dry, apply a strong top coat.
3. Subtle Swirls and Wavy Lines
Soft, imperfect lines and gentle swirls add a touch of artistic flair without being overwhelming. They look chic on any nail length.
How to Get the Look:
- Paint your nails with a solid base color.
- Once dry, use a fine-tip brush or a dotting tool dipped in a contrasting color to draw simple swirls or wavy lines. Don’t aim for perfection; slight asymmetry often looks more artistic.
- For a softer look, try using a slightly diluted polish for a more diffused effect.
- Seal with a top coat.
4. Accent Nail with Texture
Choose one nail (usually your ring finger) to add a bit of glamour with glitter, caviar beads, or textured elements.
How to Get the Look:
- Paint all your nails with your chosen base color, except for the accent nail.
- For the accent nail, apply a contrasting polish or a glitter polish.
- While the accent color is still wet, gently press glitter, small beads, or textured flakes onto the nail. You can cover the whole nail or create patterns.
- Let it dry completely. A good tip for glitter is to apply a second layer of top coat to make it smooth.
5. Ombre Effect
This is a beautiful gradient effect where one color blends seamlessly into another. It can be done horizontally or vertically.
How to Get the Look (Sponge Method):
- Paint your nails with a lighter base color and let it dry.
- Apply a thin layer of petroleum jelly or cuticle guard around your nails to protect your skin from the sponge.
- On a makeup sponge, paint two or three coats of your desired colors side-by-side.
- Quickly press the sponge onto your nail, rolling slightly to blend the colors.
- Repeat the sponging process to intensify the gradient if needed.
- While the polish is still a bit wet, carefully remove the jelly/guard and clean up any smudges with a brush dipped in remover.
- Apply a generous top coat to meld the colors and smooth out the texture. This technique is great for blending pastels or even metallics!
Getting Started: A Step-by-Step DIY Manicure for Modern Designs
Let’s walk through a simple, yet stylish, modern design: the Geometric Color Block. This look uses striping tape and is super achievable!
Prep is Key:
- Clean & Shape: Start by removing any old polish. File your nails into your desired shape. Gently push back your cuticles.
- Smooth Surface: Lightly buff your nails to create an even surface for polish to adhere to.
- Base Coat: Apply a good quality base coat and let it dry completely. This is crucial for preventing staining and ensuring longevity.
Creating the Design:
- First Color: Apply your first chosen polish color to all nails. Let it dry thoroughly. This is important – if it’s not dry, the tape will lift the polish.
- Apply Striping Tape: Carefully place strips of nail art tape onto your nails. You can create patterns like stripes, chevrons, or abstract geometric shapes. Press the tape down firmly to ensure a good seal.
- Second Color: Paint over the taped sections with your second polish color. Make sure to cover the tape completely.
- Remove Tape: While the second color is still wet, slowly and carefully peel off the striping tape. Use tweezers if needed for smaller pieces. This will reveal crisp, clean lines!
- Touch-Ups: If there are any small bleeds or smudges, use a clean-up brush dipped in nail polish remover to carefully erase them.
- Third Color (Optional): If you want a third color, let the second color dry completely, then repeat steps 2-5 with new tape and your third polish color.
Finishing Touches:
- Dry Time: Let your design dry for at least 5-10 minutes. Patience is key here!
- Top Coat: Apply a generous layer of your favorite shiny top coat. This seals everything in, adds gloss, and makes your design last longer.
Taking Care of Your Modern Manicure
Beautiful nails deserve to last! Here are some simple tips to keep your modern designs looking fresh.
- Wear Gloves: When doing chores that involve water or cleaning supplies, wear rubber gloves. Harsh chemicals can break down polish and dull your shine.
- Avoid Using Nails as Tools: Resist the urge to use your nails to open cans or scratch labels. This is a sure way to chip your hard work.
- Moisturize: Keep your cuticles and hands hydrated with cuticle oil and hand lotion. Healthy cuticles make for a more polished look and help your manicure last.
- Quick Fixes: If you notice a tiny chip, don’t despair! You can often fix small imperfections by carefully applying a bit of top coat to the affected area.
- Reapply Top Coat: Every few days, add another thin layer of top coat to refresh the shine and add protection.
Understanding Nail Health: The Foundation of Beauty
Before we get too creative, it’s important to remember that healthy nails are the best canvas. A healthy nail plate, as described by the American Academy of Dermatology Association, is smooth, firm, and free from significant ridges or discoloration.
Here are some tips for maintaining strong, healthy nails:
- Keep Them Clean and Dry: Prolonged exposure to moisture can weaken nails, making them prone to peeling and cracking.
- Moisturize Regularly: Use hand cream and cuticle oil daily. This is especially important after washing your hands or using nail polish remover.
- Eat a Balanced Diet: Nutrients like biotin, iron, and protein are essential for nail growth and strength. Think plenty of fruits, vegetables, lean proteins, and whole grains.
- Avoid Harsh Chemicals: Always wear gloves when working with cleaning products or doing dishes.
- Be Gentle with Cuticles: Do not cut your cuticles. Instead, gently push them back after showering or soaking your hands. Cuticles protect the nail matrix, so keeping them intact is vital.
Troubleshooting Common Modern Nail Design Issues
Even the most experienced nail enthusiasts run into a few bumps along the way! Here are solutions to common problems.
| Problem | Solution |
|---|---|
| Polish is too thick and globby. | Add a nail polish thinner (not remover!) to restore the consistency. Avoid shaking the bottle vigorously, as this introduces air bubbles. Roll the bottle between your hands instead. |
| Bubbles in the polish or top coat. | Ensure each layer is completely dry before applying the next. Avoid shaking polish bottles. Apply thin coats of polish and top coat. If using a quick-dry top coat, make sure the polish underneath is fully set. |
| Striping tape lifts polish or leaves jagged lines. | Make sure your base color is 100% dry before applying tape. Press the tape down firmly. Remove the tape while the top color is still wet for the cleanest lines. |
| Gems or glitter are falling off. | Apply gems when the polish is still slightly wet, then immediately apply a top coat over the gem and surrounding polish to secure it. For loose glitter, sometimes a thicker top coat or a gel top coat (if using gel polish) works best to fully encapsulate it. |
| Lines are not straight. | Practice makes perfect! Using a striping tape guide or stencils can help immensely. For freehand lines, take your time and use a thin brush with a steady hand. A clean-up brush is your best friend for correcting any wobbles. |
Frequently Asked Questions (FAQ)
Q1: How can I make my modern nail designs last longer?
A1: Start with a quality base coat and finish with a durable top coat. Reapply your top coat every 2-3 days. Always wear gloves when doing household chores, and try to avoid using your nails as tools. Moisturizing your cuticles and hands also helps maintain overall nail health and manicure integrity.
Q2: What are the best colors for modern nail designs?
A2: Modern designs embrace a wide spectrum! Neutrals like beige, cream, white, and black are always chic. Pastels, muted tones, and even bold, unexpected color combinations are popular. Metallics, especially gold, silver, and rose gold, also add a modern touch. Don’t be afraid to experiment with contrasting colors or complementary shades.
Q3: Can I do intricate nail art if I’m not an artist?
A3: Absolutely! Many modern designs are intentionally minimalist or abstract. Tools like striping tape, stencils, and dotting tools are designed for ease of use. Simple geometric shapes, clean lines, and dots are fantastic starting points that look professional but require minimal artistic skill. You can also use water marble techniques or press-on nail art for advanced looks with minimal effort.
Q4: How do I clean up polish mistakes?
A4: The secret weapon is a small, stiff, angled brush (like a lip brush or a fine art brush) dipped lightly in nail polish remover. Gently sweep away any excess polish around your cuticle or sidewalls. Do this carefully, especially while the polish is still wet, for the cleanest results.
Q5: What’s the difference between gel polish and regular nail polish for designs?
A5: Regular polish air-dries and is easier to remove but can chip more easily. Gel polish requires a UV/LED lamp to cure, lasts much longer (2-3 weeks), and is more durable, making it great for intricate designs that need to stay put. For beginners, regular polish is a great starting point, but gel offers superior longevity if you’re willing to invest in a lamp.
Q6: Are there any online resources for modern nail design inspiration?
A6: Yes! Pinterest and Instagram are fantastic visual platforms. Search for hashtags like #modernnails, #nailart, #diynails, #minimalistnails, and #nailtrends. YouTube also has countless video tutorials from nail artists of all levels that can guide you through specific techniques.
Embrace Your Creativity with Modern Nail Designs!
Exploring modern nail designs opens up a fun and creative avenue for self-expression. From the simplicity of a minimalist French tip to the chic geometry of color blocking, there’s a style for everyone. Remember, the most important tool is your imagination!
Don’t be afraid to experiment. Start with easy techniques and gradually try more intricate designs as you gain confidence. Use the tips and tricks we’ve shared to prep your nails, apply your polish flawlessly, and keep your beautiful creations looking their best. Your nails are a fantastic way to showcase your personality and add a little extra sparkle to your everyday life. So grab your polish, have fun, and let your nails do the talking!

