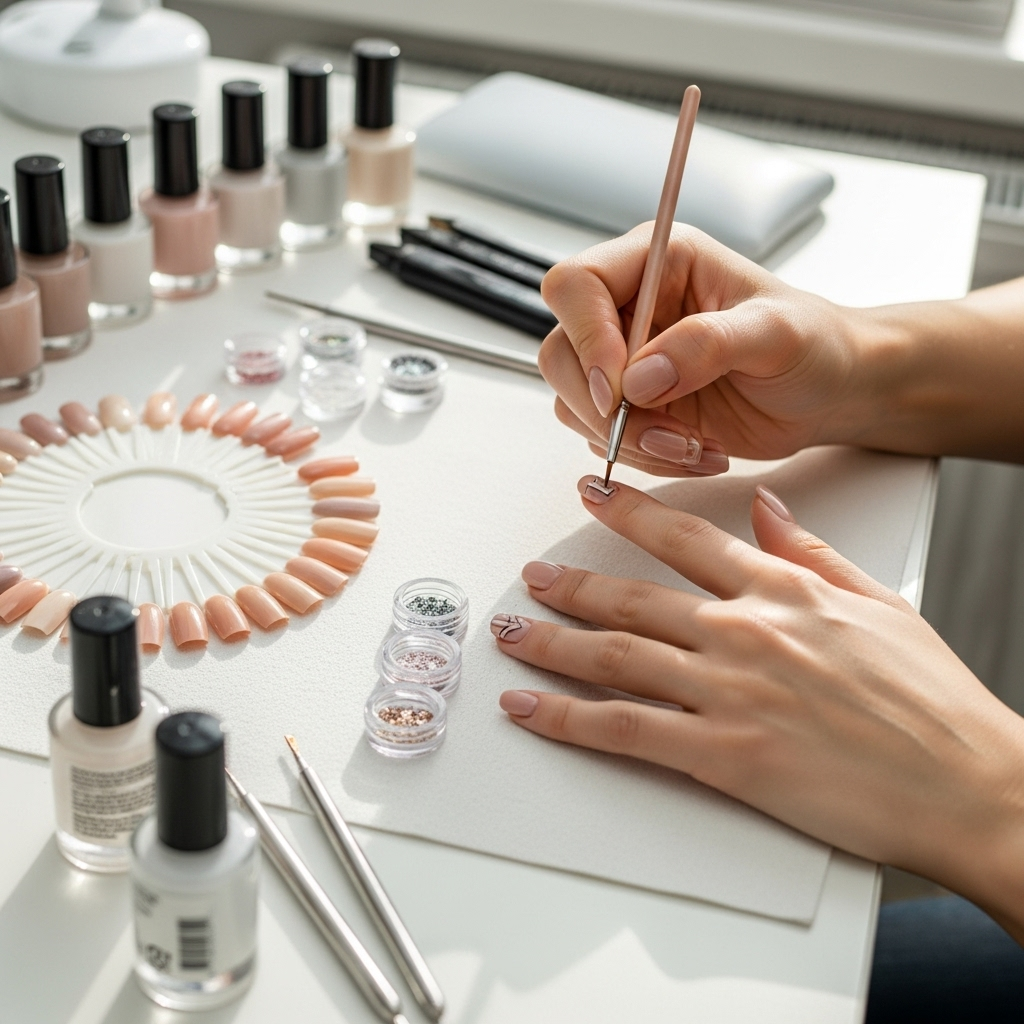
Modern bridal nude nail art offers a timeless, chic, and incredibly versatile choice for any bride. Discover essential designs blending elegance with subtle personality, perfect for your big day, from minimalist chic to delicate embellishments.
Planning a wedding is full of exciting decisions, and your nails are a lovely way to express your personal style! Sometimes, picking the perfect bridal look can feel a little overwhelming, especially when you want something stunning yet understated. If you’re dreaming of nails that are sophisticated, complement your dress beautifully, and stand the test of time, modern bridal nude nail art is an absolutely fantastic choice. It’s a popular pick because it looks good on everyone and with almost any wedding theme. Let’s dive into some gorgeous nude nail art ideas that are surprisingly easy to achieve, making your bridal manicure dreams a reality.
Why Choose Nude for Your Bridal Nails?
Nude nail polish seems simple, but it packs a powerful punch when it comes to bridal elegance. The beauty of nude lies in its versatility and subtlety. It acts as a beautiful canvas, enhancing your natural beauty without demanding attention.
Here’s why nude shades are a bridal favorite:
- Universally Flattering: Nude polishes come in a spectrum of shades, from pale beige to deep mocha. This means there’s a perfect nude for every skin tone, creating a harmonious and graceful look.
- Timeless Appeal: Unlike trendy colors that might look dated in photos later, nude nails are classic. They exude sophistication and will remain chic for years to come.
- Complements Everything: Your wedding dress, your bouquet, your jewelry – nude nails won’t clash with any element of your wedding day. They simply enhance your overall bridal ensemble.
- Adds a Polished Finish: A well-done nude manicure makes your hands look elegant and groomed, drawing attention to your rings and adding a subtle touch of luxury.
- Perfect for Any Wedding Style: Whether your wedding is rustic, modern, glamorous, or traditional, nude nails fit seamlessly into the aesthetic.
Understanding Nude Nail Polish Shades
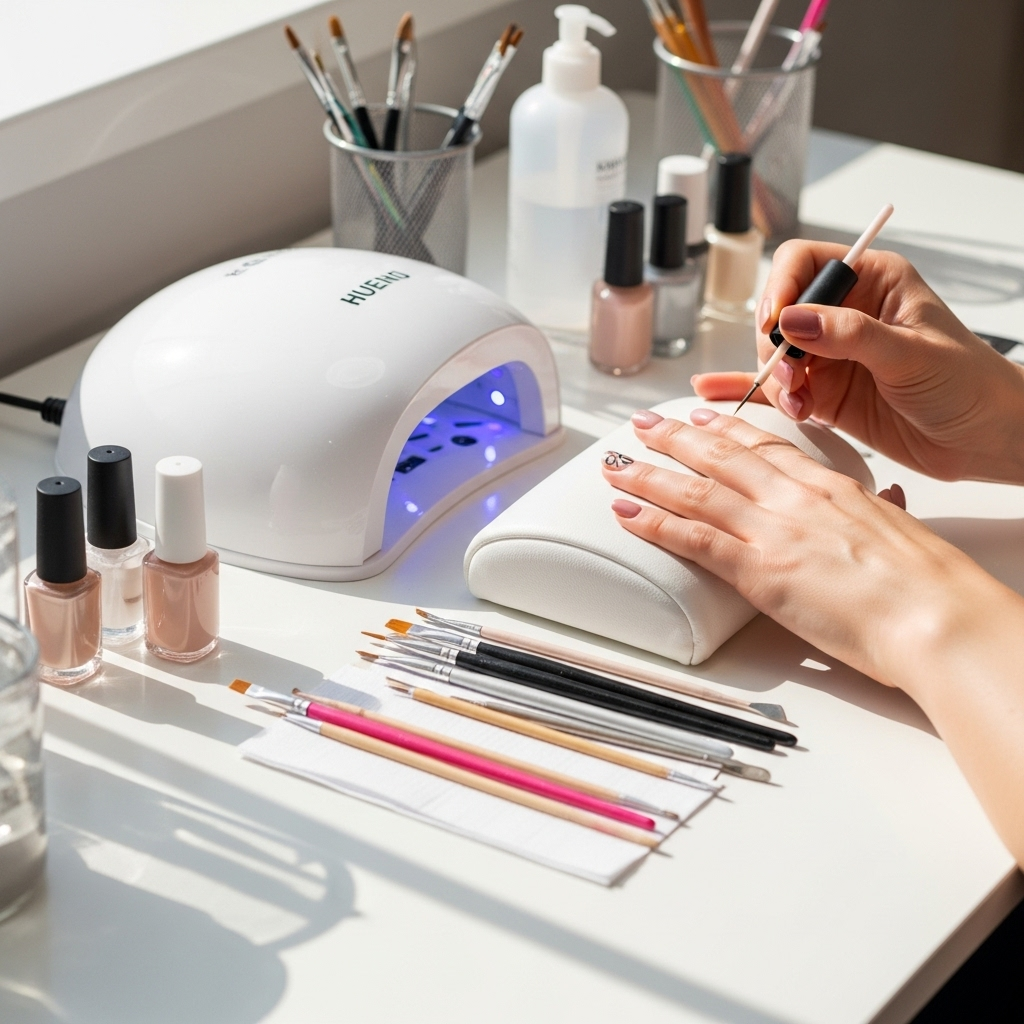
When we say “nude,” we mean a huge range of colors! Finding your perfect nude is key to nailing this bridal trend. It’s all about choosing a shade that’s within a few tones of your natural skin color, creating that “your nails but better” effect.
Matching Nude to Your Skin Tone
Here’s a quick guide to help you pick the best nude shade for your skin:
| Skin Tone | Recommended Nude Undertones | Examples of Nude Shades |
|---|---|---|
| Very Fair/Pale (Cool Undertones) | Pink or peachy undertones | Ballet pink, soft peach, light milky beige |
| Fair (Neutral/Warm Undertones) | Creamy or slightly warmer undertones | Ivory, soft beige, light caramel |
| Medium (Neutral/Olive Undertones) | Golden, peachy, or brown undertones | Warm beige, honey, tan, caramel |
| Tan/Deep (Warm/Rich Undertones) | Deep brown, chocolate, or reddish undertones | Chocolate brown, espresso, deep mocha |
| Deep (Cool/Neutral Undertones) | Rich brown, plum undertones | Deep cocoa, mahogany, dark chocolate |
Pro Tip: Don’t be afraid to swatch! Test a few shades on your actual nail or fingertip in natural light to see how they look against your skin before committing.
Essential Tools for Nude Nail Art
You don’t need a professional salon to create beautiful bridal nude nail art! With a few basic tools, you can achieve stunning results at home. Having the right tools makes the process smoother and the finished look much more polished.
Your Bridal Nail Art Toolkit:
- Nail File & Buffer: For shaping and smoothing your nails before application. A fine-grit buffer is great for a smooth finish.
- Nail Polish Remover & Cotton Pads: To clean up any mistakes and prep nails.
- Base Coat: Essential for protecting your natural nails and helping polish adhere.
- Top Coat: Seals your design, adds shine, and prevents chipping. A quick-dry top coat is a lifesaver!
- Your Chosen Nude Nail Polish(es): Select one or a few shades that complement your skin tone.
- Detail Brushes or Dotting Tools: For creating fine lines, dots, and other intricate designs. A thin striping brush or a set of dotting tools will unlock many design possibilities.
- Tweezers: Handy for picking up tiny embellishments like rhinestones or pearls.
- Cuticle Oil: To rehydrate and nourish your cuticles after the manicure is complete.
- Optional: Nail Art Gems, Pearls, Glitter: For adding a touch of sparkle or texture.
Investing in a few good quality tools can make a big difference. Remember, even simple designs look fantastic with great tools!
Beginner-Friendly Modern Bridal Nude Nail Art Designs
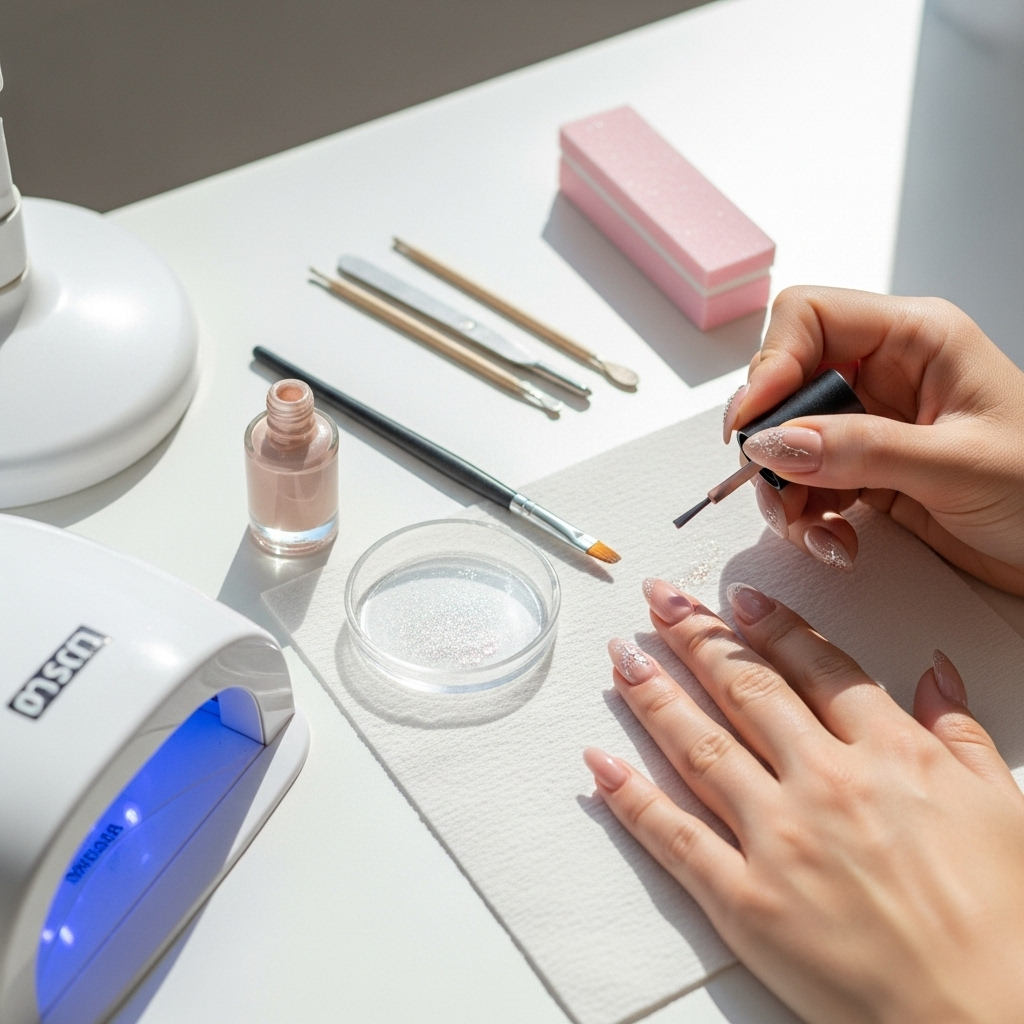
Ready to get creative? These designs are perfect for beginners and offer a chic, modern bridal vibe. They prove that elegant nail art doesn’t have to be complicated.
1. The Classic Chic Nude
This is the epitome of bridal sophistication – a flawless nude manicure. It’s all about achieving a perfect, smooth application.
How to Achieve It:
- Prep Nails: Shape your nails with a file and gently buff them for a smooth surface. Cleanse with nail polish remover to remove any oils.
- Apply Base Coat: Apply one thin layer of base coat and let it dry completely.
- Apply Nude Polish: Apply one thin coat of your chosen nude polish. Let it dry for a minute or two.
- Second Coat: Apply a second thin coat, ensuring even coverage. This is where the color truly comes to life.
- Seal with Top Coat: Once the second coat is mostly dry, apply a generous layer of top coat. Make sure to cap the free edge of your nail by running the brush along the tip to prevent chipping.
- Finish: Let dry completely, then apply cuticle oil.
Why it’s perfect: It’s effortless, elegant, and lets your other bridal accessories shine. You can find great tutorials on applying nail polish without streaks from resources like the University of Northern Colorado’s library on readability, which often touches on clear, simple instructions good for DIY.
2. The Subtle French Twist Nude
A modern take on the classic French manicure, this version uses nude as the base with a delicate, refined tip in a complementary color.
How to Achieve It:
- Prep and Base Coat: Follow steps 1-3 from “The Classic Chic Nude” to get a perfect nude base.
- Create the Tip: You have options here:
- Option A (Steady Hand): Use a thin brush or the polish brush to carefully paint a fine line along the free edge of your nail. White, pearly white, or a subtle shimmer are great choices.
- Option B (Stencils): Use French tip guides or small pieces of tape in a curved shape against your nail. Paint the tip color over the stencil and then carefully remove it.
- Refine (Optional): If lines aren’t perfectly crisp, carefully clean them up with a small brush dipped in nail polish remover.
- Top Coat: Apply a layer of top coat, making sure to seal the tips.
Why it’s perfect: It’s understated elegance. The nude base keeps it modern and sophisticated, while the tip adds a touch of classic bridal flair.
3. The Delicate Dot Nude
Adding small dots can create a subtle, charming pattern that feels whimsical yet refined.
How to Achieve It:
- Prep and Base Coat: Start with a perfectly applied nude base coat.
- Choose Your Dot Color: A classic white, metallic gold, rose gold, or even a slightly darker nude shade works beautifully.
- Dip and Dot: Dip a dotting tool (or the tip of a bobby pin if you don’t have one) into your chosen color.
- Place Dots: Place small, delicate dots strategically. Popular placements include:
- A single dot near the cuticle.
- Scattered tiny dots across the nail for a starry effect.
- A line of dots following the curve of your nail tip.
- Let Dry & Top Coat: Allow the dots to dry completely before applying a protective top coat.
Why it’s perfect: It’s super easy to do and adds a sweet, personal touch without being overpowering. Dotting tools are inexpensive and simple to master!
4. The Minimalist Line Nude
A single, fine line can elevate a nude manicure from simple to stunning. It’s modern, clean, and chic.
How to Achieve It:
- Prep and Base Coat: Get your nude base ready.
- Choose Line Color: Metallic gold, silver, rose gold, or even black offer a sophisticated contrast. A slightly darker nude can create a tonal effect.
- Apply the Line: Using a fine striping brush or a dotting tool with very little polish, draw a single, clean line. Common placements:
- Horizontally across the top of the nail.
- Vertically down the center or to one side.
- Diagonally from one side to the other.
- Accuracy is Key: Take your time for a crisp line.
- Top Coat: Carefully apply a top coat to seal the line.
Why it’s perfect: It’s incredibly sophisticated and modern. This design adds a graphic element that is very on-trend.
5. The Pearly Accent Nude
Adding a few small pearls or tiny rhinestones can give your nude nails a touch of bridal glamour, reminiscent of delicate jewelry.
How to Achieve It:
- Prep and Base Coat: Apply your flawless nude base and one coat of color.
- Apply Embellishments with Adhesive:
- Option A (Wet Polish): While the second coat of nude polish is still wet, use tweezers to carefully place 1-3 tiny pearls or gems onto the nail.
- Option B (Nail Glue/Top Coat): Apply a tiny dot of nail glue or a dab of top coat where you want your embellishment. Use tweezers to place the pearl or gem.
- Placement Ideas:
- One pearl at the base of the nail, near the cuticle.
- A small cluster of gems on one accent nail.
- A subtle trail of tiny pearls along the free edge.
- Top Coat Carefully: Once everything is securely placed and dry, apply your top coat. Be extra careful not to flood the embellishments, which can make them look clunky. You might only want to coat around them, or use a detail brush for precise application.
Why it’s perfect: This design adds a luxurious feel without being over-the-top. The pearls and gems catch the light beautifully, adding sparkle to your special day.
6. The Subtle Ombre Nude
Ombre doesn’t have to be bold! A soft, nude-to-nude or nude-to-white ombre can be incredibly chic and modern.
How to Achieve It:
- Prep and Base Coat: Start with a clean, prepped nail and a clear base coat.
- Create the Gradient: This is usually done with a makeup sponge.
- Apply two shades of nude polish (e.g., a lighter and a slightly darker one) side-by-side or layered on a piece of foil or a makeup sponge.
- Gently dab the sponge onto your nail, pressing and lifting to create a blended effect.
- Repeat as needed to build color and blend.
- Clean Up: Use a small brush dipped in nail polish remover to clean up any polish on your skin.
- Top Coat: Once the ombre is dry, apply a generous top coat to smooth out any texture from the sponge.
Why it’s perfect: It’s a sophisticated, modern look that adds depth and interest without a lot of fuss. It’s a softer alternative to a bold, colorful ombre.
7. The Matte Finish Nude
Switching your top coat can completely change the vibe of any nude manicure. A matte finish offers a sophisticated, velvety look that’s incredibly modern.
How to Achieve It:
- Apply Nude Polish: Follow the steps for “The Classic Chic Nude” and apply your perfect nude polish. Ensure it has dried thoroughly.
- Matte Top Coat: Apply a layer of matte top coat evenly over the entire nail.
- Let Dry: Matte top coats can sometimes take a little longer to dry than glossy ones, so be patient.
Why it’s perfect: It’s a simple change that makes a huge impact. The matte finish is incredibly chic and feels very high-end without any extra design work.
Nail Care Tips for Your Big Day
To ensure your bridal nude nail art looks its absolute best, consistent nail care is crucial. Healthy nails are the foundation for any beautiful manicure. Here are some tips:
- Hydrate Regularly: Use cuticle oil daily. This keeps your cuticles soft and prevents hangnails, making your manicure look neater for longer.
- Moisturize Your Hands: Your hands will be on display, so keep them soft and supple with a good hand cream, especially after washing them.
- Avoid Harsh Chemicals: When doing chores, wear gloves to protect your nails and skin from detergents and cleaning agents.
- Gentle Filing: Always file in one direction to prevent splitting and breakage. Avoid sawing back and forth.
- Trim Wisely: Keep nails at a practical length that won’t interfere with wedding activities or be prone to breaking.
- Professional Help (Optional): If you have severely damaged nails, consider consulting a nail technician or dermatologist for advice. Organizations like the American Academy of Dermatology Association offer excellent resources on nail health.
Bridal Nude Nail Art: Pros and Cons
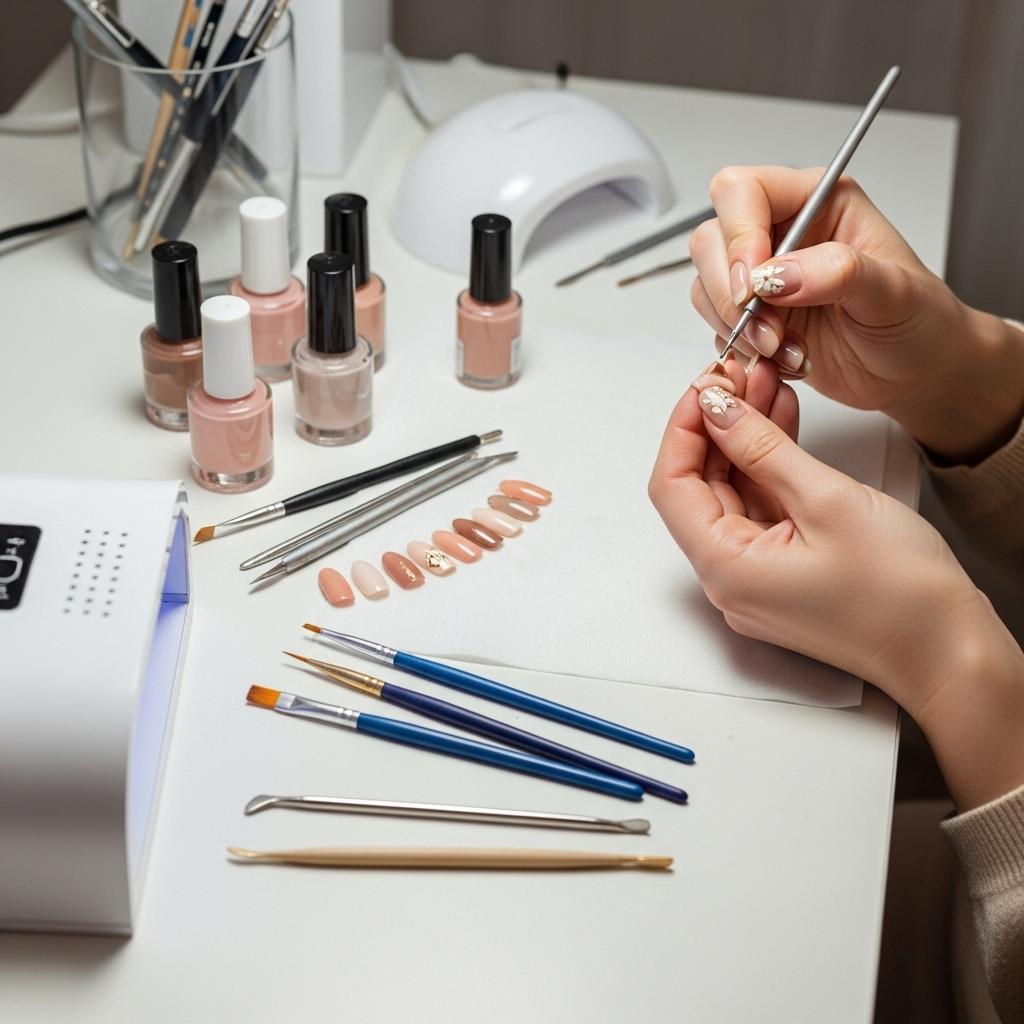
Like any beauty choice, nude nail art has its advantages and what might be considered drawbacks for some. Understanding these can help you make the best decision for yourself and your wedding day.
| Pros | Cons |
|---|---|
| Timeless and classic appeal | Can sometimes be perceived as “plain” if not styled with accents |
| Suits all skin tones and wedding styles | May require more frequent touch-ups if you have a light-skinned tone and a very pale nude, as imperfections can be more visible |
| Complements any wedding attire and color pallet | Finding the perfect nude shade can take some searching |
| Enhances natural beauty and makes hands look elegant | Can sometimes be difficult to photograph with flash photography if the shade is too close to direct light, appearing washed out |
| Easy to maintain and less prone to showing minor chips or nicks compared to dark colors |
Frequently Asked Questions (FAQ) About Modern Bridal Nude Nail Art
Q1: How do I choose the perfect nude shade for my wedding day?
A: The best nude shade is one that is within a few tones of your natural skin color, either slightly lighter or darker. Consider your skin’s undertones (pink, yellow, or neutral). For cooler undertones, lean towards nudes with pink or peachy hints. For warmer undertones, opt for shades with yellow or golden undertones. Swatching shades
