Minimal nail art offers a chic, sophisticated way to elevate your look with understated elegance. These designs are perfect for beginners, requiring few tools and often focusing on single accents or simple lines. Achieve stunning, effortless manicures that are easy to replicate and always on-trend.
Feeling overwhelmed by intricate nail art tutorials? You’re not alone! Many of us dream of beautiful, decorated nails but feel the techniques are too complicated or time-consuming. The good news is, you don’t need to be a pro to achieve gorgeous nail art. Minimalist designs are your secret weapon! They’re sophisticated, stylish, and surprisingly easy to create. Get ready to discover how simple it can be to add a touch of art to your fingertips with minimal effort and maximum impact.
In this guide, we’ll walk you through everything you need to know about minimal nail art. We’ll cover the basic tools, simple techniques, and stunning design ideas that you can master in no time. Say goodbye to nail art stress and hello to effortless, stunning manicures!
What is Minimal Nail Art?
Minimal nail art is all about simplicity and subtlety. Instead of elaborate patterns and multiple colors, it focuses on clean lines, small geometric shapes, negative space, and single accent details. Think of it as the “less is more” approach to nail design. It’s elegant, modern, and incredibly versatile, fitting seamlessly into any style or occasion.
The beauty of minimal designs lies in their ability to make a statement without being loud. They often highlight the natural shape and health of your nails, adding just a touch of artistic flair. This makes them perfect for those who prefer a polished and sophisticated look, or for anyone just starting their nail art journey.
Why Choose Minimal Nail Art?
There are so many reasons why minimal nail art has become a favorite for many. It’s not just about looking good; it’s practical too!
- Effortless Application: These designs are generally much simpler and quicker to do than complex patterns.
- Beginner-Friendly: You truly don’t need years of practice to achieve stunning results.
- Chic & Versatile: Minimal art complements any outfit and occasion, from a casual day to a formal event.
- Sophisticated Appeal: It offers an understated elegance that’s always in style.
- Budget-Friendly: You often need fewer polishes and specialized tools, saving you money.
- Nail Health Focused: Many minimal designs work wonderfully with shorter nails or a focus on clean cuticles, emphasizing overall nail health.
Essential Tools for Minimal Nail Art
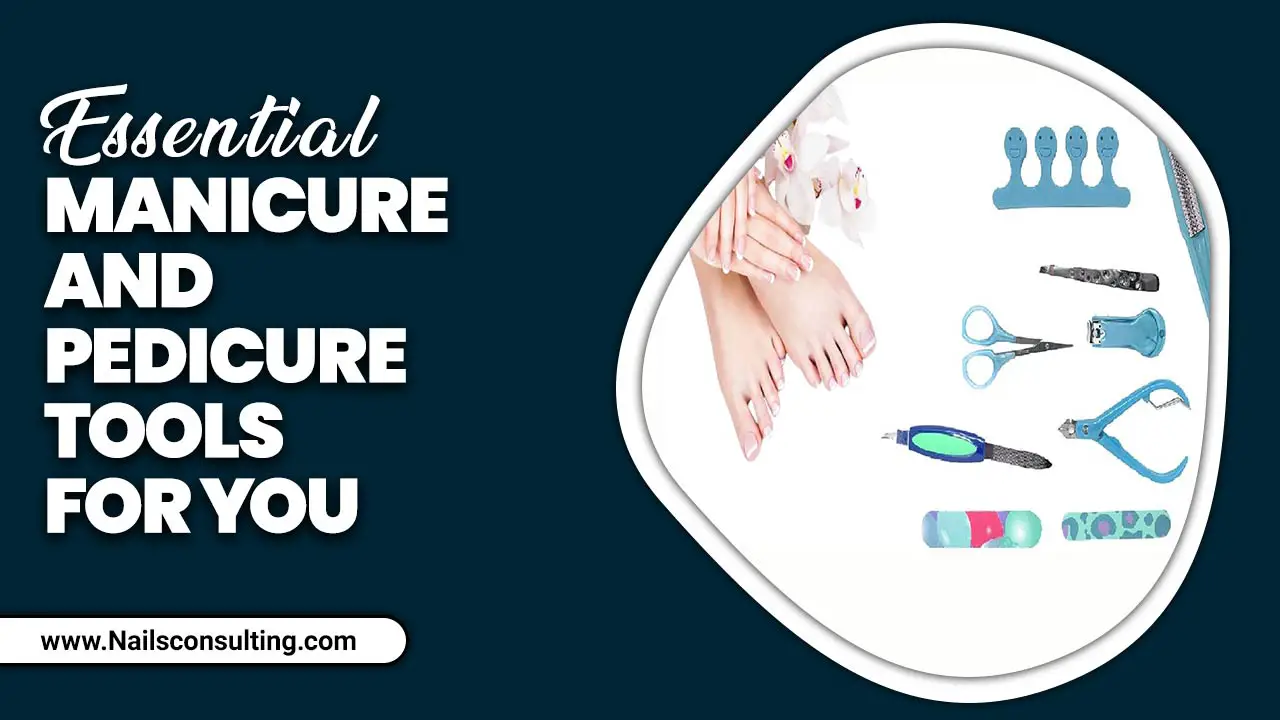
The best part about minimal nail art is that you don’t need a professional salon’s worth of tools to get started. A few key items will have you creating beautiful designs in no time.
The Must-Haves:
- Base Coat: Protects your natural nail and helps polish adhere better.
- Top Coat: Seals your design, adds shine, and prevents chipping.
- Nail Polish in Your Chosen Colors: You might only need one or two colors, plus your base and top coats!
- Nail Polish Remover: For fixing mistakes and cleaning up.
- Cotton Pads/Balls: For applying remover.
Helpful Additions (Optional, but Recommended!):
- Dotting Tools: These come in various tip sizes and are perfect for creating dots, small shapes, and lines. You can find excellent sets online or at beauty supply stores.
- Thin Nail Art Brushes: A fine-tip brush is fantastic for drawing clean lines, French tips, or delicate details.
- Tweezers: Useful for picking up tiny studs, rhinestones, or glitter.
- Clear Tape/Washi Tape: Great for creating crisp geometric lines and shapes.
- Cuticle Pusher: To gently push back your cuticles for a clean canvas.
For an in-depth look at nail care and tool essentials, you might find resources from the Nails Magazine educational section helpful, offering a wider perspective on nail care practices.
Simple Minimalist Nail Art Techniques & Designs
Ready to dive into creating your own minimal masterpieces? Here are some easy-to-follow techniques and design ideas perfect for beginners. We’ll break them down step-by-step so you can feel confident trying them out.
1. The Accent Nail
This is the absolute easiest way to dip your toes into nail art. Choose one nail (usually your ring finger) on each hand and give it a special design, while the others remain a solid color.
How to Do It:
- Prep your nails as usual: file, shape, and apply a base coat.
- Paint all your nails with your chosen base color. Apply a second coat if needed.
- Once the polish is nearly dry, focus on your accent nail.
- Design Ideas for Accent Nail:
- A single dot: Use a dotting tool or the tip of a toothpick to add one perfect dot in the center or corner of the nail.
- A small heart: Draw a tiny heart using a fine-tip brush or the side of a dotting tool.
- A simple stripe: Use a striping brush to draw a single vertical or horizontal line.
- A touch of glitter: Apply a thin line of glitter polish or dab on some loose glitter with a brush.
- Let the accent dry completely.
- Apply a top coat to all nails, making sure to cap the edges to prevent chipping.
2. Negative Space Designs
Negative space nails are super chic and focus on leaving parts of your natural nail visible. This often involves using tape to create clean lines or shapes.
The Half-Moon Manicure:
- Apply base coat and let it dry.
- Paint your entire nail with your first color. Let it dry completely.
- Take a small piece of circular sticker or a small hole punch reinforcement sticker and place it at the base of your nail, near the cuticle, to act as a guide.
- Paint the rest of your nail above the sticker with a second color, or with a clear coat with glitter.
- Carefully peel off the sticker while the polish is still wet.
- Once dry, apply a top coat.
Geometric Lines:
- Apply base coat and let it dry.
- Paint your nails with your chosen color and let it dry thoroughly.
- Cut small pieces of nail tape or a breathable aesthetic tape (like washi tape) and carefully apply them to your nails to create geometric patterns (lines, triangles, squares). Ensure the tape is pressed down firmly to prevent polish from bleeding underneath.
- Paint over the taped areas with a contrasting color or a sheer polish for a subtle look.
- While the polish is still wet, carefully peel off the tape using tweezers if needed.
- Let the polish dry completely and seal with a top coat.
For best practices in nail polish application and drying times, checking out guides on nail care from reputable sources can offer invaluable tips.
3. The Tiny Dot Trend
This is perhaps the simplest and most elegant minimal nail art design. A scattering of tiny dots can transform a plain manicure into something special.
How to Do It:
- Start with a clean, prepped nail and apply your base coat and your desired polish color. Let it dry completely.
- Dip the tip of a dotting tool (or a toothpick) into a contrasting polish color.
- Gently dot small, evenly spaced dots onto your nails. You can place them randomly, in a line, or in a cluster.
- Repeat with more dots as desired, cleaning your dotting tool between colors or if it picks up too much polish.
- Let the dots dry thoroughly before applying your top coat.
4. Thin Striping
A single, clean line can add a touch of modern sophistication.
How to Do It:
- Prep and paint your nails with your base color. Let dry thoroughly.
- Using a very fine nail art brush or a striping polish with a thin brush, carefully draw a single, thin line across your nail. This can be horizontal, vertical, or diagonal.
- You can also try a fine line just at the tip for a modern take on the French manicure, or a line tracing the cuticle.
- Let the line dry completely.
- Apply your top coat.
5. Cutout Designs
Similar to negative space, this technique involves creating a “window” on your nail to expose the natural nail underneath.
How to Do It:
- Apply base coat and let it dry.
- Paint your nails with your chosen color and let them dry completely.
- Use nail art tape to create a shape (e.g., a square, a circle, half-moon) on your nail. Make sure the tape is adhered well.
- Carefully paint over the taped area with a second color, or even just a clear coat for a subtle contrast.
- While the polish is still wet, gently peel off the tape.
- Let dry and apply a top coat.
Minimal Nail Art Color Palettes
Choosing the right colors is key to achieving that sophisticated, minimal look. Here are some popular and effortlessly chic color combinations:
| Look Type | Recommended Colors | Vibe |
|---|---|---|
| Classic Chic | Nudes, creams, soft whites, pale greys. Accent with black or gold. | Understated, elegant, professional. |
| Modern & Bold | Black, white, deep navy, forest green, burgundy. Accent with metallic (silver, gold). | Edgy, confident, stylish. |
| Feminine & Soft | Pastels (blush pink, baby blue, mint green), lavender, light coral. Accent with rose gold or pearl. | Sweet, delicate, dreamy. |
| Natural & Earthy | Muted browns, terracotta, olive green, beige. Accent with bronze or copper. | Grounded, organic, bohemian. |
Don’t be afraid to mix and match within these palettes! For instance, a nude base with a thin black line or a blush pink base with a single gold dot can be incredibly striking.
Maintenance and Care for Minimalist Manicures
Even the simplest of designs deserve a little TLC to keep them looking their best. Minimalist nail art is generally quite sturdy, but a few simple steps will extend its life:
- Reapply Top Coat: Every 2-3 days, apply another thin layer of top coat over your manicure. This refreshes the shine and adds an extra layer of protection against chipping.
- Be Gentle: Avoid using your nails as tools to open cans, scrape labels, or pry things open. This can cause chips and cracks.
- Moisturize: Keep your hands and cuticles moisturized. Dry cuticles can look unkempt and detract from even the most perfect manicure. Use a cuticle oil or hand cream daily.
- Gloves for Chores: Wear gloves when doing dishes, cleaning with chemicals, or gardening. This is one of the most effective ways to protect your polish from damage.
- Touch-Ups: If you get a small chip, you can often carefully file it down or add a tiny bit of polish to the affected area. For extensive damage, it might be time for a fresh coat.
When to Seek Professional Help
While minimal nail art is beginner-friendly, there are times when a professional touch can be beneficial. If you’re aiming for a very specific intricate detail, or if you’re struggling with nail health, a visit to a qualified nail technician can be a great idea.
Sometimes, even understanding the basics of nail prep can be enhanced by professional guidance. Reputable nail salons can offer insights into proper cuticle care and surface prep, which are foundational for any nail art, minimal or elaborate.
FAQ: Your Minimal Nail Art Questions Answered
What are the easiest minimal nail art designs for beginners?
The easiest designs usually involve a single accent, such as one dot, one thin line, or a simple geometric shape on one nail. The “half-moon” manicure and random scattering of tiny dots are also very beginner-friendly.
How long does minimal nail art usually take to do?
Most minimal nail art designs can be done in 15-30 minutes, depending on how many nails you’re designing and how quickly you work. The drying time between coats is the biggest factor.
Can I do minimal nail art on short nails?
Absolutely! In fact, minimal nail art often looks fantastic on short nails. Simple dots, lines, and geometric shapes are perfect for shorter nail beds.
What if I make a mistake while doing nail art?
Don’t worry! Keep nail polish remover and a fine-tipped brush (dipped in remover) handy. You can use the brush to carefully clean up small mistakes or polish smudges before they dry.
Do I need special nail polishes for minimal designs?
Not necessarily! Regular nail polishes in your chosen colors will work. However, having a good quality top coat and base coat is essential. Specialized fine-tip brushes or dotting tools can make application easier, but toothpicks can be a good substitute to start.
How can I make my minimal nail art last longer?
The key is a good base coat and top coat. Reapply your top coat every couple of days and try to protect your hands by wearing gloves for household chores. Keep your cuticles moisturized for an overall polished look.
Conclusion
There you have it! Minimal nail art is your secret to effortlessly stunning manicures. We’ve covered the essentials, from the tools you need to simple, step-by-step designs like accent nails, negative space creations, delicate dots, and clean lines. These techniques are achievable for anyone, regardless of your artistic skill level. Remember, the beauty of minimalism is its simplicity and versatility. It allows your personal style to shine through, enhancing your look without overpowering it.
So, go ahead and experiment! Grab your favorite polishes, a dotting tool or even a toothpick, and give these designs a try. You’ll be amazed at how quickly you can transform your nails into chic works of art. Embrace the ease, enjoy the process, and wear your beautiful, minimal manicures with confidence!


