Minimal line art nails design is a chic, versatile trend that’s easy to master! This guide breaks down how to achieve a sophisticated, modern look with simple lines, perfect for any skill level. Get ready to elevate your mani game with this effortless style.
Ever scroll through nail inspiration and feel a little intimidated by all the intricate designs? You’re not alone! We all want nails that look super stylish and put-together, but sometimes the tutorials seem to require a degree in art. The good news? There’s a beautiful trend that’s both stunning and surprisingly simple: minimal line art nails! It’s all about clean, elegant lines that add a touch of sophistication to any manicure. This trend is perfect for beginners and busy bees who want a touch of artistry without the fuss. Let’s dive into how you can easily create this look yourself. We’ll cover everything from the tools you’ll need to simple step-by-step guides that will have you rocking these chic nails in no time!
What Are Minimal Line Art Nails?
Minimal line art nails are all about using simple, clean lines to create designs on your nails. Think delicate strokes, geometric shapes, abstract squiggles, or even tiny, recognizable figures rendered with just a few lines. The beauty of this style lies in its simplicity and versatility. It’s not about overwhelming your nails with busy patterns; instead, it’s about subtle elegance and modern artistry. This trend embraces negative space (the bare nail showing through) and focuses on precise, often black or white, linework against a natural or solid color base. It’s a sophisticated way to add personality to your manicure without being too loud, making it a fantastic choice for everyday wear, special occasions, or even professional settings.
Why Minimal Line Art is a Trend You’ll Love
This trend has captured hearts for so many reasons! It’s incredibly chic and modern, instantly elevating any nail look. Plus, minimal line art is surprisingly versatile. Whether you prefer a nude base, a pastel shade, or a bold color, these delicate lines add a touch of artistic flair without clashing. Another huge plus is its accessibility. You don’t need to be a professional nail artist to achieve this look. Simple tools and a steady hand can produce stunning results, making it perfect for DIY manicures. It’s also a trend that suits everyone, regardless of nail length or shape. From tiny accents to bold outlines, you can adapt the style to your personal taste.
Key Benefits of Minimal Line Art Nails:
- Chic and Modern Aesthetic: It offers a sophisticated, contemporary vibe that’s always in style.
- Versatility: Works beautifully with any base color, nail shape, and length.
- Beginner-Friendly: Achievable for those new to nail art with simple techniques.
- Subtle Statement: Adds personality and artistry without being overpowering.
- Customizable: Easily adapted to your personal style and creativity.
- Budget-Friendly: Can be done at home with minimal supplies.
Getting Started: Your Minimal Line Art Tool Kit
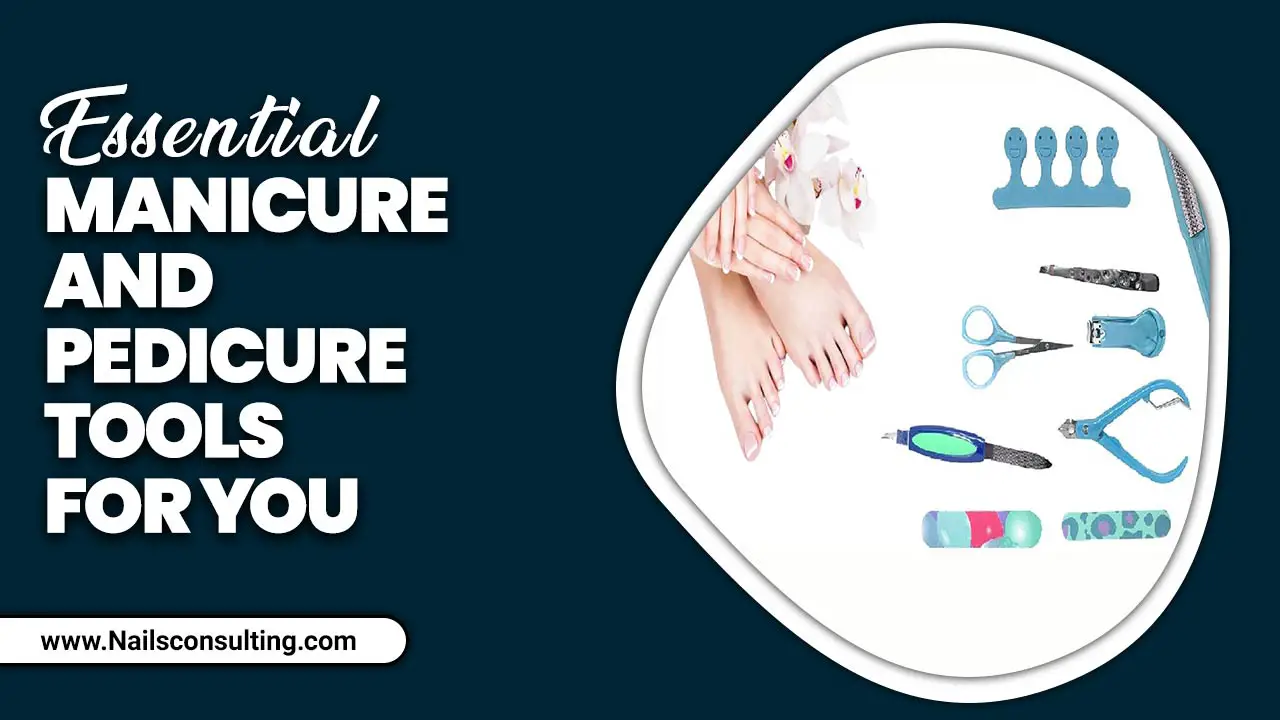
You don’t need a lot of fancy equipment to get started with minimal line art nails. The key is having a few essential tools that allow for precision. Gather these items, and you’ll be ready to create your own stunning designs:
Essential Tools for Precision:
- Fine-Tip Nail Art Brushes: These are your most important tools! Look for brushes with very thin, precise bristles. A 5mm or 7mm brush is a great starting point for drawing lines. You might want a couple of different sizes for varied line thicknesses.
- Gel Polish or Acrylic Paint: While regular nail polish can work, gel polish or acrylic paint often offers better opacity and control for fine lines. Black, white, and metallics (like gold or silver) are popular choices for line art.
- Base Coat and Top Coat: Essential for protecting your nails, ensuring polish adherence, and sealing your design. A good quality top coat will give your minimal art that glossy, finished look.
- Nail Cleanser/Rubbing Alcohol: To ensure your nails are clean and free from oils, which can prevent polish from adhering properly. A lint-free wipe is also helpful here.
- Dotting Tools (Optional but helpful): While we’re focusing on lines, dotting tools can be great for creating small dots that can anchor or complement your line art, or even just for cleaning up edges.
- LED/UV Lamp (if using gel polish): Gel polish needs to be cured under a UV or LED lamp to harden.
- Orange Stick or Cuticle Pusher: Useful for cleaning up any stray polish around the cuticle area before curing.
Choosing Your Colors:
While black and white are classic staples for an ultra-modern look, don’t be afraid to experiment! Metallics like gold, silver, or rose gold add a touch of glamour. Pastels can create a softer, more whimsical feel. Consider a simple nude or sheer base for a sophisticated look, or opt for a solid color that complements your chosen line art color. The goal is contrast and clarity so your lines stand out.
Step-by-Step Guide: Creating Minimal Line Art Nails
Ready to get creative? Follow these simple steps to achieve a beautiful minimal line art manicure at home. We’ll focus on a basic “abstract squiggle” design as an example, but you can adapt these techniques for any line art you envision!
Prep Your Canvas (Your Nails!):
- Clean and Shape: Start with clean, dry nails. File them to your desired shape and gently push back your cuticles.
- Apply Base Coat: Apply a thin, even layer of your favorite base coat. This protects your natural nail and helps your polish adhere. Let it dry completely.
- Apply Color (Optional): If you’re using a colored polish as a base, apply 1-2 thin coats. For a truly minimal look, you can skip this and work directly on the clear base coat, embracing the negative space. Ensure each layer is fully dry before moving on.
Drawing Your Lines:
- Prepare Your Art Polish: If using gel polish, apply a thin layer to your nail. Do not cure yet if you’re working on multiple nails. If using regular polish or acrylic paint, ensure it’s ready to go.
- Load Your Brush: Dip your fine-tip nail art brush into your chosen line art polish (e.g., black gel polish). You only need a small amount on the tip of the brush – too much will lead to messy lines. Wipe off any excess on a paper towel or palette.
- Start Drawing! Gently touch the brush to your nail where you want to begin your line. With a light touch, glide the brush across the nail to create your line. Start with simple shapes like a single curved line, a straight line, or a few connected strokes. Think abstract and playful!
- Experiment with Shapes: Try a few different lines on each nail – maybe a zig-zag on one, a gentle curve on another, a tiny loop on a third. Don’t aim for perfection; embrace the artful imperfection of hand-drawn lines.
- Clean Up Edges: If you make any mistakes or get polish on your skin, dip an orange stick or a small brush (you can use one of your nail art brushes lightly dampened with cleanser/alcohol) into nail polish remover and carefully clean up the edges before the polish dries or cures.
Finishing Touches:
- Cure (if using gel): Once you’re happy with your design on one or all nails, place your hands under your LED/UV lamp to cure the gel polish according to the manufacturer’s instructions (usually 30-60 seconds).
- Apply Top Coat: Apply a thin, even layer of your favorite top coat over the entire nail, making sure to cap the free edge (paint a little on the tip of your nail). This seals your design and adds shine.
- Final Cure (gel) and Cleanse: Cure your top coat under the lamp. If you used a gel top coat that leaves a tacky residue, gently wipe it off with a lint-free wipe and nail cleanser or rubbing alcohol.
And voilà! You’ve created beautiful, chic minimal line art nails. It really is that simple!
Design Ideas to Spark Your Creativity
Minimal line art is incredibly adaptable. The possibilities are endless, but here are a few popular and easy-to-achieve design ideas to get you started:
Popular Minimal Line Art Concepts:
- Abstract Squiggles & Swirls: As demonstrated in our step-by-step guide, freehand curves and zig-zags are effortlessly cool and forgiving.
- Geometric Shapes: Simple triangles, squares, or intersecting lines can create a modern, architectural feel. Try outlining a natural shape on your nail or drawing a small constellation of shapes.
- Minimal Faces: Using just a few dots and lines to suggest an eye, a nose, or a mouth can be incredibly artistic and fun.
- Floral Outlines: Instead of a fully rendered flower, try sketching the outline of a petal or a stem with a single, delicate line.
- Borders & Outlines: Draw a thin line around the cuticle area, down the side of the nail, or around the entire free edge for a subtle accent.
- “Half-Moon” Accents: Draw a simple curved line across the base of the nail to create a modern take on the French manicure or to highlight the natural moon shape.
- Single Line Focus: Sometimes, just one perfectly placed straight or curved line across the nail is all you need to make a statement.
Don’t be afraid to mix and match these ideas or create your own unique combinations. The beauty of minimal art is its inherent simplicity, so less is definitely more!
Tips for Perfecting Your Line Art
Even with simple designs, a few pro tips can make a big difference in achieving that polished, professional look. Here are some secrets to getting flawless minimal line art:
Pro Tips for Flawless Lines:
- Steady Your Hand: Rest your wrists on a stable surface. You can even rest your pinky finger on the table for extra support.
- Use Thin Coats: Apply your line art polish in thin, controlled layers. Thick polish is harder to control and can look clumpy.
- Less is More (Polish on Brush): Always start with a minimal amount of polish on your brush. You can always add more, but it’s harder to take it away.
- Don’t Press Too Hard: Use a light touch when drawing your lines. Let the brush do the work.
- Practice on Paper: Before you tackle your nails, practice drawing lines on a piece of paper. This helps you get a feel for the brush and control.
- Work in Sections: If you’re drawing a long or complex line, break it down into smaller, manageable strokes.
- Clean as You Go: Keep your cleanup tools (orange stick, small brush with remover) handy. Cleaning up small mistakes immediately is much easier than trying to fix them later.
- Patience is Key: Don’t rush the process. Allow each layer to dry or cure completely before adding the next.
Maintenance and Longevity
Minimal line art, especially when done with gel polish, can be quite durable. However, like any manicure, proper care will ensure it lasts longer and stays looking fresh.
Keeping Your Mani in Top Shape:
- Avoid Harsh Chemicals: Wear gloves when doing chores like washing dishes or cleaning. Harsh chemicals can break down polish and lift edges.
- Moisturize: Keep your cuticles and nails hydrated with cuticle oil and hand lotion. Healthy nails are less prone to chipping.
- Be Gentle: Avoid using your nails as tools (e.g., to open cans or scrape things).
- For Gel Polish: Ensure you have a good quality gel top coat that resists scratching and chipping.
- Touch-Ups: If a small chip occurs, you can sometimes carefully touch it up with a matching polish and a fine brush, then seal with a top coat.
Troubleshooting Common Minimal Line Art Issues
Even with the best intentions, you might run into a few snags. Here’s how to fix common problems:
Frequently Encountered Issues and Solutions:
| Problem | Solution |
|---|---|
| Lines are too thick or blobby. | You might be using too much polish on your brush, or pressing too hard. Try wiping more polish off your brush onto a paper towel and using a lighter touch. Ensure your brush bristles are clean and not splayed. |
| Lines are streaky or not opaque. | This can happen with thin polishes. Apply a second thin coat once the first is dry/cured. For gel or acrylic paint, ensure you have enough pigment on your brush. |
| My hand isn’t steady enough; lines are shaky. | Practice makes perfect! Try resting your arms and wrists firmly on a stable surface. Use your pinky finger as a pivot. Consider using nail vinyls or stencils for perfectly straight lines if hand-shaking is a persistent issue. |
| Polish is chipping or peeling quickly. | Your base or top coat might not be adhering well. Ensure your nails are completely clean and oil-free before applying polish. Make sure your top coat is fully capped on the free edge of the nail. If using gel, ensure proper curing time. |
| Mistakes are difficult to clean up. | Clean up immediately after making a mistake, before the polish dries or cures. Use a fine brush dipped in nail polish remover or a specialized cleanup tool. For gel, you can gently scrape off a small mistake with an orange stick before curing. |
| The design smudges when I apply the top coat. | Ensure your line art is completely dry or cured before applying the top coat. If using regular polish, give it ample time to dry – even a little tackiness can cause smudging. For gel, ensure it’s fully cured. Apply the top coat gently and in a single, smooth motion. |
The Science Behind a Great Manicure
Did you know that the health of your nails plays a big role in how well nail polish and art adhere? Proper nail care is the foundation for any beautiful manicure. According to the American Academy of Dermatology, healthy nails and cuticles are key to preventing issues like splitting, peeling, or infections, which can make applying and maintaining nail art challenging. Regularly moisturizing your hands and cuticles helps keep your nails flexible, reducing the risk of breakage that can ruin a perfect design. Also, ensuring your nail surface is smooth and free of oils before application is crucial for polish adhesion. This is why starting with a clean nail and a good base coat isn’t just about aesthetics; it’s about creating a stable surface for your art to shine.
FAQ: Your Minimal Line Art Nail Questions Answered
Q1: Do I need special brushes for minimal line art?
You don’t need extremely expensive ones, but fine-tip brushes are essential for creating delicate lines. Look for brushes with thin, precise bristles, often labeled for nail art or striping.
Q2: Can I do this with regular nail polish?
Yes, absolutely! While gel polish offers more control and longevity, you can achieve beautiful minimal line art with regular nail polish. Just be patient and allow each layer to dry completely.
Q3: What are the most popular colors for minimal line art?
Black and white are classic choices for a strong contrast. Metallics like gold and silver are also very popular for an elegant touch. Nudes, pastels, and even bold colors can work as bases.
Q4: My lines are never straight. What can I do?
Practice is key! Try resting your wrists firmly for stability. You can also use nail vinyls or stencils for perfectly straight lines if freehand is proving difficult.
Q5: How long does minimal line art usually last?
With regular polish and proper care, it can last 3-7 days. If done with gel polish and a good top coat, it can last 2-3 weeks. Hydration and avoiding harsh chemicals help prolong any manicure.
Q6: Can I combine line art with other nail art techniques?
Definitely! Minimal line art looks great over French tips, abstract color blocks, or even as accents on solid-colored nails. It’s a versatile element that can complement many styles.
Q7: Is minimal line art suitable for short nails?
Yes! Minimal line art is fantastic for short nails. Delicate lines, small geometric shapes, or simple accents can add a stylish touch without overwhelming shorter nail beds.
Conclusion
Minimal line art nails are more than just a trend; they’re a testament to the power of simplicity and


