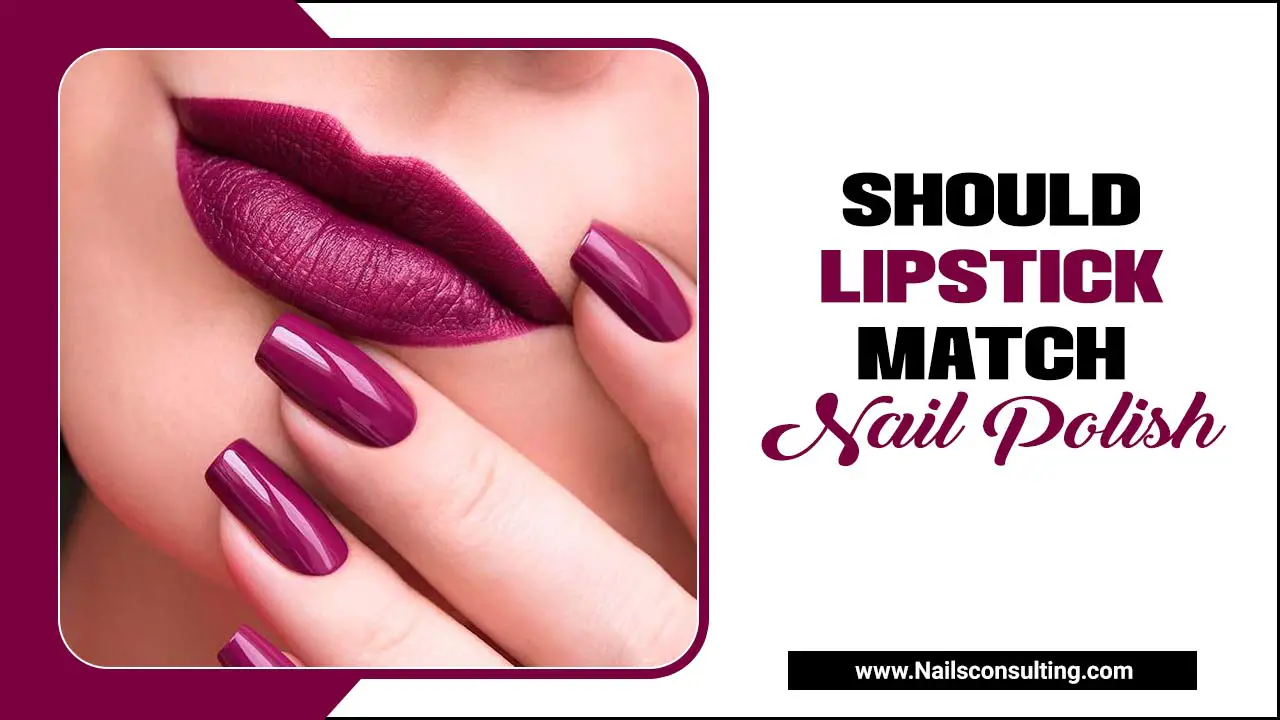
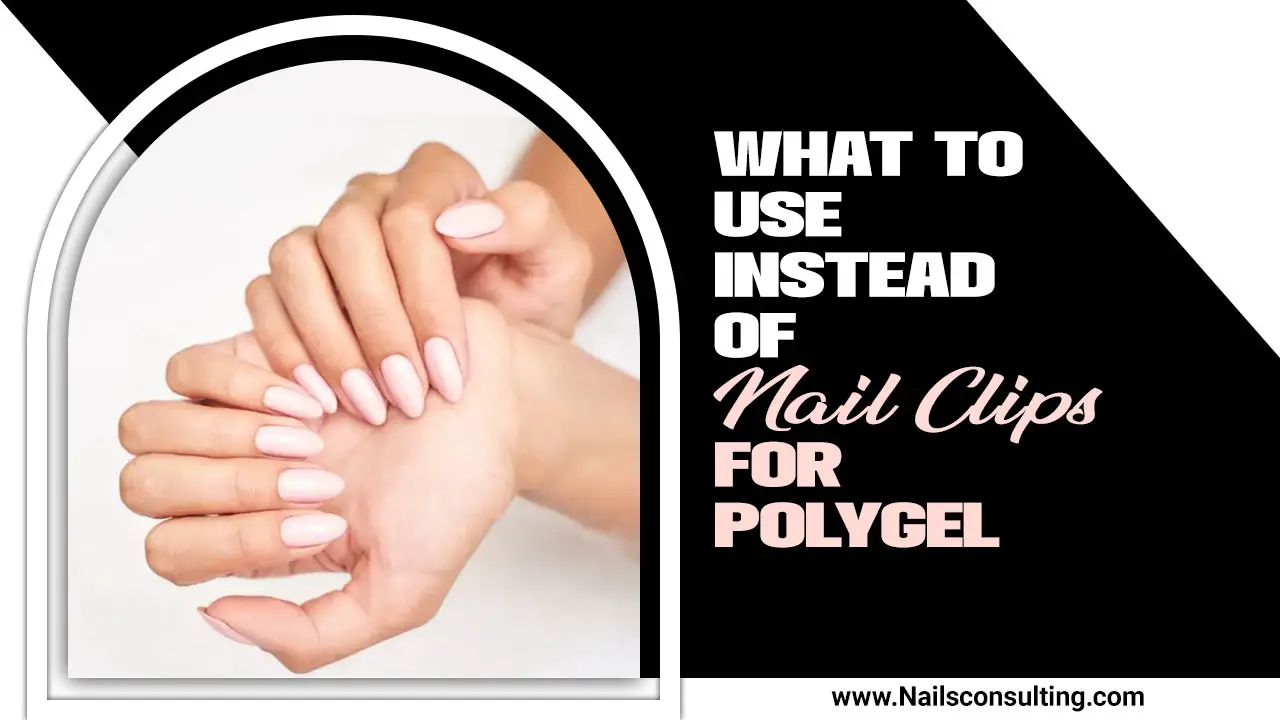
Milky taupe nails offer a sophisticated and versatile look that’s incredibly easy to achieve, making them a go-to for effortless, chic fingertips. This soft, neutral shade blends creamy beige with a hint of grey, creating a subtle yet polished finish perfect for any occasion. Achieve perfection with this beginner-friendly guide to milky taupe nails.
Tired of nail trends that are too complicated or colors that clash with your wardrobe? Do you dream of nails that look polished and put-together without a ton of fuss? You’re not alone! Many of us want that effortlessly chic vibe, but sometimes it feels like the perfect polish is just out of reach. Well, get ready to meet your new favorite shade: milky taupe nails. This gorgeous color is like a cozy hug for your fingertips, blending the warmth of beige with the cool sophistication of grey. It’s subtle, stylish, and surprisingly easy to wear.
This guide is here to make achieving stunning milky taupe nails simple and fun, no matter your skill level. We’ll walk through everything you need to know, from picking the perfect shade to keeping your nails looking immaculate. So, let’s dive into the world of milky taupe and unlock that essential, effortless beauty!
What is Milky Taupe? Understanding the Hue
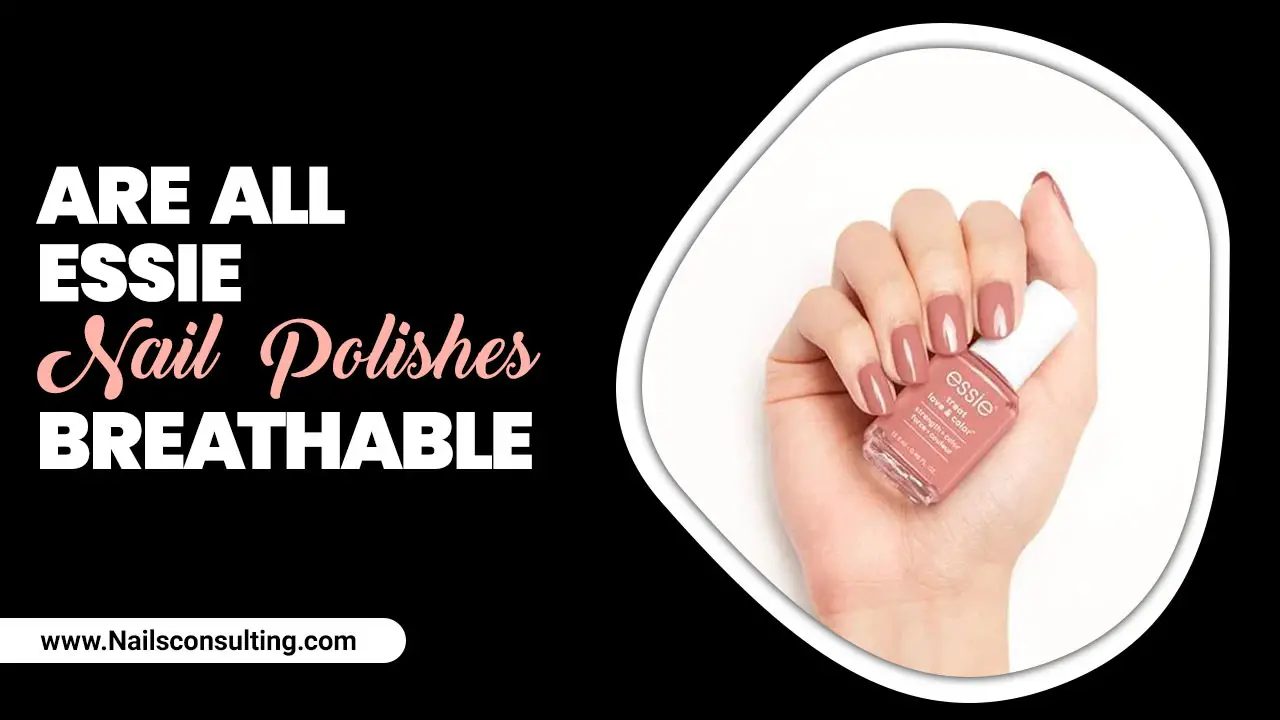
Milky taupe is a wonderfully versatile nail color that sits perfectly between a warm beige and a cool grey, with a soft, creamy finish. Imagine the comforting creaminess of milk blended with the grounded neutrality of taupe. It’s not quite brown, not quite grey, and definitely not stark white. This unique combination makes it incredibly adaptable and universally flattering.
This shade’s appeal lies in its subtlety and elegance. It’s a perfect choice for those who prefer a more understated look but still want their nails to feel polished and chic. Whether you’re heading to work, a casual brunch, or a more formal event, milky taupe nails seamlessly complement any outfit and any skin tone.
Why Milky Taupe is a Must-Have Shade
In the vast world of nail polish, certain colors stand out for their sheer versatility and effortless chic. Milky taupe is undeniably one of them. If you’re wondering why this specific shade has become a favorite for so many, here are a few compelling reasons:
Universally Flattering: Unlike some bolder colors that can be tricky with certain skin undertones, milky taupe tends to look good on almost everyone. Its balanced blend of warm and cool tones makes it incredibly adaptable.
Sophisticated & Chic: It offers a polished look that can elevate any outfit. It’s the kind of color that whispers elegance rather than shouts for attention.
Perfect for All Occasions: From the boardroom to a weekend getaway, milky taupe nails strike the ideal balance between professional and fashionable. They’re the ultimate chameleon color.
Easy to Pair: This neutral shade acts as a perfect canvas, effortlessly coordinating with any clothing color in your wardrobe.
Beginner-Friendly: If you’re new to at-home manicures, milky taupe is forgiving and simple to apply, offering a clean, professional look even with a few minor mistakes.
Year-Round Appeal: While it can lean into autumnal vibes, its creamy softness makes it a beautiful choice for spring and summer too.
Achieving Your Perfect Milky Taupe Manicure: A Step-by-Step Guide
Getting beautiful milky taupe nails at home is easier than you think! Follow these simple steps for a salon-worthy finish that you can be proud of.
Step 1: Prep Your Nails for Perfection
A flawless manicure starts with properly prepped nails. This is the foundation, so don’t skip it!
Remove Old Polish: If you have any old nail polish on, gently remove it with a good quality nail polish remover. Look for acetone-free options if your nails tend to be dry.
Trim and File: Trim your nails to your desired length and shape. Use a fine-grit nail file to shape them. Always file in one direction to prevent splitting and weakening. A gentle, uniform stroke is key. Consider a natural nail file or a crystal nail file for a smooth finish.
Push Back Cuticles: Gently push back your cuticles using a cuticle pusher or an orange wood stick. Be careful not to cut or damage them, as this can lead to infections. Healthy cuticles frame your nails beautifully and make application easier.
Buff Your Nails: Lightly buff the surface of your nails with a nail buffer. This smooths out any ridges and creates a slightly porous surface for polish to adhere to better. A gentle buff is enough; you don’t need to see white dust.
Cleanse Your Nails: Wipe down each nail with a nail cleanser or rubbing alcohol on a cotton pad. This removes any natural oils or lingering residue, ensuring your polish lasts longer.
Step 2: Apply a Base Coat
A base coat is a crucial step for a long-lasting manicure. It acts as a protective layer between your natural nail and the color polish, preventing staining and helping the polish adhere.
Apply one thin, even coat of your favorite clear base coat.
Allow it to dry completely. This usually takes about 60 seconds.
Step 3: The Milky Taupe Application
Now for the star of the show! Applying the milky taupe polish itself.
First Coat: Apply a thin, even layer of your milky taupe nail polish. Start from the base of your nail and brush towards the tip. Avoid overloading the brush. If you get polish on your skin, try to wipe it away carefully with the brush before it dries.
Drying Time: Let the first coat dry for at least two to five minutes. Patience here will save you from smudges later.
Second Coat: Once the first coat is dry to the touch, apply a second thin, even layer of milky taupe. This coat should provide full, opaque coverage. If it looks streaky, a third light coat might be needed, but try to achieve opacity with two.
Check for Evenness: Ensure the color is consistent across all nails.
Step 4: Clean Up Any Mistakes
Mistakes happen, but they’re easy to fix!
Dip a small, flat brush (like a small eyeshadow brush or a dedicated cleanup brush) into nail polish remover.
Carefully trace around the edges of your nails to remove any polish that got onto your skin. This will give you clean, crisp lines and a professional finish.
Step 5: Apply a Top Coat
The top coat is your best friend for shine and longevity.
Apply one to two thin coats of a good quality clear top coat. Make sure to cap the free edge of your nail (brushing the polish along the very tip of your nail) to prevent chipping.
A good top coat will add a beautiful glossy finish and protect your manicure from chips and wear.
Step 6: Let it Dry Thoroughly
This is perhaps the most critical step for a lasting manicure!
Resist the urge to use your hands normally immediately after your top coat. True drying can take up to an hour or more, especially if you applied thicker coats.
You can use quick-dry drops or sprays if you’re in a hurry, but gentle air drying is often best.
Avoid activities that could smudge or dent your polish, like washing dishes or digging in your bag, for at least an hour after application.
Choosing Your Perfect Milky Taupe Shade
With milky taupe being such a popular color, you’ll find many variations. Here’s how to pick the one that’s just right for you:
Understanding the Undertones
Milky taupe isn’t a one-size-fits-all color. You’ll find shades that lean a little warmer (more beige) and some that lean a little cooler (more grey).
Warm Milky Taupe: These shades have a stronger beige or greIGE (grey-beige) influence. They tend to be very warm and inviting, perfect for complementing warmer skin tones.
Cool Milky Taupe: These lean more towards the grey side, offering a bit more crispness and sophistication. They can be particularly flattering on cooler skin tones.
Factors to Consider When Choosing
Your Skin Tone: While milky taupe is generally forgiving, considering your undertones (warm, cool, or neutral) can help you find the most flattering shade. A quick way to check is to look at the veins on your wrist. Blue/purple veins suggest cool undertones, green veins suggest warm undertones, and a mix suggests neutral undertones.
The Finish: Milky taupe polishes come in various finishes:
Cream/Jelly: These offer opaque or semi-sheer coverage with a smooth, glossy finish. Jelly finishes can give a “milky” effect with a few coats.
Matte: For a softer, more contemporary look, a matte top coat can be applied over a cream finish, or you can find polishes specifically designed with a matte finish.
Shimmer/Chrome: While less common for the classic “milky” look, some taupes might have a subtle shimmer for added dimension.
Brand Reputation: Look for reputable nail polish brands known for good formula consistency and color payoff. Brands like OPI, Essie, Sally Hansen, and newer indie brands often have great options.
Popular Milky Taupe Shades to Explore
While specific shade names change, here are some examples of what to look for:
| Brand | Potential Shade Name Examples | Description |
| :——– | :———————————— | :——————————————- |
| OPI | “Bubble Bath” (lighter, pinker nude) | A soft, milky pink tinted nude. |
| OPI | “Funny Bunny” (sheer white) | A slightly stronger sheer white than BB. |
| Essie | “Ballet Slippers” (soft pink nude) | A sheer, pale pink that can appear milky. |
| Essie | “Mademoiselle” (soft sheer pink) | Another classic sheer pink, often worn. |
| Orly | “Pure Porcelain” | A delicate, soft milky white. |
| China Glaze | “Glow” (a pearlescent shimmer) | Might offer a milky base with subtle sheen. |
Note: Shade availability and names can vary by region and collection. Always check swatch photos or try to see the color in person if possible!
Maintaining Your Milky Taupe Manicure
Once you’ve achieved your perfect milky taupe nails, a little maintenance goes a long way to keeping them looking fresh and chip-free.
Reapply Top Coat: Every 2-3 days, apply another layer of top coat. This refreshes the shine and reinforces protection against wear and tear.
Moisturize: Regularly moisturize your hands and cuticles. Dry skin and cuticles can make even the most beautiful manicure look less polished. Use a good cuticle oil or hand cream daily.
Wear Gloves: When doing chores that involve water or harsh chemicals (like washing dishes or cleaning with sprays), wear rubber gloves. Water exposure can weaken nails and polish, leading to chipping.
Avoid Using Nails as Tools: Don’t use your nails to scrape, pry, or open things. This is a sure way to cause chips and breaks.
Touch-Ups: If you notice a minor chip or scratch, you can sometimes get away with a tiny touch-up of the color polish followed by a layer of top coat, especially on the free edge.
Tools and Products You’ll Need
To achieve a great milky taupe manicure, having the right tools makes all the difference. Here’s a basic checklist:
Essential Nail Care Tools
Nail Clippers/Trimmers: For shortening nails if needed.
Nail File: A fine-grit or medium-grit file for shaping. Glass or crystal files are excellent for gently shaping without snagging.
Nail Buffer: A multi-sided buffer block is ideal for smoothing ridges and creating a shine base.
Cuticle Pusher or Orange Wood Stick: For gently pushing back cuticles.
Small Brush: An angled or flat brush for cleaning up polish mistakes.
Key Polish Products
Nail Polish Remover: Acetone-free is gentler for regular use.
Base Coat: A good quality base coat is essential for preventing staining and ensuring longevity. Look for nourishing or strengthening formulas if your nails need it.
Milky Taupe Nail Polish: Choose a shade and finish you love!
Top Coat: A chip-resistant, high-shine or quick-dry top coat is highly recommended.
Optional (but Recommended) Items
Cuticle Oil: To keep cuticles hydrated and healthy.
Hand Cream: For overall hand and nail hydration.
Quick-Dry Drops/Spray: If you’re short on drying time.
Beyond the Solid Color: Elevating Your Milky Taupe Nails
While a solid milky taupe is effortlessly chic on its own, you can also use it as a base for simple, elegant nail art. Here are a few ideas:
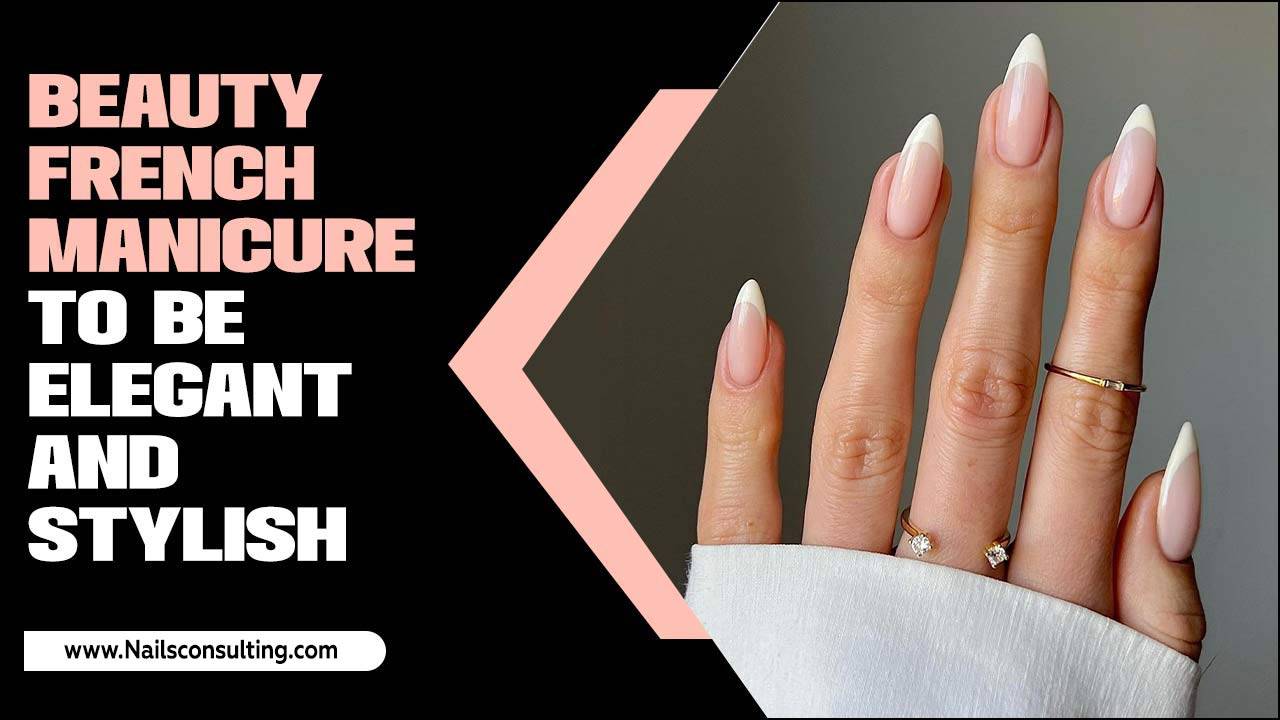
Subtle French Tips: Opt for a milky taupe base with a crisp white or even a dark chocolate brown tip for a modern take on the French manicure.
Minimalist Lines: Use a fine-tipped brush or a nail art pen to draw thin, geometric lines (gold, black, or silver often look stunning) across one or two accent nails.
Negative Space Design: Paint only the tips or a portion of the nail in milky taupe, leaving some of the natural nail showing through for a chic negative space look.
Glitter Accent: Add a touch of sparkle by applying a subtle glitter polish or loose glitter to the base of one accent nail, blending upwards.
Embellishments: Consider adding a small pearl or rhinestone to the base of one or two nails for a touch of understated glamour.
Frequently Asked Questions About Milky Taupe Nails
Q1: Is milky taupe a good color for my skin tone?
A: Milky taupe is a very versatile neutral. It generally suits all skin tones because it balances warm beige tones with cool grey undertones. If you have warmer skin, a taupe with more beige might be ideal. For cooler skin tones, a taupe with more grey can be stunning.
Q2: How many coats of milky taupe polish do I need for good coverage?
A: Most milky taupe polishes will require two thin coats for opaque, even coverage. If the polish is very sheer or has a jelly-like formula, you might need three coats to achieve that perfect milky look without streaks.
Q3: How can I make my at-home manicure last longer?
A: For longevity, always start with clean, dry nails and use a good base coat. Apply thin coats of polish and finish with a quality top coat, remembering to cap the free edge. Avoid prolonged water exposure and moisturize your hands and cuticles regularly. Reapplying top coat every few days also helps.
Q4: What’s the difference between taupe, greige, and milky taupe?
A: “Taupe” is a brownish-grey color. “Greige” is a blend of grey and beige. “Milky taupe” typically refers to a taupe or greige shade with a creamy, opaque, or semi-opaque finish that gives it a softer, sometimes slightly translucent or “milky” appearance, unlike a flat matte or highly pigmented cream.
Q5: Can I achieve a “milky” effect if my polish isn’t explicitly labeled “milky taupe”?
A: Yes! If you have a taupe or greige cream polish, applying it in two to three thin, even coats can create a lovely milky, almost jelly-like effect, especially if the base color has a softer pigment. A jelly-finish polish in a taupe shade would also give this look.
Q6: What’s the best way to remove nail polish without staining my nails?
A: Use an acetone-free nail polish remover, especially if you have dry or sensitive nails. For darker or highly pigmented polishes, applying a good base coat beforehand is crucial to prevent staining. Make sure to wash your hands thoroughly after removing polish.
Q7: Are milky taupe nails suitable for professional settings?
A: Absolutely! Milky taupe is a highly sophisticated and neutral color, making it perfect for professional environments. It’s subtle enough to be professional while still looking polished and chic.
The Enduring Appeal of Milky Taupe
Milky taupe nails are more than just a trend; they’re a testament to the beauty of understated elegance. This shade offers a perfect balance of warmth and sophistication, making it an incredibly versatile choice for anyone looking to enhance their natural beauty. Whether you’re a nail art novice or a seasoned pro, achieving a flawless milky taupe manicure is within reach.
From careful nail prep to the final glossy top coat, each step is designed to give you confidence and a sense of accomplishment. Remember, your nails are a canvas for self-expression, and milky taupe provides a beautiful, neutral base to express your personal style. Embrace this essential shade, experiment with simple designs, and enjoy the effortless chic that comes with perfectly polished milky taupe nails. Happy polishing!

