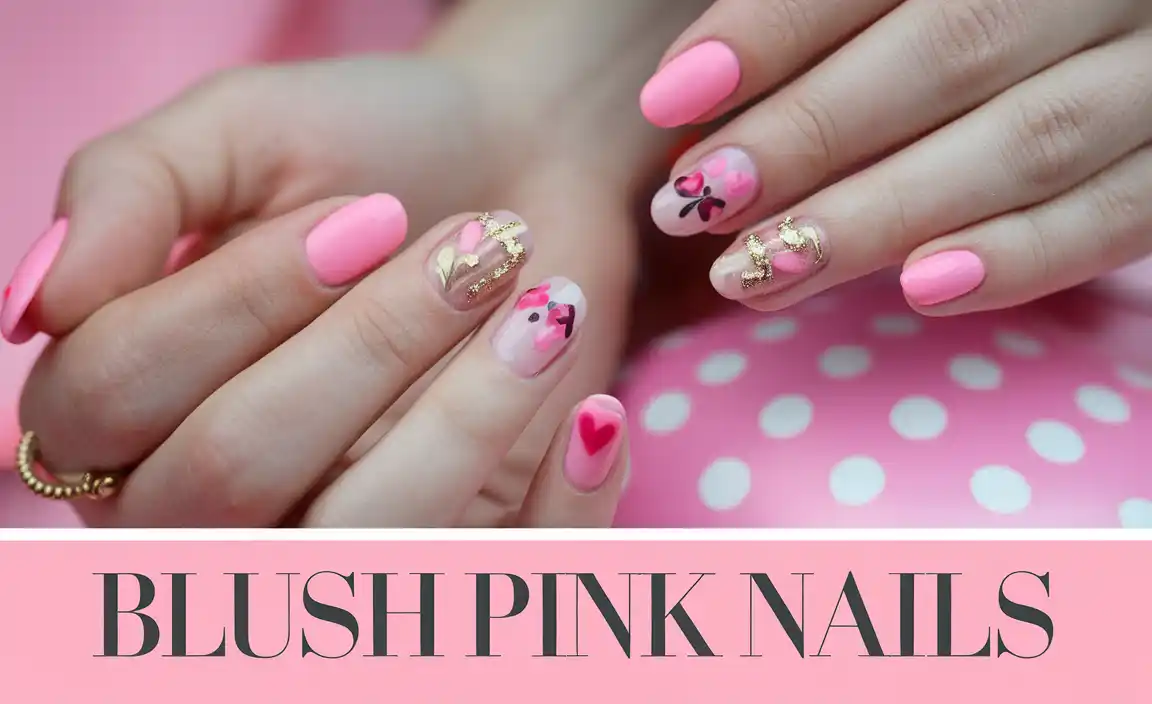
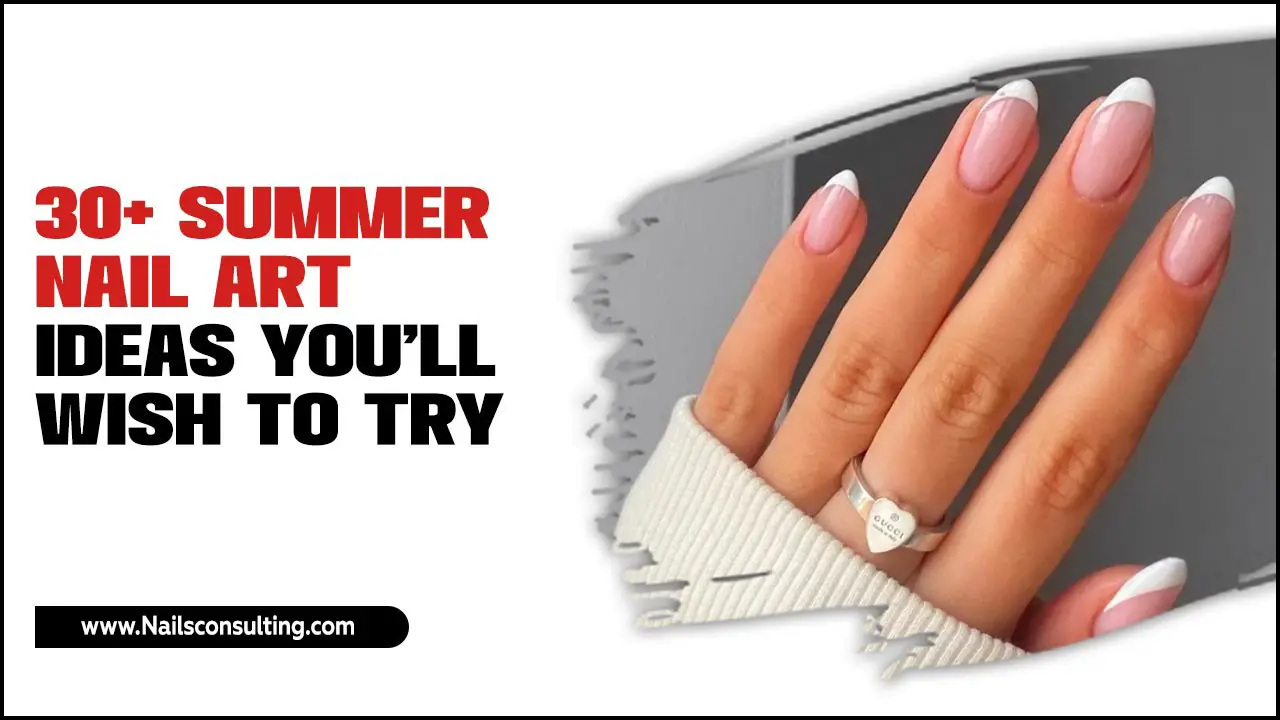
Milky pink nail designs offer a sophisticated, elegant, and incredibly versatile look for any occasion. These soft, opaque shades provide a chic canvas for simple yet stunning manicures, perfect for beginners and experienced nail enthusiasts alike. Discover easy ways to achieve this trendy aesthetic at home.
Are you dreaming of nails that look effortlessly chic, polished, and subtly stylish? The milky pink nail trend is here to stay, and it’s easier to achieve than you might think! This soft, opaque shade is like a whisper of color, offering a sophisticated alternative to sheer polishes or bold patterns. It’s the perfect look for anyone wanting that “clean girl” aesthetic or simply a beautiful, understated manicure. No need to be a pro to get this gorgeous finish. We’ll guide you through everything you need to know, from choosing the right shade to creating stunning, simple designs that will turn heads for all the right reasons.
What’s So Special About Milky Pink Nails?
Milky pink nails have captured the hearts of beauty lovers everywhere, and for good reason! They strike a beautiful balance between natural and polished. Unlike sheer nudes or vibrant pinks, the “milky” finish gives a soft, diffused color that appears almost like a natural nail, but better. It’s incredibly flattering on all skin tones and instantly elevates any look, making your hands appear more refined and put-together.
This trend is beloved for its:
- Versatility: It works for any outfit, from casual jeans to formal wear.
- Elegance: It offers a touch of sophistication without being flashy.
- Universality: It suits every skin tone.
- Simplicity: It’s a low-maintenance look that always looks good.
Choosing Your Perfect Milky Pink Shade
The term “milky pink” covers a delightful range of soft hues. The key is the opaque, diffused finish, not necessarily a specific shade of pink. Think of it like a soft yogurt or a creamy blush – there’s a subtle translucence but enough pigment to give a distinct, smooth color.
When you’re shopping for your milky pink polish, look for descriptions that mention:
- “Opaque pink”
- “Creamy pink”
- “Soft pink with a milky finish”
- “Milky blush”
You’ll find shades from very pale, almost white pinks to slightly deeper, peachy pinks, all with that signature milky effect. The best shade for you will depend on your personal preference and your skin tone. Don’t be afraid to try a few to see which one makes your nails sing!
Essential Tools for Your Milky Pink Manicure
Getting a professional-looking milky pink manicure at home is totally achievable with the right tools. You don’t need a professional nail kit; most of these items are likely already in your beauty stash or are easy to find!
Here’s what you’ll need:
- Nail File: To shape your nails. A 180-grit file is great for natural nails.
- Nail Buffer: To smooth the nail surface and add a little shine.
- Cuticle Pusher/Orange Stick: To gently push back your cuticles.
- Nail Polish Remover: For a clean slate.
- Cotton Pads or Lint-Free Wipes: For the remover.
- Base Coat: To protect your natural nails and help polish adhere.
- Milky Pink Nail Polish: Your star product!
- Top Coat: To seal your design and add shine.
- Optional: Dotting tools, fine-tip brushes, or nail art stickers for simple accents.
Step-by-Step: The Perfect Milky Pink Base
Let’s get those nails looking flawless! This guide focuses on achieving that beautiful, smooth milky pink color. We’ll get to the fun designs in a bit!
Step 1: Prep Your Nails
Start with clean, dry nails. Remove any old polish. Gently push back your cuticles using a cuticle pusher – avoid cutting them to prevent damage. Shape your nails with a nail file to your desired length and shape. Then, use a nail buffer to lightly smooth the surface of your nails. This helps your polish adhere better.
Step 2: Apply Base Coat
A good base coat is crucial! It prevents staining and creates a smooth surface for your polish. Apply one thin layer and let it dry completely. This usually takes about a minute.
Step 3: Apply Your Milky Pink Polish
This is where the magic happens! Apply your milky pink polish in thin, even coats. Most milky pink polishes are opaque enough to achieve full coverage in two coats.
- First Coat: Apply a thin, even coat. Don’t worry if it’s not perfectly opaque yet; the second coat will do the trick. Let it dry for at least 2-3 minutes.
- Second Coat: Apply another thin, even coat. You should see the beautiful milky finish emerge. If any spots look streaky, a third very thin coat might be needed, but try to avoid it to prevent bulkiness. Ensure each coat is dry before applying the next.
Step 4: Seal with Top Coat
Once your milky pink polish is completely dry (wait at least 5-10 minutes after the last coat), apply a good quality top coat. This will seal in your color, add a beautiful glossy shine, and protect your manicure from chips. Make sure to cap the free edge of your nail by sweeping the brush across the tip. Let it dry thoroughly.
Effortless Milky Pink Nail Designs for Beginners
Once you’ve mastered the perfect milky pink base, you can elevate it with simple, stunning designs. These ideas are beginner-friendly and require minimal extra tools!
1. The Subtle Gradient (Ombre)
Achieve a beautiful, soft transition similar to a French tip but with a seamless blend.
How-to:
- Apply your milky pink base coat as usual and let it dry completely.
- Take a makeup sponge or a cosmetic wedge. Apply a few horizontal stripes of your milky pink polish and a slightly lighter shade of pink or white polish onto the sponge.
- Gently dab the sponge onto the tips of your nails, focusing the color towards the free edge.
- Repeat the dabbing motion, slightly overlapping the color to create a soft gradient.
- Let it dry, then apply your top coat to smooth out the texture and seal the design.
2. Minimalist French Tips
A classic with a modern twist. Instead of stark white, use a soft white or a lighter milky pink for the tips.
How-to:
- Apply your milky pink base coat and let it dry.
- Use a fine-tip brush or a nail art pen with a white or lighter pink polish to draw a thin line along the free edge of your nails. A steady hand is key here!
- Alternatively, you can use nail guides for a cleaner line.
- Let it dry completely, then apply your top coat.
3. Delicate Dots
Add a touch of whimsy with a few strategically placed dots.
How-to:
- Paint your nails with the milky pink polish and let them dry.
- Dip a toothpick or a dotting tool into a contrasting polish color (e.g., white, gold, black, or even a deeper pink).
- Carefully place a few dots on each nail. You can put them in a line, cluster them near the cuticle, or scatter them randomly.
- Let them dry, then seal with a top coat.
4. Glitter Accent Nail
A touch of sparkle can make your manicure pop!
How-to:
- Paint all your nails with the milky pink polish, except for one accent nail (usually the ring finger).
- On the accent nail, apply a glitter polish in a complementary color (silver, rose gold, or iridescent glitter works beautifully). You can cover the whole nail or just the tips.
- Once dry, apply top coat to all nails, including the accent nail.
5. Abstract Swirls with a Fine Brush
Don’t shy away from abstract designs! They are forgiving and look artful.
How-to:
- Apply your milky pink base and let it dry.
- Using a very fine nail art brush and a contrasting color (like white, black, or gold), paint simple, thin swirls or lines across your nail. Think organic, flowing shapes.
- Let it dry, then apply a clear top coat.
Elevating Your Milky Pink Nails: Pro Tips
Want to take your milky pink creations from good to absolutely breathtaking? Here are some tips from the pros:
- Nail Health is Key: Healthy, well-maintained nails make any polish look better. Regular cuticle care and moisturizing your hands and nails are essential. Visit NHS.uk for tips on nail care and common issues.
- Layering for Depth: Some milky pink polishes look even better with a sheer white or very pale pink as the first coat, followed by your milky pink. It adds a unique dimension.
- Matte Top Coat: For a super modern and sophisticated look, swap your glossy top coat for a matte one. It gives milky pink nails a velvety, chalky finish that is exceptionally chic.
- Chrome Powder Accents: A subtle swipe of chrome powder (like a milky pink or iridescent shade) over a milky pink base can create a mesmerizing, ethereal effect. Apply over a tacky top coat, then seal with a final top coat.
- Stamping Stencils: If you struggle with freehand designs, nail stamping plates are your best friend! You can create intricate patterns or simple lines with ease.
Comparing Milky Pink Polish Formulas
Not all milky pink polishes are created equal. Understanding different formulas can help you choose the best one for your needs.
| Formula Type | Description | Best For | Potential Drawbacks |
|---|---|---|---|
| Creamy Opaque | Provides full, even coverage in 1-2 coats. The color is solid and smooth. | Achieving the classic “milky” look, beginners, consistent color. | Can sometimes look a bit flat if not applied thinly. |
| Jelly/Sheer with Pigment | Has a translucent quality but with enough pigment to show color. Might need 2-3 coats for full opacity. | Creating softer, buildable color; adding subtle depth to designs. | May be streaky if not applied evenly; might not achieve true “milky” opacity easily. |
| Latex/Soft Matte Finish | Often has a unique, slightly chalky or soft matte finish straight from the bottle, which can read as “milky.” | Achieving a modern, sophisticated matte look without a separate top coat. | Can be harder to find; some formulas might chip more easily. |
For the most classic milky pink nail, the creamy opaque formula generally provides the easiest and most consistent results, especially for those new to nail art.
Frequently Asked Questions (FAQ)
What makes a nail polish “milky”?
A “milky” nail polish has a creamy, opaque formula that diffuses light, giving a soft, smooth, and often slightly hazy appearance compared to sheer polishes. It has enough pigment to cover the nail bed evenly but isn’t as starkly pigmented as a pure cream polish. Think of the soft color of yogurt or a blush powder.
Are milky pink nails suitable for all skin tones?
Yes! Milky pink shades are incredibly versatile and flattering on all skin tones. Lighter, cooler-toned milky pinks can brighten fairer skin, while warmer, peachy milky pinks can complement medium to deeper skin tones beautifully. It’s all about finding the right shade of pink for you!
How do I prevent streaky milky pink polish?
Apply your milky pink polish in thin, even coats. Allow each coat to dry almost completely before applying the next. Avoid over-brushing; aim for 2-3 strokes per nail. If a second coat is still streaky, a third very thin coat might be necessary. Ensure your brush isn’t overloaded with polish.
Can I achieve the milky pink look with gel polish?
Absolutely! Many gel polish brands offer milky pink shades specifically. The application process is similar, but gel polishes require curing under a UV or LED lamp between coats. Gel polish can offer extra durability and shine to your milky pink manicure.
What colors pair well with milky pink nails for accents?
Neutrals like white, black, or cream are always elegant. Metallics such as gold, rose gold, or silver add a touch of glamour. For a softer look, try a slightly deeper shade of pink, or even a delicate pastel like baby blue or mint green for a playful contrast.
How long does a milky pink manicure typically last?
With a good base and top coat, a regular nail polish milky pink manicure can last anywhere from 5 to 10 days. Gel polish manicures typically last much longer, often 2-3 weeks, before showing signs of wear.
Conclusion
Milky pink nail designs are a testament to the beauty of simplicity. They offer a chic, sophisticated, and incredibly wearable trend that’s perfect for any occasion and any skill level. Whether you’re looking for an everyday polished look or a subtle base for delicate nail art, the milky pink palette has you covered. From choosing the right shade to mastering the application and adding those adorable little accents like dots or minimalist French tips, we’ve armed you with the knowledge to create stunning, serene nails right at home. So grab your polish, embrace the soft elegance, and let your nails shine with this effortlessly beautiful trend!


