Milky gray nails are a chic and versatile choice for a sophisticated, modern look. This soft, muted shade offers a subtle yet stylish alternative to bold colors, pairing beautifully with almost any outfit and occasion. Perfect for beginners and seasoned nail art lovers alike, milky gray provides a flawless canvas for minimalist designs or can stand alone for understated elegance.
Finding that perfect shade of milky gray for your nails can feel like a quest! It’s a color that’s both sophisticated and surprisingly easy to wear. Unlike harsh greys, this softer version has a beautiful, almost translucent quality that makes your nails look polished and put-together. Whether you’re heading to a big event or just want to elevate your everyday style, milky gray nails are a fantastic choice. They’re surprisingly simple to achieve, and I’m here to walk you through everything you need to know to rock this trend with confidence. Get ready to discover stunning looks and easy ways to get them!
Why Milky Gray Nails Are a Must-Have
Milky gray is a dream shade for so many reasons, making it a standout trend that’s here to stay. It’s not just a color; it’s a mood.
This shade strikes a perfect balance. It’s softer and more approachable than a deep charcoal but has more depth than a pale silver. Think of it as a perfectly brewed latte – creamy, comforting, and utterly chic. This versatility is what makes it a go-to for so many of us. It’s incredibly adaptable, fitting seamlessly into any wardrobe and complementing any skin tone.
Versatility and Sophistication
One of the biggest draws of milky gray is its incredible versatility. It acts as a neutral, but with a bit more personality than a plain beige or white. This subtle complexity means it can:
- Complement any outfit: From professional attire to casual weekend wear, milky gray nails enhance your look without overpowering it.
- Bridge seasons: It works beautifully in the cool tones of fall and winter but also offers a fresh, modern twist during spring and summer.
- Suit any occasion: Whether it’s a formal wedding, a day at the office, or a relaxed brunch, milky gray nails fit right in.
The “milky” aspect adds a touch of softness, giving the gray an almost ethereal, high-end feel. It’s understated elegance at its finest.
Minimalist Chic
For those who love a clean, modern aesthetic, milky gray is a dream come true. It’s the perfect base for minimalist nail art. A simple coat can look incredibly chic on its own. If you want to add a little something extra without going overboard, consider these minimalist touches:
- A single delicate line in silver or gold.
- A tiny dot near the cuticle.
- A subtle gradient or French tip in a slightly darker or lighter shade.
This understated vibe is perfect for anyone who wants their nails to look polished and refined without drawing too much attention. It’s the definition of effortless style.
Essential Milky Gray Nail Looks for Beginners
Ready to dive into the world of milky gray? These looks are perfect for starting out and require minimal fuss.
The Classic Milky Gray Manicure
This is the foundation of all milky gray greatness! A flawless single-color application is incredibly chic and surprisingly easy to master. It’s all about smooth application and a great top coat.
What you’ll need:
- Milky gray nail polish (a crème or semi-sheer finish works best)
- Base coat
- Top coat
- Nail polish remover and cotton pads (for clean-up)
- Optional: Cuticle oil
How to achieve it:
- Prep your nails: Ensure your nails are clean, dry, and free of any old polish. Push back your cuticles gently.
- Apply base coat: This protects your natural nails and helps the polish adhere better. Let it dry completely.
- Apply the first coat of milky gray: Use thin, even strokes. Don’t worry if it looks streaky – the second coat will even it out.
- Apply the second coat: Once the first coat is nearly dry, apply a second thin coat. This is usually where the beautiful, opaque milky finish appears.
- Apply top coat: Once the color coats are dry, seal it all in with a good quality top coat. This adds shine and protects your manicure from chipping.
- Clean up edges: Dip a small brush or cotton swab in nail polish remover to clean up any polish that got on your skin.
- Finish with cuticle oil: Apply a drop of cuticle oil to rehydrate your skin around the nails.
This simple manicure is a winner every time. It looks incredibly polished and sophisticated.
Subtle Milky Gray French Tips
A modern twist on a classic! Instead of stark white, we’re using milky gray for a softer, more contemporary French manicure.
What you’ll need:
- A sheer milky gray polish (or a more opaque one if you prefer a stronger contrast)
- A crisp white or cream polish for the tips (optional, for contrast)
- Base coat and top coat
- Fine-tipped brush or French tip guide stickers
How to achieve it:
- Prep and base coat: As usual, start with clean, prepped nails and a base coat.
- Apply the milky gray base: Paint 1-2 coats of your milky gray polish over the entire nail. Let it dry completely. This will be your nail bed color.
- Create the tips:
- Freehand method: Using a very fine brush dipped in white or cream polish, carefully paint a curved line across the tips of your nails. Take your time!
- Guide sticker method: Apply French tip guide stickers along the edge of your natural nail’s white part. Paint over the tip with your white or cream polish. Remove the sticker while the polish is still slightly wet.
- Milky gray on milky gray: For a super subtle look, use a slightly darker or lighter shade of gray for the tips.
- Apply top coat: Once the tips are dry, apply a generous layer of top coat to seal everything.
This look is effortlessly chic and elongates the fingers beautifully.
Milky Gray with a Glossy Finish
Sometimes, all you need is an incredible shine to make a simple color pop. A high-gloss top coat can transform a basic milky gray into a luxurious statement.
What you’ll need:
- Milky gray nail polish
- Base coat
- High-shine, non-wipe gel-effect top coat
How to achieve it:
- Prep and paint: Follow the steps for the classic milky gray manicure (apply two thin coats).
- Add the ultimate gloss: Once the color coats are completely dry, apply a thick layer of your high-shine, non-wipe top coat. This type of top coat often doesn’t require wiping with alcohol afterward, giving an instant, mirror-like finish.
The result is a sophisticated, almost liquid-like sheen that feels incredibly luxurious. It’s perfect for making a subtle color feel extra special.
Elevating Milky Gray: Next-Level Looks
Once you’re comfortable with the basics, these designs add a little extra flair while keeping that beloved milky gray vibe.
Milky Gray and Chrome Accents
Chrome powder can add a futuristic, high-fashion edge to milky gray nails.
What you’ll need:
- Milky gray nail polish
- Base coat and top coat
- Chrome powder (silver, iridescent, or rose gold are great choices)
- A silicone tool or eyeshadow applicator for buffing
- A sticky (no-wipe) top coat for applying the chrome
How to achieve it:
- Prep and paint: Apply 2 coats of milky gray polish and ensure they are completely dry.
- Apply sticky top coat: Apply a thin layer of no-wipe top coat over the entire nail. Don’t cure it yet, or if using gel, cure it according to product instructions and then apply a second layer of no-wipe top coat and cure that.
- Buff the chrome: While the top coat is still a little sticky (or after curing the no-wipe top coat), take a small amount of chrome powder on your applicator and buff it into the nail surface. You want to achieve a smooth, metallic reflection.
- Clean up and seal: Gently brush away any excess chrome powder from the edges. Apply a final layer of regular top coat (over the chrome) to seal it in and prevent chipping. For gel, cure the final top coat.
You can apply chrome to all nails, just an accent nail, or even create a gradient effect. Silver or iridescent chrome looks particularly stunning against milky gray.
Abstract Lines and Swirls
This is where creativity shines! Abstract designs are forgiving and look incredibly artistic.
What you’ll need:
- Milky gray nail polish
- Base coat and top coat
- Black, white, or metallic nail art polish/paint
- A fine-tipped nail art brush or a toothpick
How to achieve it:
- Prep and base: Paint your nails with 2 coats of milky gray polish and let them dry thoroughly.
- Create the design:
- Lines: Dip your fine brush into black, white, or metallic polish. Carefully draw thin, uneven, or geometric lines across your nails. Don’t aim for perfection; asymmetry is key to looking artistic.
- Swirls: Use the brush or toothpick to create delicate, flowing swirls. You can layer different colors for depth.
- Let it dry: Ensure your art is completely dry before the next step.
- Seal the deal: Apply a generous layer of top coat to protect your design.
Experiment with different colors and patterns! Thin black lines offer a graphic contrast, while gold or silver add a touch of luxury.
Milky Gray with Matte Finish
A matte top coat can give milky gray a sophisticated, velvety texture that looks incredibly chic and modern.
What you’ll need:
- Milky gray nail polish
- Base coat
- Matte top coat
How to achieve it:
- Prep and paint: Apply 2 coats of milky gray polish, ensuring each layer is dry.
- Apply matte top coat: Once the color is fully dry, apply the matte top coat evenly. This will transform the shiny finish into a soft, matte texture.
This finish is particularly beautiful for fall and winter, giving a cozy yet elegant feel. It’s a subtle change that makes a big impact.
Choosing Your Perfect Milky Gray Shade
Not all milky grays are created equal! The subtle undertones can make a big difference in how the color looks on you.
Understanding Undertones
Milky gray can lean in a few different subtle directions:
- Cool-toned (Blue Undertones): These shades have a hint of blue, making them appear more silvery or ash-like. They are often very flattering on cooler skin tones.
- Warm-toned (Slightly Beige/Greige Undertones): These grays have a touch of brown or beige, making them warmer and more muted. They can be universally flattering and look almost like a soft greige.
- Neutral Undertones: These are the most balanced, sitting perfectly between cool and warm.
Pro Tip: When selecting a polish, look at the color in natural daylight. This will give you the best idea of its true undertone.
Considering Skin Tone
While milky gray is generally forgiving, a little consideration for your skin tone can help you find the absolute best match.
Fair to Light Skin: Lighter, more ash-toned or blue-leaning milky grays can look stunning, almost like a soft chalky finish. A light greige-milky gray also works beautifully without washing you out.
Medium to Olive Skin: Deeper milky grays with warmer or neutral undertones tend to be most flattering. A slightly more opaque milky gray can really make a statement.
Dark to Deep Skin: Richer, almost smoky milky grays with a hint of warmth or deep neutral undertones can be breathtaking. An iridescent chrome over a deep milky gray is also a showstopper.
Finish Matters: Crème vs. Sheer
The finish of your milky gray polish also impacts the look:
- Crème: Opaque, smooth, and consistent color. This is your go-to for a solid, elegant milky gray look.
- Semi-Sheer/Jelly: These polishes have a translucent quality, allowing some of your natural nail to show through. They give a softer, more “milky” appearance and are perfect for a subtle, delicate manicure or for creating ombre effects.
For beginners, a crème finish is often the easiest to work with for a full-color application.
| Polish Finish | Pros | Cons | Best For |
|---|---|---|---|
| Crème (Opaque) | Even coverage, easy to achieve uniform color, good opacity in 2 coats. | Can sometimes look too stark if not a true “milky” shade. | Solid color manicures, French tips, nail art bases. |
| Semi-Sheer / Jelly | Soft, luminous, elegant “milky” effect, builds color gradually, forgiving with streaks. | May require 3+ coats for full opacity, can show nail imperfections. | Subtle manicures, gradient looks, layering over other colors. |
Nail Care Tips for Healthy Milky Gray Nails
To keep your milky gray nails looking their best, proper nail care is essential! Healthy nails are the perfect canvas for any color.
Prep is Key
Before any polish application, ensure your nails are:
- Clean: Free of any lotion, oil, or old polish. Use nail polish remover to wipe down nails before applying polish.
- Dry: Polish adheres best to dry nails. Avoid applying polish immediately after washing your hands, as nails absorb water and can swell, leading to premature chipping as they dry and shrink.
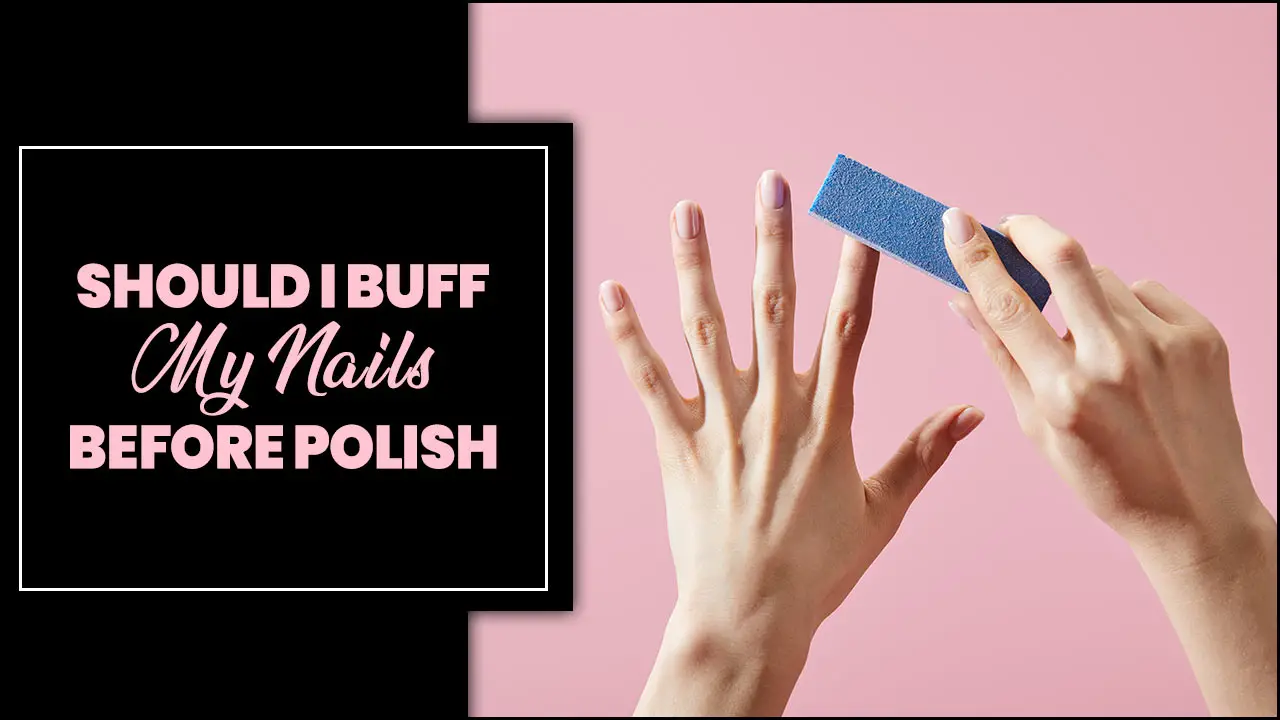
- Smooth: Gently buff away any ridges with a fine-grit buffer. This helps polish go on smoothly.
- Cuticle Care: Gently push back your cuticles using an orange stick or a cuticle pusher. Avoid cutting cuticles unless absolutely necessary, as they protect your nail bed from infection. For more on cuticle care safety, check out American Academy of Dermatology guidelines.
Protect Your Mani
Want your milky gray polish to last? Here’s how:
- Always use a base coat: It prevents staining and provides a grippy surface for your polish.

