Micro rhinestone nails are a dazzling way to add sophisticated sparkle to your manicure. These tiny, shimmering gems can elevate any nail design, from minimalist chic to glamorous statements, with their intricate beauty and versatile application. Learn the essential designs and simple techniques to master this trending look right at home!
Hey Nail Lovers! Are you ready to add some serious sparkle to your fingertips? If you’ve been eyeing those stunning, jewel-encrusted nails but thought they were too complicated to try yourself, think again! Micro rhinestone nails are super popular right now, and for good reason. They look incredibly elegant and can totally transform a simple mani into something breathtaking.
Sometimes, the most beautiful things are also the easiest to achieve. We all want nails that make us feel fabulous, but complicated designs can feel a bit daunting, right? Don’t worry! This guide is all about making micro rhinestone nail art accessible and fun for everyone. We’ll break down everything you need to know, from the best designs to the simplest how-tos, so you can get that salon-worthy sparkle without the fuss.
Get ready to discover how simple it can be to create these dazzling looks and express your unique style. Let’s dive into the world of micro rhinestone magic!
What Are Micro Rhinestones and Why Are They Trending?
Micro rhinestones are essentially very tiny, faceted crystals or gems designed specifically for nail art. Think of them as super-miniature versions of the bling you might see on jewelry or evening wear. They’re incredibly versatile and can be applied in countless ways to add a touch of glamour, sophistication, and unique flair to any manicure.
Their trendiness comes from a few magical qualities:
- Subtle Glamour: Unlike larger gems, micro rhinestones offer an elegant shimmer rather than an overpowering sparkle. They catch the light beautifully without being too flashy, making them perfect for everyday wear or special occasions.
- Versatility: They can be used to create delicate patterns, highlight specific nail features, or add a subtle edge to solid colors. Whether you love minimalist looks or maximalist designs, micro rhinestones can fit right in.
- Affordability & Accessibility: Compared to intricate hand-painted designs or professional embellishments, micro rhinestones are relatively inexpensive and easy for anyone to use with basic nail art tools.
- DIY-Friendly: With a few simple tools and techniques, anyone can achieve stunning results at home, making them a fantastic option for budget-conscious beauty enthusiasts.
Essential Tools for Micro Rhinestone Nail Art
Before we get to the gorgeous designs, let’s talk about what you’ll need to make these tiny treasures stick. Don’t worry, these are pretty standard nail art supplies, easily found online or at beauty stores.
The Must-Haves:
- Micro Rhinestones: Obviously! They come in various colors (clear, AB, iridescent, pastels, metallics) and shapes (round is most common for micros). Get a variety pack to play with.
- Nail Glue or Top Coat: For securing your gems. A good quality nail glue specifically for application is best for longevity. A sticky top coat layer can also work for temporary placement or smaller designs.
- Precision Tweezers or Wax Pencil: This is key for picking up and placing those itty-bitty stones precisely. Tweezers with fine, angled tips are excellent, or a dedicated wax pencil tool can be surprisingly effective and less prone to sticking.
- Dotting Tool: Great for picking up stones but also for placing small dots of glue or top coat precisely where you want a rhinestone.
- Base Coat & Top Coat: To protect your natural nails and seal in your design, ensuring longevity and shine.
- Your Favorite Nail Polish Color: The canvas for your sparkly art!
- Optional: Nail Art Brush: A fine-tipped brush can help move small amounts of polish or clear gel.
How to Secure Your Rhinestones
The secret to long-lasting micro rhinestone nails is proper application. Here’s the breakdown:
- Prep Your Nails: Start with clean, dry nails. Apply your base coat and favorite polish. Let the final coat of polish dry until it’s slightly tacky but not fully cured. This tackiness can help adhere smaller stones temporarily. For more permanent adhesion, you’ll apply a dot of glue or top coat.
- Base Application:
- For Nail Glue: Using your dotting tool or the tip of a toothpick, place a tiny dot of nail glue where you want the rhinestone. Work on one stone at a time.
- For Top Coat/Gel: Apply a small, controlled dot of a thick, non-wiping top coat or builder gel to the desired spot on your dried polish. You don’t want it to spread too much.
- Place the Rhinestone: Using your precision tweezers or wax pencil, gently pick up a single micro rhinestone. Carefully place it onto the dot of glue or top coat you applied. Press down very gently to ensure it adheres.
- Seal the Deal:
- With Nail Glue: Once the glue is dry (usually a minute or two), you can carefully go around the edges of the rhinestone with a thin layer of top coat for extra security, being careful not to cover the stone’s facets.
- With Top Coat/Gel: If using a regular top coat, carefully outline the rhinestone with a thin layer of top coat, again avoiding the facets. If using a UV/LED gel, cure it according to the product instructions after placing all your stones. Then apply a final layer of top coat over the design, being careful to float it over the stones and not flood them. For ultimate durability, you can carefully apply top coat using a small brush only around the base of each rhinestone.
Remember to work in small sections, especially if using regular top coat, as it can dry quickly. For gel polish users, placing all your rhinestones first and then applying a top coat that you can cure under a lamp will give you the most durable results.
Stunning Micro Rhinestone Nail Designs for Beginners
Ready to get creative? These designs are perfect for kicking off your micro rhinestone journey. They’re simple, impactful, and totally achievable!
1. The Accent Nail Sparkle
This is the easiest way to dip your toes into rhinestone art. Pick one nail (usually the ring finger) and let it be the star.
- How-to: On a fully dried polish color, apply a small dot of glue or top coat to the center of the accent nail. Place a single, slightly larger micro rhinestone (or a small cluster of tiny ones) right in the center. You can also arrange a few stones in a line or a small geometric shape.
- Why it works: It’s minimal, elegant, and a great way to practice placement without overwhelming yourself. It adds just enough shimmer to be noticeable.
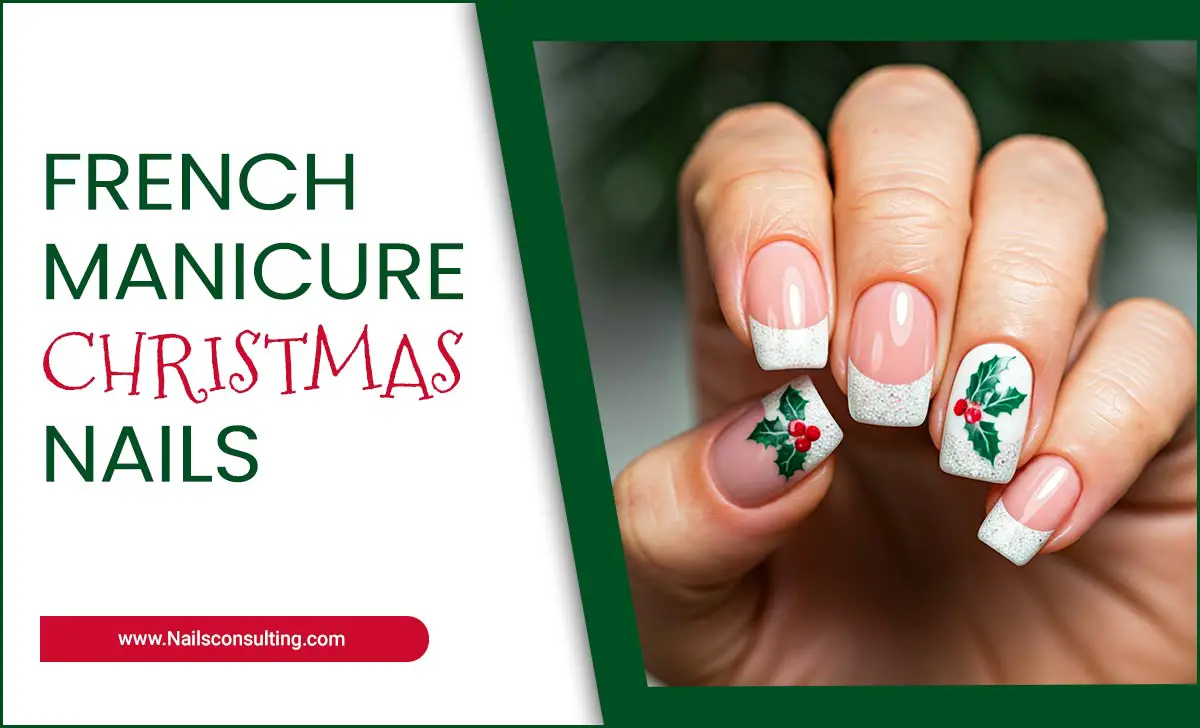
2. The French Tip Upgrade
Give a classic French manicure a dazzling twist.
- How-to: Once your French tips are painted and dry, apply a very fine line of clear top coat or nail glue along the white (or colored) tip. Carefully place small micro rhinestones along this line, either spaced out or placed closely together in a continuous row.
- Why it works: It’s sophisticated and adds a subtle sparkle that catches the eye. It’s a perfect way to elevate a timeless look.
3. The Subtle Scatter
This design looks like your nails have been dusted with fairy dust.
- How-to: On your finished, dried nail polish, apply a few random, tiny dots of top coat or glue across the nail. Use your tweezers to pick up individual micro rhinestones and place them onto the dots. Less is more here; you want a light, airy feel.
- Why it works: It’s effortless yet chic. The scattered effect is playful and adds just a hint of sparkle without being heavy.
4. The Vertical Line Accent
A minimalist approach that packs a punch.
- How-to: On a fully dried nail, use a dotting tool or a fine brush to draw a thin, straight vertical line down the center of your nail using clear top coat or nail glue. Carefully place micro rhinestones along this entire line.
- Why it works: This creates a sleek, modern look that elongates the nail. It’s simple and makes a statement.
5. The Corner Embellishment
A touch of sparkle at the cuticle or the tip.
- How-to: Apply a small cluster of tiny rhinestones right at the cuticle line, or along the free edge of the nail, in a small arc or triangle shape. Use your glue or top coat method.
- Why it works: This draws attention to the nail shape and adds a delicate, jewel-like detail.
Intermediate Micro Rhinestone Designs to Try
Once you’re comfortable with the basics, these designs will take your nail art skills to the next level!
1. The Full Ombré Sparkle
A gradient of shimmer that fades beautifully.
- How-to: Start with a base color. On the tip of the nail, densely pack micro rhinestones close together. As you move down the nail towards the cuticle, gradually decrease the number of rhinestones and increase the spacing. You can use different sizes for a more blended look. Secure with top coat around each stone or a full cure if using gel.
- Why it works: This creates a visually stunning effect that’s incredibly eye-catching and sophisticated.
2. Geometric Patterns
Create sharp, modern designs with precision.
- How-to: Paint your base color and let it dry completely. Plan your geometric design – think triangles, squares, or intersecting lines. Apply tiny dots of glue or top coat along the lines of your planned pattern. Use tweezers to carefully place the micro rhinestones to form the shapes. You can outline shapes or fill them in.
- Why it works: Geometric patterns are always in style, and rhinestones add a luxurious texture and dimension to them. For inspiration, consider geometric patterns in architecture or jewelry design.
3. Flower Power or Constellations
Get creative with arrangements.
- How-to: Think of a simple shape you want to create, like a small flower (a central stone surrounded by a few others) or a cluster of stars to mimic a constellation. Apply your glue/top coat dots first in the shape of your design, then place the rhinestones.
- Why it works: This adds a personal touch to your manicures. You can recreate floral motifs, star patterns, or even abstract art.
4. The Full Nail Bed Cover
All-out glam for a special occasion.
- How-to: This requires patience! For each nail, apply a thin layer of clear builder gel or a strong nail glue over the entire nail surface, working in sections. Immediately press a dense covering of micro rhinestones into the gel/glue. You may need to carefully push them into place to ensure they are flat and even. Once all stones are in place, cure under a UV/LED lamp if using gel. Then, carefully apply a top coat around the edges and between stones to secure everything. This technique is often best done in layers or with the help of professional products designed for full-nail embellishments.
- Why it works: This creates a truly show-stopping, high-impact look that guarantees you’ll turn heads. It’s the ultimate statement manicure.
Tips for Long-Lasting Micro Rhinestone Nails
You’ve got the designs, you’ve got the tools, now let’s make sure your sparkle lasts!
- Use Quality Glue: Invest in a good nail glue specifically designed for embellishments. For gel manicures, builder gel is your best friend for strong adhesion.
- Work in Small Sections: Especially if using regular top coat, don’t try to apply glue or top coat to the entire nail at once. Focus on a few spots at a time to prevent the adhesive from drying out.
- Avoid Flooding: When applying top coat, be careful not to get too much product on the stones themselves, as this can dull their shine and make them look messy. Try to “cap” the edges of the stones with top coat rather than covering the entire surface.
- Be Gentle: Avoid picking at your nails or using them as tools. This is the quickest way to dislodge rhinestones.
- Protective Top Coat: After applying stones with nail glue, a thin layer of top coat carefully applied around the stones can add an extra layer of protection without obscuring their sparkle.
- Consider Pro Products: If you’re serious about Rhinestone application and longevity, explore specialized nail art adhesives and top coats designed for this purpose. For gel users, a non-wiping top coat is often preferred as it leaves a sticky residue that can be messy if not handled carefully around stones.
- Maintenance: If a stone does come loose, don’t despair! You can often reapply it with a tiny dot of nail glue.
Micro Rhinestone Nail Design Inspiration Table
Looking for more ideas? This table offers a quick visual guide to different styles and their effects.
| Design Style | Description | Best For | Effort Level | Visual Effect |
|---|---|---|---|---|
| Accent Nail Single Stone | One or two rhinestones placed strategically on one nail. | Beginners, minimalist lovers. | Easy | Subtle, elegant shimmer. |
| French Tip Border | Micro rhinestones applied along the French tip line. | Classic style lovers, adding a touch of glam. | Easy to Intermediate | Sophisticated sparkle, polished finish. |
| Scattered Pixie Dust | Randomly placed tiny rhinestones across the nail. | Playful, ethereal look, natural feel. | Easy | Dainty, diffused sparkle. |
| Vertical Line | A single line of rhinestones down the center or side of the nail. | Modern, sleek aesthetics, elongating nails. | Intermediate | Chic, geometric, elongating. |
| Full Nail Ombré | Density of rhinestones fades from tip to cuticle. | Glamorous events, statement manis. | Intermediate to Advanced | Eye-catching, luxurious gradient. |
| Geometric Shapes | Rhinestones forming precise patterns like triangles or grids. | Edgy, contemporary style, artistic expression. | Intermediate | Sharp, structured, modern luxury. |
| Full Nail Cover | Entire nail surface covered in rhinestones. | Maximum impact, red carpet ready. | Advanced | Dazzling, full-on bling. |
Pros and Cons of Micro Rhinestone Nails
Like any trend, there are things to love and things to consider!
The Pros:
- Elevates Any Look: Instantly adds a touch of luxury and sophistication.
- Versatile: Can be used for subtle accents or bold statements.
- DIY-Friendly: Many designs are achievable at home with practice.
- Affordable: Micro rhinestones themselves are budget-friendly.
- Expressive: Allows for a lot of creativity and personalization.
- Glam Factor: Perfect for special occasions like weddings, parties, or holidays.
The Cons:
- Can Be Fiddly: Small size requires patience and steady hands.
- Longevity Issues: If not applied properly, stones can fall off easily.
- Catching on Things: Especially if applied as a full cover, they can snag on clothing or hair.
- Application Time: More intricate designs can be time-consuming.
- Removal: Can sometimes be trickier than a standard polish removal if adhered with strong glue or gel.
<h2 id

