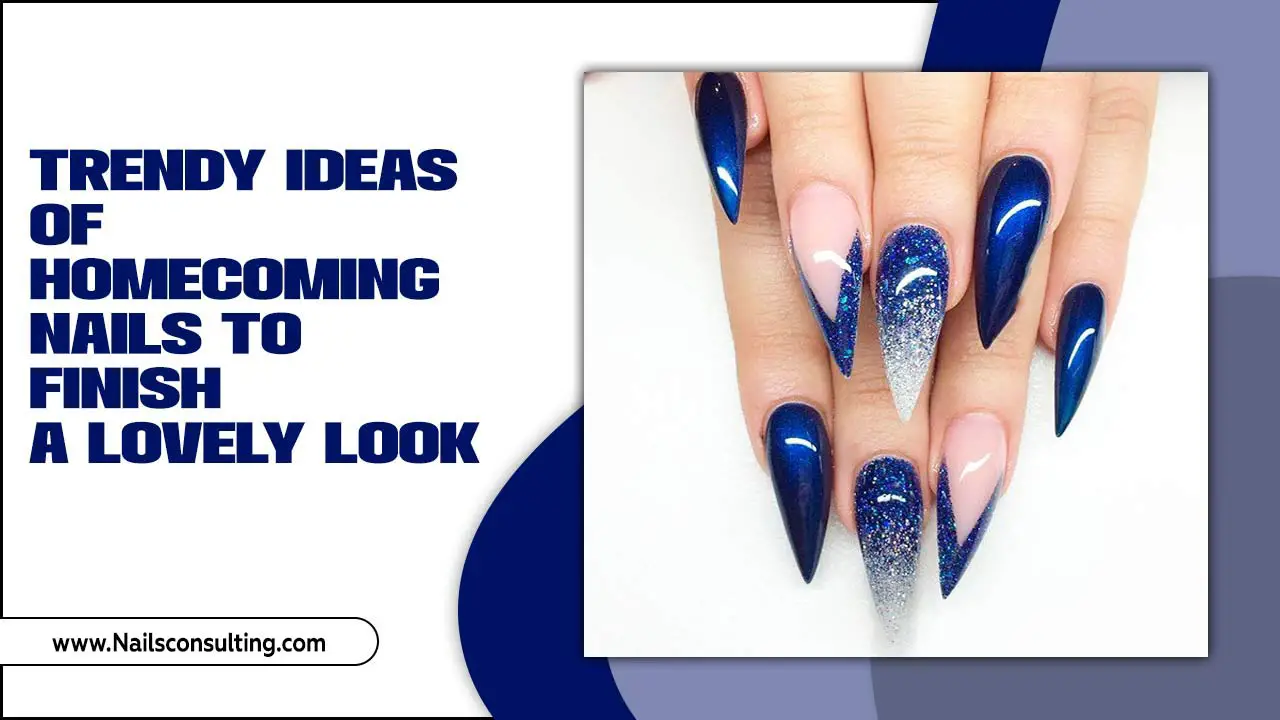
Get ready for dazzling nails! Metallic chrome nail designs with glitter are the perfect way to add essential sparkle and a futuristic, high-shine finish to your manicure. Perfect for beginners, this guide breaks down how to achieve this stunning look easily, combining the sleekness of chrome with the fun of glitter for a truly eye-catching effect.
Dreaming of nails that catch the light and turn heads? Metallic chrome and glitter are a match made in nail heaven! This glamorous combination offers a super-sleek, sophisticated look that’s surprisingly easy to recreate at home. Are you tired of looking at nail photos and thinking, “I could never do that?” Well, get ready to be wowed, because we’re about to make those stunning chrome and glitter nails a reality for YOU. From choosing the right tools to perfecting the application, this guide will walk you through every shimmering step.
The Magic Duo: Why Chrome and Glitter Belong Together
Metallic chrome nails offer a mirror-like, ultra-smooth finish that feels incredibly modern and chic. When you pair this futuristic shine with the playful sparkle of glitter, you create a multi-dimensional effect that’s simply captivating. It’s like giving your nails a cosmic makeover! This dynamic duo works beautifully because the smooth, reflective surface of the chrome acts as the perfect backdrop for glitter to truly pop, creating a look that’s both elegant and fun. Whether you prefer a subtle hint of sparkle or a full-on disco ball effect, this combination is versatile and always a showstopper.
Think of it this way: chrome gives you that sleek, liquid-metal vibe, while glitter adds the dazzling personality. Together, they give your nails depth, dimension, and an undeniable wow factor. It’s no wonder this trend has taken the nail world by storm! The best part? It’s totally achievable for anyone, no matter your nail art experience.
Gather Your Glittering Arsenal: Essential Tools & Supplies
Before we dive into the fun part, let’s make sure you have everything you need for your metallic chrome and glitter nail adventure. Don’t worry, most of these items are standard for any gel manicure, and the specialized ones are easy to find online or at your local beauty supply store!
Must-Have Tools:
- UV/LED Nail Lamp: Essential for curing gel polish and chrome powder. A good lamp ensures your polish sets properly for a durable, high-shine finish.
- Gel Base Coat: Creates a smooth canvas and helps your gel polish adhere.
- Gel Color Polish: Your base color. White or black often works best for making chrome colors pop, but any color can be a fun base!
- Gel Top Coat: Seals everything in and provides that glossy finish. Make sure it’s a no-wipe top coat for chrome powder application.
- Chrome Powder/Pigment: This is the magic ingredient for that mirror-like finish. It comes in various metallic shades like silver, gold, rose gold, and even iridescent colors.
- Silicone Applicator Tool or Eyeshadow Sponge: For smoothly buffing the chrome powder onto your nails.
- Glitter: Choose your favorite type! Fine cosmetic-grade glitter is great for a subtle shimmer, while chunkier glitter can create a bolder statement. Loose glitter or glitter polish both work well.
- Detail Nail Art Brush (Optional): For precise glitter placement if you’re going for a specific design.
- Rubbing Alcohol or Gel Cleanser: For wiping away the sticky layer of uncured gel before applying chrome (if using a non-no-wipe top coat for the base color), and for cleaning up.
- Nail File & Buffer: To shape your nails and prep the surface.
- Cuticle Pusher & Oil: For neat, clean nail beds.
Where to Find Your Sparkle:
You can find these supplies at most beauty supply stores like Ulta or Sally Beauty, or online retailers such as Amazon or dedicated nail art supply websites. For example, reputable online nail supply stores offer a wide range of professional-grade chrome powders and glitters specifically designed for nail art.
Step-by-Step Sparkle: Your Chrome & Glitter Manicure Guide
Ready to transform your nails? Follow these simple steps to achieve that dazzling metallic chrome and glitter effect. We’ll break it down so it feels totally doable!
Step 1: Prep Your Canvas
First things first, we need a clean, smooth nail surface. This is the foundation for any great manicure!
- Gently push back your cuticles using a cuticle pusher.
- Shape your nails with a nail file to your desired length and form.
- Lightly buff the surface of your nails with a buffer to remove any shine. This helps the gel polish adhere better.
- Cleanse your nails with rubbing alcohol or a nail cleanser to remove any dust or oils.
Step 2: The Base Layer
Now, let’s set the stage for that incredible chrome finish.
- Apply a thin layer of your gel base coat.
- Cure this layer under your UV/LED lamp according to the manufacturer’s instructions (usually 30-60 seconds).
- Apply your chosen gel color polish. A black or white base often provides the most dramatic effect for chrome, but feel free to experiment!
- Cure this color coat. You might need two coats for full opacity, curing each one separately.
Step 3: The Chrome Magic
This is where the mirror effect happens!
- Apply a thin layer of a no-wipe gel top coat. This is crucial! A regular top coat with a sticky inhibition layer will prevent the chrome powder from adhering properly.
- Cure this no-wipe top coat under your UV/LED lamp.
- Dip your silicone applicator tool or sponge into the chrome powder.
- Gently but firmly, start buffing the powder onto the cured no-wipe top coat. Work in small circular motions. You’ll see the mirror effect start to appear! Cover the entire nail surface.
- Once you have an even, high-shine chrome finish, gently brush away any excess powder with a soft brush.
Step 4: Adding the Glitter Glam
Time to bring in the sparkle! Here are a few ways to add glitter:
Option A: Glitter Accent Nail
If you want one or two nails to be extra sparkly:
- On the nails you want to add glitter to, apply a thin layer of gel top coat (it doesn’t have to be no-wipe for this step).
- While the top coat is still wet and uncured, carefully apply your desired glitter. You can use a detail brush to place it precisely or gently dust it on.
- Cure the nail under your UV/LED lamp.
Option B: Glitter Ombre
For a beautiful gradient effect:
- Apply a thin layer of gel top coat to the nails you want to ombre.
- Start applying glitter with a brush from the tip of the nail downwards, using less glitter as you move towards the cuticle. This creates a fading effect.
- Cure the nail.
Option C: Glitter Polish Overlay
For a subtle, all-over shimmer:
- Apply a layer of clear gel polish or a gel top coat.
- Add a sheer glitter gel polish over the top, or mix fine glitter into a clear gel to control the sparkle level.
- Cure the nail.
Step 5: Seal & Shine
We’re almost there! Let’s lock in that gorgeous design.
- Apply a final layer of gel top coat over all your nails, including the glitter accents. This smooths out any texture and creates a protective, high-gloss finish.
- Cure this final top coat under your UV/LED lamp.
- Wipe away any remaining sticky residue with rubbing alcohol or a gel cleanser.
- Apply cuticle oil to rehydrate your skin around the nails.
Pro Tips for Peak Sparkle
Want to take your metallic chrome and glitter nails from good to absolutely breathtaking? Here are a few insider tips from my nail-lovers’ toolkit:
- Less is More with Chrome: It’s tempting to go heavy on the chrome powder, but a thin, even layer buffs out much smoother and looks more professional.
- Work in a Well-Ventilated Area: Chrome powders can be very fine and tend to fly everywhere!
- Clean Your Tools: Make sure your silicone applicator or sponge is clean before dipping into pigment to avoid color contamination.
- No-Wipe Top Coat is Your Best Friend: Seriously, don’t skip this for the chrome step! It makes all the difference. If you accidentally use a sticky top coat, you might need to carefully cleanse the uncured layer with alcohol before applying chrome, but the no-wipe method is fool-proof. For more information on gel nail application, you can refer to resources from nail industry professionals, which often detail the importance of specific top coats for various effects.
- Glitter Placement is Key: Think about where you want the glitter to draw attention. Near the cuticle? Just on the tips? A full sparkle bomb? You decide!
- Seal Glitter Well: If you have chunky glitter, you might need two layers of top coat to ensure it’s fully encased and smooth.
- Practice Makes Perfect: Don’t be discouraged if your first try isn’t flawless. Every nail artist has had to practice!
Chrome and Glitter: A Trend Worth Trying
The combination of metallic chrome and glitter isn’t just a fleeting trend; it’s a style statement that offers endless possibilities. It’s a way to express your personality and add a touch of glamour to your everyday or special occasions.
The Versatility of the Duo
What makes this pairing so brilliant is its adaptability. You can go for:
- Full Glam: Cover all nails in a vibrant chrome and sprinkle glitter generously.
- Chic & Subtle: Opt for a nude or pastel chrome base with a fine, iridescent glitter dusted over the top.
- Accent Pop: Keep most nails a classic chrome and add a single glitter-bomb accent nail.
- Themed Nails: Imagine a rose gold chrome with subtle pink glitter for a romantic look, or a silver chrome with blue glitter for a futuristic vibe.
Durability and Maintenance
When applied correctly with gel products, chrome and glitter manicures are incredibly durable. Gel polish is known for its chip-resistance and long-lasting shine, making these designs perfect for busy lifestyles. To keep them looking their best:
- Avoid using harsh household cleaners without gloves.
- Don’t use your nails as tools!
- Keep cuticles moisturized with oil to maintain overall nail health.
Comparison Table: Glitter Application Techniques
Here’s a quick look at different ways to incorporate glitter into your chrome design:
| Technique | Description | Best For | Ease for Beginners |
|---|---|---|---|
| Glitter Accent Nail | Applying glitter to one or two specific nails. | Adding a focal point without overwhelming the design. | Easy |
| Glitter Ombre | Creating a smooth gradient of glitter from tip to cuticle. | A sophisticated, blended look. | Moderate |
| Full Glitter Coverage | Applying glitter over the entire nail. | Maximum sparkle and statement nails. | Easy to Moderate (depending on glitter size) |
| Glitter Polish Overlay | Using a glitter top coat or polish. | Subtle shimmer and ease of application. | Very Easy |
Frequently Asked Questions (FAQs)
Q1: Can I do chrome nails without gel polish?
Unfortunately, traditional nail polish doesn’t provide the necessary sticky surface for chrome powder (or the curing ability) to adhere properly and achieve that mirror-like finish. Gel polish is essential for the best chrome results.
Q2: What’s the difference between chrome powder and glitter?
Chrome powder is a fine pigment that creates a smooth, reflective, mirror-like surface when buffed onto a gel top coat. Glitter, on the other hand, consists of small reflective particles that add sparkle and texture, rather than a solid, reflective finish.
Q3: How do I avoid streaks when applying chrome powder?
Ensure you’re using a no-wipe gel top coat and curing it fully. Then, apply the chrome powder in small, firm, circular motions using your applicator. Buff until the desired shine is achieved, ensuring even coverage. Sometimes, a second thin layer of chrome powder can help fix minor streaks.
Q4: Can I put glitter over regular nail polish?
Yes, you can definitely put glitter over regular nail polish! Apply glitter polish directly, or while a clear top coat is still wet. However, it won’t have the same durability or high-shine finish as a gel manicure, and the glitter might be more prone to snagging.
Q5: How do I remove gel chrome nails?
Gel chrome nails are removed similarly to regular gel polish. You’ll typically soak them in acetone for about 10-15 minutes or use foil wraps with acetone-soaked cotton pads. Gently scrape away the softened gel with an orangewood stick or cuticle pusher. Be patient to avoid damaging your natural nails.
Q6: My chrome powder isn’t sticking. What am I doing wrong?
The most common reason is using a regular gel top coat that leaves a sticky inhibition layer or not curing your no-wipe top coat for long enough. Double-check that your top coat is indeed “no-wipe” and ensure your UV/LED lamp is functioning correctly and curing time is adequate.
Conclusion: Your Sparkle Awaits!
And there you have it! Your comprehensive guide to creating stunning metallic chrome nail designs with glitter. We’ve covered everything from the essential tools to the step-by-step process, along with tips to ensure your manicure shines bright. This trend is all about embracing a glamorous, high-shine look that’s both sophisticated and fun. Remember, nail art is a journey, and the most beautiful designs come from experimenting and enjoying the process. So, grab your supplies, get creative, and let your nails sparkle and shine. You’ve got this!


