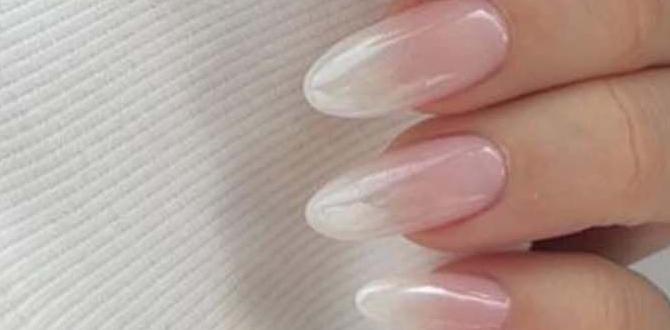
Mermaidcore nails are a magical way to bring ocean vibes to your fingertips! Think shimmering scales, iridescent colors, and aquatic accents for a truly enchanting manicure. They’re surprisingly easy to achieve at home and perfect for adding a touch of fantasy to any look.
Ever scrolled through social media and seen those jaw-dropping manicures that look like they belong to a mythical sea creature? Those are mermaidcore nails, and guess what? You can totally create them yourself! It might seem tricky, but with a few simple steps and the right supplies, your nails can transform into shimmering ocean treasures. Let’s dive in and create some magic!
What Exactly Are Mermaidcore Nails?
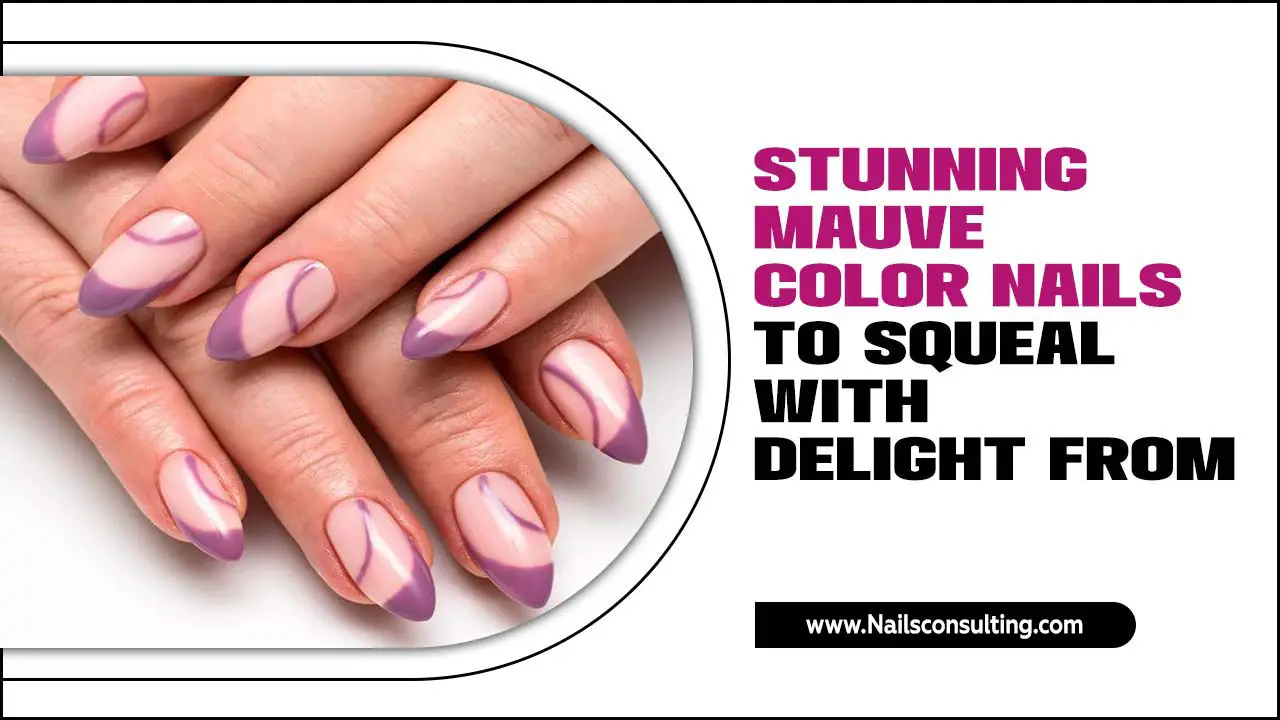
Mermaidcore nails capture the ethereal beauty and mystery of the ocean. They blend whimsical sea-inspired elements with a touch of glamour. Think about all the magic of the sea: sparkling waters, pearlescent shells, swirling currents, and of course, the shimmering scales of a mermaid’s tail. Mermaidcore nails aim to embody all of this on your fingertips!
This trend isn’t just about one specific design. It’s a whole vibe! It can include:
- Iridescent and holographic finishes that shift colors like a sea shell.
- Shades of aqua, teal, seafoam green, pearly white, and deep ocean blue.
- Accents like tiny pearls, glitter, holographic flakes, or even 3D shell charms.
- Ombre effects mimicking the gradient of the ocean.
- Designs that resemble fish scales or bubbly water.
The great thing about mermaidcore nails is their versatility. You can go for a subtle, everyday shimmer, or a full-on fantastical look. It’s all about expressing your inner sea goddess!
Why Are Mermaidcore Nails So Popular?
Mermaidcore nails have surged in popularity for several reasons. They offer a unique blend of fantasy and fashion, allowing for incredible self-expression. In a world that often feels mundane, these nails provide an escape into a magical realm. They’re eye-catching, fun, and instantly lift your mood.
This trend taps into a broader fascination with mythology, fantasy, and the allure of the ocean. Plus, with social media platforms like Instagram and TikTok, these visually stunning manicures are easily shared and replicated, fueling their widespread appeal. They also offer a fantastic way to experiment with color and texture that you might not usually try in your everyday wardrobe.
Essential Tools and Supplies for Mermaidcore Nails
Getting those stunning mermaidcore nails at home is easier than you think! Here’s a breakdown of what you’ll need. Don’t worry, most of these are pretty standard nail art supplies you might already have, or they’re easy to find!
The Foundation: Base and Top Coat
Every great manicure starts with a solid base. These are non-negotiable for a long-lasting and professional-looking finish.
- Base Coat: This protects your natural nails from staining and helps your polish adhere better.
- Top Coat: A good top coat seals your design, adds shine, and prevents chips. Look for one that offers UV/LED protection if you’re using gel polish, as it can prevent color from yellowing.
The Color Palette: Shimmer and Shine
This is where the mermaid magic truly begins! You’ll want polishes that capture the essence of the sea.
- Iridescent/Holographic Polish: These are your secret weapons. They shift colors in the light, mimicking mermaid scales perfectly.
- Sheer Blues, Teals, and Greens: Perfect for creating watery, ethereal effects.
- Pearlescent White or Pastel Shades: Great for soft, shimmering backgrounds or highlights.
- Glitter Polish: Fine or chunky glitter can add extra sparkle, like light dancing on water.
- Chrome Powder/Flakes: These are amazing for achieving a super-shimmery, metallic, or holographic finish that’s very on-trend.
The Accents: The Mermaid’s Treasures
These little details are what elevate your mermaidcore nails from pretty to breathtaking.
- Tiny Pearls: For that classic shell and oceanic embellishment.
- Rhinestones/Crystals: Clear or AB (aurora borealis) stones add dazzling sparkle.
- Holographic Glitter Flakes: These are small, flat pieces of glitter that catch the light beautifully.
- 3D Shell Charms: For a more dramatic, statement nail.
- Water Decals/Stickers: If intricate freehand art isn’t your thing, decals with mermaid scales, waves, or sea creatures are fantastic.
The Application Tools: Precision and Ease
Having the right tools makes all the difference when applying your designs.
- Nail Art Brushes: A fine-tip brush is essential for drawing details, lines, or small accents.
- Dotting Tools: Great for placing tiny pearls or creating small dots.
- Tweezers: Crucial for picking up small embellishments like pearls and rhinestones.
- Sponge (for Ombre): A makeup sponge or a dedicated nail art sponge can create seamless color blends.
- UV/LED Lamp: If you’re using gel polish or gel-based chrome powders, this is essential for curing. You can find affordable options online.
- Alcohol Wipes or Cleanser: For cleaning up the nail surface and removing the sticky layer of gel polish.
DIY Mermaidcore Nail Designs: A Step-by-Step Guide
Ready to create your own aquatic masterpiece? Here are a few beginner-friendly designs you can master. We’ll cover a classic iridescent scaled look and a dreamy watery ombre.
Design 1: Iridescent Mermaid Scales
This is the iconic mermaid look that everyone loves!
What You’ll Need:
- Base coat
- Your chosen base color polish (e.g., a sheer blue, teal, or white)
- Iridescent or holographic powder/flakes
- Top coat
- Fine-tip nail art brush or silicone tool
- Optional: Small accent pearls or rhinestones
Steps:
- Prep Your Nails: Start with clean, dry nails. Apply a thin layer of base coat and let it dry completely.
- Apply Base Color: Paint your nails with your chosen base color. For a more ethereal look, one or two thin coats of a sheer shade work beautifully. Let it dry thoroughly. If using gel polish, cure it under your UV/LED lamp.
- Apply Iridescent Powder: This is the magic step!
- For Regular Polish: Once your base color is completely dry but still slightly “tacky” (not fully hardened), gently rub the iridescent powder over the nail surface with your finger or a makeup applicator. You might need to build up the color.
- For Gel Polish: Apply a gel top coat (a “no wipe” top coat is best) and cure it. Then, gently rub the iridescent powder over the cured top coat. It will adhere to the sticky surface.
- Create the Scales: Dip your fine-tip nail art brush into a contrasting color (like a slightly darker or lighter shade of your base color, or even white/black for definition).
- Method A (Freehand): Carefully paint small, overlapping arch shapes along the edge or side of your nail to mimic scales. Don’t worry if they aren’t perfect – organic shapes look natural!
- Method B (Using Powder Again): You can take a small amount of iridescent powder on a dry detail brush and use it to “draw” scale outlines.
- Add Accents (Optional): Use your dotting tool or tweezers to place tiny pearls or a few small rhinestones near the cuticle or at the base of the scales for extra sparkle.
- Seal the Deal: Apply a generous layer of top coat. Be sure to cover the entire nail, including the edges and any applied powder or embellishments, to lock everything in place. Cure gel polish again if using.
- Final Touches: Clean up any polish on your skin with a brush dipped in nail polish remover.
Design 2: Dreamy Watery Ombre
This look is all about smooth transitions of oceanic shades.
What You’ll Need:
- Base coat
- Two or three nail polishes in complementary shades of blue, green, or teal (e.g., light aqua, seafoam green, deep blue)
- A makeup sponge or nail art sponge
- Top coat
- Optional: Fine iridescent glitter
Steps:
- Prep Nails: Apply base coat and let it dry.
- Apply Base Color (Optional but Recommended): Paint your nails with the lightest shade in your gradient. This helps the ombre blend seamlessly. Let dry completely.
- Prepare Your Sponge: Cut a makeup sponge into a few small pieces, or use a nail art sponge. Lightly dampen it (if it’s a very porous makeup sponge).
- Apply Polish to Sponge: Apply stripes of your chosen colors directly onto the sponge, side-by-side, in the order you want them to appear on your nail (lightest to darkest, or vice versa). Work quickly before the polish dries on the sponge.
- Dab Onto Nails: Gently but firmly press the sponge onto your nail, rolling slightly from side to side to transfer the colors. Repeat the dabbing motion to build up the intensity of the blend.
- Repeat for Depth: You can re-apply polish to the sponge and dab again to deepen the ombre effect.
- Add Glitter (Optional): While the last layer of polish is still slightly wet, you can lightly dab some fine iridescent glitter onto the nail for extra shimmer.
- Clean Up Edges: Use a small brush dipped in nail polish remover to clean away any excess polish from your skin around the nail. This is crucial for a clean finish!
- Apply Top Coat: Once the ombre is dry, apply a smooth layer of top coat to seal the design and add shine. If using gel, cure it.
Tips for Achieving Professional-Looking Mermaidcore Nails
Even with a step-by-step guide, a few pro tips can make your DIY nails look salon-perfect. Remember, practice makes progress!
- Thin Coats are Key: Whether it’s base color, polish, or top coat, applying thin, even layers will prevent bulkiness and allow for smoother application, especially with powders and embellishments.
- Allow Drying Time: Resist the urge to rush! Make sure each layer is dry or properly cured before moving to the next step. This is especially important when working with regular polish and iridescent powders.
- Clean Your Brushes: If you’re using nail art brushes for intricate details, clean them immediately after use with nail polish remover or alcohol to keep them in good condition.
- Work in Good Lighting: Good lighting will help you see exactly what you’re doing, ensuring precise application and making it easier to achieve those clean lines and placements of small details.
- Less is More with Embellishments: While it’s tempting to add every sparkly bit, sometimes holding back and focusing on one or two strategic placements (like a few pearls at the cuticle) can look much more elegant and “mermaid-like.”
- Seal Everything Well: A good, solid top coat application is vital for the longevity of your mermaidcore nails, especially for designs with powders, glitters, and charms. Ensure you cap the free edge of your nail to prevent lifting.
Understanding Nail Health for Your Mermaidcore Masterpieces
While we’re all about fabulous nail art, keeping your nails healthy is super important! Happy nails make for the best canvas. Here are some quick tips:
- Moisturize: Keep your cuticles and hands hydrated. Use cuticle oil daily and a good hand cream after washing your hands. This prevents dry, flaky skin around your beautiful nails.
- Take Breaks: If you wear polish constantly, give your nails a break every now and then to “breathe.” This can help prevent them from becoming brittle.
- Gentle Removal: When removing polish, especially gel or glitter, use a good quality remover and be gentle. Avoid scraping or peeling, as this can damage the nail plate. For stubborn glitter, try soaking a cotton ball with remover, placing it on the nail, wrapping with foil, and letting it sit for a few minutes.
- File Correctly: Always file your nails in one direction to prevent splitting and breakage. Avoid sawing back and forth.
For more in-depth nail care advice, resources like the Nails Magazine Health section offer valuable insights from industry professionals.
Mermaidcore Nail Variations to Inspire You
The mermaidcore aesthetic is rich and varied! Beyond the scaled and ombre looks, here are some other ways to bring the ocean to your nails:
Pearlescent Finish Nails
Achieve a soft, milky glow reminiscent of a pearl. This can be done with special pearlescent polishes or by lightly dusting pearl pigment over a white base, then sealing with a top coat. It’s subtle yet incredibly chic.
Iridescent Chrome Nails
Using holographic or iridescent chrome powders gives a high-shine, futuristic effect that’s incredibly popular. This offers an intense color shift and a mirror-like finish.
3D Shell and Charm Accents
For the ultimate statement, incorporate tiny 3D nail charms like seashells, starfish, or pearls. These are usually applied with nail glue or a strong top coat/builder gel and are perfect for accent nails.
“Sea Glass” Nails
This involves using sheer, muted tones of blues, greens, and even pinks, often with a matte finish, to mimic the look of sea glass tumbled by the ocean. It’s a softer, more understated take on the trend.
Bubbles and Water Droplets
You can create realistic-looking water droplets using a clear gel top coat and a detail brush, or use white polish to paint small, abstract bubble shapes for a playful touch.
Mermaidcore Nail Trends and Color Palettes
The beauty of mermaidcore nails is their adaptable color palette. While classic blues and greens dominate, trends are expanding:
| Theme | Dominant Colors | Key Elements | Vibe |
|---|---|---|---|
| Classic Ocean | Aqua, Teal, Deep Blue, Seafoam Green | Scales, Pearls, Glitter | Mysterious, Enchanting |
| Coral Reef Fantasy | Pinks, Oranges, Coral, Iridescent Sheens | 3D Charms, Color Shifts, Holographic Accents | Vibrant, Playful |
| Misty Lagoon | Pastel Blues, Lavender, Iridescent Whites, Sheer Tones | Pearlescent Finish, Fine Glitter, Subtle Shimmer | Ethereal, Dreamy |
| Deep Sea Twilight | Navy, Indigo, Black, Silver/Holographic Accents | Dark Glitter, Metallic Foils, Geometric Scales | Moody, Chic |
When choosing your colors, think about what part of the ocean inspires you most. Is it the sunlit shallows, the mysterious depths, or the vibrant coral reefs? Your answer can guide your perfect mermaidcore palette.
Frequently Asked Questions About Mermaidcore Nails
Q1: Are mermaidcore nails difficult to do at home?
A: Not at all! While some techniques like intricate freehand art can take practice, many mermaidcore effects, like using iridescent powders or water decals, are very beginner-friendly. We’ve covered some easy methods in this guide!
Q2: What kind of polish is best for achieving the iridescent effect?
A: For the most dramatic iridescent or holographic effect, iridescent chrome powders or flakes rubbed over a gel top coat (or slightly tacky regular polish) work best. Specialized iridescent polishes or top coats can also give a beautiful shimmer.
Q3: Can I do mermaidcore nails without a UV/LED lamp?
A: Yes! You can absolutely achieve beautiful mermaidcore nails with regular nail polish. For techniques using powders, ensure your regular polish is dry but still slightly tacky for the powder to adhere. Curing lamps are essential only for gel polish or specific gel-based products.
Q4: How long do DIY mermaidcore nails typically last?
A: With proper application, including a good base and top coat and allowing adequate drying/curing time, regular polish mermaidcore nails can last 5-7 days. Gel mermaidcore nails can last 2-3 weeks.

