Quick Summary: Stunning mature nail design ideas focus on elegance, subtlety, and sophisticated polish. Think chic neutrals, tasteful accents like subtle glitter or delicate lines, and perfectly shaped nails that highlight natural beauty. These styles are about feeling polished and confident, proving age is just a number when it comes to fabulous nails.
Nail trends can change so quickly, and sometimes they feel a bit overwhelming! If you’re looking for nail designs that feel sophisticated and perfectly “you,” you’ve come to the right place. Many women find themselves searching for stylish nail looks that aren’t too flashy but still express their personality. It can be frustrating when all the trendiest ideas seem to be for a much younger crowd. Well, let’s put those worries aside! We’re diving into beautiful, achievable nail design ideas that are perfect for anyone over 40, 40s, 50s, and beyond. Get ready to embrace stunning, mature nail styles that will make you feel amazing!
Embracing Your Beautiful Nails: Why Mature Designs Matter
As we embrace different stages of life, our style evolves. This absolutely includes our nails! Mature nail design isn’t about looking “older”; it’s about celebrating timeless elegance and finding looks that complement your personal style and confidence. It’s about chic sophistication, refined choices, and designs that feel polished and put-together. Forget the idea that you have to stick to plain polish. There’s a whole world of gorgeous, age-appropriate nail art waiting for you!
Think of your nails as a canvas for self-expression. Whether you prefer something minimalist or a touch of sparkle, there are designs that fit perfectly. We’re going to explore easy-to-achieve styles that look professional, feel elegant, and are surprisingly simple to do at home. So, let’s get inspired and bring some fabulous flair to your fingertips!
The Foundation: Nail Care for Mature Hands
Before we jump into stunning designs, let’s talk about the base: healthy, well-cared-for nails and hands. As we get older, our skin and nails can change. They might become drier, and nails can sometimes feel more prone to breakage. But don’t worry, a little extra care goes a long way!
Here are some key steps for nurturing your nails and hands:
- Moisturize Regularly: This is non-negotiable! Use a good hand cream multiple times a day, especially after washing your hands. Look for ingredients like shea butter, hyaluronic acid, and ceramides. A cuticle oil is also a lifesaver for keeping your nail beds hydrated and healthy.
- Gentle Filing: File your nails in one direction to prevent them from splitting or weakening. Soft, rounded or squoval (square-oval) shapes are often flattering and less prone to snagging.
- Protect Your Hands: Wear gloves when doing chores that involve water or harsh chemicals. This protects both your skin and your polish!
- Hydrate from Within: Drink plenty of water! Staying hydrated is essential for healthy skin and nails.
- Consider a Nail Strengthener: If you find your nails are brittle, a good quality nail strengthener can help build resilience.
Taking good care of your hands and nails isn’t just about looking good; it’s about feeling good and preventing discomfort. A little daily attention can make a big difference in the health and appearance of your nails, making them the perfect canvas for any design.
Stunning Mature Nail Design Ideas: Sophistication at Its Finest
Now for the fun part! Let’s explore some beautiful nail design ideas perfect for women seeking elegance and a touch of personal flair. These are designed to be chic, sophisticated, and easy to achieve.
1. The Chic Neutrals & Earth Tones
Neutrals are timeless for a reason. They’re versatile, elegant, and always look polished. Think sophisticated shades that complement your skin tone beautifully.
- Classic Nude: Not just one shade! Find the perfect nude that matches your skin tone for an effortlessly chic look.
- Soft Greys and Beiges: These offer a modern, understated elegance.
- Muted Pinks and Peaches: These add a delicate, feminine touch without being overpowering.
- Earthy Browns and Khakis: Rich, grounding colors that feel very sophisticated.
Why it works: Neutrals are universally flattering and pair well with any outfit. They create a clean, refined look that’s perfect for everyday wear or special occasions.
2. The Subtle Sparkle
Who says mature nails can’t have a little shimmer? The key is moderation and strategic placement.
- Glitter Accent Nail: Paint all nails in a solid complementary color (like navy, deep red, or even a soft grey) and add a single accent nail with a fine, sophisticated glitter polish. Think silver, champagne, or rose gold.
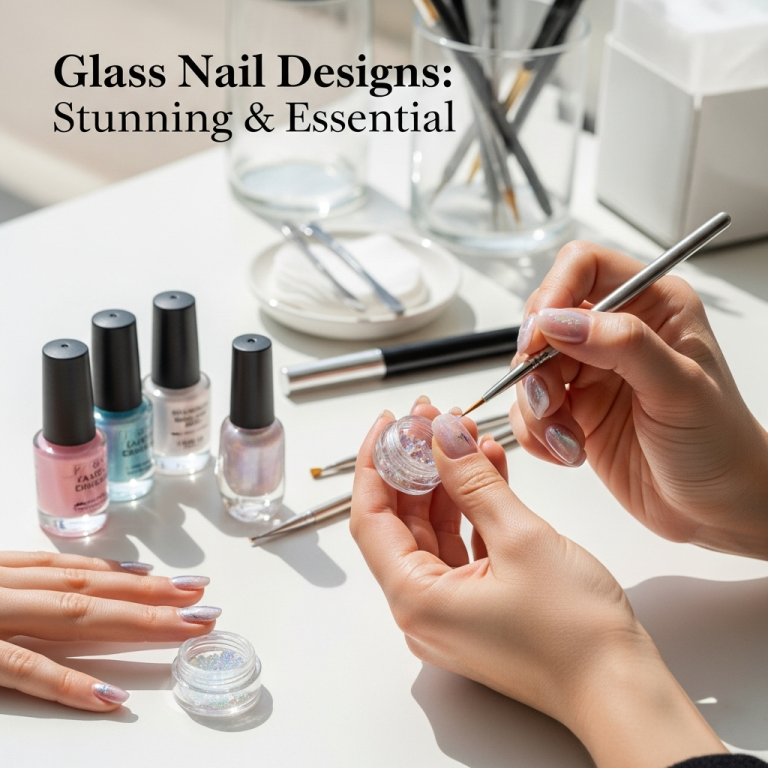
- Subtle Shimmer Top Coat: Apply a sheer polish in your favorite shade, then add a top coat with a fine iridescent or holographic shimmer. It catches the light beautifully.
- Micro-Glitter Ombre: A French tip or a full nail done with a very fine glitter can be incredibly elegant.
How to achieve: For accent nails, apply glitter polish carefully. For shimmer top coats, a thin layer is all you need. Avoid chunky or overly bright glitters if you’re aiming for subtlety.
3. The Elegant French Manicure (with a Twist!)
The French manicure is a classic for a reason, but we can give it a modern update.
- Classic French: Crisp white tips on a sheer pink or nude base. Impeccably neat.
- Reverse French (Aka Half-Moon): Instead of the tip, paint a small “half-moon” shape at the base of the nail in a contrasting color. Think a nude nail with a deep red or metallic half-moon.
- Color-Blocked French: Use two complementary colors for the tip and the base. For example, a soft blush base with a delicate lavender tip.
- Micro French: A very, very thin line of white or color along the very edge of the nail. This is incredibly chic and modern.
Pro Tip: Ensure your base color is smooth and opaque for the best look. For the lines, you can use a fine brush or nail art tape.
4. Delicate Nail Art Accents
Sometimes, a little detail is all you need to elevate your manicure.
- Thin Lines: A single, thin, metallic line (gold, silver, or rose gold) placed horizontally or diagonally across a solid-colored nail can be very striking.
- Tiny Dots: A few strategically placed small dots in a contrasting color near the cuticle or along the edge of the nail can add a playful yet sophisticated touch.
- Minimalist Geometric Shapes: A simple triangle, square, or line design in a subtle color.
- Floral Accents: A single, tiny, delicate flower on one or two nails can be very feminine and charming.
Tools you might need: A fine-tip nail art brush, dotting tools, or even the edge of a toothpick can work for creating simple designs.
5. The Sophisticated Deep Tones
Darker, richer colors can be incredibly elegant and flattering, especially for evening wear or cooler seasons.
- Deep Burgundy and Oxblood: These rich, wine-inspired shades are timeless and sophisticated.
- Emerald Green and Forest Green: Jewel tones like these add a pop of color with an air of luxury.
- Navy Blue: Often more chic than black, navy is a versatile and elegant choice.
- Charcoal Grey: A softer alternative to black, offering a modern, edgy vibe.
Application tip: Deep shades often require two coats for full opacity. Make sure to cap your free edge (painting the very edge of your nail) to prevent chipping and a “worn” look.
6. The Milky & Sheer Manicure
These polishes offer a subtle, clean, and modern look that’s incredibly chic.
- Milky White: Not opaque stark white, but a soft, creamy white that looks like diluted milk.
- Sheer Pink or Peach: Gives a healthy, “your nails but better” look.
- Translucent Pastels: Light blues, lilacs, or mints in a sheer finish.
Why it’s perfect: It’s minimalist, clean, and always looks polished. It’s also very forgiving as it doesn’t show imperfections as readily as opaque colors.
Trendy Yet Timeless: Color Palettes to Embrace
Choosing the right colors can dramatically impact how sophisticated and “mature” a nail design looks. Here are some palettes that consistently look elegant and modern.
Sophisticated Neutrals & Earth Tones
| Color Family | Shades to Explore | Vibe |
|---|---|---|
| Nudes & Beiges | Light tan, creamy beige, subtle taupe, sand | Effortless chic, professional, clean |
| Soft Pinks & Peaches | Dusty rose, blush pink, pale coral, apricot | Feminine, delicate, youthful yet refined |
| Greys | Dove grey, charcoal, slate, almost-blue grey | Modern, minimalist, edgy but subtle |
| Earthy Browns | Caramel, chocolate, mocha, terracotta | Warm, grounding, luxurious, natural |
Rich Jewel Tones
These colors add a touch of opulence and depth.
- Sapphire Blue: A deep, vibrant blue.
- Amethyst Purple: Rich, regal purple.
- Emerald Green: Lush, deep green.
- Ruby Red: A classic, sophisticated red.
Pairing Tip: Jewel tones look stunning as solid colors or as accents against neutrals.
Metallic Accents
Use these sparingly for a touch of glamour.
- Champagne Gold: Softer than bright yellow gold.
- Rose Gold: Warm and universally flattering.
- Silver: For a cool, modern shimmer.
- Bronze: A beautiful, earthy metallic.
Best Use: Accent nails, thin lines, subtle tips, or small dotting details.
DIY Nail Design Techniques for Beginners
You don’t need to be a professional nail technician to create beautiful designs! Here are some easy techniques you can master at home.
The Simple Dotting Technique
This is incredibly easy and versatile.
- Gather your tools: You’ll need a dotting tool (or a round toothpick tip, the end of a bobby pin, or even a pencil eraser!), your base polish, and your accent polish.
- Apply base coat: Paint your nails with your chosen base color and let it dry completely.
- Load your tool: Dip the tip of your dotting tool into your accent polish. You don’t need a lot.
- Create dots: Gently press the loaded tool onto your nail to create a dot. Start with one or two dots, perhaps near the cuticle or in a line.
- Clean and repeat: Wipe your dotting tool clean (or switch to a fresh toothpick) before picking up more polish. This prevents muddied colors.
Variations: Use different sized dotting tools for varied dot sizes. Create patterns like scattered dots, outlined dots, or constellations.
The Straight Line Art
Achieve crisp lines with a steady hand and the right technique.
- Prep your nail: Apply your base color and ensure it is bone dry.
- Choose your tool: A very fine-tipped nail art brush is ideal. For a simpler method, you can also use thin striping tape (available at beauty supply stores).
- Using a brush: Dip the very tip of your fine brush into your chosen line color. Wipe off excess polish on a paper towel. Gently draw a single, smooth line across your nail. Practice on paper first!
- Using striping tape: Apply the tape where you want your design to be. Paint over it with another color. Once that color is dry to the touch but not fully cured, carefully peel off the tape to reveal a crisp line.
Placement ideas: A single horizontal line across the middle, a vertical line down one side, or a line along the free edge (as a micro-French).
The Simple Ombre (Gradient) Effect
This gives a beautiful, blended look.
- Paint base color: Apply one or two coats of your lightest color and let it dry.
- Apply gradient: Take a makeup sponge (a clean, dry wedge works well). Apply stripes of your lighter and darker colors directly onto the sponge, side-by-side.
- Dab onto nail: Quickly and gently dab the sponge onto your nail, starting from the cuticle and working your way down. You might need a few dabs to build up the color.
- Clean up: Use a cleanup brush dipped in nail polish remover to neaten the edges around your nail.
- Add top coat: Seal the design with a good quality top coat.
Tips: Practice this on a piece of paper first to get the hang of the pressure and color ratio. You can also use a glitter polish for a subtle ombre effect.
Nail Maintenance & Longevity for Your Designs
Once you’ve created a stunning design, you want it to last! Here are some tips to keep your manicure looking fresh.
- Always Use a Top Coat: This is crucial! A good top coat seals your polish, adds shine, and protects against chips. Reapply every 2-3 days for maximum longevity.
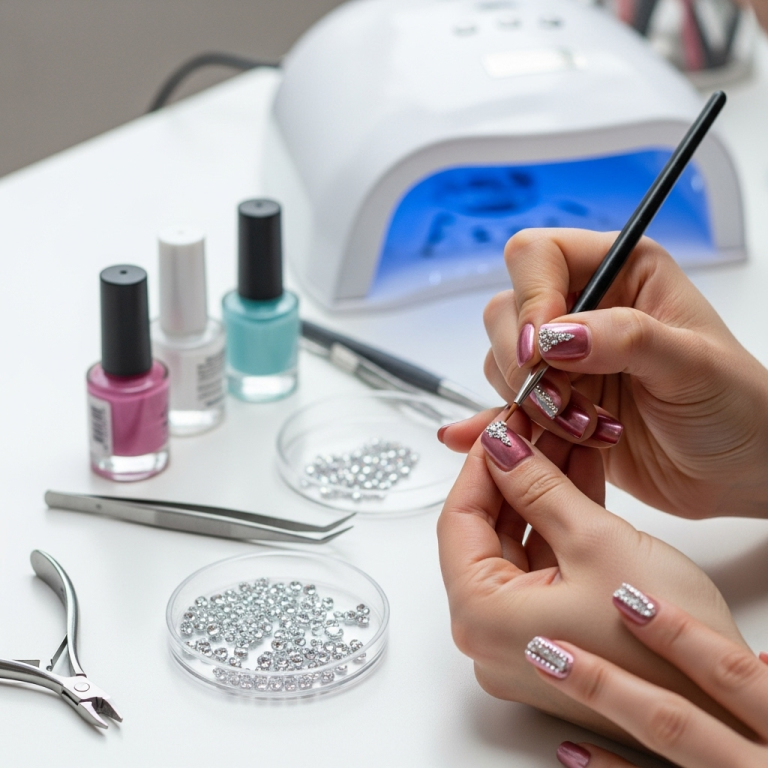
- Cure Properly: If you’re using gel polish or a system that requires UV/LED lamp curing, ensure you cure each layer according to the product’s instructions.
- Avoid Harsh Soaps: When washing dishes or cleaning, wear gloves. Hot water and harsh detergents can break down polish.
- Be Gentle: Avoid using your nails as tools (e.g., opening cans, scraping).
- Touch-Ups: For minor chips on non-accent nails, you might be able to carefully smooth the area and apply a dab of top coat or even a tiny bit of the original polish color.
Proper care ensures your beautiful nail designs remain pristine for as long as possible, maximizing your enjoyment of them.
External Resources for Nail Health
For more in-depth information on nail health, consult authoritative sources. Understanding the science behind nail growth and care can empower you to make the best choices for your nails.
- The American Academy of Dermatology offers extensive information on nail conditions and care: AAD Nail Diseases.
- The National Institutes of Health (NIH) provides research and articles on dermatological health, including nails: NIAMS Skin Health.
These resources can offer a deeper understanding of how to maintain healthy nails, which is the perfect foundation for any design.
Frequently Asked Questions About Mature Nail Designs
Q1: Are short nails still stylish for women over 40?
Absolutely! Short nails can be incredibly chic and practical. Focusing on a clean shape (like squoval or rounded edges) and a sophisticated polish color or subtle design makes short nails look very polished and modern.
Q2: What nail shapes are best for mature hands?
Rounded, squoval (a softer square shape with rounded corners), and oval shapes are generally very flattering and less prone to snagging or breaking. They tend to elongate the fingers nicely.
Q3: Can I wear bright colors on my nails?
Yes! While sophisticated neutrals and deep tones are popular, don’t shy away from color if you love it. Opt for richer, more saturated versions of brights, or use them as accent colors. For example, a vibrant coral can look amazing in summer.
Q4: How do I prevent my nail polish from chipping so quickly?
The key is proper prep and a good top coat. Ensure your nails are clean and dry before applying polish. Apply thin coats, and always finish with a high-quality top coat, reapplying it every few days. Capping the


