Matte nail art offers a sophisticated, velvety finish that instantly elevates any manicure. Discover essential stunning designs perfect for beginners, transforming your nails into chic, modern masterpieces with simple techniques and a touch of creativity.
Dreaming of elegant, velvety nails that stand out from the usual shine? Matte nail art is your secret weapon! It’s a trend that’s both chic and surprisingly easy to achieve, even if you’re just starting your nail art journey. Forget complicated techniques; we’re diving into simple yet stunning matte designs that will make your fingertips look like they just stepped out of a salon. Get ready to explore a world of sophisticated textures and beautiful looks that celebrate understated elegance. Let’s unlock the magic of matte and make your nails the star of the show!
What is Matte Nail Art?
Matte nail art is all about achieving a finish that’s the opposite of glossy or shiny. Instead of a high-shine look, matte nails have a smooth, velvety, or chalky appearance. This unique texture can completely change the feel of a nail polish color, making bold shades more subdued and elegant, or adding a sophisticated twist to subtle hues. It’s a fantastic way to experiment with different finishes and add dimension to your manicure.
Why Choose Matte Nail Art?
Matte finishes offer a sophisticated and modern aesthetic distinct from traditional glossy polishes. Here’s why you might fall in love with them:
- Sophistication: Matte nails exude an understated elegance that’s perfect for both casual and formal occasions.
- Unique Texture: The velvety finish provides a tactile and visual appeal that’s intriguing and stylish.
- Color Versatility: Matte finishes can dramatically alter how colors appear, often making them richer and more muted for a chic look. For instance, a bright red can transform into a deep, wine-like shade with a matte top coat.
- DIY Friendly: Many matte effects are achievable at home with simple tools and techniques.
- Trend-Forward: Matte nails are a consistent trend in the nail art world, offering a fresh alternative to gloss.
Essential Tools for Matte Nail Art
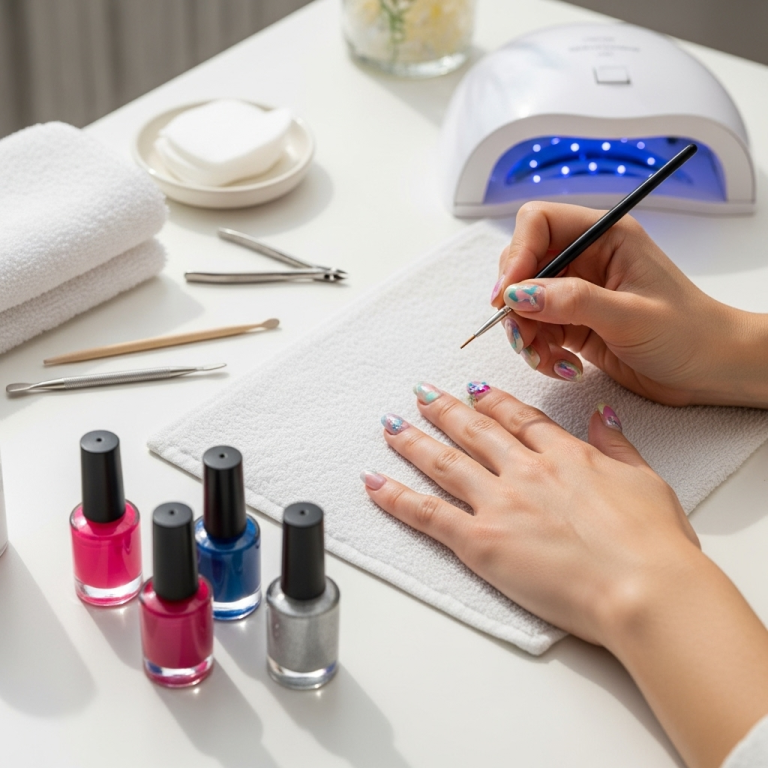
You don’t need a whole professional kit to create stunning matte nail art. Here are the basics you’ll want to have on hand:
- Matte Top Coat: This is your most important tool! It’s a special polish that, when applied over any dried nail color, transforms it into a matte finish.
- Nail Polish Remover: For cleaning up any mistakes or prepping your nails.
- Cotton Pads or Lint-Free Wipes: Essential for applying remover and cleaning brushes.
- Nail File and Buffer: To shape your nails and smooth the surface for an even application.
- Base Coat: Protects your natural nails and helps polish adhere better.
- Your Favorite Nail Polishes: Any color works with a matte top coat!
- Dotting Tools (Optional): For creating simple dots and patterns.
- Fine-Tipped Nail Art Brush (Optional): For drawing lines, swirls, or custom designs.
- Sticky Tape or Stencils (Optional): For creating clean lines and geometric shapes.
Getting Started: The Perfect Matte Base
Before you dive into designs, creating a flawless matte base is key. This sets the stage for all your stunning artwork!
- Prep Your Nails: Start with clean, dry nails. Gently push back your cuticles and shape your nails with a nail file. Buffing the surface lightly can help polish adhere, but avoid over-buffing.
- Apply Base Coat: Brush on a thin, even layer of your favorite base coat. Let it dry completely. This protects your nails from staining and helps your color last longer.
- Apply Your Color(s): Paint your nails with your chosen nail polish color(s). Apply 1-2 thin coats for the best coverage, allowing each coat to dry thoroughly. If you’re layering colors for a design, ensure the base color is completely dry before adding more.
- Apply Matte Top Coat: Once your colored polish is fully dry (this is crucial!), apply a generous, even layer of your matte top coat. Work quickly to avoid streaks.
- Let it Dry: Allow the matte top coat to air dry completely. Resist the urge to touch them! The matte finish fully develops as it dries.
Pro Tip: Make sure your colored polish is entirely dry before applying the matte top coat. If it’s not dry, the matte top coat can pull or smudge the color underneath, leading to an uneven finish.
Essential Stunning Matte Nail Art Designs for Beginners
Let’s get creative! These beginner-friendly matte nail art designs are perfect for bringing a touch of elegance and personality to your nails.
1. The Classic Ombré Matte
Ombré nails create a beautiful gradient effect. Doing it in matte gives it an extra sophisticated edge!
What you’ll need:
- Base coat
- Two or three complementary nail polish colors (e.g., light pink to dark pink, beige to brown)
- Matte top coat
- Cosmetic sponge or makeup wedge
- Clear tape (optional, for cuticle protection)
Steps:
- Prep and apply a base coat to your nails. Let it dry.
- Apply one thin coat of your lightest polish color to all nails. Let it dry.
- Cut a small piece of your cosmetic sponge.
- Apply stripes of your chosen colors onto the sponge, side-by-side. Work fast!
- Gently dab the sponge onto your nail, transferring the gradient.
- Repeat the color application on the sponge and dabbing motion until you achieve your desired color blend.
- Clean up any polish on your skin with nail polish remover and a brush or cotton swab.
- Once the ombré color is dry, apply a regular top coat first. This seals the gradient and prevents the matte top coat from smudging the colors. Let it dry completely.
- Apply your matte top coat over the dried regular top coat.
- Allow to dry fully.
2. Chic Matte French Tips
A classic with a twist! Matte French tips are incredibly chic and surprisingly simple to achieve.
What you’ll need:
- Base coat
- Nude or sheer pink polish
- White or black polish (for the tip)
- Matte top coat
- French tip guides or striping tape
Steps:
- Prep your nails and apply your base coat.
- Apply 1-2 coats of your nude or sheer pink polish. Let dry completely.
- Carefully place a French tip guide or striping tape across your nail, about 1/4 inch (or desired width) from the tip. Ensure it’s sealed down to prevent polish from bleeding underneath.
- Apply your chosen tip color (white or black works great!) over the exposed nail tip.
- Immediately after applying the tip color, carefully peel off the guide while the polish is still wet. This gives you the cleanest line.
- Let the tip color dry completely.
- Apply your matte top coat over the entire nail, including the tip.
- Let it dry completely.
3. Minimalist Matte Dotting
Dots are simple, stylish, and very forgiving for beginners. They look particularly elegant with a matte finish.
What you’ll need:
- Base coat
- Your chosen polish color
- Matte top coat
- Dotting tool or the tip of a bobby pin/pen
Steps:
- Prep and apply your base coat.
- Apply 1-2 coats of your chosen polish color. Make sure it’s completely dry.
- Add a small amount of contrasting polish onto a clean surface (like a piece of foil).
- Dip the tip of your dotting tool (or bobby pin/pen tip) into the contrasting polish.
- Gently dot onto your nail. You can place dots randomly, create a line of dots, or a pattern.
- Repeat until you achieve your desired look.
- Let the dots dry completely.
- Apply your matte top coat over the entire nail.
- Let it dry completely.
4. Sophisticated Matte Single Accent Nail
Sometimes, less is more! Featuring one matte accent nail among glossy nails creates a beautiful contrast.
What you’ll need:
- Base coat
- Your chosen polish color
- Matte top coat
- A glossy top coat
Steps:
- Prep and apply your base coat.
- Apply 1-2 coats of your chosen polish color to all nails. Let dry completely.
- Choose one nail to be your accent nail. Apply the matte top coat only to this nail. Let it dry completely.
- Apply a thin, even layer of the glossy top coat to all your other nails.
- Let both finishes dry completely. The contrast between the matte accent and glossy nails is surprisingly striking!
5. Matte Geometric Lines with Tape
For sharp, clean lines, tape is your best friend. This design looks incredibly professional in matte!
What you’ll need:
- Base coat
- Your primary polish color
- Contrasting polish color for lines
- Matte top coat
- Fine adhesive striping tape or regular sticky tape cut into thin strips
Steps:
- Prep and apply your base coat.
- Apply 1-2 coats of your primary color. Let it dry thoroughly.
- Apply your matte top coat to all nails and let it dry completely. This creates your matte base.
- Once the matte finish is dry, carefully apply strips of tape onto your nails to create the desired geometric pattern (e.g., diagonal lines, a grid). Press the edges of the tape down firmly to prevent polish from seeping underneath.
- Apply your contrasting polish color over the taped areas.
- While the new polish is still wet, carefully and slowly peel off the tape. This is key for clean lines.
- Let the contrasting polish dry completely.
- Apply another layer of matte top coat over the entire nail to seal the design.
- Allow to dry.
Comparing Top Coats: Matte vs. Glossy
Understanding the difference between matte and glossy top coats is essential for executing various nail art looks. While both serve to protect and seal your polish, their finishes are worlds apart.
| Feature | Matte Top Coat | Glossy Top Coat |
|---|---|---|
| Finish: | Velvety, non-shiny, chalky | High-shine, reflective, glass-like |
| Effect on Color: | Mutes and deepens colors, adds sophistication | Enhances vibrancy, makes colors pop |
| Common Uses: | Matte manicures, specific design elements (e.g., matte French tips, matte accents), creating texture contrasts. | Sealing all manicures for longevity and shine, creating smooth surfaces for detailed art, achieving classic glossy looks. |
| Application Key: | Apply over completely dry colored polish. Can sometimes emphasize imperfections if the base polish isn’t smooth. | Can sometimes smooth out minor polish surface imperfections. Essential for glitter or chrome powders to adhere. |
| Longevity: | Can sometimes chip or wear down more noticeably than glossy finishes due to the texture. | Generally offers excellent chip resistance and a durable, protective shield. |
The beauty of nail art often lies in the contrast between finishes. For instance, you might create a design with matte stripes on a glossy background, or vice versa. This interplay of textures is what gives nail art depth and visual interest.
Maintaining Your Matte Manicure
Matte nails are gorgeous, but they can sometimes require a little extra care to keep them looking their best. Here are some tips:
- Be Gentle: Matte finishes can be more prone to showing wear and tear compared to glossy ones. Try to avoid rough activities that might scrape or chip your nails.
- Avoid Oily Products: Lotions, sunscreens, and oils can sometimes create a shiny patch on your matte finish. If this happens, you might be able to revive it by gently buffing with a very fine grit buffer or reapplying a matte top coat over the affected area.
- Reapplication: If you notice your matte finish is wearing down unevenly, you can carefully reapply a layer of matte top coat. Ensure the colored polish underneath is completely dry before doing so.
- Cleanliness is Key: Wash your hands gently. Harsh scrubbing can dull the matte finish faster.
For a more in-depth understanding of nail care and how it impacts manicure longevity, check out resources from reputable health organizations like the National Center for Biotechnology Information (NCBI) on nail health and hygiene. Properly caring for your nails will help any manicure, matte or glossy, last longer.
Troubleshooting Common Matte Nail Art Issues
Even with the best intentions, you might encounter a few bumps in the road. Here’s how to fix common matte nail art problems:
| Problem | Cause | Solution |
|---|---|---|
| Streaky Matte Top Coat | Top coat applied too thinly, or unevenly. Polish underneath not fully dry. | Apply matte top coat in thicker, even strokes. Ensure colored polish is bone dry. Work with one nail at a time. |
| Shiny Spots on Matte Nails | Contact with oils or lotions. Top coat applied too thinly initially. | Gently buff the shiny spot with a very fine grit buffer (e.g., 2000 grit or higher) and reapply a thin layer of matte top coat. Or, reapply matte top coat over the entire nail. |
| Smudged Design | Applying matte top coat too soon over wet color or design elements. Regular top coat not used to seal designs with multiple colors. | Ensure all colored polish is completely dry before matte top coat application. For multi-color designs (like ombré or intricate patterns), apply a thin regular top coat first to seal, let it dry, then apply the matte top coat. |
| Bubbles in Matte Finish | Polish shaken too vigorously, or applied too thickly. | Roll the bottle between your hands gently instead of shaking. Apply thin, even coats. |
FAQ: Your Matte Nail Art Questions Answered
Q1: Can I use a regular top coat over matte polish?
A1: Yes, you can apply a regular glossy top coat over a matte-finished nail. It will turn the entire nail glossy, which can be a cool effect for certain designs, like creating a contrast between a matte design and a glossy background.
Q2: How long does a matte manicure typically last?
A2: Like any manicure, its longevity depends on the base polish, application, and how well you care for your nails. Generally, a matte manicure can last 5-7 days, but the matte finish itself might start to wear down or become shiny in spots sooner than a glossy finish.
Q3: Can any nail polish color be made matte?
A3: Absolutely! A matte top coat works over virtually any color of nail polish. The shade will simply take on a velvety finish instead of a shiny one.
Q4: My matte top coat looks streaky. What did I do wrong?
A4: Streaks usually happen if the colored polish underneath isn’t fully dry, or if the matte top coat is applied too thinly or unevenly. Try applying the matte top coat in slightly thicker, consistent strokes and ensure your base color is completely dry first.
Q5: How do I remove matte nail polish?
A5: You remove matte nail polish just like regular nail polish! Use your favorite nail polish remover (acetone or non-acetone) and cotton pads or lint


