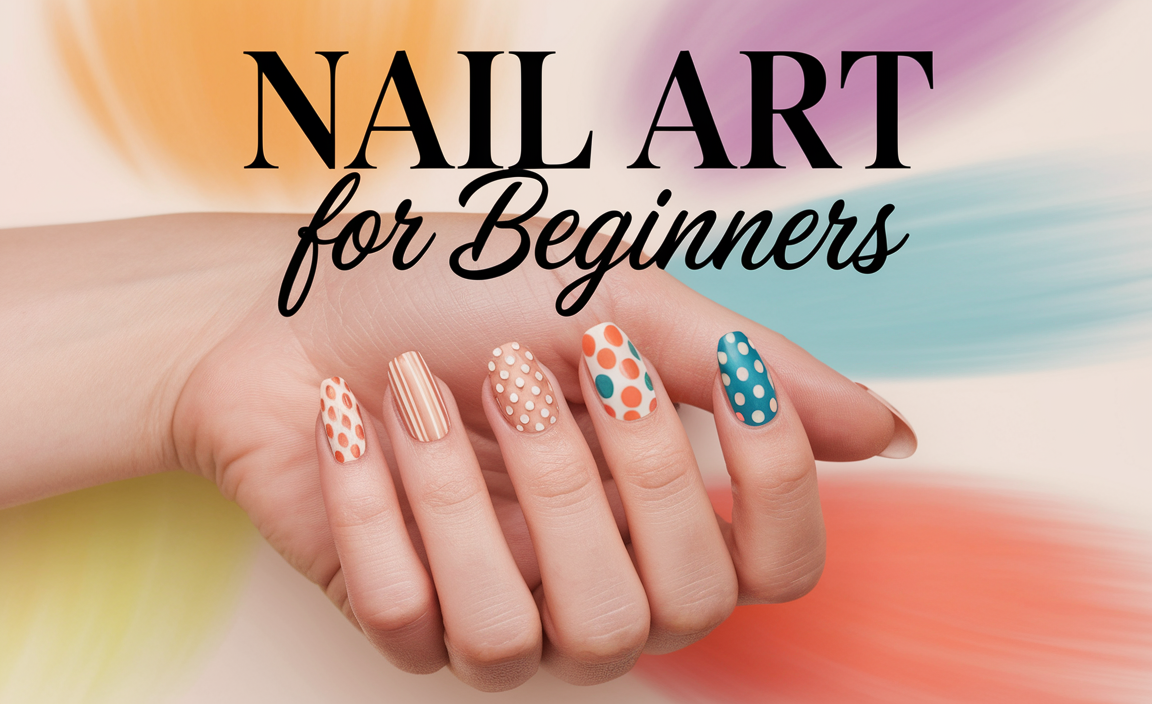
Matte French nail designs offer a sophisticated, modern twist on a classic look. They’re perfect for anyone seeking an elegant, low-key manicure that’s surprisingly easy to achieve at home. Get ready to transform your nails with this chic, must-try trend!
Ever admired those effortlessly chic nails with a soft, velvety finish that isn’t quite glossy? That’s the magic of matte French tips! For so long, French manicures meant high shine, but a matte finish brings a whole new level of understated elegance and modern appeal. It’s a look that’s surprisingly versatile, perfect for everyday wear or special occasions, and dare I say, incredibly simple to create yourself. If you’ve ever thought French tips were too fussy or done-to-death, prepare to fall in love with their matte makeover. We’re diving deep into how you can achieve these stunning nails right at your fingertips, making it easy for even the newest nail art enthusiast.
Let’s get started and unlock the secrets to your most stylish matte French manicure yet!
Why Matte French Nails Are a Must-Try Trend
The classic French manicure, with its crisp white tip on a nude or pink base, has been a beauty staple for decades. It’s timeless, elegant, and universally flattering. But trends evolve, and the beauty world is always looking for ways to refresh beloved classics. Enter the matte French nail design!
Matte finishes have been steadily gaining popularity across the beauty spectrum, from lipstick to nail polish. They offer a sophisticated, velvety texture that instantly elevates any look. When applied to the French manicure, a matte top coat transforms the familiar design into something utterly modern and chic. It’s a subtle change that makes a huge impact, offering a softly diffused elegance that’s less flashy than its glossy counterpart.
Why is this trend so essential for nail lovers and beginners alike?
- Sophisticated Aesthetic: The matte texture provides a luxurious, almost suede-like finish that feels incredibly grown-up and stylish. It’s the perfect choice for those who prefer a more subdued, elegant look.
- Versatility: Matte French tips work with almost any outfit and occasion. They’re professional enough for the office, chic enough for a night out, and stylish enough for a weekend brunch.
- Hides Imperfections: Unlike high-gloss finishes that can highlight ridges or minor imperfections on the nail surface, a matte finish tends to be more forgiving.
- Easy to Achieve: With the right tools and a little practice, creating matte French nails at home is surprisingly straightforward.
- DIY Friendly: You don’t need to be a pro to achieve this look. The basic principles are the same as a traditional French, with just one extra step.
What You’ll Need for Your Matte French Manicure
Before we jump into the step-by-step, let’s gather our supplies. Having everything ready will make the process smooth and enjoyable. Think of this as your essential toolkit for creating salon-worthy nails at home!
Essential Tools and Products:
- Nail File and Buffer: To shape your nails and create a smooth surface.
- Nail Polish Remover: To clean your nails before starting.
- Base Coat: To protect your natural nails and help polish adhere.
- Nude or Pink Nail Polish: For the nail bed. Choose a shade that complements your skin tone.
- White Nail Polish: For the French tips.
- Thin Nail Art Brush or French Tip Guide Stickers: For creating clean, precise lines.
- Matte Top Coat: This is the secret ingredient for achieving the signature matte finish!
- Cuticle Oil: For a finishing touch to nourish your cuticles.
Having these items on hand ensures you’re well-equipped to create a beautiful matte French manicure. Remember, good preparation is key to a flawless finish!
Step-by-Step Guide to Achieving Matte French Nail Designs
Creating your own stunning matte French nail design is easier than you might think! Follow these simple steps, and you’ll be rocking this chic look in no time. We’ll focus on the classic matte French tip, but I’ll share some creative twists later on!

Step 1: Prepare Your Canvas (Nails!)
This is the most important step for any manicure’s longevity and appearance. Clean nails are happy nails!
- Remove Old Polish: Start by thoroughly removing any old nail polish with nail polish remover.
- Shape Your Nails: Using a nail file, gently shape your nails to your desired length and shape. Squoval, almond, or round – it’s your preference! Aim for consistency across all nails.
- Buff the Surface: Lightly buff the surface of each nail with a nail buffer. This removes any shine and creates a smooth surface for the polish to adhere to, preventing chips.
- Cleanse: Wipe each nail with nail polish remover again or rubbing alcohol to remove any dust or oils. This ensures maximum polish adhesion.
Step 2: Apply the Base Coat and Nail Bed Color
This step gives your nails a smooth base and the foundation for your French tips.
- Base Coat: Apply one thin coat of your favorite base coat. Let it dry completely. This protects your natural nails from staining and provides a smooth surface. Look for a good quality base coat like essie’s.
- Nude/Pink Polish: Apply one or two thin coats of your chosen nude or pink nail polish. Ensure each coat is completely dry before applying the next. This color acts as the base for your tips. Apply evenly, getting as close to the cuticle as you can without flooding it.
Step 3: Create the Perfect French Tips
This is where the magic happens! You have a couple of options here, depending on your comfort level.
Option A: Using Guide Stickers
These little helpers are fantastic for beginners!
- Apply Guides: Once your base color is completely dry, carefully place a French tip guide sticker across each nail, positioning it where you want your white tip to begin. Make sure the sticker is pressed down firmly to prevent polish from seeping underneath.
- Paint the Tips: Using your white nail polish, carefully paint over the tip of the nail, above the sticker. Apply two thin coats for opacity, allowing each to dry a bit before removing the sticker.
- Remove Guides: Gently peel off the guide stickers while the white polish is still slightly tacky. This creates a crisp, clean line. If any polish has bled, you can carefully clean it up with a fine-tipped brush dipped in nail polish remover.
Option B: Using a Thin Nail Art Brush
This method offers more control and a potentially more natural-looking curve if you get the hang of it.
- Freehand the Curve: Dip a thin nail art brush into your white polish. Gently swipe off any excess onto the rim of the polish bottle.
- Paint the Smile Line: Starting from one side of the nail, carefully paint a curved line across the tip. Work your way to the other side, creating the classic “smile line.” Aim for a consistent thickness and curve on all nails.
- Fill In: Once the outline is done, fill in the tip area with more of the white polish. Apply thin coats for a smooth finish.
- Refine: Use the brush dipped in a small amount of nail polish remover to clean up any wobbly lines and perfect the shape.

Step 4: Top it Off with the Matte Finish!
The grand finale that sets the whole look apart!
- Ensure Dryness: Make absolutely sure that both the base color and the white tips are completely dry. Rushing this step is the quickest way to smudge your hard work.
- Apply Matte Top Coat: Apply a generous, even coat of your matte top coat over the entire nail, including the white tip and the colored base. A good quality matte top coat, like those from Seche Vite, can seal and transform your polish beautifully.
- Let it Dry: Allow the matte top coat to dry completely. Matte top coats usually dry to the touch fairly quickly, but it’s best to avoid any rough activities for at least an hour to ensure it fully cures.
Step 5: The Finishing Touches
Don’t forget this crucial step for a polished look!
- Cuticle Care: Once your nails are dry, apply a drop of cuticle oil to each cuticle and gently massage it in. This hydrates the skin around your nails, making your whole manicure look more professional and healthy.
And there you have it! Beautiful, sophisticated matte French nails created by you. Give yourself a pat on the back!
Matte French Nail Design Variations to Inspire You
The beauty of matte French nails is their incredible adaptability. Once you’ve mastered the basic technique, you can play with different colors, textures, and placements to create unique and stunning designs. Here are a few ideas to get your creative juices flowing:
Color Play Matte French Tips
Who says French tips have to be white? Experiment with different color combinations!
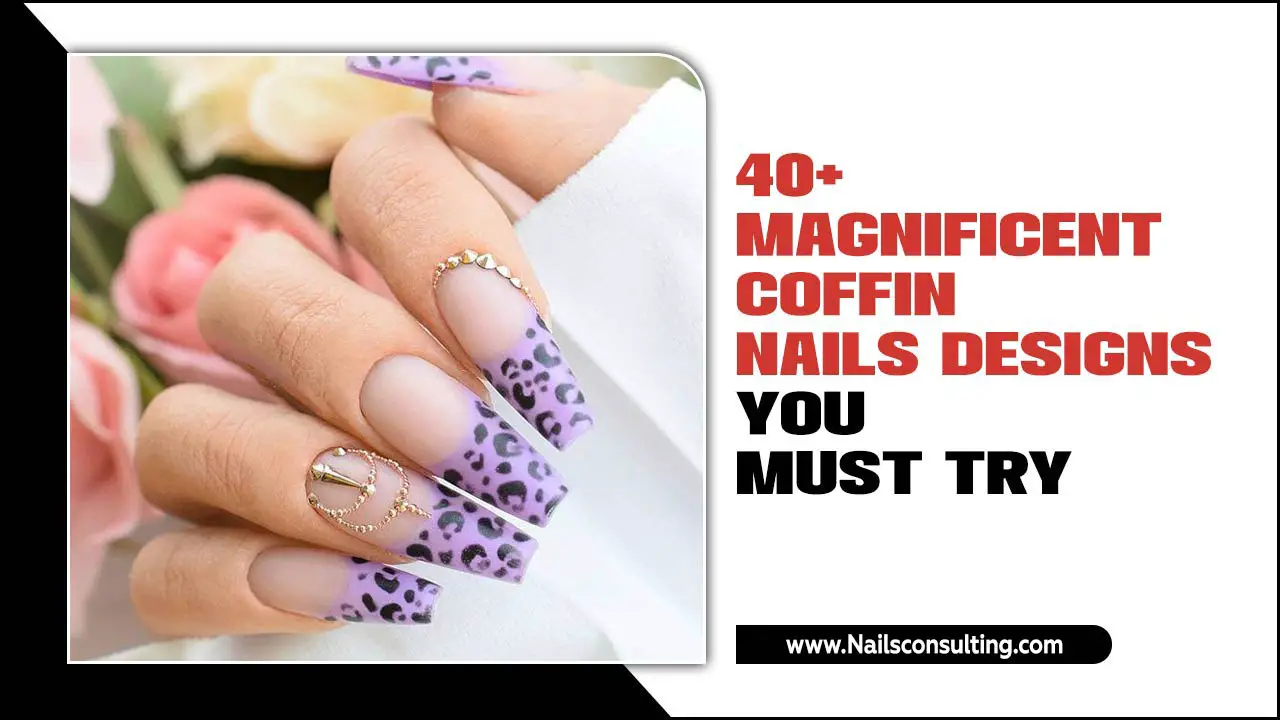
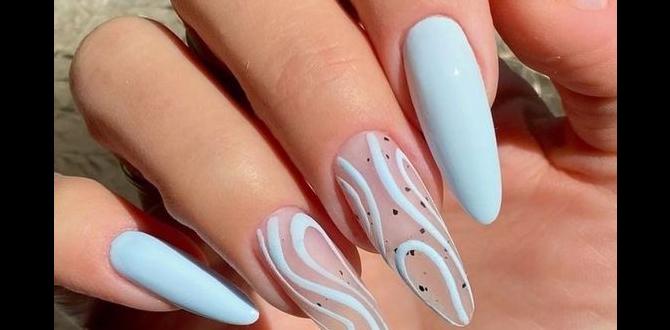
- Pastel Dreams: Use pastel shades like lavender, mint green, or baby blue for the tips on a nude base for a soft, dreamy look.
- Jewel Tones: Deep emerald, sapphire, or ruby tips on a contrasting base can create a luxurious and bold statement.
- Monochromatic Chic: Use a darker shade of your base color for the tip. For example, a deep berry tip on a lighter berry base.
- Subtle Ombre Tips: Blend a lighter shade into a slightly darker shade at the tip for a gentle ombre effect.
Textural and Embellished Matte French Nails
Add a little something extra to your matte French design.
- Matte-on-Gloss Contrast: Apply your matte top coat only to the tips, leaving the base polish with its original glossy finish. This creates a beautiful, subtle textural contrast.
- Glitter Tips: Apply a thin layer of glitter polish over the white tips before applying the matte top coat. The matte finish will tone down the glitter, giving it a sophisticated sparkle.
- Metallic Accents: Add a thin metallic stripe (gold, silver, rose gold) just below the matte white tip for a touch of glamour.
- Subtle Stamping: Use a fine nail art stamp with a delicate pattern over the white tips for added detail.
Placement and Shape Variations
Think outside the box when it comes to where and how you apply the tips.
- Reverse French: Apply the color or design to the cuticle area instead of the tip.
- Diagonal Tips: Paint the tip at a diagonal angle across the nail for a modern twist.
- Double French: Create two thin lines – perhaps a thin glossy line above a matte tip, or two matte lines in different colors.
- Half-Moon French: Focus the color or design on the half-moon area at the base of the nail.
Don’t be afraid to mix and match these ideas! For instance, try pastel lavender tips with a subtle matte-on-gloss contrast. The possibilities are endless, and the matte finish makes even the most intricate designs feel effortlessly elegant.
Caring for Your Matte French Nails to Make Them Last
You’ve put in the effort to create beautiful matte French nails, so let’s make sure they stay looking fabulous for as long as possible! Proper care is essential for any manicure, especially those with a matte finish, and understanding how to maintain them will keep them looking chic and chip-free.
Tips for Longevity:
- Wear Gloves: When doing chores, especially those involving water or harsh chemicals (like washing dishes or cleaning), wear rubber gloves. This is one of the biggest secrets to extending the life of any manicure.
- Moisturize Regularly: Keep your hands and cuticles hydrated. Dry skin can make a manicure look unfinished. Use cuticle oil daily, especially before bed. A good quality cuticle oil can be found from brands like Cuccio.
- Avoid Harsh Activities: Try to avoid using your nails as tools, like scraping, picking, or opening things. This can lead to chips and breaks.
- Be Gentle When Drying: After washing your hands, gently pat them dry rather than rubbing them vigorously with a towel.
- Touch-Ups: If you notice a small chip or wear on the tip, you can sometimes carefully touch it up with a bit of white polish and gently reapply a matte top coat to that small area. This is easier with a fine brush.
- Reapply Top Coat (Carefully): If the matte finish starts to lose its velvety look from wear, you can sometimes reapply a thin layer of matte top coat. However, be cautious as this can sometimes reactivate the underlying polish and cause smudging if not applied perfectly. Always ensure the polish underneath is fully cured.
By incorporating these simple care tips into your routine, you’ll help your gorgeous matte French nails maintain their sophisticated charm for days to come.
Comparing Matte vs. Glossy French Manicures
While we’re all about matte French nails, it’s helpful to understand how they stack up against their classic glossy counterparts. Both have their unique appeal, and the “better” choice really depends on your personal style and the occasion.
| Feature | Matte French Nails | Glossy French Nails |
|---|---|---|
| Aesthetic | Velvety, soft, sophisticated, modern, understated. | Shiny, classic, bright, polished, timeless. |
| Finish | Non-reflective, smooth, diffused light. | Reflective, high shine, catches light. |
| Perceived Effort | Can appear more “effortless chic.” | Often associated with traditional salon perfection. |
| Occasion Suitability | Excellent for everyday, office, contemporary events. | Versatile for all occasions, especially formal events. |
| DIY Difficulty | Similar to glossy, with the addition of a specialized top coat. | Can be tricky to get perfect lines without practice. |
| Imperfection Hiding |

