Maternity nail designs are all about showcasing your glow with beautiful, safe, and easy-to-achieve manicures. Embrace the joy of pregnancy with styles that are chic, comfortable, and perfectly suited for this special time.
Getting ready for your little one is an exciting time! Your body is changing, and you’re glowing. Wouldn’t it be fun to have your nails reflect that inner radiance? Sometimes, finding the perfect maternity nail design can feel a bit tricky. You want something pretty, but also practical and safe. Don’t worry! We’re going to explore gorgeous maternity nail ideas that are super easy to do yourself or ask for at the salon. We’ll cover simple techniques and stunning looks that will make your hands look as fabulous as you feel. Get ready to discover your new favorite pregnancy manicure!
Why Choose Special Maternity Nail Designs?
Pregnancy is a unique chapter in a woman’s life, and it’s only natural to want to celebrate it in every way possible, including your nails! While you can wear almost any nail color or design during pregnancy, some moms-to-be prefer to opt for designs that feel a bit more special, soothing, or perhaps even symbolic of this beautiful journey. It’s a way to pamper yourself and embrace the changes happening in your body.
Think about it: you’re nurturing a new life, and your nails can be a canvas for expressing that joyous anticipation. Whether you’re drawn to soft, calming pastels, subtle sparkle, or cute little baby-themed accents, maternity nail designs offer a delightful way to feel polished and put-together. Plus, for many, especially during the later stages, it’s a welcome moment of self-care and a reminder of your own beauty amidst the wonderful chaos of expecting.
Safe & Chic: What to Consider for Maternity Nails
When you’re expecting, certain considerations come into play for your beauty routines. The good news is that nail polish and most nail art are generally considered safe during pregnancy. However, it’s always wise to be aware of ingredients and ventilation.
Ventilation is Key: Always ensure you’re in a well-ventilated area when applying polish or using nail products. This is good practice for anyone, but especially important during pregnancy.
Smart Ingredient Choices: While most modern nail polishes are formulated without the “big three” (formaldehyde, toluene, and DBP), it’s still a good idea to look for “3-free,” “5-free,” or “10-free” options. These formulations minimize potentially harsh chemicals. You can find great options in brands like Ella+Mila (which are 17-free!) or Smith & Cult.
Professional Salon Practices: If you visit a salon, ensure they follow good hygiene practices. This includes sterilizing tools between clients and having good air circulation.
The “3-Free,” “5-Free,” and “10-Free” Difference
You’ll often see labels like “3-free,” “5-free,” or even “10-free” on nail polish bottles. What does this mean? It refers to the number of potentially harmful chemicals that the polish is formulated without.
3-Free: Free from Formaldehyde, Toluene, and Dibutyl Phthalate (DBP).
5-Free: Free from the above plus Formaldehyde Resin and Camphor.
10-Free: Free from even more chemicals, often including Xylene, Ethyl Tosylamide, and Parabens.
Choosing polishes with fewer potentially harsh chemicals is a simple way to feel more confident about your nail care choices during pregnancy.
Top Maternity Nail Design Ideas to Inspire You
Ready for some gorgeous inspiration? These maternity nail designs are pregnancy-friendly, easy to achieve, and oh-so-stylish! We’ve got a range of looks from subtly elegant to playfully cute.
1. Soft Pastels & Nudes: The Ultimate Serenity
Nothing says gentle pregnancy glow like soft, muted shades. These colors are universally flattering and exude a sense of calm and sophistication.
Baby Pink: A classic for a reason! It’s soft, feminine, and always looks elegant.
Powder Blue: Think of a clear, dreamy sky. This cool tone is incredibly soothing.
Mint Green: A refreshing and slightly unique pastel choice.
Lavender: A beautiful, calming hue that feels special.
Nude/Beige: Never goes out of style. A perfect neutral that makes your hands look polished and clean.
Creamy White: Clean, crisp, and bright. A great base for subtle nail art.
How to achieve this look:
Simply apply one or two coats of your chosen pastel or nude polish. For an extra touch, consider a single accent nail with a slightly different shade or a very subtle shimmer. A glossy topcoat will make the color pop.
Pro Tip: For a professional finish at home, use a good quality base coat to prevent staining and a quick-dry topcoat to seal the deal. Brands like OPI have a fantastic range of classic nudes and soft pastels.
2. Subtle Shimmer & Glitter: A Touch of Magic
Want a little sparkle without going overboard? Pregnancy is the perfect time to add a touch of gentle shimmer or a delicate glitter accent.
Sheer Glitter Topcoat: Apply a coat of iridescent or fine glitter topcoat over a nude or pastel base. It catches the light beautifully.
Glitter Fade: Start with a solid color on your nails and then gently fade fine glitter onto the tips or cuticles.
Metallic Accents: A thin line of rose gold, silver, or gold metallic polish along the free edge or as a minimalist stripe can be stunning.
How to achieve this look:
Apply your base polish. Lightly dust fine cosmetic-grade glitter onto the wet polish before it dries, or use a glitter polish sparingly. For metallic accents, a fine-tipped brush or striping tape can help you create clean lines.
Where to find these gems: Look for brands like Essie or Sally Hansen for their vast collections of shimmery topcoats and subtle glitters. For a more luxe feel, consider brands like ILNP (It’s In The Nail Polish) which offer unique holographic and metallic finishes.
3. Minimalist Dots & Lines: Effortlessly Chic
Simplicity is often key during pregnancy. Minimalist nail art is easy to create, looks sophisticated, and doesn’t require much time or precision.
Single Dot: A tiny dot of contrasting color (e.g., black on nude, white on blue) at the base of the nail or on one accent nail.
Thin Lines: A fine, straight line vertically or horizontally across the nail, or along the cuticle.
Half-Moon Mani: Color just the half-moon at the base of your nail.
French Tip Refresh: Instead of a white tip, try a pastel, metallic, or even a thin colored line.
How to achieve this look:
Use a dotting tool for perfect circles, or a very fine nail art brush. For lines, a steady hand or striping tape is your best friend. A magnifying mirror can be a lifesaver for precision!
Essential tools: A dotting tool (often found in multipacks) and a fine nail art brush are all you need. You can even use the tip of a bobby pin for dots in a pinch!
4. Delicate Florals & Nature Motifs: Blooming Beauty
Embrace the theme of growth and new beginnings with subtle floral or nature-inspired designs. These can be as simple or intricate as you like.
Tiny Blossoms: A few small dots arranged like flowers on one or two nails.
Leafy Accents: A simple green leaf outline or a small vine design.
Cute Baby Feet: A very subtle, tiny outline of baby feet on an accent nail can be incredibly sweet.
How to achieve this look:
This might require a slightly steadier hand or a specialized nail art brush. Alternatively, look for nail stickers or decals. Painting a few dots with a dotting tool and then adding tiny lines above them can create a simple floral look.
Inspiration from nature: For this style, think about the blooming flowers in spring or the gentle patterns found in nature. It’s about capturing that organic beauty.
5. Accent Nail Magic: A Little Pop of Fun
Don’t want to commit to a full nail art design? An accent nail is perfect! Choose one nail on each hand (usually the ring finger) to showcase a special design or color.
Glitter Accent: One nail completely covered in your favorite subtle glitter.
Metallic Accent: A single nail painted in a chic metallic shade.
Patterned Accent: A simple striped, dotted, or floral design on just one nail.
Color Contrast Accent: Sometimes, just one nail in a slightly bolder, complementary color to the others can be striking.
How to achieve this look:
Simply paint your accent nail differently from the rest. This is a fantastic way to experiment with trends without overwhelming your manicure.
Versatility is key: An accent nail is easy to change and can be adapted to any outfit or mood. It’s your little secret statement!
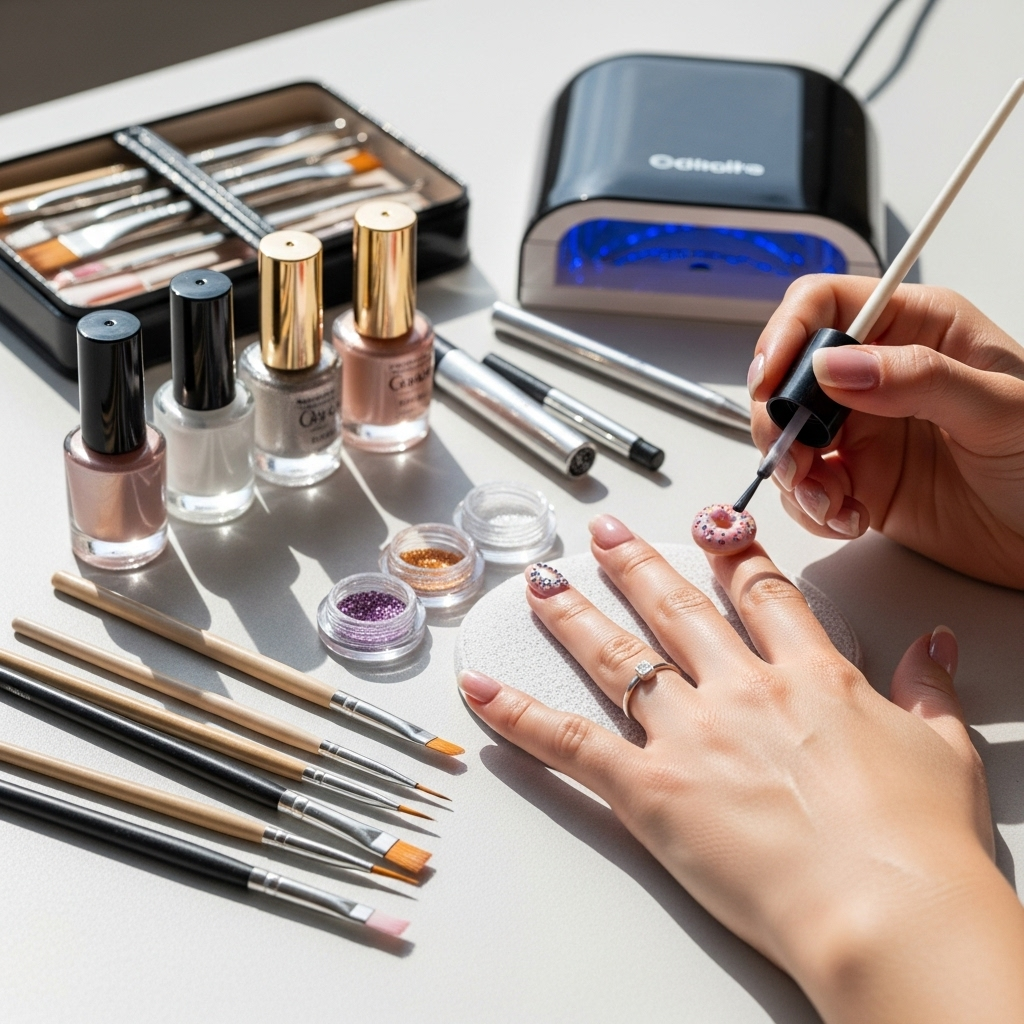
DIY Maternity Manicure: Step-by-Step Guide
You’ve got your inspiration; now let’s get those nails looking fabulous from the comfort of your home! This guide is designed for beginners and focuses on creating a lovely, long-lasting manicure.
Essential Tools You’ll Need
Before you start, gather your supplies. Having everything ready makes the process smooth and enjoyable.
Base Coat: Protects your natural nail and helps polish adhere better.
Nail Polish: Your chosen maternity color(s)!
Top Coat: Seals the polish, adds shine, and prevents chips. Look for a quick-dry formula!
Nail File: To shape your nails.
Cuticle Pusher: Gently push back cuticles for a clean look.
Cotton Balls/Pad & Polish Remover: For any mistakes or for cleaning up the nail bed.
Optional: Dotting tool, fine nail art brush, striping tape (for more advanced designs).
The Process: Achieving Flawless Maternity Nails at Home
Follow these simple steps for a salon-worthy manicure. Remember to work in a well-ventilated area!
1. Prep Your Nails:
Remove any old polish with polish remover.
Wash your hands to remove any residue.
Gently push back your cuticles using a cuticle pusher. Avoid cutting them, especially if your hands are sensitive.
Shape your nails using a nail file. Always file in one direction to prevent splitting. Opt for a softer shape like a squoval or rounded square, which are less prone to snagging.
2. Apply Base Coat:
Apply one thin layer of your base coat to each nail.
Let it dry for about a minute. This step is crucial for nail health and polish longevity.
3. Apply Color Polish:
Apply your first thin coat of your chosen maternity nail polish.
Start with a stroke down the center, then one on each side. This ensures even coverage without too much product.
Avoid painting too close to the cuticle or skin.
Let the first coat dry for at least 2-3 minutes. Patience here prevents smudges!
4. Apply Second Color Coat:
Apply a second thin coat of polish. This coat should deepen the color and even out any streaks.
Again, let it dry thoroughly. This is where most smudges happen, so take your time!
5. Add Your Design (Optional):
If you’re doing a simple design like dots or a line, do this now while the color coat is still slightly tacky but not wet.
Use your dotting tool, brush, or tape as planned.
Allow any design elements to dry for a few minutes.
6. Apply Top Coat:
Apply a generous layer of your topcoat over the entire nail, including the color and any design.
Make sure to cap the free edge of your nail by running the brush along the tip. This helps prevent chipping.
A quick-dry topcoat can significantly speed up the final drying time.
7. Final Touches & Drying:
If you have any polish on your skin, carefully clean it up with a small brush dipped in polish remover.
Let your nails dry for at least 15-20 minutes before engaging in activities that could smudge them. Using a quick-dry spray or dropping your hands into cool (not ice cold) water can help set the polish faster.
Maintaining your manicure: To extend the life of your manicure, avoid using your nails as tools and reapply a layer of topcoat every 2-3 days.
When to Escalate: Professional Salon Tips for Maternity Nails
While DIY is fantastic, sometimes a trip to the salon is a lovely treat. Here’s how to make sure your salon experience is comfortable and you get the maternity nails you love.
Choosing a Salon
Research: Look for salons with good reviews, especially mentioning hygiene and customer service. Online platforms like Yelp or Google Maps can be helpful.
Ventilation: Pay attention to the salon’s atmosphere. Is the air fresh, or is it thick with chemical smells? A well-ventilated salon is a good sign.
Hygiene: Observe if technicians wash their hands between clients and if tools appear clean and properly sterilized. Many salons now use disposable files and buffers.
Communicating Your Needs to Your Technician
Be Clear: Don’t hesitate to tell your technician you’re pregnant. They may offer specific tips or be extra mindful.
Polish Options: Ask if they have “3-free,” “5-free,” or “10-free” options available. Mention if you prefer specific shades or styles.
Designs: If you have a maternity nail design idea, bring a picture! This makes it much easier for the technician to replicate your vision.
Gentle Touch: If your hands or feet are swollen, let them know. They can adjust their pressure accordingly.
Health organizations often provide guidance on health during pregnancy. For example, resources from the American College of Obstetricians and Gynecologists (ACOG) can offer general health advice that may indirectly relate to beauty and wellness practices.
Nail Care During Pregnancy: Beyond Designs
Beyond just looking pretty, your nails might experience changes during pregnancy. Dryness, brittleness, or even faster growth are common. Here’s how to keep them healthy.
Moisturize, Moisturize, Moisturize: Use a good hand cream and cuticle oil daily. Pregnancy can lead to dry skin, and this extends to your nails and cuticles. Look for formulas with natural oils like jojoba, almond, or coconut oil.
Hydration is Key: Drinking plenty of water not only benefits your baby but also helps keep your skin and nails hydrated from the inside out.
Be Gentle: Avoid harsh chemicals and prolonged contact with water, which can dry out nails. Wear gloves when doing chores involving water or cleaning products.
Consider Prenatal Vitamins: A balanced diet and prenatal vitamins contribute to overall health, which includes strong nails. Talk to your doctor about what’s best for you.
For more detailed advice on prenatal nutrition and health, consulting with a healthcare provider is always recommended. They can offer personalized advice tailored to your pregnancy journey.
Maternity Nail Designs: A Table of Ideas
To help you visualize, here’s a quick reference table of some popular maternity nail design styles.
| Design Style | Description | Best For | Ease of DIY |
|---|---|---|---|
| Soft Pastels & Nudes | Calming solid colors like baby pink, powder blue, nude, or creamy white. | Everyday wear, sophisticated look, very pregnant-friendly. | Easy |
| Subtle Shimmer & Glitter | Delicate sparkle, glitter fading, or metallic accents. | Adding a touch of magic without being overwhelming. | Easy to Medium |
| Minimalist Dots & Lines | Clean, simple geometric accents like dots, stripes, or half-moons. | Modern, chic look; quick and easy to execute. | Easy to Medium |
| Delicate Florals & Nature | Small, simple floral patterns, leaves, or other nature-inspired art. | Celebrates new life and growth; very feminine. | Medium to Hard |
| Accent Nail Focus | One nail features a different color, finish, or simple design. | Experimenting with trends; subtle statement. | Easy |
| “Baby on Board” Theme | Tiny baby-themed icons (like booties, pacifiers, storks). | For those who love a cute, thematic touch. | Medium to Hard (or uses stickers) |
Frequently Asked Questions About Maternity Nail Designs
Q1: Is it safe to get my nails done during pregnancy?
A: Yes, for the most part. The biggest concerns are ventilation and exposure to certain chemicals. Always ensure you are in a well-ventilated