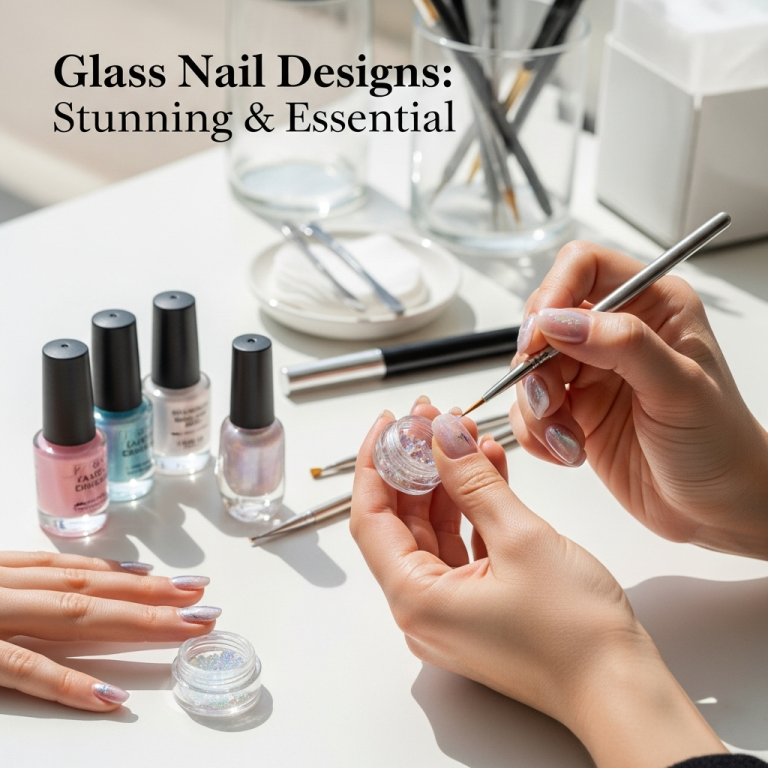
Create stunning marble gel nails at home with this easy, step-by-step guide! Learn the essential tools and techniques to achieve a professional, luxe look, perfect for beginners. Elevate your manicure game today!
Ever admired those gorgeous, swirling marble nails and thought, “I could never do that!”? Well, get ready to be amazed because creating a beautiful marble gel nail effect is totally achievable, even if you’re just starting out with nail art. It’s a design that looks incredibly chic and sophisticated, making your nails feel like a work of art, but it doesn’t require advanced skills.
The secret is a few simple gel polish techniques and a bit of practice. We’ll break down everything you need, from the best gel polishes to use, to the exact steps to get those perfect, flowing lines. Forget complicated tools and hours of practice; we’re making this trendy nail design accessible and fun for everyone. Let’s dive in and unlock your inner nail artist!
What You’ll Need: Your Marble Gel Nail Toolkit
Before we get our hands on our nails, let’s gather our supplies. Think of this as your essential artist’s palette for creating those elegant marble swirls. Having the right tools makes all the difference, turning a potentially messy process into a smooth, enjoyable one.
Here’s a rundown of what you’ll need:
- Base Gel Polish: A good quality base coat is crucial for protecting your natural nails and ensuring your gel polish adheres properly.
- White Gel Polish: This will be your primary “marble” color. Choose a highly pigmented, opaque white for the best contrast.
- Veining Gel Colors: Select a few complementary gel polish colors for your marble veins. Popular choices include black, grey, or even metallic shades like gold or rose gold.
- Gel Top Coat: A non-wipe (no-sticky-residue) top coat is ideal to seal your design and give it a high shine without needing to cleanse it.
- UV/LED Gel Lamp: This is essential for curing (hardening) your gel polish layers. Make sure it’s powerful enough for gel polishes.
- Detail Nail Art Brush: A fine-tipped brush is perfect for drawing the delicate veins of your marble design.
- Alcohol Wipes or Cleanser: For cleaning your brush between colors and removing any residue.
- Nail Cleanser or Rubbing Alcohol: To prep your nails before applying polish and for any cleanup.
- Cotton Pads/Lint-Free Wipes: For application and cleaning.
- Optional: Acetone: For more stubborn mistakes or for cleaning brushes thoroughly when done.
Having these on hand ensures you’re prepped and ready to create some beautiful marble nails. Quality matters, but don’t worry; you don’t need the most expensive brands to get great results, especially when you’re starting out!
Step-By-Step: Creating Your Marble Gel Nail Masterpiece
Now for the fun part! We’re going to walk through each step to create that luxurious marble effect. Remember, gel polish needs to be cured under a UV/LED lamp after each application, so keep that handy. It’s all about layering and light touches.
Step 1: Prep Your Nails for Perfection
Like any great manicure, starting with clean, prepped nails is key. This ensures your gel polish adheres well and lasts longer.
- Cleanse Your Nails: Use nail cleanser or rubbing alcohol on a lint-free wipe to remove any oils or debris from your natural nails.
- Apply Base Coat: Apply a thin, even layer of your base gel polish. Ensure you cap the free edge (paint along the tip of the nail) to prevent chipping.
- Cure: Place your nails under your UV/LED lamp according to the polish manufacturer’s instructions (usually 30-60 seconds).
Step 2: Laying the Foundation – The White Canvas
We’ll start with a solid white base, which is perfect for showing off the marble veins.
- Apply White Gel Polish: Apply a thin coat of your white gel polish. Don’t worry if it’s not perfectly opaque with one coat; we’ll do two.
- Cure: Cure under your UV/LED lamp.
- Apply Second Coat: Apply another thin, even layer of white gel polish for full opacity.
- Cure: Cure under your UV/LED lamp.
Step 3: Creating the Marble Veins
This is where the magic happens! We’ll use a detail brush to draw thin, natural-looking lines. The key is to be free-flowing and not too perfect.
- Load Your Brush: Dip your fine-tipped nail art brush into one of your veining gel colors (e.g., black). You only need a tiny amount of polish on the tip of the brush.
- Draw Your Lines: Gently touch the brush to the white surface of your nail and draw thin, wispy, irregular lines. Think about how actual marble veins look – they aren’t straight or uniform. Vary the thickness and direction of your lines. You can make them short and sharp, or long and flowing.
- Add More Colors (Optional): If you’re using multiple veining colors, repeat the process with another color, letting the lines overlap or run alongside your first color. Remember, less is more here; you’re creating subtle accents.
- Don’t Cure Yet! We need to manipulate the lines before they set.
Step 4: Marbling the Veins
Now, we’ll blend and soften those lines to create the signature marble effect. This step is crucial for achieving a natural look.
- Clean Your Brush: Clean your nail art brush thoroughly with alcohol. It needs to be almost completely dry, with just a hint of moisture from the alcohol. This is important so it doesn’t pick up too much color.
- Gently Smudge and Blend: Lightly drag your brush across the drawn lines. The goal isn’t to erase them, but to soften their edges and create a subtle diffusion, making them look like they are part of the base color. Think of it as gently pulling and swirling the lines without mushing them.
- Work Quickly: Gel polish can start to cure under the lamp heat or air, so work relatively quickly in this blending stage.
- Cure: Once you’re happy with the marbled effect, place your nails under the UV/LED lamp to cure. This locks in your design.
Step 5: Seal and Shine with Top Coat
The final touch to protect your design and give it that enviable gloss!
- Apply Top Coat: Apply a layer of your gel top coat, making sure to cap the free edge again. If you’re using a non-wipe top coat, you don’t need to worry about any sticky residue.
- Cure: Cure under your UV/LED lamp for the recommended time.
- Admire! Once cured, your marble gel nails are complete!
Tips for Achieving Perfect Marble Gel Nails
Achieving that flawless marble look is all about practice and a few clever tricks. Don’t get discouraged if your first attempt isn’t exactly what you envisioned. Every nail artist has had a “learning curve”!
Here are some pro tips to help you elevate your marble gel nail game:
- Less is More with Color: When drawing your veins, use a very small amount of gel polish on your brush. It’s easier to add more than to take away.
- Brush Control is Key: Practice drawing thin, varied lines on a piece of paper before moving to your nails. This helps you get a feel for the pressure and flow.
- Work on One Nail at a Time: Gel polish cures under the lamp, not in the air. Apply your base colors, draw your veins, blend, and cure each nail individually. This gives you ample time for each step without the gel setting too quickly.
- Use a “Damp” Brush for Blending: Ensure your blending brush is clean and only slightly damp with alcohol. A brush that’s too wet will remove too much color, and one that’s too dry might not blend effectively.
- Consider Different Techniques: For a softer, more diffused marble, you can also try applying tiny dots of your veining colors onto the wet white base coat and then gently swirling them with your detail brush or a toothpick.
- Experiment with Color Palettes: While white with black or grey is classic, don’t be afraid to try other combinations. Think pastels, deep jewel tones, or even metallic foils layered within the marble! For inspiration on color theory, resources from reputable institutions like CU Boulder’s Art Department offer great insights into complementary and analogous colors.
- Practice Makes Progress: Seriously, every time you do it, you’ll get better. Try it on artificial nail tips first if you’re nervous about your natural nails.
Marble Gel Nail vs. Other Marble Techniques
While gel polish offers durability and shine, “marble” effects can be achieved with various nail products and methods. Understanding the differences can help you choose the best technique for your skill level and desired outcome.
Here’s a quick comparison:
| Technique | Pros | Cons | Best For |
|---|---|---|---|
| Gel Polish Marble | Durable, long-lasting, high shine. Can be easily corrected before curing. Cures hard, avoiding smudging. | Requires UV/LED lamp. Can be tricky to blend if left too long before curing. | Anyone wanting a salon-quality, long-lasting marble look at home. Beginners who want a forgiving design. |
| Regular Polish Marble (Water Marbling) | Does not require a UV/LED lamp. Can create very intricate, organic patterns. | Messy process, requires practice. Regular polish chips more easily than gel. Can be difficult to get clean lines. | DIY enthusiasts who don’t have a gel lamp and enjoy a more experimental process. |
| Acrylic Paint Marble | Can be used over gel or regular polish. Acrylics dry fast and allow for fine details. Easy to clean mistakes with water when wet. | Can look more flat than gel or other mediums if not sealed properly. Requires a top coat to seal and add shine. | Nail artists who want precise, detailed veins and can work quickly with acrylics. |
| Stamping Plate Marble | Extremely fast and consistent results. Creates perfect, repeatable marble patterns. | Limited to the designs on the stamping plates. Requires special stamping polish for best results. | Busy individuals who want a perfect marble look quickly and consistently. |
For beginners looking for a blend of ease, beautiful results, and longevity, the marble gel nail design is often the most rewarding. It strikes a great balance between accessibility and a professional finish.
Troubleshooting Common Marble Gel Nail Issues
Even with the best intentions, sometimes things don’t go quite as planned. Don’t worry! Most marble gel nail woes are easily fixable with a little knowledge.
Here are some common issues and how to solve them:
- Veins Blending Too Much/Disappearing:
- Cause: You may be using too much pressure when blending, or your brush is too wet.
- Solution: Use a lighter touch when blending. Ensure your brush is clean and only slightly damp with alcohol, not dripping wet. You can also try drawing your veins slightly thicker next time.
- Lines Are Too Thick or Chunky:
- Cause: You’ve loaded too much gel polish onto your brush.
- Solution: Practice loading your brush with just a tiny bead of color. Wipe off any excess onto a lint-free wipe before applying to the nail. For the current nail, you might need to carefully try to “pull” the lines thinner with your clean brush.
- Uneven or Patchy Marble Effect:
- Cause: Inconsistent blending or curing issues.
- Solution: Ensure you are blending evenly across all the veins. After blending, cure your nails immediately to lock in the effect. If the base white color looks patchy, you may need an extra thin coat of white before adding veins.
- Gel Polish Not Curing Properly (Gummy or Smudgy):
- Cause: Lamp is too weak, or polish layers are too thick.
- Solution: Ensure your UV/LED lamp is functioning correctly and is powerful enough for gel polishes. Apply gel polish in thin, even coats, as thick layers can prevent proper curing. You might also need to increase your curing time slightly. Check the manufacturer’s instructions for your specific gel polish.
- Bubbles in the Polish:
- Cause: Shaking gel polish bottles vigorously, or applying too thinly.
- Solution: If you’ve shaken the bottle, let it sit for a few minutes to allow bubbles to rise. Roll the bottle gently between your hands instead of shaking. Apply gel polish in smooth, even strokes.
Remember, troubleshooting is part of the learning process! Each attempt helps you understand the products and techniques better.
Frequently Asked Questions About Marble Gel Nail Design
Got more questions? We’ve got answers to help you become a marble gel nail pro!
Q1: Can I use regular nail polish for the marble effect with gel top coat?
A: While you can use regular polish for the marble design before applying a gel top coat, it won’t last as long or have the same durable, high-shine finish as a full gel system. For the best results and longevity, it’s recommended to use all gel products.
Q2: How do I make my marble veins thinner?
A: To achieve thinner veins, use a very fine-tipped detail brush and load it with only a tiny amount of gel polish. Practice drawing light, wispy strokes. Gentle pressure and a clean, slightly damp brush for blending will also help keep lines delicate.
Q3: What if I don’t have a detail brush? Can I use a toothpick?
A: Yes, a toothpick can work in a pinch! It’s great for swirling colors for a more abstract marble look. For defined lines, a fine brush is usually better, but you can try to use the very tip of the toothpick to draw thin lines, or use it to gently swirl the already applied lines.
Q4: How long does marble gel nail polish last?
A: When applied correctly using a full gel system (base, color, top coat) and cured properly, marble gel nails can last anywhere from two to three weeks without chipping or peeling. Proper nail prep significantly impacts longevity.
Q5: Can I do this on my natural nails, or just nail tips?
A: Absolutely! This marble gel nail design works beautifully on both natural nails and artificial tips. The technique is the same, just ensure your natural nails are healthy and properly prepped before application.
Q6: How do I clean my nail art brushes after using gel polish?
A: After cleaning off excess polish with an alcohol wipe, immediately soak your brushes in acetone until all gel residue is dissolved. Then, rinse them with soap and water and reshape them before allowing them to dry completely. Store them upright or flat to maintain their shape.
Q7: My marble looks too muddy. How can I prevent this?
A: “Muddy” often happens when the colors blend too much or when you over-work the blending process. Try to blend your veining colors very gently and quickly. Ensure your blending brush is clean and not overloaded with color. Sometimes, using contrasting colors that are very different in tone (like stark white and black) can help prevent muddiness compared to close shades.
Conclusion: Your Beautiful Marble Gel Nails Await!
There you have it! You’ve unlocked the secrets to creating your own stunning marble gel nail designs right at home. We’ve walked through the necessary tools, the step-by-step process from prepping your nails to sealing in that gorgeous shine, and even shared some handy tips and troubleshooting advice to ensure your success. Remember, nail art is a journey, and with each application, you’ll find your confidence and skills grow.
Don’t be afraid to experiment with different color combinations and vein patterns to truly make the design your own. Whether you’re opting for classic monochromatic swirls or vibrant, bold hues,


