Manga kawaii nails are an adorable and fun way to express your love for Japanese pop culture, featuring pastel colors, cute characters, and sweet embellishments. This guide breaks down how to achieve these charming looks at home, from choosing your style to applying the finishing touches.
Ever looked at those impossibly cute nails in anime and wished you could have them too? Manga and kawaii nail art can feel a bit intimidating, especially if you’re new to nail design. But don’t worry! Creating these adorable looks is totally achievable, and super fun. It’s all about embracing playful colors, darling characters, and tiny, sweet details. Get ready to transform your fingertips into miniature works of art that sparkle with personality and charm. We’ll walk through everything you need to know, from gathering your supplies to mastering the techniques. Let’s dive into the delightful world of manga kawaii nails!
What Exactly Are Manga Kawaii Nails?
Manga kawaii nails are a vibrant and playful nail art style inspired by the aesthetics of Japanese manga (comics) and the concept of “kawaii,” which means cute, adorable, or lovable. This style is characterized by:
- Bright and Pastel Color Palettes: Think soft pinks, baby blues, mint greens, lilacs, and creamy yellows.
- Cute Characters: Designs often feature beloved manga and anime characters, original cute creatures, or classic kawaii icons like teddy bears, bunnies, and stars.
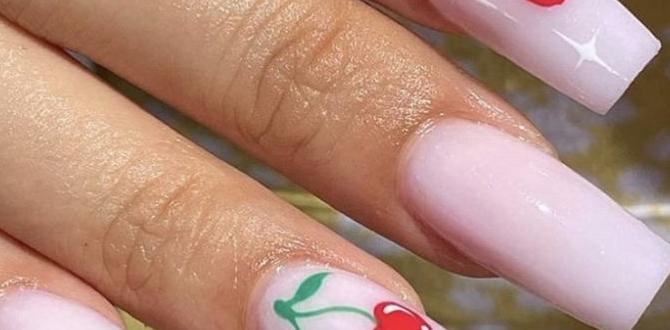
- Sweet Motifs: Hearts, stars, bows, polka dots, fruits (like strawberries and cherries), and tiny sweets are very common.
- Embellishments: Glitter, rhinestones, pearls, charms, and even small 3D sculpted elements add extra sparkle and dimension.
- Playful Textures and Finishes: This can include glossy finishes, matte tops, holographic glitters, and iridescent effects.
The overall vibe is cheerful, whimsical, and bursting with personality. It’s a fantastic way to add a touch of joy and self-expression to your everyday look.
Getting Started: Your Manga Kawaii Nail Toolkit
Before you start painting, let’s gather the essentials. You don’t need a whole professional salon, but a few key tools will make your manga kawaii nail journey much smoother and more enjoyable. Here’s a breakdown of what you’ll need:
Essential Tools and Supplies
- Base Coat: Protects your natural nails and helps polish adhere better. Look for a nourishing or strengthening base coat if your nails need a little TLC.
- Top Coat: Seals your design, adds shine, and increases longevity. A quick-dry top coat is a lifesaver for busy bees!
- Nail Polish Colors: A good selection of opaque pastels and brights is crucial. Don’t forget white for details and black for outlines.
- Detail Brushes: Very fine-tipped brushes are essential for drawing small characters, lines, and intricate details. A set with various tip sizes is ideal.
- Dotting Tools: These have small metal balls at the end in different sizes, perfect for creating dots, small flowers, and even tiny eyes.
- Tweezers: For precisely placing small embellishments like rhinestones, pearls, or charms.
- Nail File and Buffer: To shape your nails and smooth the surface for a clean canvas.
- Cuticle Pusher/Wood Stick: To gently push back cuticles for a neat appearance.
- Lint-Free Wipes: For cleaning up excess polish and preparing the nail surface.
- Rubbing Alcohol or Nail Polish Remover: To cleanse nails and remove stray polish.
- Optional Embellishments: Glitters, rhinestones, pearls, small charms, and glitter loose powders.
Choosing Your Style: Finding Your Kawaii Vibe
Manga kawaii nails aren’t one-size-fits-all! There are many sub-styles to explore. Think about what you love most:
- Character-Focused: Are you obsessed with Hello Kitty, Totoro, or a specific anime character? This style involves painting or using stickers of these beloved figures.
- Sweet & Sweetheart: This leans into classic kawaii elements like hearts, bows, polka dots, and pastel gradients.
- Pastel Dream: Focuses on soft, dreamy color combinations and sometimes subtle holographic or iridescent finishes.
- Foodie Fun: Think tiny strawberries, cute donuts, or ice cream cones painted on your nails.
- Magical Girl Chic: Inspired by magical girl anime, this often involves stars, moons, glitter, and transformation motifs, usually in shimmery pastels.
Consider your personal style and what kind of statement you want to make. Are you going for subtle sweetness or bold, character-driven art? You can even mix and match!
Step-by-Step Guide: Creating Manga Kawaii Nail Designs
Let’s get creative! This guide will walk you through a simple but effective character design. We’ll use a cute, generic bear as an example, but you can adapt these steps for any character or motif.
Step 1: Prep Your Nails
A good manicure starts with excellent prep. For the best results and longevity, follow these steps:
- Cleanse: Remove any old nail polish.
- Shape: File your nails to your desired shape (squoval, round, or almond are popular).
- Smooth: Gently buff the nail surface to create a smooth canvas. Don’t over-buff!
- Cuticle Care: Gently push back your cuticles with a cuticle pusher or wood stick.
- Cleanse Again: Wipe each nail with rubbing alcohol or a lint-free wipe to remove any dust or oils. This ensures your polish will adhere properly.
Step 2: Apply Base Coat
Apply one thin layer of your base coat. This protects your natural nails from staining and provides a sticky surface for your color polish to grip onto. Let it dry completely.
Step 3: Apply Base Color(s)
Now for the fun part! Apply 2-3 thin coats of your chosen base color(s). For a layered look, consider a different pastel color on each nail. If you’re aiming for a smooth gradient, that requires a slightly different technique we can cover later. Ensure each coat is dry before applying the next.
Step 4: Sketch Your Design (Optional but Recommended)
If you’re new to nail art, it can be helpful to sketch your design on paper first. For our bear example, picture a simple circle for the head, two smaller circles for ears, and a small oval for the nose on a separate nail. This helps you visualize placement and proportions before you commit to paint.
Step 5: Painting the Character
This is where your detail brushes come in. Let’s paint a simple bear face:
- Outline: Using a fine-tipped black brush and a bit of black polish, carefully paint the outline of your bear’s head on one nail. Don’t worry about perfection; a slightly imperfect line adds to the charm!
- Fill In: While the black outline is still wet (or after it dries, depending on your preference and product), use a small brush to fill in the head shape with your base color (e.g., a soft brown or cream). You can also use opaque white for a clean base if your polish isn’t fully opaque.
- Ears: On the same nail, paint two small circles above the head outline for ears, using the same filling color.
- Facial Features:
- Nose: Use a dotting tool or a fine brush to paint a small semi-circle or heart shape for the nose in a contrasting color (like pink or brown).
- Eyes: Paint two small dots for eyes above the nose either in black or white, then add a tiny white dot on top of black eyes with a tiny dotting tool to make them look shiny.
- Mouth (Optional): A tiny curved line below the nose can make a simple smile.
Pro Tip: Keep your polish consistency light. Overly thick polish can be hard to control and may clump. If your polish is too thick, add a tiny drop of nail polish thinner (not remover, as that can break down the polish) to your palette.
Step 6: Adding Kawaii Details and Embellishments
Now, let’s bring the kawaii factor up! On other nails, or even on the same character nail, add some sweet details:
- Dots: Use a dotting tool to create evenly spaced polka dots in contrasting colors.
- Hearts: Paint small hearts with a fine brush.
- Stars: Use a fine brush or star-shaped glitter.
- Glitter Accents: Apply a layer of glitter polish to an accent nail or over parts of your design.
- Rhinestones/Pearls: Use your tweezers and a tiny dot of top coat or nail glue to attach small rhinestones or pearls to create sparkle or embellishments like the center of a flower.
Step 7: Apply Top Coat
Once all your polish and embellishments are completely dry, apply a generous layer of top coat. This not only protects your artwork but also gives your nails a beautiful, glossy finish. Be sure to cap the free edge of your nails (paint a thin stroke along the tip) to prevent chipping. Let it dry thoroughly.
Exploring Different Kawaii Nail Art Techniques
Beyond simple character painting, there are several techniques that contribute to the magical manga kawaii aesthetic. Don’t be afraid to experiment!
Pastel Gradients
Gradients, or ombré effects, create a smooth transition between colors, giving a dreamy, soft look. For a simple gradient:
- Apply your base colors to the nail as usual.
- On a makeup sponge (a clean eyeshadow sponge works well), dab your chosen pastel colors next to each other.
- Gently dab the sponge onto your nail, layering the colors. You may need to reapply colors to the sponge and dab a few times to get a smooth blend.
- Clean up any excess color on your skin with a brush dipped in remover.
- Once dry, apply a top coat to smooth out the sponged texture.
Sticker and Decal Application
For beginners or those short on time, high-quality nail stickers and decals are your best friend. You can find them featuring all your favorite characters and kawaii motifs.
- Apply your base polish and let it dry completely.
- Carefully peel the sticker from its backing using tweezers.
- Place the sticker onto your nail, gently pressing down from the center outwards to avoid air bubbles.
- Apply a top coat over the sticker to seal it and prevent peeling. Ensure the edges are well-covered.
Many professional nail artists use these techniques. Find resources on reputable nail art supply sites or even through educational platforms.
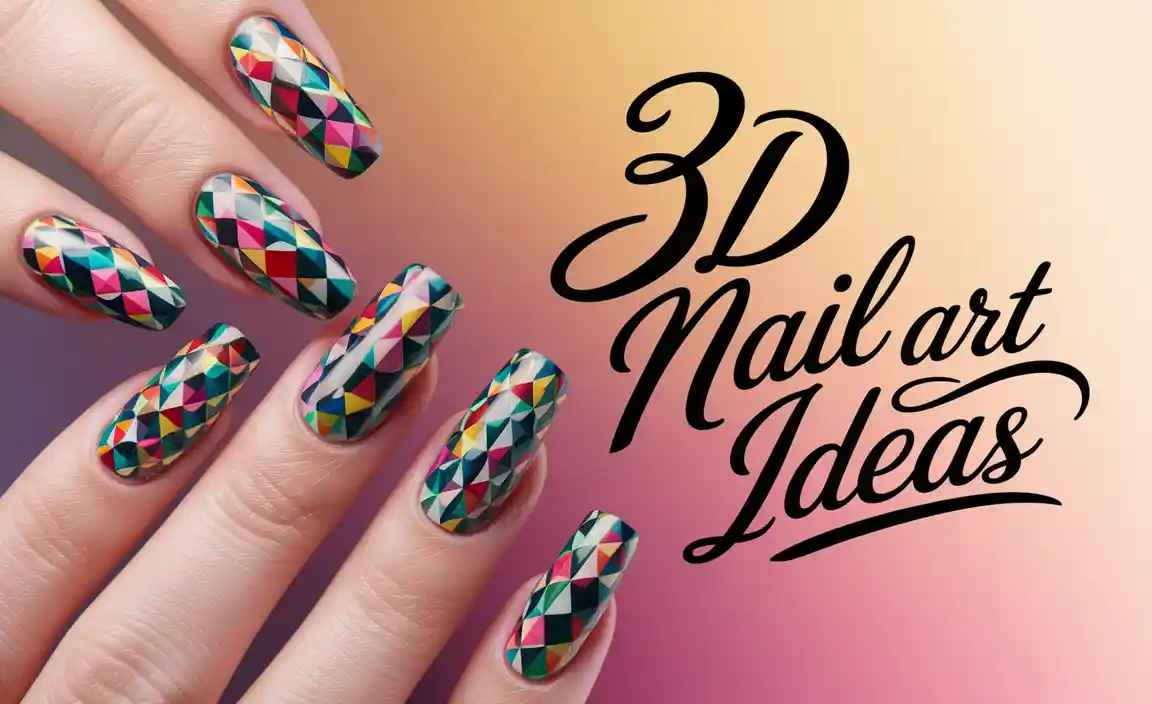
3D Elements with Acrylic or Gel
For truly dimensional designs, experienced artists use acrylic or gel products to sculpt tiny charms, bows, or characters right onto the nail. This takes practice and specialized materials:
- Acrylic Powder and Monomer Liquid: Used to create sculpted pieces by mixing them into a bead.
- Builder Gel: A thicker gel polish that can be sculpted.
- UV/LED Lamp: Required to cure gel products.
While impressive, this is an advanced technique. For beginners, focus on painting and flat embellishments first.
Troubleshooting Common Manga Kawaii Nail Issues
Even with the cutest designs, sometimes things don’t go as planned. Here are a few common hiccups and how to fix them:
- Smudged Polish: If you smudge a design while it’s still wet, use a clean brush dipped in nail polish remover to gently “erase” the smudge and repaint the affected area. For dry polish, you might need to carefully re-paint the detail.
- Wobbly Lines: Don’t strive for absolute perfection! Embrace the slight wobble – it adds character. If it’s truly distracting, try to carefully paint over it with your base color and redraw the line. A steady artistic hand can be developed with practice and proper grip on your brush.
- Bubbles in Polish: This is usually caused by applying polish too thickly or in humid conditions. If you notice bubbles, let the coat dry, gently buff them down, and apply another thin coat.
- Embellishments Falling Off: Ensure you’re using enough top coat to secure them. For larger charms, a tiny dot of nail glue before applying top coat can provide extra hold. Always make sure the nail surface is clean and dry before applying embellishments.
Maintaining Your Adorable Manga Kawaii Nails
Once your masterpiece is complete, you’ll want it to last! Here’s how to keep your kawaii nails looking fresh:
- Be Gentle: Avoid using your nails as tools (like opening cans or scraping things).
- Moisturize: Keep your hands and cuticles hydrated with cuticle oil and hand cream. Healthy cuticles make any nail art look better.
- Gloves for Chores: Wear gloves when doing dishes, cleaning, or any task that involves prolonged water exposure or harsh chemicals.
- Reapply Top Coat: If you notice your top coat losing its shine after a week or so, you can carefully add another thin layer to refresh it.
FAQ: Your Manga Kawaii Nail Questions Answered
Q1: How do I get my nail polish to stay on longer?
A: Start with clean, oil-free nails. Use a good base coat and a quality top coat. Apply polish in thin layers and always cap the free edge (paint the tip of your nail). Avoid soaking your hands in water, and wear gloves for chores.
Q2: What are the best colors for kawaii nails?
A: Pastel shades like baby pink, sky blue, mint green, lilac, and soft yellow are classic. Bright, cheerful colors and classic white for details also work wonderfully. Don’t forget black for outlines!
Q3: Can I do manga kawaii nails if I’m a beginner?
A: Absolutely! Start with simple designs like polka dots, hearts, or single characters. Nail stickers and decals are fantastic for beginners to achieve complex looks easily.
Q4: How can I draw small characters like anime eyes?
A: Use a very fine-tipped detail brush. Practice drawing small dots and lines. For eyes, try painting a black dot, then adding a smaller white dot on top for a shiny highlight. Keep your strokes light and build up detail gradually.
Q5: What’s the difference between regular nail polish and gel polish for kawaii designs?
A: Regular polish air dries and is easier to remove but might chip sooner. Gel polish requires a UV/LED lamp to cure, lasts much longer (2-3 weeks), and is more resistant to chipping, making it great for detailed artwork that needs to stay put.
Q6: How do I clean up mistakes during nail art?
A: Keep a small brush (like a clean, fine-tipped art brush or even an old, clean makeup brush) handy. Dip it in nail polish remover and use it to carefully erase any smudges or stray marks before they dry.
Conclusion: Unleash Your Inner Kawaii Creator!
Creating manga kawaii nails is a delightful journey into a world of color, charm, and creativity. Whether you’re painting tiny happy faces, adorning your nails with sparkling stars, or showcasing your favorite anime characters, the goal is to have fun and express yourself. Remember, nail art is a form of personal expression, so don’t be afraid to experiment, make mistakes, and discover your unique kawaii style. With a few key tools, some practice, and a sprinkle of imagination, you can achieve adorable, eye-catching manga kawaii nails that are sure to bring a smile to your face and everyone who sees them!

