Acrylic nails have become a popular trend in the world of beauty, providing individuals with the opportunity to enhance the look and feel of their natural nails.
While various shapes and designs exist, oval-shaped acrylic nails have gained significant attention for their elegant and sophisticated appearance. However, achieving the perfect oval shape can be daunting for many, especially for those new to the world of acrylic nails.
Here, we will guide you through how to make oval shaped acrylic nails with a drill. We have covered you, from gathering materials to using the drill to shape the nail. We will also answer some commonly asked questions, such as how long nails should be for an oval shape, whether you need a special drill for acrylic nails, and which drill bit to use for acrylic.
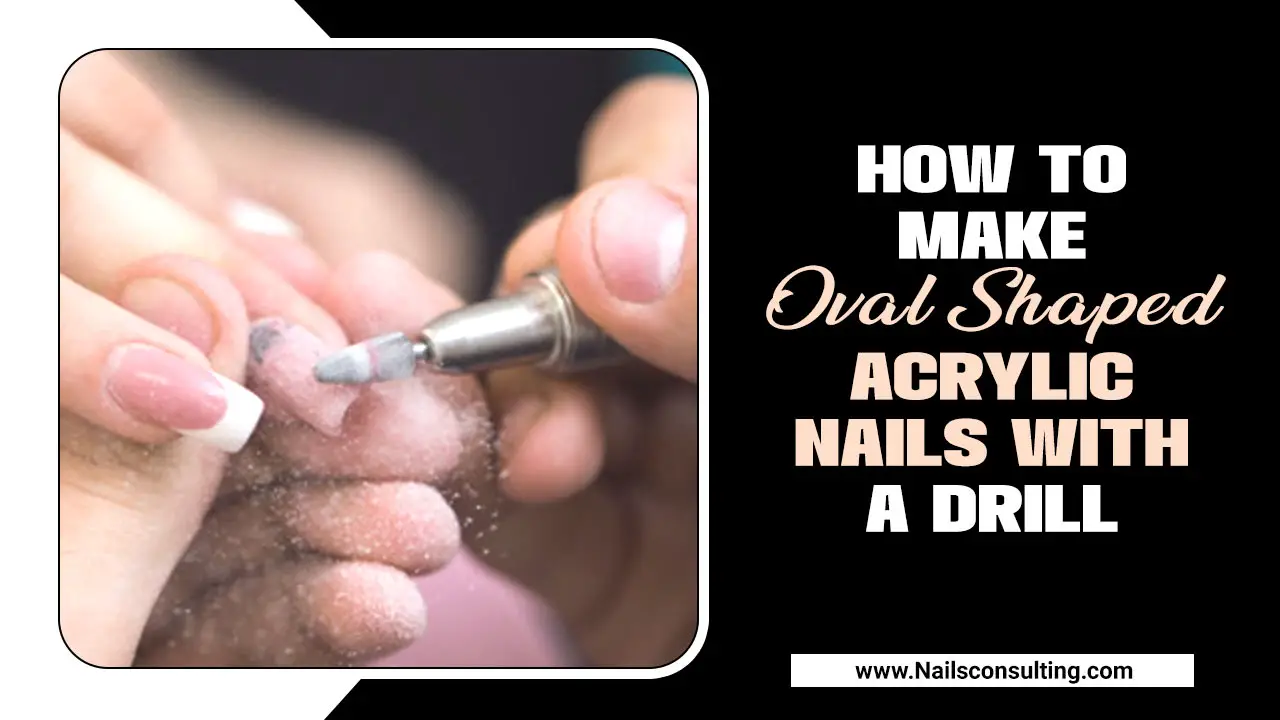
What Is Oval Nail Shape?
Oval nail shape is a popular choice for those looking for a classic and elegant manicure. As the name suggests, this nail shape features a rounded tip that resembles an oval shape. Oval nails are versatile and can be customized to suit individual preferences, whether you prefer shorter or longer lengths.
This shape is often favoured for its ability to elongate the fingers and create a feminine look. Additionally, oval nails are less prone to breakage compared to other shapes, making them a practical option for those with weaker nails. Whether you’re going for a subtle and understated look or want to showcase some intricate nail art, oval nails are a timeless choice that never goes out of style.
How To Make Oval Shaped Acrylic Nails With A Drill: Step-By-Step Guide
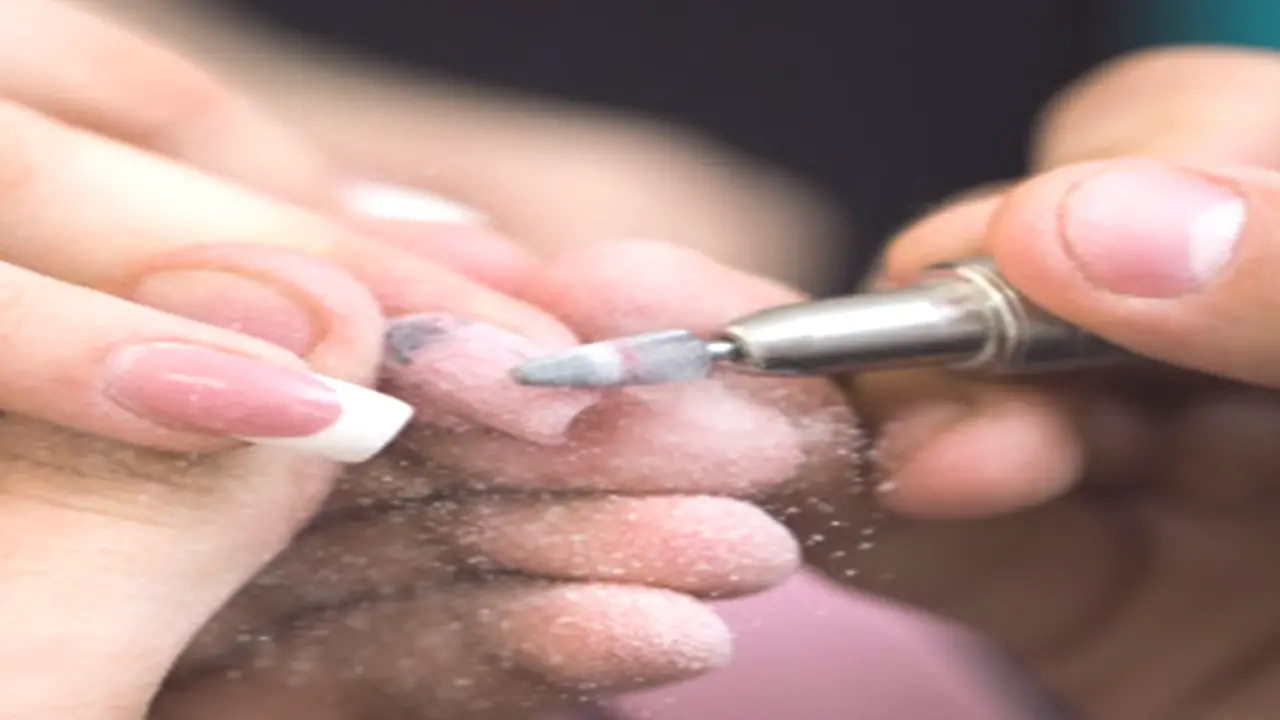
Creating oval-shaped acrylic nails with a drill can give your nails a sleek and elegant look. Practice makes perfect when using a drill for nail shaping. It’s important to take caution and go slowly to avoid accidents or damage to your natural nails. Acrylic nails have become increasingly popular due to their versatility and durability.
These artificial nails are made by mixing a liquid monomer with a powdered polymer, which creates a thick paste that can be shaped and moulded onto the natural nail. Once applied, the acrylic hardens and strengthens, providing a protective layer for the natural nail underneath. Here is a step-by-step guide on how to make oval shaped acrylic nails with a drill:
Gathering Materials And Preparing Workspace
Before you begin making oval-shaped acrylic nails with a drill, gathering all the necessary materials and preparing your workspace is important. By gathering all the necessary materials and setting up your workspace properly, you can ensure that you have everything you need to create beautiful oval-shaped acrylic nails using a drill. Here are some steps to help you get started:
- Gather the materials: You will need an electric nail drill, acrylic powder and liquid, a brush, a cuticle pusher, a nail file, a buffer block, nail tips or forms, a dapper dish or a small glass jar for the liquid monomer, and a towel or paper towels to keep your workspace clean.
- Prepare your workspace: Find a well-ventilated area with good lighting. Lay down a towel or paper towel to catch any spills or debris. Ensure you have easy access to all your materials and that they are clean and organized.
- Sanitize your tools: Before you start working on your nails, it is important to sanitize all of your tools. Use rubbing alcohol or an antiseptic spray to clean your drill bits, brush, cuticle pusher, and other tools.
- Set up your drill: Attach the appropriate drill bit for shaping acrylic nails to your electric nail drill. Make sure it is securely in place before turning on the drill.
Preparing Natural Nails
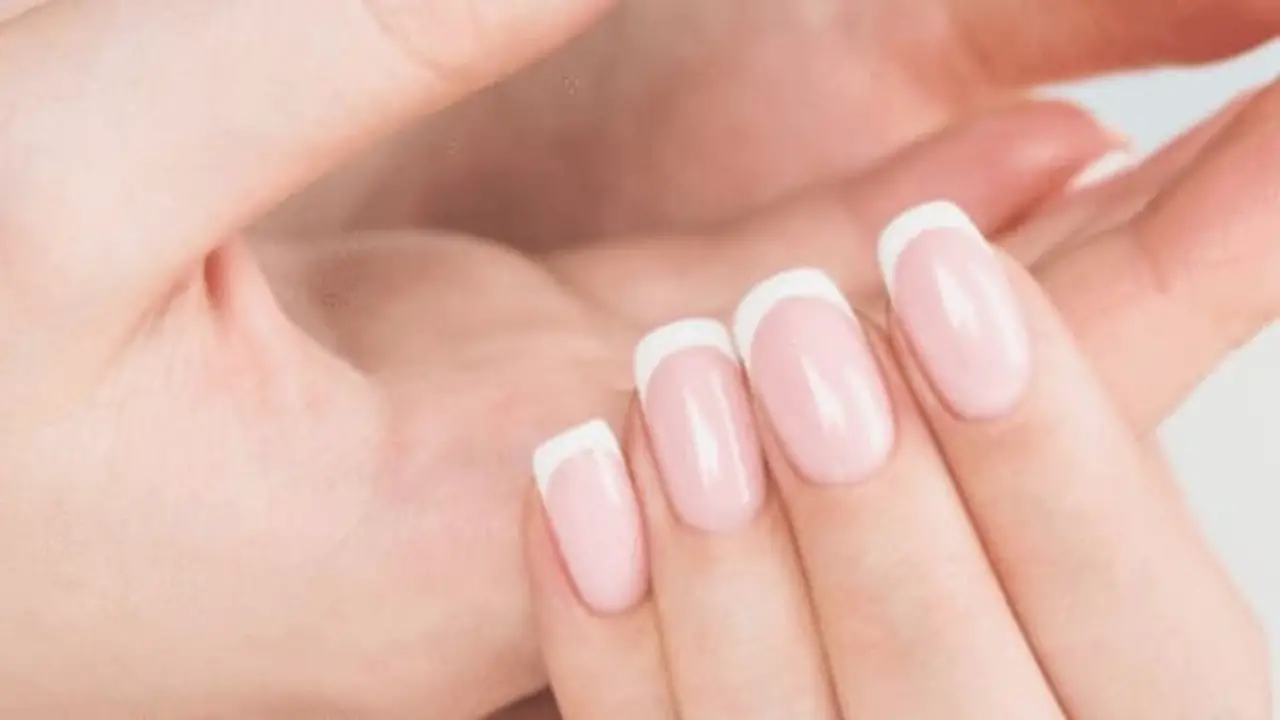
To prep your natural nails for acrylic application, remove any existing polish and clean them thoroughly. Next, trim and file your nails to your desired shape and length, considering the oval nail look you want to achieve. Gently push back the cuticles using a cuticle pusher or orange stick.
To ensure proper acrylic adhesion, buff the nails’ surface. Finally, apply a dehydrating agent to remove any remaining oils or moisture from the nail bed. By following these steps, you’ll create a perfect foundation for your oval-shaped acrylic nails. Nail care is crucial to achieving salon-worthy results, even when using fake nails.
Selecting Nail Tips Or Forms
When making oval-shaped acrylic nails with a drill, selecting the right nail tips or forms is crucial. By carefully selecting the right nail tips or forms and practising your technique, you’ll be on your way to creating beautiful oval-shaped acrylic nails with ease. Here are some key points to consider:
- Nail Tips: If you prefer using nail tips, look for ones with a natural curve and shape closely resembling the desired oval shape. Please make sure they are the correct size for your natural nails and fit securely without any gaps.
- Nail Forms: If you prefer using nail forms, choose ones specifically designed for creating oval shapes. These forms typically have a curved edge that helps guide the acrylic application and achieve the desired shape.
- Customization: Remember that both nail tips and forms can be customized to achieve the perfect oval shape. You can file and shape them further to match your desired style.
- Practice: It’s important to practice your technique before attempting to create oval-shaped acrylic nails with a drill. This will help you get comfortable with the process and ensure better results.
Applying Nail Tips Or Forms
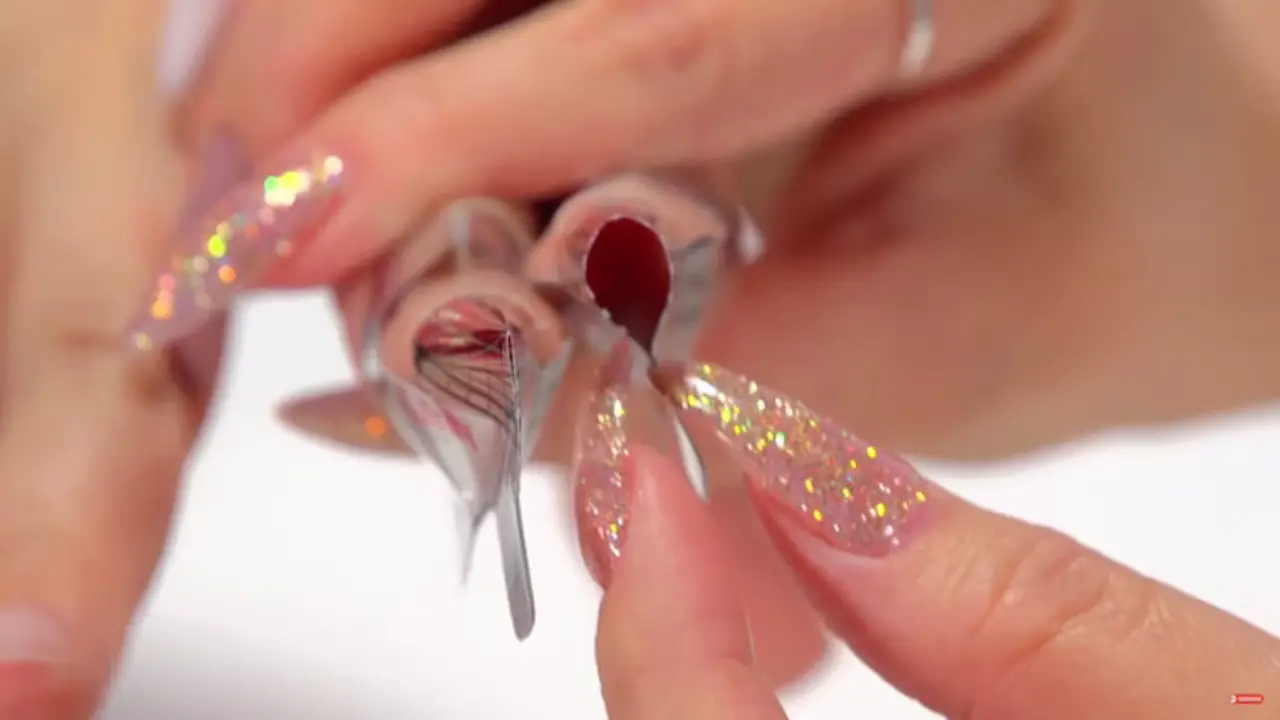
When using a drill to create oval-shaped acrylic nails, there are two main methods you can choose from applying nail tips or using forms. Always prioritize safety when working with a drill, following proper usage instructions and taking necessary precautions such as wearing protective goggles and keeping hands steady during operation. Here is a step-by-step guide for each method:
Applying Nail Tips:
- Prep the natural nails by removing existing polish and pushing back the cuticles.
- Select the appropriate nail tips that match the size and shape you desire for your oval nails.
- Apply nail glue to the back of the tip and press it firmly onto the natural nail, ensuring it is properly aligned.
- Use a nail clipper or file to trim and shape the tips to achieve the desired oval shape.
- Use an electric drill with a sanding bit to refine and smooth any rough edges.
Using Forms:
- Start by prepping the natural nails, as mentioned above.
- Take a form and place it under the free edge of the natural nail, ensuring it is securely attached.
- Apply acrylic liquid and powder mixture onto the form, building up thickness gradually until you achieve your desired length.
- Shape and refine the acrylic using an electric drill with a sanding bit, carefully creating an oval shape.
- Once satisfied with the shape, remove the form gently, leaving behind a perfectly shaped oval acrylic nail.
Mixing Acrylic Solution
Mixing acrylic solutions is an important step in creating oval-shaped acrylic nails with a drill. You will need an acrylic liquid and an acrylic powder to mix the solution. Start by pouring a small amount of the liquid into a dapper dish or a small container.
Then, using a nail brush, dip it into the liquid and wipe off any excess on the side of the dish. Next, dip the brush into the acrylic powder and remove any excess powder. Mix the liquid and powder on your brush until it forms a smooth, creamy consistency. This mixture can be applied to your nails using a drill, helping you achieve those perfect oval-shaped acrylic nails you desire.
Applying Acrylic Nails
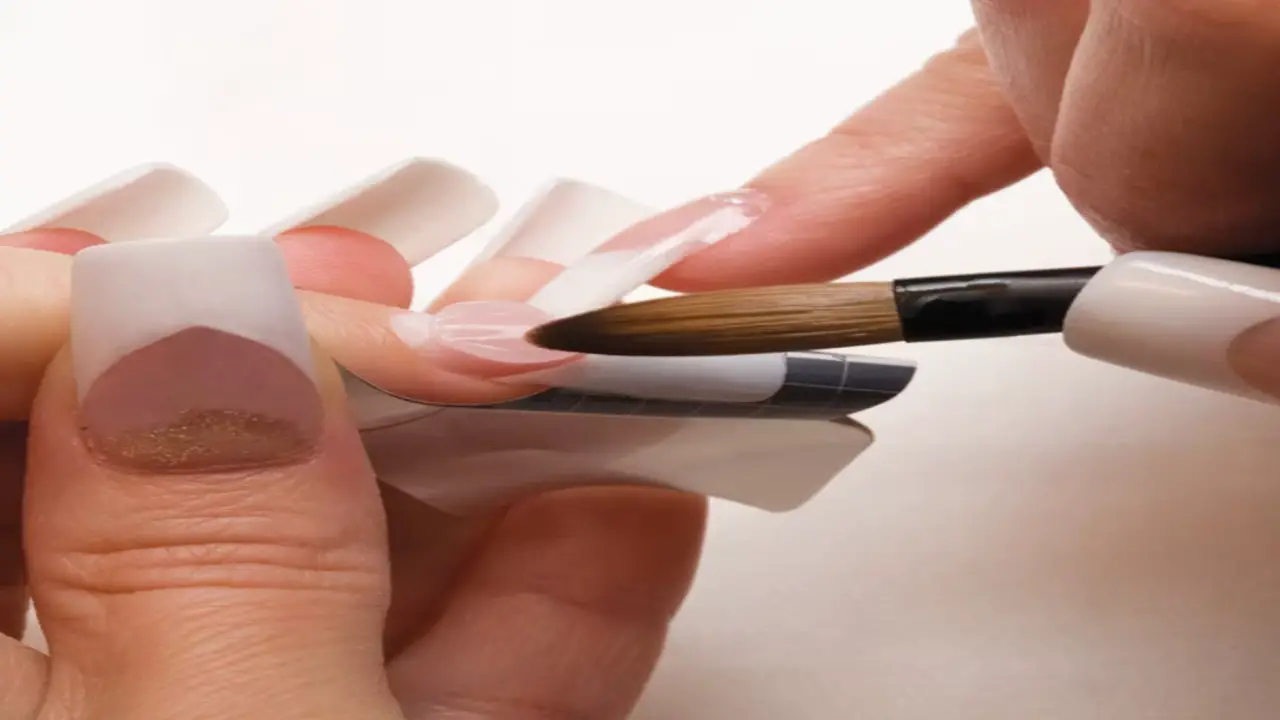
Regarding applying acrylic nails, using a drill can be a helpful tool in achieving the desired shape, especially if you want oval-shaped nails. Remember to practice caution when using a drill and follow all safety guidelines provided by the manufacturer.
Dip your acrylic brush into the mixture, ensuring to wipe off any excess liquid on the side of the dish. Starting from the base of your nail, apply a small bead of acrylic near the cuticle area. Using gentle pressure, spread and shape the acrylic towards the tip of your nail. Repeat this step on all your nails.
Using The Drill To Shape The Oval Nail
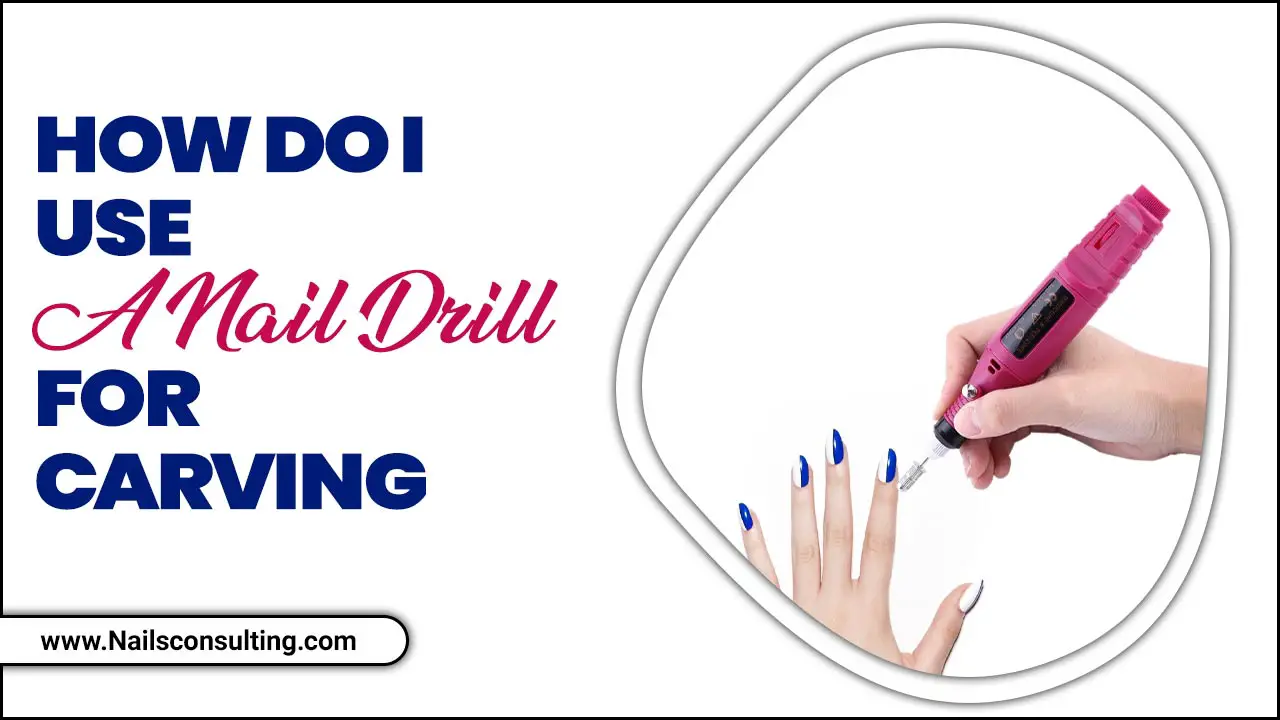
When shaping oval acrylic nails, a drill can be a handy tool to achieve the desired shape. Start by selecting the appropriate drill bit for shaping, such as a fine-grit barrel or cone-shaped bit. Begin at one side of the nail and gently guide the drill in a back-and-forth motion to create the oval shape.
Be sure to maintain a steady hand and apply even pressure to avoid damaging the nail or causing discomfort. Take time and periodically check the shape to ensure it is symmetrical and matches your desired look. Remember, practice makes perfect, so don’t be discouraged if it takes a few tries to master this technique.
Smoothing And Refining
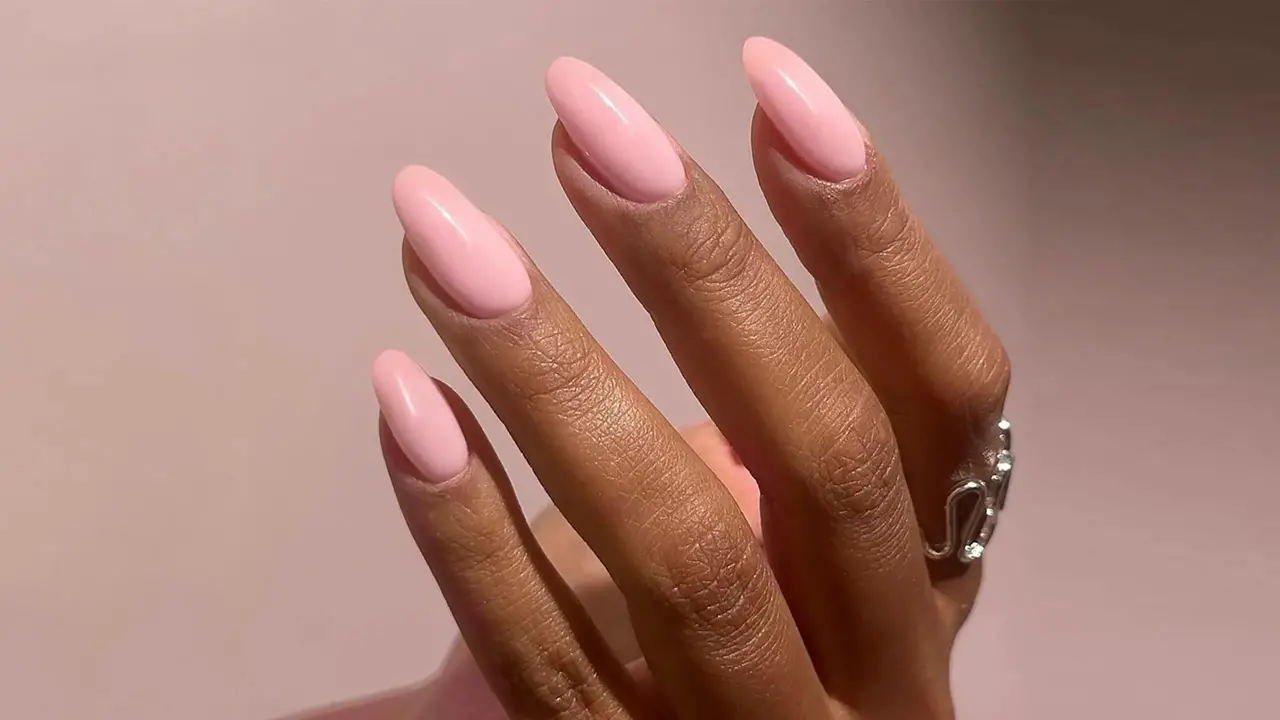
After shaping your oval acrylic nails with a drill, it’s important to take the time to smooth and refine them for a flawless finish. Start by using a fine-grit buffer to gently buff the surface of the nails, removing any rough edges or imperfections. Be careful not to buff too aggressively, as this can weaken the nails. Next, use a soft file or buffer to gently shape and refine the edges of the nails, ensuring that they are smooth and even.
Removing Excess Dust
To ensure a flawless oval-shaped acrylic nail, removing any excess dust that may have accumulated during the drilling process is crucial. After drilling, gently brush away the dust using a soft brush or a lint-free cloth. It’s essential to be thorough in this step, as any remaining dust can negatively impact the adhesion of the acrylic and potentially cause lifting.
Avoid blowing on the nails or using compressed air to remove the dust, which can spread it around and lead to contamination. Instead, opt for a gentle touch when removing the dust to preserve the integrity of the newly formed nail shape.
Applying Top Coat And Finish
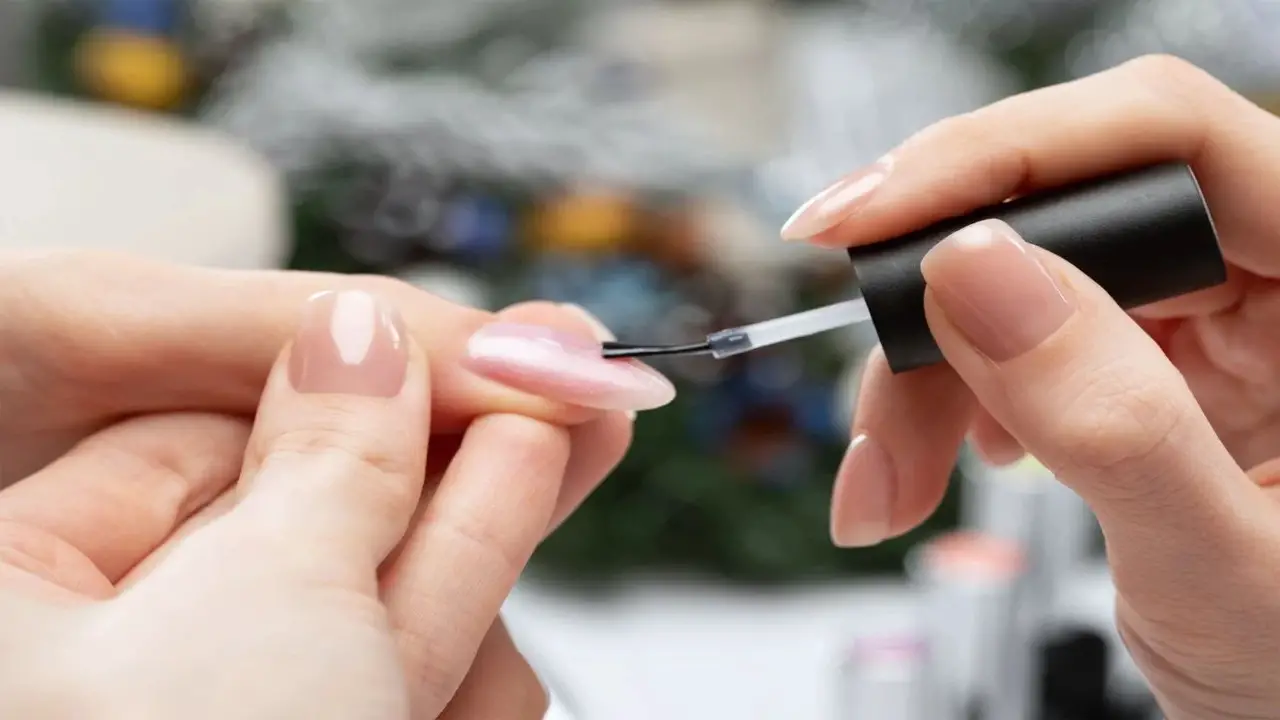
Once you have shaped and filed your oval acrylic nails to perfection using a drill, it’s time to apply the top coat and finish them off. The top coat serves as a protective layer that not only adds shine but also helps to seal and prolong the life of your acrylic nails. Start by applying a thin layer of top coat to each nail, covering the entire surface.
Be sure to cap the free edge of the nail as well, as this will help prevent chipping. Allow the top coat to dry completely before proceeding. Once dry, you can add finishing touches, such as nail art or embellishments. Finally, finish off your oval-shaped acrylic nails with a final layer of top coat for added durability and shine. And there you have it – beautiful and flawless oval acrylic nails ready to show off.
How Long Should Nails Be For An Oval Shape?
Regarding creating oval-shaped acrylic nails with a drill, the length of the nails is an important factor to consider. For the best results, it is recommended that the nails be at least medium-length before shaping them into an oval shape. This allows for enough surface area to create the desired shape without compromising the structural integrity of the nail.
However, it is important to note that personal preference and style also play a role in determining the length of the nails. Some individuals may prefer shorter nails for a more natural look, while others may prefer longer nails for a more dramatic effect. Ultimately, it is up to you to decide what length works best for your desired oval-shaped acrylic nails.
Do You Need A Special Drill For Acrylic Nails?
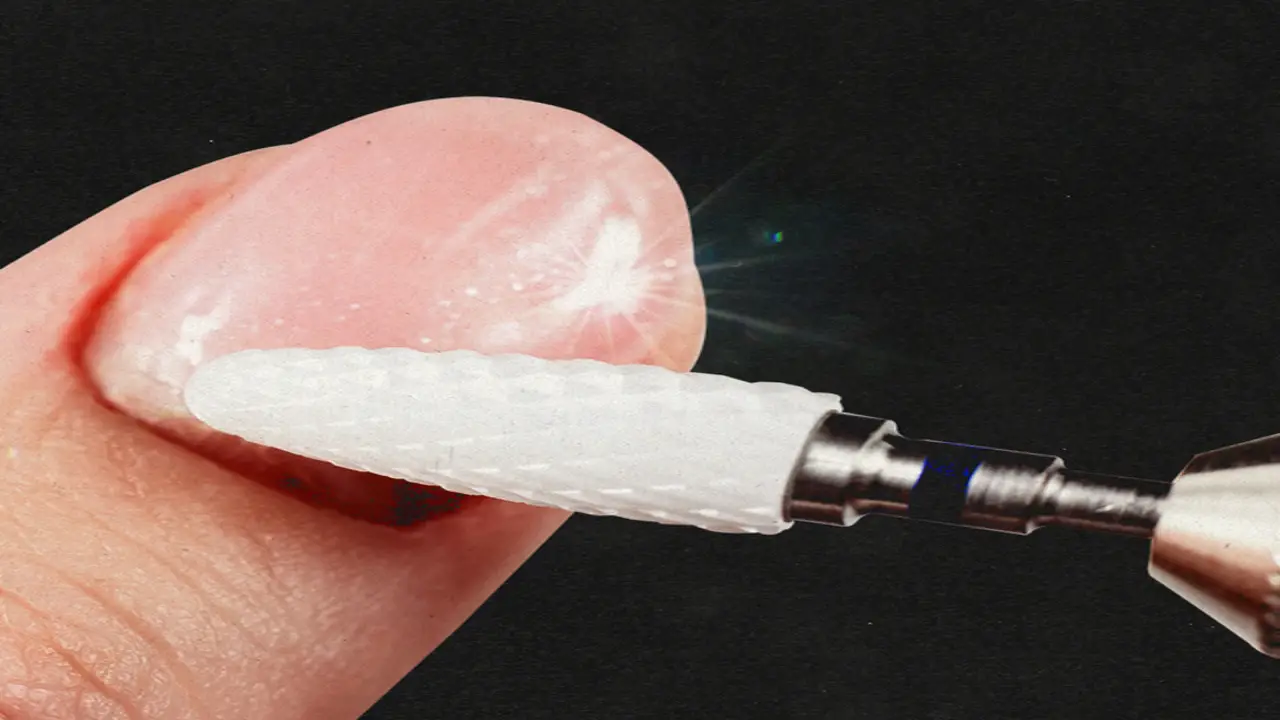
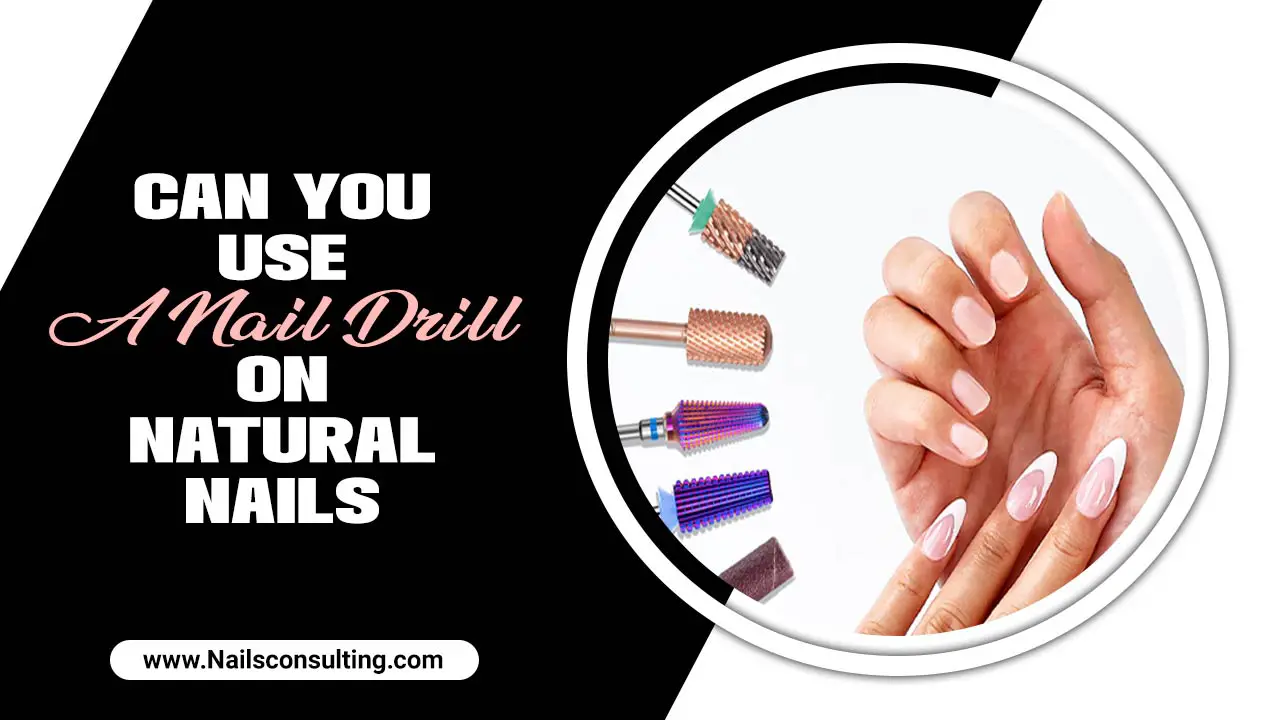
Many wonder if they need a special drill to create oval-shaped acrylic nails. No, you do not necessarily need a special drill specifically for acrylic nails. However, it is important to have a quality electric nail drill with the appropriate attachments and speed settings for working with acrylics. This will ensure that you can shape and file the nails properly, creating the desired oval shape.
It is also important to have the necessary safety precautions when using an electric nail drill, such as wearing protective eyewear and following proper sanitation practices. Overall, while a special drill for acrylic nails is not required, having a reliable and suitable electric nail drill is essential for achieving professional-looking results.
Which Drill Bit To Use For Acrylic?
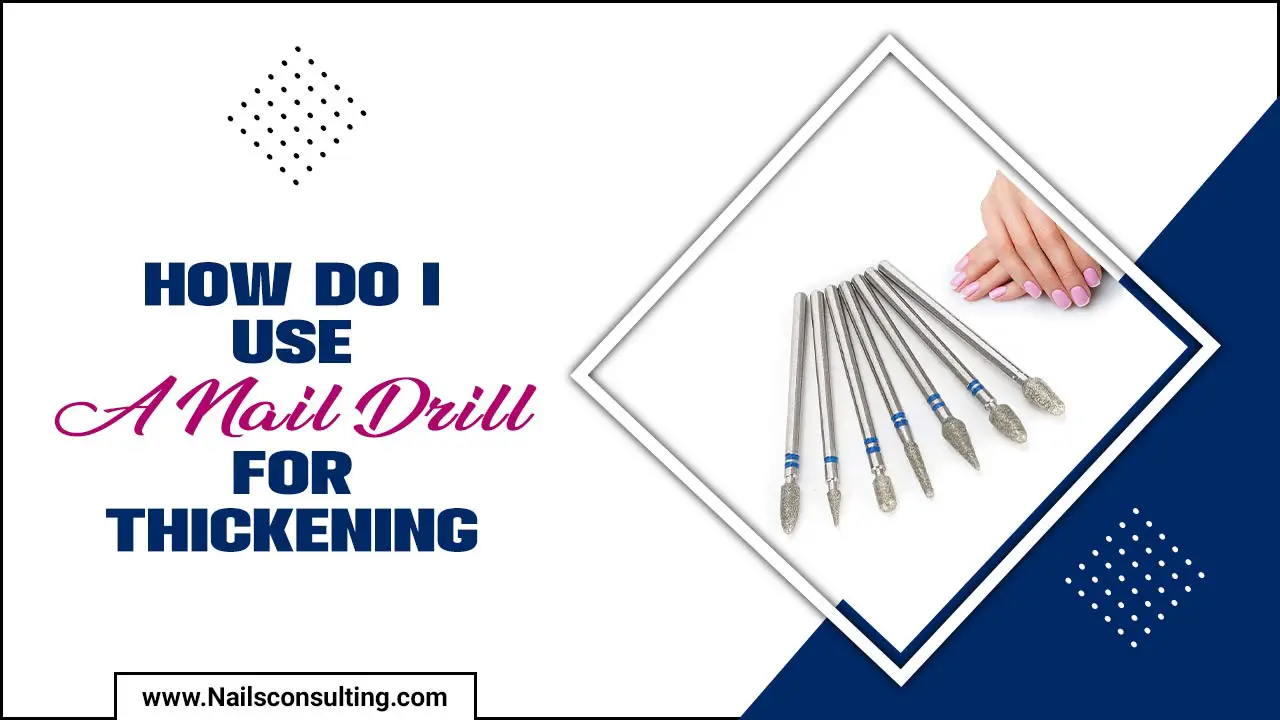
Choosing the right drill bit is crucial for making oval-shaped acrylic nails with a drill. The most commonly used drill bit for acrylic nails is the carbide barrel bit. This bit has a cylindrical shape and is perfect for removing excess acrylic around the cuticle area and shaping the nail into an oval shape.
It’s important to use a drill bit specifically designed for acrylic nails, as other types of bits may not be suitable and could cause damage to the nail or surrounding skin. Additionally, it’s important to use the drill at a low speed and with gentle pressure to avoid overheating or causing discomfort to the client.
Conclusion
Overall, we have discussed how to make oval shaped acrylic nails with a drill. Creating oval-shaped acrylic nails with a drill can be a fun and creative way to express your personal style. By following the steps outlined in this blog, you can achieve professional-looking results from the comfort of your own home. Remember always to prioritize safety when using a drill and take your time to ensure precision and accuracy.
Whether you’re a seasoned nail enthusiast or just starting, experimenting with different nail shapes can add elegance to your manicure routine. So grab your drill, get creative, and enjoy the process of crafting beautiful oval-shaped acrylic nails that will leave everyone impressed. You can achieve stunning oval-shaped acrylic nails with the right techniques and tools to enhance your overall look.
Frequently Asked Questions
1.How Do You Shape Acrylic Nails With A Drill?
Ans: To shape acrylic nails with a drill, use a coarse grit bit to remove the bulk of the acrylic material. Then, switch to a finer grit bit to shape and smooth out the nails. Remember to be cautious and not drill too deep or excessively, as it can damage the natural nail. Always wear protective gear like gloves and goggles when using a drill on acrylic nails.
2.Can You Use A Nail Drill On Acrylic Nails?
Ans: Using a nail drill on acrylic nails is possible and can be beneficial for shaping and refining them. However, it’s crucial to use the correct drill bit and technique to avoid damaging the nails. Start with a low-speed setting and proceed with caution.
3.Do You Need A Special Drill For Acrylic Nails?
Ans: Yes, it would be best to have a specialized drill for acrylic nails. It should have a low RPM and be specifically designed for nail work. Using the wrong type of drill can cause damage to the natural nail or cuticle, so it’s important to use proper safety precautions.
4.Why Do My Acrylic Nails Keep Popping?
Ans: Acrylic nails may keep popping due to improper application or low-quality products. Ensure the nail bed is clean and dry before applying acrylic. Use high-quality materials and follow instructions carefully. Avoid excessive heat or moisture, which weakens the bond between the nail and acrylic.
5.How Do You Shape Your Nails With Efile?
Ans: To shape your nails with an Efile, use a fine-grit sanding band to shape the edges and contours gently. Remember to work slowly and pay attention to the angle and pressure of the Efile. Finish by buffing and smoothing your nails for a polished look.

