Make beautiful gel polish nail designs at home! This guide breaks down easy techniques, essential tools, and genius tips for beginners to create salon-worthy nail art with gel polish, even with no prior experience.
When you think of stunning, long-lasting nail art, gel polish probably comes to mind. But if you’re new to DIY manicures, the idea of creating intricate designs with gel can feel a bit overwhelming. You might worry about smudges, uneven application, or designs that just don’t turn out as planned. Don’t let that stop you! With the right approach and a few simple tricks, you can absolutely master the art of gel polish nail designs. This guide is designed to make the process fun and achievable, helping you unleash your inner nail artist and express your unique style, one gorgeous nail at a time. Get ready to transform your nails!
Your Go-To Gel Polish Nail Design Toolkit
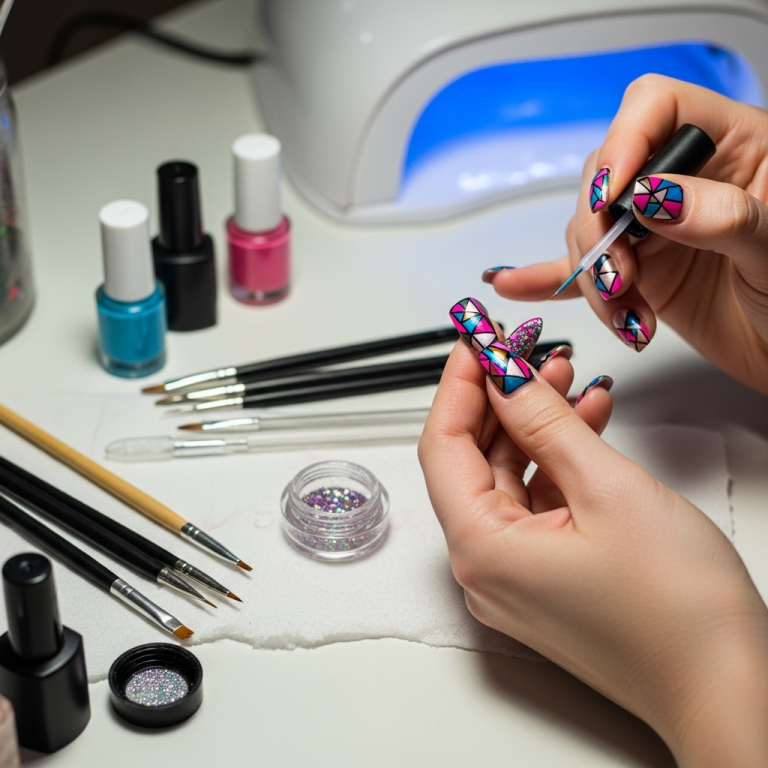
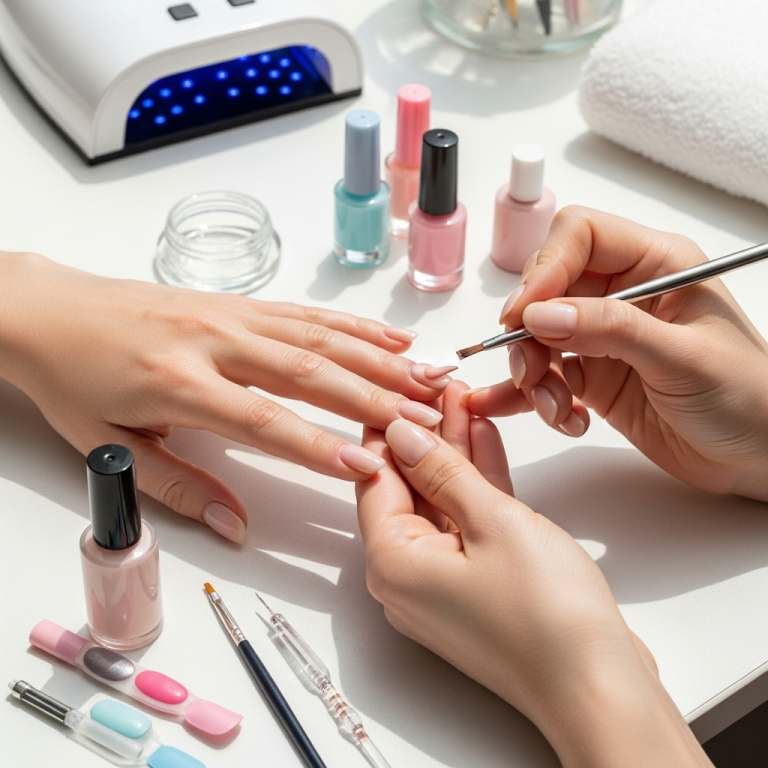
To make amazing gel polish nail designs, you’ll need a few key items. Think of these as your artist’s palette and brushes!
Essential Gel Polish Supplies
UV/LED Nail Lamp: This little gadget is crucial for curing (drying and hardening) your gel polish. UV lamps are a bit older, while LED lamps are faster and more energy-efficient. Most modern lamps are LED.
Gel Polish Base Coat: This layer protects your natural nail and helps the color adhere smoothly.
Gel Polish Colors: Choose a few shades you love to start with! Opt for good quality brands known for their smooth application and vibrant pigments.
Gel Polish Top Coat: This seals your design, adds shine, and protects against chips.
Gel Polish Cleanser/Isopropyl Alcohol (90% or higher): Used to wipe away the tacky inhibition layer after curing.
Lint-Free Wipes: These are essential to avoid leaving fuzzy bits behind on your nails.
Nail File and Buffer: To shape your nails and create a smooth canvas.
Cuticle Pusher/Orange Stick: To gently push back your cuticles for a clean application.
Creative Gel Polish Design Tools
Thin Nail Art Brushes: A set with various fine tips is perfect for drawing lines, dots, and intricate details.
Dotting Tools: These have small metal balls on the end, great for creating perfect dots in various sizes.
Striping Tape: Thin, adhesive tape that creates crisp, clean lines.
Stencils: For easy-to-achieve shapes and patterns.
Glitters, Foils, or Gemstones: For adding extra sparkle and dimension!
Palette or Small Dish: To mix colors or hold small amounts of gel for designing.
The Foundation: Mastering Gel Polish Application
Before you dive into designs, getting a flawless base application is key. This ensures your art sits on a smooth, even surface.
Step-by-Step Gel Polish Application
1. Prep Your Nails:
Gently push back your cuticles with a cuticle pusher or orange stick.
Lightly buff the surface of your nails with a fine-grit nail file or buffer. This removes shine and helps the polish adhere. Don’t over-buff!
Clean your nails thoroughly with a lint-free wipe and gel cleanser to remove all dust and oils.
2. Apply Base Coat:
Apply a thin, even layer of gel base coat.
Be careful not to let it flood your cuticles or side walls.
Cure under your UV/LED lamp according to the manufacturer’s instructions (usually 30-60 seconds).
3. Apply Gel Color:
Apply your first thin coat of gel color.
Again, work carefully around the cuticle and sidewalls.
Cure thoroughly.
Apply a second thin coat for full opacity and opacity and cure again. Thin coats are better than one thick, gloopy coat!
4. Apply Top Coat:
Apply a thin, even layer of gel top coat. This is where you seal everything in.
Ensure you cap the free edge of your nail (paint just a tiny bit on the tip) to help prevent chipping.
Cure according to lamp instructions.
5. Cleanse:
Once cured, your nails might feel a bit sticky. This is called the inhibition layer.
Wipe each nail with a lint-free wipe saturated with gel cleanser or isopropyl alcohol to remove this stickiness and reveal your glossy finish.
Genius Tips for Beginner Gel Polish Nail Designs
Now for the fun part! Here are some super-smart tips to make creating gel nail designs easier and more enjoyable as a beginner.
Tip 1: Start Simple – Dots and Lines are Your Best Friends
Don’t feel pressured to create complex portraits right away! Simple designs are chic and totally achievable.
Perfect Dots: Use a dotting tool or the tip of a fine nail art brush. Dip it lightly into your gel color and gently press onto the cured gel polish. For uniform dots, try to use the same amount of pressure and amount of gel each time. You can create patterns by arranging dots in lines, swirls, or constellations.
Clean Lines: Use a striping brush. Load a tiny amount of gel onto the tip. Start at one edge of the nail and gently pull the brush across. Practice on a piece of paper or a spare nail tip first to get a feel for the pressure and flow. You can also try using striper tape for super crisp lines.
Tip 2: Embrace the Power of Stencils and Stickers
Want perfect shapes without the artistic struggle? Stencils and nail stickers are your secret weapon!
Stencils: Apply a stencil to your cured gel color. Paint over it with a different gel color, then carefully peel off the stencil before curing the new color. This creates sharp, defined shapes like French tips, zig-zags, or leopard spots.
Nail Stickers/Decals: These are super easy! Apply them over your cured top coat (before wiping off the inhibition layer for some types, or over a fully cured and cleansed nail for others – check product instructions). Seal them thoroughly with another layer of top coat and cure again.
Tip 3: Master the “One-Stroke” Technique
This sounds fancy, but it’s quite straightforward! It’s about using a brush to create a gradient or a specific shape in one fluid motion.
How it works: Load your brush with two complementary colors. Gently swirl them on your palette. Then, use a single sweeping motion on the nail to create a blended effect, like a simple petal or a flowing line. This takes a little practice, but it’s a great way to add depth.
Tip 4: The Art of the “Floating” Technique
This is perfect for creating soft, watercolor-like effects or subtle blends.
How it works: Apply a thin layer of gel color to your nail and do not cure it. Instead, use a clean, damp (with gel cleanser or alcohol) brush to gently feather and blend the color. You can also use this to gently blend two colors that are already on the nail. Cure once you’re happy with the look.
Tip 5: Layering is Your Friend
Don’t be afraid to layer colors and effects!
Build Depth: Apply a dark base, cure, then add lighter color details. Or vice versa!
Glitter & Chrome: Glitter gels can be applied like regular polish. For loose glitter, apply a bit of top coat, sprinkle the glitter on, then seal with more top coat. Chrome powders are applied over a no-wipe top coat – rub them on, then seal with a regular top coat. Always cure after each step.
Tip 6: Practice on Nail Tips First
This is a game-changer for beginners!
Get a set of artificial nail tips and glue them onto your natural nails or just hold them.
Use these tips as your practice canvas. Try out different designs, color combinations, and techniques without the pressure of your own nails. It’s a safe space to make mistakes and learn.
| Design Element | Best Tools for Beginners | Genius Tip |
|---|---|---|
| Dots | Dotting tools, fine nail art brushes | Use consistent pressure for uniform sizes. Mix sizes for a playful look. |
| Lines | Thin striper brushes, striper tape | Keep your hand steady by resting your pinky on the table. Start with thin lines. |
| Shapes | Stencils, nail art stickers | Ensure stencils are fully adhered. Apply stickers over a tacky layer or a fully cured nail based on sticker type. |
| French Tips | French tip guides, fine brush, striper tape | Use a steady hand to draw a smile line, or try a silicone stamper tool for a perfect curve. |
| Marbling | Toothpick, needle, thin brush | Use a toothpick to swirl colors while still wet before curing for a marbled effect. |
| Glitter Accents | Fine brush, top coat | Apply glitter strategically with a brush for precision, rather than covering the whole nail. |
Easy Gel Polish Nail Design Ideas for Beginners
Let’s get inspired! Here are some achievable designs perfect for dipping your toes into gel polish nail art.
1. The Classic French Manicure (with a Twist!)
How-to: After applying your base coat, color, and curing, use a thin brush or a French tip guide to paint crisp white or colored tips. Cure. Then, apply a glossy top coat and cure again.
Beginner’s Twist: Instead of white, try a pastel color for the tip, or add a thin metallic line just below the colored tip.
2. Polka Dot Fun
How-to: Apply your base color and cure. Using a dotting tool, create dots in a contrasting color. Cure. Seal with top coat and cure again.
Beginner’s Twist: Try an accent nail with a different color dot, or create a diagonal line of dots. You can also use different sized dotting tools for variation.
3. Simple Striped Nails
How-to: Apply your base color and cure. Place striper tape onto the cured nail, pressing down firmly. Apply a different gel color over the tape. Immediately peel off the tape while the new color is still wet (before curing). Cure the new color. Apply top coat and cure.
Beginner’s Twist: Create vertical, horizontal, or diagonal stripes. You can also layer stripes in different colors.
4. Glitter Ombre
How-to: Apply and cure your base color. On an accent nail, apply a thin layer of top coat. Using a fine brush, pick up some glitter and gently pat it onto the nail, concentrating more glitter at the tip and fading it down. You can also use a sponge to create a gradient effect with loose glitter. Apply a final top coat to seal everything in and cure.
Beginner’s Twist: Use a glitter gel polish and a fine brush to draw a glitter smile line or create a diagonal glitter fade.
5. Minimalist Accent Nail
How-to: Paint all nails with your chosen base color and cure. On one accent nail, use a thin brush to draw a simple design – perhaps a single line, a small heart, a tiny star, or a geometric shape. Cure. Apply top coat to all nails and cure.
Beginner’s Twist: Keep it super simple. A single vertical line down the center or a small dot near the cuticle can be incredibly elegant.
6. The “Stone” Effect (Advanced Beginner)
How-to: Apply a base gel color and cure. Then, apply a second coat of the same or a slightly different color and immediately use a piece of plastic wrap or balled-up foil to dab at the surface. This creates a natural-looking, marble-like texture. Cure, then top coat and cure.
Beginner’s Twist: Use two complementary colors and a lighter hand with the plastic wrap to create softer, more subtle stone patterns.
Troubleshooting Common Gel Polish Design Issues
Even with the best intentions, sometimes things go a little awry. Here’s how to fix common problems:
Smudged Design: If your design smudges before curing, gently try to smooth it out with a clean brush. If it’s too bad, you might need to wipe it off with cleanser and start that nail again. For designs that smudge after curing (often happens with dry application), ensure your top coat is applied generously and consistently, covering the art and capping the free edge.
Uneven Color/Streaks: This usually indicates a thin coat wasn’t applied properly or too much pressure was used. Try applying thinner coats and curing each one thoroughly. For even coverage, ensure your brush strokes are consistent and cover the entire nail surface.
Bubbles: Bubbles form when the polish is too thick, applied too quickly between coats, or exposed to too much heat before curing. Apply gel polish in thin layers and allow a few seconds between strokes. Avoid over-brushing the gel. Ensure your lamp is working correctly.
Design Not Curing: This typically happens if the gel layers are too thick, your lamp is not strong enough, or it’s nearing the end of its lifespan. Always apply thin coats. Make sure your UV/LED lamp is positioned correctly and that each nail receives adequate curing time as per the manufacturer’s instructions. Using a reputable lamp from brands like Melody Susie or Gelish is a good investment. A good example of a quality lamp is the Melody Susie 54W UV LED Nail Lamp which offers fast and efficient curing.
Gel Lifting or Peeling: This is often due to improper nail prep. Ensure your nails are clean, dry, and free of oils and lotions. Buffing the nail surface creates micro-ridges for the base coat to grip onto. Capping the free edge with every layer (base, color, top) is crucial for longevity.
Frequently Asked Questions About Gel Polish Nail Designs
What is the easiest nail design to do with gel polish?
Polka dots and simple stripes are generally the easiest. You can create perfect dots with a dotting tool and clean lines with striper tape or a thin brush. Starting with these helps build your confidence.
Do I need a special brush for gel polish designs?
Yes, a set of fine nail art brushes is very helpful for creating details like lines, swirls, and fine art. Dotting tools are also excellent for creating uniform dots in various sizes, which are beginner-friendly designs.
How long does a gel polish nail design typically last?
With proper application and care, gel polish designs can last anywhere from 2 to 3 weeks without chipping or peeling. This longevity is one of the biggest advantages of gel polish.
Can I use regular nail polish over gel polish designs?
It’s not recommended. Regular nail polish won’t adhere well to the gel surface and will likely peel or chip quickly. If you want to create designs over gel, you should use gel polish colors specifically designed for nail art.
My gel polish design is sticky after curing. What did I do wrong?
This is likely the “inhibition layer,” which is normal for most gel polishes! It’s a slightly sticky film left after curing. You need to wipe it off with a lint-free wipe saturated in gel cleanser or isopropyl alcohol to reveal the shiny, hard finish. Some top coats are “no-wipe” and don’t require this step.
How can I prevent gel polish from flooding my cuticles?
Apply gel polish in thin, precise strokes, holding your brush parallel to the nail. Leave a tiny gap (about the width of a hair) between the polish and your cuticle line. If you do get polish on your skin, gently wipe it away with an orange stick or clean-up brush before curing.
What’s the difference between UV and LED lamps for gel polish?
LED lamps cure gel polish much faster (typically 15-60 seconds) and are more energy-efficient. UV lamps take longer (usually 2 minutes) and can emit more heat. Most modern convenience and speed favors LED technology. For effective curing, ensure your lamp has sufficient wattage for the gel polish you are using. A common benchmark for effective curing with LED is at least 36W, though higher wattage like 54W can speed up the process further.
Your Creative Journey Awaits!
Creating beautiful gel polish nail designs at home is absolutely within your reach. It’s a journey of creativity and self-expression, and every step is a chance to learn and grow. Remember to start simple, master the basics of gel application, and don’t be afraid to experiment with different tools and techniques. Whether you’re adding a touch of sparkle with glitter, drawing intricate lines, or simply


