To make your DIY nail designs last longer, focus on proper nail prep, high-quality products, meticulous application, and a good top coat, followed by protective habits. This ensures your beautiful art stays chip-free for days!
Hello nail lovers! It’s Lisa from Nailerguy, and I know the frustration. You spend precious time crafting the perfect little masterpiece on your nails, only for it to chip or fade after just a day or two. It feels like a nail art heartbreak, right? But don’t worry, your gorgeous DIY creations don’t have to be short-lived. With a few essential tips and tricks, you can significantly extend the life of your nail designs. Get ready to enjoy your handiwork for longer!
In this guide, we’ll walk through everything from prepping your nails like a pro to sealing in that stunning design. You’ll learn how to avoid common pitfalls and make your at-home manicures look salon-fresh for as long as possible. Let’s dive into making your nail art dreams last!
Why Do My DIY Nail Designs Chip So Fast?
It’s a question many of us ask, and the reasons can be varied. Often, it comes down to a few key areas: inadequate nail preparation, the quality of the products used, the application technique, and how we treat our nails after the polish is dry. Think of it like any art project; the foundation and the sealing finish are just as important as the design itself!
Nails that aren’t properly cleaned and prepped can have oils or residue that prevent polish from adhering firmly. Similarly, using old, streaky polishes or skipping the essential top coat can leave your design vulnerable to chipping. Even everyday activities can take a toll if your manicure isn’t properly protected. But the good news is, these are all fixable issues!
The Ultimate Guide: How To Make DIY Nail Designs Last Longer
Ready to give your DIY nail art the staying power it deserves? Follow these essential steps, and you’ll be amazed at the difference! We’ll cover everything from preparing your canvas to protecting your masterpiece.
Step 1: Nail Preparation is Key!
This is arguably the most crucial step for long-lasting polish and designs. Skipping this can set you up for disappointment. Proper prep ensures a clean, smooth surface for polish to adhere to.
Filing and Shaping:
- Shape: File your nails into your desired shape. Always file in one direction to prevent snagging and weakening the nail edge.
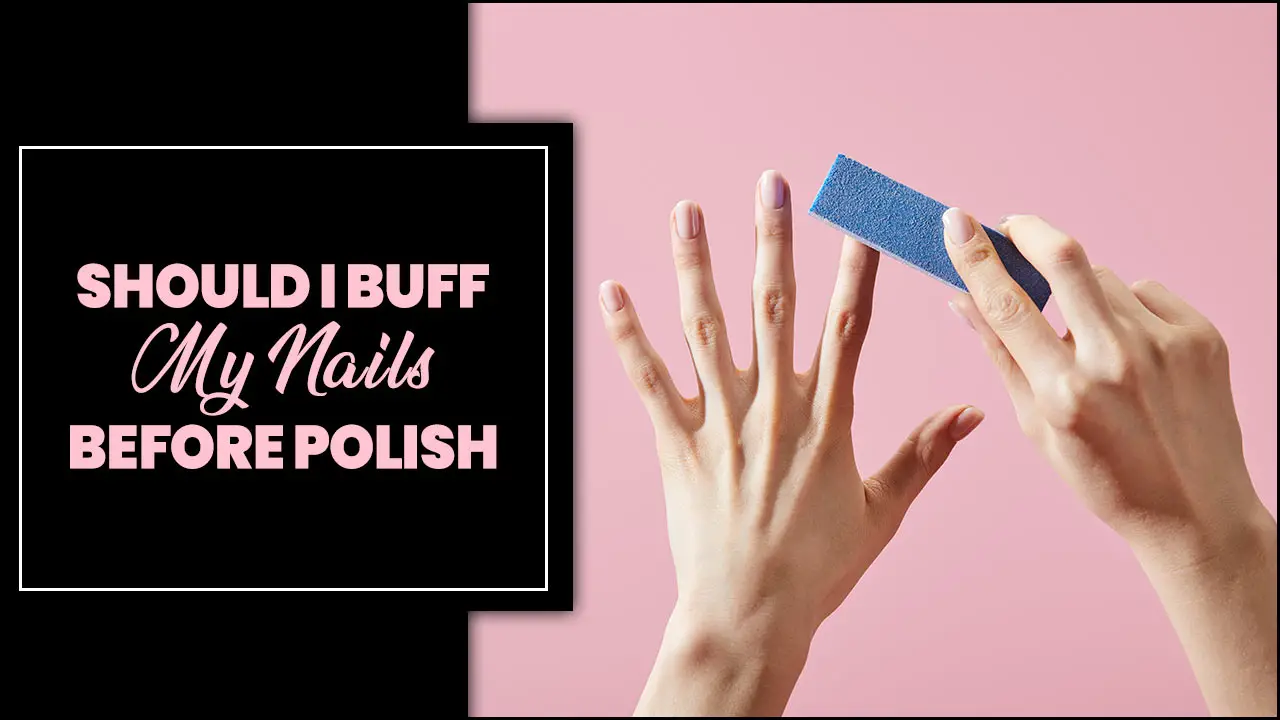
- Buffing: Gently buff the surface of your nails. This removes any shine and creates a slightly roughened texture, giving the polish something to grip onto. Don’t over-buff, as this can thin the nail. A light, even buffing is all you need.
Cuticle Care:
- Push Back: Gently push back your cuticles using an orange stick or a cuticle pusher. This creates a cleaner nail bed and prevents polish from “lifting” off as your cuticles grow.
- Trim (Optional): If you have excess dead skin, you can carefully trim it with cuticle nippers. Be gentle!
Cleaning and Dehydrating:
- Wash: Wash your hands thoroughly with soap and water to remove any dust from filing or buffing. Make sure to dry them completely.
- Dehydrate: This is vital! Natural oils on your nails can prevent polish from adhering properly. Wipe each nail with an alcohol-based nail polish remover or a dedicated nail dehydrator. You can find excellent nail dehydrators online at reputable beauty supply stores. This step removes oils and moisture, creating the perfect base for your manicure. Don’t touch the nail surface after this step!
Step 2: The Right Base Coat Makes All the Difference
A good base coat is like a primer for your nails. It serves several important functions:
- Adhesion: It creates a slightly sticky surface that polish can adhere to, preventing chips.
- Protection: It forms a barrier between your natural nail and the colored polish, preventing staining, especially with darker or highly pigmented shades.
- Smooth Canvas: It can fill in minor ridges, providing a smoother surface for your design.
Choose a good quality base coat and apply one even layer to each nail. Let it dry completely before moving on to your colored polish or design.
Step 3: Applying Colored Polish for Longevity
The way you apply your polish impacts how long it lasts. Here are some pro tips:
- Thin Coats are Best: Resist the temptation to apply thick, gloopy coats of polish. Thin, even coats are much more durable. It’s better to apply two or three thin coats than one thick one.
- The “Wrap” Technique: When applying each stroke of polish, gently brush a tiny bit of polish onto the free edge (the tip) of your nail. This “wraps” the edge and significantly helps prevent chips.
- Three Strokes Rule: For each coat, aim for three strokes: one down the center, then one down each side. This ensures even coverage.
- Drying Time Between Coats: Allow each coat to dry for at least a minute or two before applying the next. Rushing this can lead to smudging and a weaker finish.
Step 4: Perfecting Your DIY Nail Design
Now for the fun part – the design! The application of your art also plays a role in its longevity.
Tips for Design Application:
- Less is More (Sometimes): Intricate designs are beautiful, but sometimes simpler techniques can be more durable. Dotting tools, striping tape, and simple stamping can look great and hold up well.
- Allow Drying Time: Ensure each layer of your design is dry before adding another element or moving to the next nail.
- Clean Up Edges: Use a small brush dipped in nail polish remover to clean up any polish that got onto your skin around the nail. A clean edge helps prevent premature lifting.
- Avoid Thick Layers of Art Polish: If you’re using specialty art polishes or glitters, avoid applying them in thick gobs, as this can make them prone to chipping or peeling.
Tools and Materials:
Using the right tools can make achieving a lasting design much easier. Here are a few essential items:
| Tool/Material | Why it Helps Longevity | Where to Find It |
|---|---|---|
| Nail Polish Remover (Alcohol-Based) | Cleans nails of oils and moisture for better polish adhesion. | Drugstores, supermarkets, beauty supply stores. |
| Buffer Block | Gently mattifies the nail surface for polish grip. | Drugstores, beauty supply stores. |
| Orange Stick/Cuticle Pusher | Prepares the nail plate by moving cuticles. | Drugstores, beauty supply stores. |
| Quality Base Coat | Provides a grippy layer and protects nails from staining. | Drugstores, beauty supply stores, online retailers. |
| Quality Top Coat | Seals the design, adds shine, and protects against chips and wear. Crucial for longevity! | Drugstores, beauty supply stores, online retailers. Look for “quick-dry” or “gel-effect” formulas for extra durability. |
| Fine Detail Brush | For cleaning up edges and adding fine art details. | Art supply stores, beauty supply stores, online. |
Step 5: The Crucial Top Coat Application
This is where the magic happens for longevity. A good top coat acts as a shield for your beautiful work.
- Seal the Deal: Apply one to two generous, even coats of a high-quality top coat.
- Wire Your Entire Manicure: Just like with your colored polish, don’t forget to “wrap” the tip of your nail with the top coat. Brush some over the free edge. This is a game-changer for preventing chips!
- Consider a Quick-Dry or Gel-Effect Top Coat: These formulations often provide a harder, more durable finish that can help your design last longer. Some popular options include brands like Seche Vite Dry Fast Top Coat or Essie Good to Go.
- Reapply if Needed: For extremely long-lasting manicures, consider reapplying a thin layer of top coat every 2-3 days. This adds an extra protective layer and refreshes the shine.
Step 6: Protecting Your Masterpiece
Once your nails are done and perfectly dry, what you do afterward matters. Treat your manicure gently to make it last.
Habits to Adopt:
- Wear Gloves: This is number one! When doing household chores, especially washing dishes or cleaning with chemicals, wear rubber gloves. Water and harsh chemicals are the enemies of nail polish, weakening it and causing it to lift or chip.
- Avoid Using Nails as Tools: Resist the urge to scrape, pry, or open things with your nails. This is a surefire way to dent, chip, or break your polish (and potentially your nail!).
- Be Gentle: Try to be mindful of your hands throughout the day. Avoid banging your nails or subjecting them to unnecessary stress.
- Moisturize: Keep your nails and cuticles hydrated with a good cuticle oil or hand lotion. Well-moisturized nails are less prone to dryness and brittleness, which can contribute to chipping. A study by the National Center for Biotechnology Information (NCBI) highlights the importance of proper nail hydration for overall nail health, which indirectly supports polish wear.
- Be Mindful of Hot Water/Saunas: Prolonged exposure to very hot water can soften the nail and the polish, making it more susceptible to damage.
Step 7: Maintenance and Touch-Ups
Even with the best application, minor wear and tear can happen. You can often extend the life of your manicure with a little maintenance.
- Top Coat Refresh: As mentioned, a daily or every-other-day refresh with a thin layer of top coat can add a new protective barrier.
- Quick Fixes: If you get a tiny chip, you might be able to carefully file the edge smooth and reapply a bit of top coat to that specific spot without anyone noticing.
Choosing the Right Products for Longevity
The quality of your nail polish and top coat significantly impacts how long your designs will last. Investing in decent products can save you time and frustration in the long run.
Nail Polish Formulas:
- Avoid Old Polishes: Polish that has become thick, gloopy, or separated can be hard to apply smoothly and evenly, leading to a weaker finish.
- “Long-Wear” or “Chip-Resistant” Formulas: Many brands offer polishes specifically designed for extended wear. These often have more durable formulas that adhere better.
- Gel-Like Polishes: These are regular polishes that aim to mimic the look and feel of gel manicures without the need for a UV/LED lamp. They often provide a thicker, more durable finish.
Top Coat Powerhouses:
Your top coat is your design’s best friend for longevity. Here’s what to look for:
| Type of Top Coat | Benefits for Longevity | Things to Consider |
|---|---|---|
| Quick-Dry Top Coats | Significantly reduces smudging and allows for prompt reapplication. Dries to a hard finish. | Some can shrink polish if applied too thickly or to very thin coats. |
| Gel-Effect Top Coats | Provides a thick, glossy finish that feels very similar to a gel manicure and offers excellent chip resistance. | Can be thicker, so ensure even application. Doesn’t require UV light. |
| Regular High-Shine Top Coats | Basic protection and shine. Reliable if applied correctly. | May require more frequent reapplication to maintain protection. |
Look for top coats that are described as “chip-resistant,” “long-wearing,” or that have “gel-like” properties. Brands like Sally Hansen, OPI, and Essie offer excellent options that are widely available.
Troubleshooting Common Longevity Issues
Even with the best intentions, you might encounter some bumps. Here’s how to tackle them:
- Polish is Lifting at the Tips: This usually means you didn’t “wrap” the tip with your polish coats or your top coat. Be sure to brush a tiny bit of polish and top coat along the free edge of your nail with every application.
- Designs Smudge or Get Nicked Easily: This indicates that either your design layers or the final top coat weren’t fully dry before you resumed activities. Patience is key! Using a quick-dry top coat can help speed this up.
- Chips Appearing Too Soon: This can be due to poor nail prep (oils left on the nail), thin polish application, or not using a top coat at all. Ensure you’ve meticulously followed the prep steps and sealed with not one, but two layers of top coat, including wrapping the tips.
- Polish Peels Off (Instead of Chipping): This is a definite sign that your base coat didn’t adhere properly. Ensure your nails were clean and dehydrated before applying the base coat. It could also be an issue with the specific polish formula’s compatibility with your base coat.
Frequently Asked Questions (FAQ)
Q1: How long should my DIY nail designs typically last if I follow these tips?
A1: With proper preparation, application, and care, you can expect your DIY


