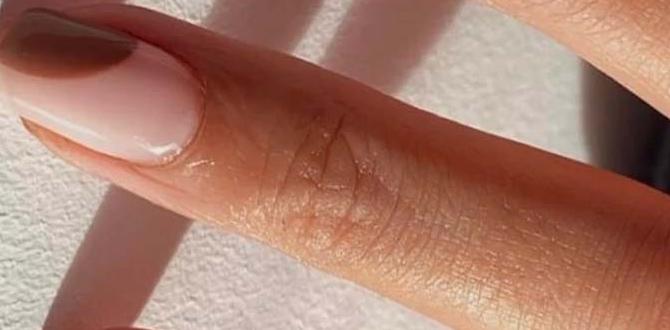
Macaron nail designs offer a chic, sophisticated way to add soft pops of pastel color to your manicure. Perfect for beginners, these designs use delicate, frosted pastel shades to create an elegant and trendy look that’s both easy to achieve and incredibly stylish. Let’s dive into creating your own beautiful macaron-inspired nails!
Ever scrolled through nail inspiration and stopped dead at those gorgeously soft, pastel-hued manicures? Those are often macaron nail designs, and they’re a total showstopper! They’re like little edible treats for your fingertips, bringing a touch of sweet elegance to any look. But maybe you’ve thought, “That looks way too complicated for me to try!” I get it! Sometimes nail art can seem a bit intimidating.
The good news? Macaron nail designs are surprisingly beginner-friendly. We’re talking about using beautiful, muted pastel colors that blend together seamlessly, creating a look that’s both sophisticated and incredibly wearable. You don’t need a ton of fancy tools or years of practice to achieve this dreamy aesthetic. Think of it as painting with the softest, prettiest colors imaginable. We’ll walk through everything you need to know to get these delightful nails right at home, so get ready to fall in love with your manicure!
What Exactly Are Macaron Nail Designs?
So, what’s the scoop on macaron nail designs? The name itself gives us a pretty big clue! Just like the delicate, meringue-based French confection, these nail designs are characterized by their soft, pastel color palettes. Instead of bright, bold colors, think muted shades of baby pink, mint green, sky blue, pale yellow, lavender, and creamy white.
The “design” aspect often refers to how these colors are applied. It can be a simple application of a single pastel shade, or more commonly, a gradient or layered effect where several pastel shades are blended together. The overall vibe is subtle, elegant, and incredibly chic. It’s less about intricate patterns and more about the beautiful interplay of soft, sophisticated colors. They’re perfect for when you want a polished look without being over the top.
Why Are Macaron Nails So Popular?
These sweet little nails have captured hearts for several reasons. The primary draw is their undeniable aesthetic. They offer a sophisticated and grown-up take on color. Unlike neons or deep jewel tones, pastels are universally flattering and can add a touch of softness to any skin tone and outfit.
- Versatility: Macaron nails fit almost any occasion. They’re perfect for a wedding, a brunch date, a day at the office, or just a casual weekend. They’re subtle enough for professional settings but still make a statement.
- Timeless Appeal: While trends come and go, soft pastels have a classic, enduring charm. They evoke feelings of spring, freshness, and gentle beauty, making them a go-to for many.
- Easy to Achieve: As we’ll get into, the techniques involved are often quite simple, making them perfect for DIY manicures. You don’t need to be a nail art expert to get this look!
- Mood Boost: There’s something inherently cheerful and uplifting about soft, pretty colors. Wearing them on your nails can bring a little ray of sunshine to your day.
Essential Tools for Your Macaron Manicure
Getting started with macaron nail designs is simpler than you might think! You don’t need a pro salon kit. Here are the basic tools and products that will help you create beautiful results at home. Having these on hand will make the process smoother and more enjoyable.
The Must-Have Products:
- Base Coat: This is crucial for protecting your natural nails from staining and helping your polish adhere better. A good base coat is the foundation of any lasting manicure.
- Pastel Nail Polishes: The stars of the show! You’ll want a selection of soft, muted pastels like baby pink, mint, light blue, lavender, and pale yellow. Look for formulas that are opaque enough to cover in a couple of coats. Brands like Essie, OPI, and Sally Hansen offer a wonderful range of pastel shades. For an extra-flattering finish, consider polishes with a slightly frosted or creamy finish.
- Top Coat: Essential for sealing your design, adding shine, and preventing chips. A good quick-dry top coat can be a real lifesaver!
- Nail Polish Remover: For cleaning up any mistakes and for removing polish between manicures.
- Cotton Pads/Balls: For applying remover.
Helpful Application Tools:
- Nail Files: To shape your nails into your desired style, whether it’s square, round, or almond.
- Cuticle Pusher/Orange Stick: To gently push back your cuticles for a clean canvas.
- Buffer: To smooth the nail surface and create a perfect base for polish.
- Thin Nail Art Brush (Optional but recommended): For precise clean-ups around the cuticle and sidewalls.
- Dotting Tool (Optional): If you want to add tiny dots or create simple patterns.
- Beauty Sponge/Makeup Blender (for gradient effect): This is a fantastic tool for blending multiple pastel colors seamlessly. A clean, dry makeup sponge works wonders!
Step-by-Step: Creating Your Macaron Nail Designs
Ready to bring these sweet shades to life on your nails? Let’s break down the process. It’s all about patience and having fun with color! We’ll cover a simple application and then a popular gradient technique.
Method 1: Simple Pastel Perfection
This is the most straightforward way to achieve the macaron look. It’s perfect for beginners and looks effortlessly chic.
- Prep Your Nails: Start by pushing back your cuticles gently with a cuticle pusher. Shape your nails with a nail file to your desired length and shape. Use a nail buffer to smooth out any ridges and create a clean surface.
- Apply Base Coat: Apply one thin layer of your base coat and let it dry completely. This step is crucial for nail health and polish longevity.
- Apply First Pastel Color: Choose your first pastel shade. Apply a thin, even coat. Don’t worry if it’s not fully opaque; most pastel polishes need two coats. Let the first coat dry for a minute or two.
- Apply Second Coat: Apply a second coat of the same pastel polish. This should give you full, even coverage. Let this coat dry thoroughly. Rushing this step is a common mistake that leads to smudges!
- Seal with Top Coat: Once the polish is completely dry, apply a generous layer of your favorite top coat. Make sure to cap the free edge of your nail by running the brush along the tip. This helps prevent chipping.
- Clean Up: Use your thin nail art brush dipped in nail polish remover to clean up any polish that got onto your skin.
Method 2: The Dreamy Pastel Gradient
This technique creates a beautiful, blended effect that looks super professional but is totally achievable at home with a sponge!
- Prep and Base Coat: Follow steps 1 and 2 from Method 1. Ensure your nails are clean and prepped.
- Choose Your Colors: Select 2-4 pastel shades that complement each other. For example, you could use baby pink, peach, and pale yellow, or light blue and mint green.
- Prepare Your Sponge: Cut a clean makeup sponge or beauty blender into a manageable size (about 1-2 inches). You can also use a specific nail art gradient sponge.
- Apply Polish to Sponge: Quickly brush stripes of your chosen pastel colors directly onto the sponge. Start with the lightest color at the top and proceed with darker shades. Work quickly as the polish will start to dry on the sponge.
- Sponge the Gradient: Gently press the sponge onto your nail, rolling it slightly from side to side to blend the colors onto the nail surface. You might need to dab a few times to build up the color intensity.
- Repeat for Opaque Finish: Repeat steps 4 and 5, applying more polish to the sponge and dabbing onto the nail, until you achieve your desired opacity. Let it dry slightly.
- Add Another Layer (Optional): For a smoother gradient effect, you can apply one thin coat of a sheer white or a complementary pastel over the dried gradient to meld the colors together.
- Seal and Clean Up: Apply a thick layer of top coat to seal the gradient and add shine. Once the top coat is dry, use a brush dipped in nail polish remover to clean up any excess polish around your cuticles and skin. This often requires a bit more cleanup than a solid color.
Macaron Nail Design Ideas to Inspire You
Once you’ve mastered the basics, the possibilities for macaron nail designs are endless! Here are a few popular and easy ideas to get your creative juices flowing.
1. The Ombre Blend
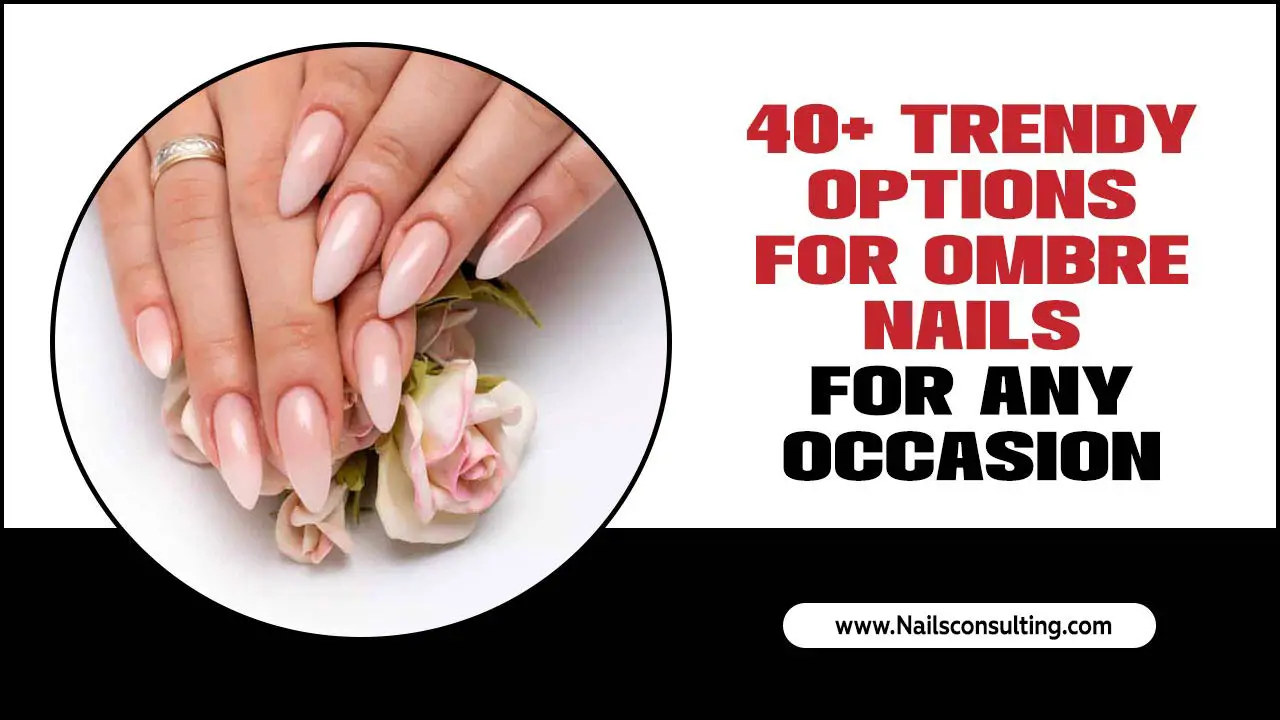
This is a classic for a reason! Using techniques like the sponge gradient we discussed, you can create a beautiful fade from one pastel shade to another. Try a pink-to-peach transition or a soft blue-to-mint blend. This looks sophisticated and adds a lovely dimension to your nails.
2. Two-Tone Elegance
A simple yet effective design. Paint each nail a different pastel color. For instance, alternate between pale pink and creamy white, or mint green and lavender. This offers variety without being overwhelming.
3. Subtle French Tips
Give the classic French manicure a pastel makeover! Instead of white tips, use a soft pastel color like baby blue or pale yellow. This is a super subtle and chic way to incorporate macaron colors.
4. The “Frosted” Look
This involves using polishes with a slightly sheer, matte, or frosted finish. Applying a single pastel shade in this finish can give your nails a soft, sophisticated, and almost velvety appearance, reminiscent of sugared almonds.
5. Delicate Accents
Combine a neutral base color (like a sheer nude or milky white) with a single accent nail painted in a vibrant pastel shade, or add a minimalistic design. A tiny dot or a thin pastel line on an otherwise plain nail can add just the right touch of macaron charm.
6. Color Blocking
For a slightly bolder take, try color blocking with two or three pastel shades on a single nail. Think a horizontal split of mint green and pale pink, or a diagonal division of lavender and baby yellow. Keep the lines clean for a modern look.
Color Combinations That Spell Chic
Choosing the right color palette is key to nailing the macaron aesthetic. The magic lies in their soft, harmonious combinations. Here’s a table to spark some ideas for your next manicure:
| Theme/Vibe | Color Palette Suggestions | Best For |
|---|---|---|
| Sweet & Creamy | Baby Pink, Peach, Vanilla White, Creamy Beige | Everyday wear, soft and feminine looks |
| Spring Meadow | Mint Green, Sky Blue, Pale Yellow, Lavender | Fresh, lively, and uplifting manicures |
| Frosted Elegance | Milky White, Pale Grey, Soft Lilac, Dusty Rose | Sophisticated, understated, and chic styles |
| Sunrise Sorbet | Pale Peach, Light Coral, Soft Yellow, Cream | Warm, cheerful, and inviting manicures |
| Ocean Breeze | Aqua Blue, Seafoam Green, Cool White, Light Teal | Calm, serene, and refreshing looks |
Pro Tips for Long-Lasting Macaron Nails
Chic nails are great, but long-lasting chic nails are even better! Here are some professional tips to ensure your macaron manicure stays looking fresh and beautiful for as long as possible.
- Proper Nail Prep is Non-Negotiable: This cannot be stressed enough! Clean, dry, and smooth nails are essential. Ensure all oils and residue are removed before applying polish. A good degreaser or even rubbing alcohol can help.
- Thin Coats are Key: While it might be tempting to slap on thick coats for quick color, thin, even coats dry faster and are less prone to smudging or bubbling.
- Let Each Layer Dry: Patience is a virtue, especially with nail polish. Allow each coat (base, color, top) to dry sufficiently before applying the next. For especially stubborn polishes, consider using a quick-dry spray or drops.
- Seal Those Edges: Always cap your free edge with your top coat. This creates a seal that prevents polish from lifting or chipping from the tip of your nail.
- Be Gentle with Your Hands: Try to avoid using your nails as tools. When doing chores that involve water or harsh chemicals, wear gloves. This is one of the biggest factors in extending the life of any manicure.
- Refresh Your Top Coat: Consider applying a fresh layer of top coat every 2-3 days. This can revive the shine and add an extra protective layer, helping to prevent chips and wear.
Maintaining Nail Health with Pastels
While macaron shades are generally forgiving, it’s always good practice to keep your nail health in mind. Some lighter or pastel polishes, especially those with strong pink or blue undertones, can sometimes have a tendency to stain nails if not applied over a base coat. This is less common with modern formulas, but it’s good to be aware.
Always use a quality base coat to create a barrier between your natural nail and the polish pigment. If you notice any yellowing or discoloration from polish, a good nail whitener or a soak with lemon juice mixed with water can help. Regularly moisturizing your cuticles with oil also keeps the skin around your nails healthy and prevents hangnails, making your overall manicure appear neater and more polished. For best practices in nail care, the American Academy of Dermatology Association offers comprehensive advice on keeping nails strong and healthy.
When to Avoid Macaron Nails
While macaron nails are incredibly versatile, there might be very specific occasions or personal reasons why they might not be the absolute best fit. These are rare exceptions, as the style is generally so adaptable!
- Extremely Formal/Classic Events: For some highly traditional formal events where only the most classic, understated looks are permitted, vibrant pastels might be seen as a bit too noticeable compared to a sheer nude or classic red. However, this is increasingly rare with modern fashion.
- Needing High Durability for Intense Work: If your hands are constantly exposed to harsh chemicals, heavy manual labor, or extreme conditions, even the best manicure might struggle. In such cases, very dark or neutral polishes might be more forgiving of minor chips, or you might consider professional nail enhancements for maximum durability.
- Personal Color Preferences: Ultimately, the best nail color is one that makes you feel confident and happy! If pastels just aren’t “you,” no trend is worth forcing.
These are truly minor considerations, and for the vast majority of us, macaron nail designs are a fantastic, stylish, and fun option!
Frequently Asked Questions About Macaron Nail Designs
What is the difference between macaron nails and pastel nails?
Often, they are used interchangeably! “Pastel nails” refers to any nail design using pastel colors. “Macaron nails” specifically evokes the soft, delicate, and often slightly muted or frosted aesthetic associated with French macarons, typically featuring a blend or clean application of these gentle hues.
How do I get rid of nail polish stains from light colors?
Always use a good base coat to prevent staining. If staining occurs, try soaking your nails in a solution of lemon juice and water for a few minutes, or using a nail whitener. Gently buffing the surface of the nail can also help lift light discoloration.
Can I achieve the gradient look without a sponge?
Yes! You can use a thin, wide nail art brush to carefully blend the colors directly on the nail. Apply lines of polish next to each other and then gently sweep the brush back and forth across the lines to blend them. It takes a bit more practice than a sponge.
Are macaron nails suitable for all nail lengths?
Absolutely! Macaron designs look beautiful on short, neat nails as well as longer, elegant shapes. The softness of the colors tends to flatter any nail length.
How can I make my pastel nail polish look less streaky?
Ensure you are applying thin, even coats. Allowing each coat to dry completely before applying the next is also crucial. A good quality top coat can help to even out the finish and add a beautiful gloss that masks minor streaks.
What kind of outfits do macaron nails go well with?
They are incredibly versatile! Macaron nails complement neutral outfits beautifully, adding a pop of soft color. They also pair wonderfully with other pastels, white, denim, and even floral prints. They’re a perfect match for spring and summer wardrobes but can add a touch of softness to darker fall and winter attire too.

