Elevate your manicure with luxury spa nail designs featuring crystals! Learn how to add dazzling sparkle and sophisticated shine to your nails for an essential glam look that’s surprisingly easy to achieve at home. Get ready to sparkle!
Dreaming of nails that feel like a red carpet moment? You know, the kind that catch the light just so and make you feel instantly fabulous? We all love a trip to the fancy spa for a pampering session and a perfectly polished look. But what if you could bring a touch of that exclusive, crystal-embellished luxury right to your fingertips, even without a salon appointment? It might sound complicated, but creating stunning, crystal-accented nail designs is more accessible than you think. Get ready to learn how to transform your nails into miniature masterpieces of sparkle and sophistication!
Why Crystals for Your Nails? The Sparkle of Sophistication
Crystals on nails aren’t just about bling; they’re a statement of elegance and a way to express your personal flair. Think of them as the perfect accessory to any outfit, a subtle yet striking detail that says you have an eye for luxury and detail. Whether you’re heading to a special event, a date night, or simply want to add a little extra joy to your everyday, crystal nail designs bring an undeniable ‘wow’ factor.
They can range from a single, perfectly placed gem to a full-on scattered sparkle. The beauty lies in their versatility. They can complement a minimalist chic look with just two or three strategically placed rhinestones, or they can be the star of the show on a bold, glamorous design. Plus, they feel wonderfully indulgent, adding a touch of spa-level pampering to your own routine.
Getting Started: Your Crystal Nail Design Toolkit
Before we dive into the dazzling designs, let’s make sure you have the right tools. Don’t worry; you don’t need to be a professional nail technician to gather these essentials. Most of them are readily available at beauty supply stores or online. Having these on hand will make applying your crystals a breeze and ensure they stay put!
Must-Have Tools for Crystal Nail Art:
- Nail Glue or Gel Top Coat: This is your adhesive. For stronger hold, a specialized nail glue is best. If you’re using gel polish, your regular top coat (especially a gel one) can also work wonders when you’re applying crystals immediately after.
- Tweezers: Fine-tipped, pointed tweezers are crucial for picking up tiny crystals and placing them precisely.
- Wax Picker Tool (or Toothpick/Dotting Tool): This handy tool has a slightly sticky tip, perfect for picking up crystals and transferring them without them sticking to your fingers. A toothpick dipped in a tiny bit of wax or even cuticle oil can be a DIY alternative if you don’t have one.
- Crystals & Gems: These come in all shapes, sizes, and colors! For a luxury spa feel, opt for high-quality acrylic rhinestones, glass crystals that mimic Swarovski, or even tiny nail pearls.
- Your Favorite Nail Polish: The base color is important for making your crystals pop.
- A Good Top Coat: To seal everything in and add shine.
- Optional: UV/LED Lamp: If you’re using gel polish or gel-based adhesives, this is essential for curing.
The Foundation: Preparing Your Nails for Sparkle
Just like any beautiful creation, a strong foundation is key! Properly preparing your nails will ensure your crystal designs look polished and last longer. It’s all about giving those gems a smooth, clean surface to adhere to.
- Cleanse Your Nails: Start with clean, dry nails. Gently remove any old polish.
- Shape and Buff: File your nails to your desired shape. Lightly buff the surface to remove any shine – this creates a better “grip” for your polish and any adhesives.
- Apply Base Coat: Apply a thin layer of base coat and let it dry completely. This protects your natural nail and helps polish adhere.
- Apply Your Base Color: Paint your nails with your chosen polish color. For crystal designs, neutral shades, nudes, or classic colors like black, white, or deep jewel tones often create a sophisticated backdrop. Apply one or two coats, allowing each to dry fully.
Step-by-Step: Applying Crystals for a Luxury Spa Look
Now for the fun part – adding that essential glam! Applying crystals might seem daunting, but by breaking it down into simple steps, you’ll be a crystal pro in no time. We’ll cover two popular methods: using nail glue and using gel top coat.
Method 1: Using Nail Glue (for All Polish Types)
This method is great for both regular and gel polishes and offers a strong hold. It’s perfect for those larger or heavier gems.
Applying Crystals with Nail Glue:
- Ensure Nails are Dry and Polished: Make sure your base color is completely dry. If using regular polish, wait at least 10-15 minutes after your final coat for it to set.
- Apply a Tiny Dot of Glue: Using the applicator from your nail glue or a fine-tipped applicator, place a small dot of glue on the nail where you want to place your crystal. Don’t overdo it; too much glue can look messy and be hard to cover.
- Pick Up Your Crystal: Use your fine-tipped tweezers or wax picker tool to carefully pick up the crystal.
- Place the Crystal: Gently press the crystal onto the dot of glue. Hold for a few seconds to ensure it adheres well.
- Repeat for Placement: Continue placing crystals according to your desired design. Work one nail at a time, or apply glue to a few spots before moving on to placing crystals.
- Let it Dry: Allow the glue to dry completely for at least 5-10 minutes.
- Apply Top Coat (Carefully!): Once the glue is dry, apply a thin layer of top coat. Be very careful around the crystals to avoid flooding them with top coat, which can dull their sparkle. You can use a small brush to feather the top coat up to the edges of the crystals but not over them.
Method 2: Using Gel Top Coat (for Gel Polish Users)
If you exclusively use gel polishes and have a UV/LED lamp, this is a super-efficient and durable method. The uncured gel acts as the perfect adhesive.
Applying Crystals with Gel Top Coat:
- Prep and Polish: Apply your base coat, color coats (curing each layer), and then your final color coat.
- Apply Top Coat (Slightly Thicker): Apply an even layer of gel top coat over your entire nail. For areas where you’ll place crystals, you can apply the top coat a tiny bit thicker than usual – just enough to create a slightly tacky surface without being runny. This will help the crystals sink in slightly and adhere securely.
- Pick Up Your Crystal: Use your wax picker tool or tweezers to pick up your chosen crystal.
- Place the Crystal: Gently press the crystal into the uncured gel top coat. The gel will help it adhere.
- Repeat Your Design: Continue adding crystals until your design is complete.
- Cure Under the Lamp: Once all crystals are in place, carefully place your hand back under your UV/LED lamp and cure for the recommended time (usually 30-60 seconds, depending on your lamp).
- Wipe Away Excess (if needed): After curing, if there’s any sticky residue on the parts of the nail not covered by crystals, gently wipe it away with an alcohol-soaked lint-free wipe.
Luxury Design Ideas: Get Inspired!
Ready to translate these techniques into stunning looks? Here are a few popular luxury spa-inspired crystal nail design ideas to get you started. Remember, personalization is key to making these your own!
1. The Accent Nail Sparkle
This is a classic for a reason! Choose one nail (often the ring finger) and adorn it with a cluster or line of crystals. You can create a gradient effect, graduating from larger at the cuticle to smaller towards the tip, or a delicate scattering.
- How-to: Apply your base color. On your accent nail, place your crystals using either the glue or gel method in your desired pattern. Keep the other nails clean and polished for a sophisticated contrast.
2. Minimalist Crystal Accents
Less is more with this elegant approach. A single, perfectly placed crystal at the base of each nail, or a tiny scattering of micro-crystals, adds a touch of understated luxury. This is perfect for those who want a hint of sparkle without being overpowering.
- How-to: After applying your base color and top coat (or curing your gel), use your wax picker tool to place one or two tiny crystals right at the cuticle line of each nail, or sparingly over the nail surface.
3. French Tip with a Crystal Twist
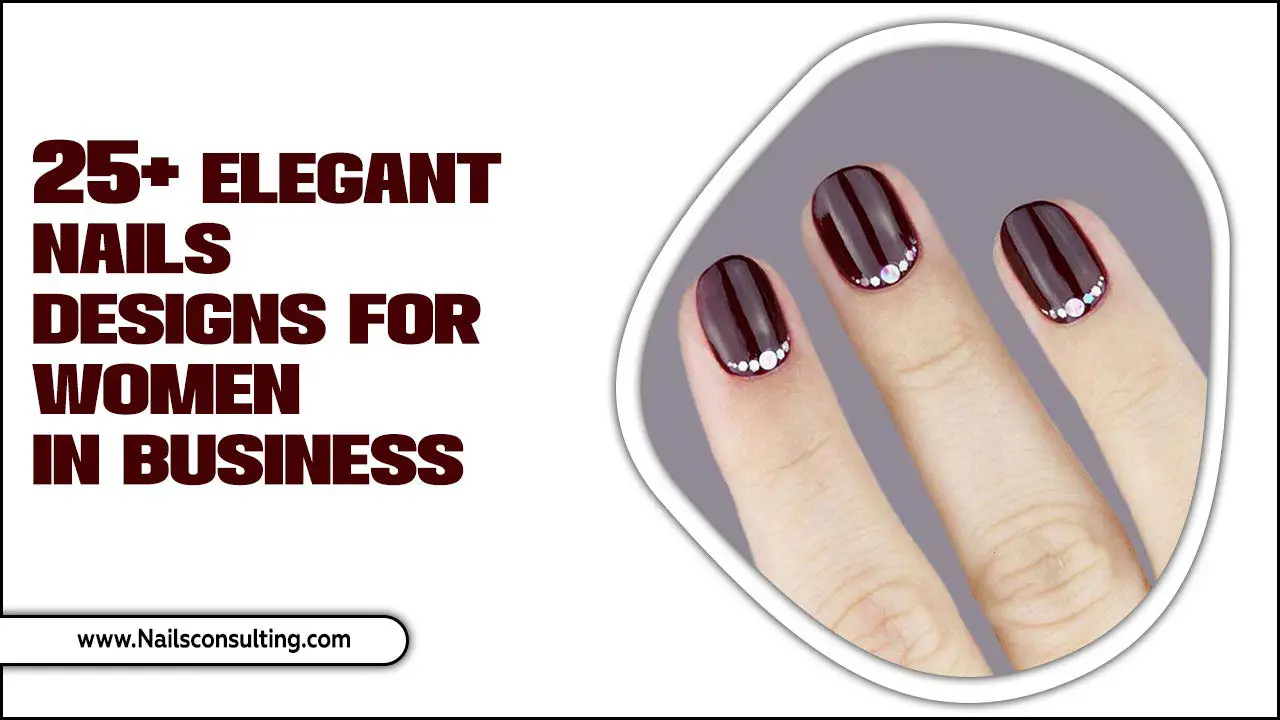
Elevate the classic French manicure by adding crystals to the tips. You can place a single crystal on each white tip, or create a “crowned” effect by lining the curve of your French tip with tiny gems.
- How-to: Complete your French manicure as usual. Once the white tips are dry (or cured for gel), carefully apply a tiny dot of glue or a small amount of gel top coat along the edge of the tip and place your crystals with precision.
4. Full Nail Crystal Overlays
For the ultimate in glamour, consider a full nail crystal overlay. This is bold and incredibly luxurious, often seen on celebrities. It requires patience, but the result is breathtaking.
- How-to: This is best achieved with the gel top coat method. Apply your gel base and color as usual. Apply a slightly thicker, even layer of gel top coat. Working quickly, begin placing crystals across the entire nail. You may need to do this section by section. Ensure all crystals are fully encased by the gel before curing. A builder gel can also be used for a stronger, thicker base to embed crystals.
5. Geometric Crystal Patterns
Play with lines and shapes! Use your crystals to create geometric designs, such as a diagonal line of stones across the nail, a small square, or crisscrossing lines. This adds a modern, chic edge.
- How-to: Plan your pattern. Use your glue or gel top coat to create the “lines” for your pattern and meticulously place your crystals along these guides.
Crystal Care: Keeping Your Sparkle Shining
Once your beautiful crystal designs are in place, you’ll want to keep them looking their best. A little care goes a long way to ensure your luxury spa nails stay dazzling!
- Be Mindful: Try to avoid using your nails as tools. For example, don’t scrape or pry with them, as this can dislodge crystals.
- Moisturize: Keep your hands and cuticles moisturized. Healthy skin around your nails helps maintain the overall appearance and integrity of your manicure.
- Top Coat Refresh: If you notice any crystals looking a little dull or your top coat is wearing down slightly, you can carefully apply another thin layer of top coat around the crystals to refresh the shine. For gel users, a quick swipe of gel top coat and a brief cure can revitalize the shine.
- Gentle Cleaning: When washing dishes or cleaning, consider wearing gloves to protect your manicure from harsh chemicals and prolonged moisture.
Understanding Crystal Types and Their Effects
Not all crystals are created equal. The type of crystal you choose can significantly impact the final look and feel of your luxury spa nail design. Here’s a quick guide to some popular options and how they can enhance your nail art.
| Crystal Type | Description | Best For | Luxury Vibe |
|---|---|---|---|
| Acrylic Rhinestones | Shiny, lightweight plastic gems. Widely available in numerous colors, shapes, and sizes. Come with a metallic backing for extra shine. | Full nail coverage, larger designs, everyday wear. | $$ – Good sparkle, budget-friendly. Can sometimes look less refined than glass. |
| Glass Crystals (e.g., Rhinestones) | Made from glass, offering superior clarity, facets, and light reflection similar to genuine gemstones. | Accent pieces, statement designs, elegant and sophisticated looks. | $$$ – Excellent sparkle and depth. A more premium feel. |
| Preciosa/Swarovski-Style Crystals | High-quality glass crystals known for their exceptional sparkle and durability. Often have a special coating for enhanced shimmer. | High-end designs, special occasions, when maximum brilliance is desired. | $$$$ – The pinnacle of shimmer and luxury. Closest to fine jewelry. |
| Nail Pearls | Small, smooth, iridescent spheres often used to mimic pearls. | Classic, feminine designs, vintage-inspired looks, often paired with rhinestones. | $$ – Adds a soft, sophisticated, and timeless elegance. |
| 3D Charms | Small decorative metal or plastic pieces shaped like bows, stars, flowers, etc. | Adding a specific thematic element or a prominent focal point. | $$ – $$$ – Can range from cute to very chic, depending on material and design. |
When selecting crystals, consider the overall aesthetic you’re aiming for. For a true luxury spa feel, investing in glass crystals or high-quality acrylics that mimic precious gems will make a noticeable difference. Websites like ResearchGate have extensive information on the optical properties of crystals, explaining how different cuts and materials refract light to create that beautiful sparkle, which can help you appreciate the quality you’re looking for in your nail gems.
Common Beginner Mistakes (and How to Avoid Them!)
Every nail artist, beginner or pro, learns through practice. But knowing what pitfalls to watch out for can save you time and frustration. Here are a few common mistakes when applying crystals and how to easily sidestep them:
- Using Too Much Glue/Gel: This is probably the most common one! Excess adhesive can seep out from under the crystal, looking messy, dulling the sparkle, and making the application look amateurish. Solution: Use only a small dot of glue or a thin-but-sufficient layer of gel.
- Gloppy Top Coat Application: Applying a thick, uneven top coat can drown your crystals, making them look foggy or dull. Solution: Apply top coat thinly and carefully. Use a small brush to get close without flooding the crystals. If using gel, ensure the crystals are fully covered by the gel in the bottle before curing.
- Picking Up Crystals with Fingers: Natural oils from your skin can interfere with glue adhesion and make it hard to pick up tiny gems cleanly. Solution: Always use tweezers or a wax picker tool.
- Not Letting Polish Dry Completely: Rushing the process and applying crystals to wet polish is a recipe for smudges and displaced gems. Solution: Be patient! Let your base polish dry thoroughly before starting crystal application.
- Overcrowding the Nail: While going all out can be fabulous, sometimes too many crystals, especially large ones, can make a nail look cluttered rather than chic. Solution: Balance is key. Consider the size of your crystals and the size of your nail. A few strategically placed gems often look more sophisticated than a dense, overwhelming application.
Frequently Asked Questions (FAQ)
Q1: How do I make sure my crystals stay on?
The best way to ensure longevity is by using a strong adhesive (like good nail glue or gel top coat) and applying it correctly. Make sure the nail surface is clean and properly prepped. Additionally, sealing the edges with a good top coat without flooding the crystals will help lock them in place.
Q2: Can I use regular nail polish with crystals, or do I need gel?
You can absolutely use crystals with regular nail polish! The key is to wait for your polish to be completely dry before applying the crystals with nail glue, and then carefully applying a top coat over the surrounding areas of the nail, avoiding the crystals themselves.
Q3: How do I clean my crystal nails without damaging them?
Gently wash your hands with mild soap and water. For tougher grime, using a soft nail brush can help lift debris without dislodging crystals. It’s best to avoid harsh chemicals or abrasive cleaning actions. Wearing gloves for household chores is also a wise preventative measure.
Q4: What kind of crystals should I buy for a luxury look?
For a truly luxurious appearance, opt for high-quality glass crystals or those that mimic the sparkle of brands like Swarovski. Look


