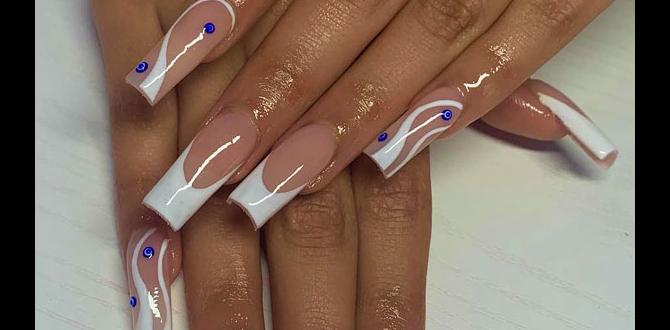
Lollipop nail designs are a super fun and easy way to add a pop of color and playfulness to your manicure. Perfect for beginners, these designs mimic the cheerful look of lollipops with simple techniques and bright polishes, bringing a sweet touch to your fingertips!
Ever looked at your nails and thought, “I wish I could do something fun and colorful, but without all the fuss?” You’re not alone! Getting creative with nail art can sometimes feel a little intimidating, especially when you’re just starting out. We see those amazing designs online and wonder how they’re achieved. But what if I told you there’s a super cheerful, easy-to-master trend that’s perfect for anyone? Get ready to embrace the sweetest trend on your fingertips: lollipop nail designs! They’re vibrant, delightful, and surprisingly simple to create, even if you’ve never picked up a nail art brush before. Let’s dive into how you can bring this playful style to your own mani, step-by-step. You’ll be a lollipop pro in no time!
Lollipop Nail Designs: Bring the Sweetness to Your Nails!
Lollipop nail designs are all about capturing the simple joy and bright aesthetics of everyone’s favorite candy. Think swirls of vibrant color, glossy finishes, and a playful vibe that’s sure to lift your spirits. They’re not just pretty; they’re a fantastic way to express your personality and add a touch of whimsy to your everyday look. Plus, they’re incredibly versatile – whether you’re heading to a casual brunch, a fun party, or just want to brighten your day, lollipop nails fit the bill perfectly.
This guide is designed with you, the beginner nail enthusiast, in mind. We’ll break down everything you need to know, from essential tools to super simple step-by-step instructions. No complicated techniques, no expensive professional equipment – just pure, unadulterated fun and fabulous nails!
Why Choose Lollipop Nail Designs?
There are so many reasons to love lollipop nail designs:
- Beginner-Friendly: They don’t require intricate detailing or advanced artistic skills. Simple dots, lines, and swirls are the stars here!
- Vibrant & Cheerful: The inherent colors of lollipops translate into bright, mood-boosting manicures.
- Customizable: You can play with countless color combinations, stripe styles, and even add glitter for extra sparkle.
- Quick to Create: Once you get the hang of it, these designs can be done relatively quickly, perfect for busy schedules.
- Conversation Starters: They’re unique and eye-catching – people will definitely notice and compliment your nails!
Essential Tools for Your Lollipop Nail Design Journey
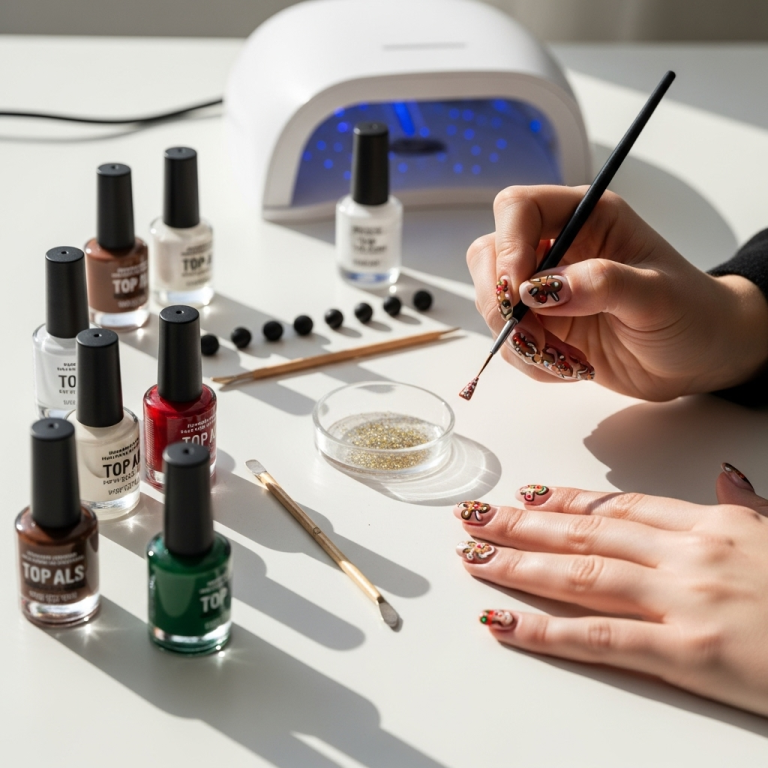
Before we start painting, let’s gather our supplies. You probably have most of these already, but here’s a quick checklist to make sure you’re prepped and ready:
- Base Coat: Protects your natural nails and helps polish adhere better.
- Top Coat: Seals your design, adds shine, and makes your manicure last longer.
- Nail Polish Colors: Choose 2-4 bright, contrasting colors for your lollipop designs. Think pink, blue, yellow, red, green, or even pastel shades!
- Dotting Tools: These come in various sizes and are perfect for creating perfect circles and dots. If you don’t have them, the tip of a bobby pin or a toothpick can work in a pinch! (For a great guide on essential nail tools, check out this resource from NY.gov on nail care products.)
- Fine-Tipped Nail Art Brush: Useful for drawing thin lines or adding small details, like the “stick” of the lollipop. A regular eyeliner brush with synthetic bristles can also be used.
- Nail Polish Remover: For cleaning up any mistakes.
- Cotton Swabs or Pads: To apply the remover.
Understanding the Lollipop Nail Design Anatomy
Most lollipop nail designs involve two key elements:
- The Lollipop Head: This is the colorful, swirled, or dotted part. It usually covers most of the nail.
- The Lollipop Stick: This is a simple line, often white or nude, extending from the cuticle area down towards the free edge, or just a thin line on the nail bed.
The beauty of these designs is their simplicity. You can create the “head” with various patterns, and the “stick” adds a grounding element.
Step-by-Step Lollipop Nail Designs for Beginners
Let’s get creative! Here are a few easy lollipop nail design ideas you can achieve at home. Remember, practice makes perfect, and the most important thing is to have fun with it!
Design 1: Classic Swirl Lollipop
This is a quintessential lollipop design. It looks intricate but is surprisingly achievable!
- Prep Your Nails: Start with clean, dry nails. Apply a base coat and let it dry completely.
- Apply Your Base Color: Paint your nails with your chosen background color (often white or a light pastel, like a wrapper). Let it dry thoroughly.
- Create the Swirl:
- Using a dotting tool or a fine brush, apply a few dots of your main lollipop color (e.g., red, pink, blue) onto the nail.
- With a clean dotting tool or brush, gently swirl the dots together to create a marbled or swirled effect. Don’t over-swirl, or the colors will become muddy.
- Alternatively, you can paint thin, wavy lines next to each other in different colors and gently blend the edges with a toothpick or your brush.
- Add the Stick: Once the swirl is dry, use a fine-tipped brush or a toothpick dipped in white or nude polish to draw a thin, straight line from the cuticle area down the center of the nail.
- Seal Your Design: Apply a generous layer of top coat to protect your artwork and add a beautiful shine. Let it dry completely.
Design 2: Simple Striped Lollipop
This design mimics the look of striped hard candies. It’s incredibly easy and looks super sharp!
- Prep and Base: Apply base coat, then paint your nails with a solid color. This could be the main color of your “lollipop” (e.g., red or blue) or a neutral shade. Let it dry.
- Add the Stripes: Using a fine-tipped nail art brush or a striping tool, carefully paint thin, parallel lines across the nail. You can use 2-3 different colors for a classic candy stripe effect (e.g., red and white, blue and white, pink and yellow).
- Create the Stick: Once the stripes are dry, use a contrasting color (like white or nude) with your fine brush to draw a vertical line down the center of the nail, starting from the cuticle.
- Top Coat Perfection: Apply a layer of top coat to seal everything and give it a glossy finish.
Design 3: Polka Dot Lollipop
This is perhaps the easiest and most playful lollipop design. Perfect for absolute beginners!
- Prep & Base: Start with a base coat and apply your desired base polish color. This could be a bright, solid color for the lollipop head itself, or a neutral color if you plan to put dots on top of it. Let it dry completely.
- Create the Polka Dots:
- Dip your dotting tool (or toothpick) into a contrasting polish color (e.g., white, black, or another bright color).
- Create a cluster of dots in the center or upper part of your nail, mimicking the round head of a lollipop. You can use one color of dots or vary them for more visual interest.
- The Stick Factor: With a fine brush and a contrasting polish color, paint a thin line from below the polka dots down towards your free edge.
- Final Seal: Apply a clear top coat to protect your cute polka dots and add shine.
Design 4: Glitter Swirl Lollipop
For a touch of sparkle, add glitter to your lollipop designs!
- Prep and Base: Apply base coat, then paint your nails with your base color. Let dry.
- Apply Main Color: Paint the main “lollipop head” color onto your nail.
- Glitter Swirl: While the main color is still slightly wet, or after applying a thin layer of clear polish, use a fine brush to carefully dab and swirl glitter polish or loose glitter over the wet polish. Alternatively, you can create a glitter gradient.
- Add the Stick: Once the glitter is dry (or sealed with another layer of clear polish), use a fine brush to paint the stick in a contrasting color.
- Top Coat Power: Apply a thick layer of top coat to smooth out any texture from the glitter and seal the design.
Tips for Perfect Lollipop Nails
Here are some insider tips to help you achieve salon-worthy lollipop nails:
- Work in Thin Layers: Applying multiple thin coats of polish is always better than one thick coat. It dries faster and reduces the risk of smudging.
- Let Polish Dry: Patience is key! Ensure each layer of polish is completely dry before moving on to the next step. This prevents colors from bleeding into each other.
- Clean as You Go: Keep a nail polish remover-soaked cotton swab or brush handy to clean up any stray polish around your cuticles or fingertips immediately. This makes a huge difference in the final look.
- Practice on a Flat Surface: If you find it hard to paint steady lines or dots, try resting your wrist and hand on a flat surface for support.
- Use Quality Polish: Good quality nail polish and tools make a significant difference. Brands often have cremes, glitters, and metallics that are perfect for these designs. For more on nail polish ingredients and their impact, the FDA offers insights into cosmetic safety.
- Don’t Be Afraid of Mess-Ups: Everyone makes mistakes! That’s what nail polish remover and a top coat are for. A mistake can sometimes lead to a new creative idea.
Color Combinations to Inspire You
The real fun of lollipop nails is in the color play! Here are some ideas:
| Lollipop Style | Head Colors | Stick Color | Base Polish (Optional) |
|---|---|---|---|
| Classic Cherry | Red, Pink | White | White or Clear |
| Blue Raspberry | Bright Blue, Teal | White | White or Light Blue |
| Lemon Zest | Yellow, Orange | White | Pale Yellow |
| Rainbow Swirl | Red, Orange, Yellow, Green, Blue, Purple | White or Clear | White |
| Strawberry Patch | Pink (various shades) | White or Nude | Light Pink |
| Minty Fresh | Mint Green, White | Nude | Pale Mint |
| Grape Galaxy | Purple, Deep Pink, hint of Blue | Silver or White | Dark Blue |
Caring for Your Lollipop Nails
To make your delightful lollipop nails last, keep these tips in mind:
- Avoid Harsh Chemicals: Wear gloves when cleaning or doing dishes to protect your polish from detergents and hot water.
- Moisturize: Keep your hands and cuticles hydrated with a good cuticle oil or hand cream. Healthy cuticles make your nail art look even better.
- Reapply Top Coat: If you notice your top coat is wearing down after a few days, you can carefully apply another thin layer to refresh the shine and protection.
Troubleshooting Common Issues
Even with simple designs, little hiccups can happen. Here’s how to fix them:
- Smudged Polish: If you accidentally smudge a wet design, try to gently smooth it out with a clean brush or dotting tool. If it’s too messy, remove the polish from that nail and start again.
- Uneven Lines: For wobbly stick lines, grab a small brush and clean nail polish remover to carefully wipe away the mistake and redraw a straighter line.
- Bubbles in Polish: Bubbles can form if polish is applied too thickly or if the layers aren’t dry. Always use thin coats and ensure each one dries before the next.
- Polish Chipping: Ensure you’ve applied a good base coat and, most importantly, a generous top coat. Cap the free edge of your nail with your top coat by swiping it horizontally across the tip.
Beyond Basic Lollipop Designs
Once you’re comfortable with the basics, you can get even more creative:
Fruity Flavors: Instead of just solid colors, try speckling your “lollipop head” with tiny dots of different colors to mimic real fruit flavors like strawberry, raspberry, or orange.
Glitter Accents: Add a full glitter nail on one finger, or use glitter glue to create a glitter “stick” for your lollipop nails.
Matte Finish: Swap your glossy top coat for a matte one for a different, sophisticated look that still keeps the fun lollipop shape.
Mini Details: Use your smallest dotting tool and a contrasting color to add tiny “sparkle” dots or a small swirl on top of your main lollipop head.
Frequently Asked Questions About Lollipop Nail Designs
What are lollipop nail designs?
Lollipop nail designs are manicures that mimic the appearance of lollipops. They typically feature a colorful, rounded design on the nail’s surface representing the candy, often with a thin line extending from the cuticle area as the “stick.”
Are lollipop nail designs easy for beginners?
Yes! Lollipop nail designs are exceptionally beginner-friendly. They require basic nail art tools like dotting tools or toothpicks and simple techniques such as dots, swirls, and lines, making them perfect for those new to nail art.
What colors are best for lollipop nail designs?
Bright, cheerful colors are ideal. Think reds, pinks, blues, yellows, greens, and purples. You can use solid colors, contrasting shades for swirls, or even pastels. White and nude are great for the “stick” and as base colors.
Do I need special tools for lollipop nail designs?
While specialized dotting tools make the job easier, you can achieve lollipop designs with common household items. The tip of a bobby pin, a toothpick, or even a fine-tipped pen (ensure it’s clean and only used for nails) can be used to create dots and lines.
How long do lollipop nail designs typically last?
With a good base coat, careful application, and a quality top coat, lollipop nail designs can last anywhere from 5-10 days, similar to a regular manicure. Proper care, like wearing gloves for chores, will extend their lifespan.
Can I put glitter on my lollipop nail designs?
Absolutely! Glitter adds a wonderful sparkle and can enhance the lollipop look. You can use glitter polish for swirls, add glitter to the “stick,” or even do a full glitter accent nail to complement your lollipop design.
How do I fix a mistake on my lollipop nail design?
For small smudges, you can gently try to smooth them with a clean brush or dotting tool. For bigger errors, use a cotton swab dipped in nail polish remover to clean up the affected area and reapply the polish when dry. Don’t be afraid to repaint a nail if needed!
Conclusion
There you have it – your ultimate guide to creating fabulous lollipop nail designs! We’ve covered everything from the essential tools to easy step-by-step designs and tips to keep your sweet manicures looking their best. Remember, the goal is to have fun and express yourself. Don’t worry about perfection, especially when you’re just starting. Embrace the playful colors, experiment with different combinations, and let your creativity shine through your fingertips. These cheerful designs are sure to bring a smile to your face every time you look at your hands. So, grab your polishes, get your dotting

