Librarian Nail Designs: Essential & Stunning Looks
Looking for librarian nail designs? You can achieve elegant and sophisticated nails with simple, chic librarian-inspired manicures. These designs are perfect for a polished, professional look that’s both understated and stylish, whether you’re heading to work or just want to feel put-together. Let’s explore some easy ways to create these beautiful looks!
Ever feel like your nails are missing that special touch of sophistication? You’re not alone! Many of us admire that effortlessly chic look – think clean lines, subtle colors, and a general air of polished grace. This is often associated with the classic “librarian” aesthetic, but it’s truly for anyone who loves a refined manicure. Sometimes, finding simple yet stunning designs that don’t require hours of intricate work can feel like searching for a rare book. Don’t worry, we’ve got you covered! This guide will walk you through easy-to-achieve librarian nail designs that are perfect for beginners and busy bees alike. Get ready to transform your nails into something truly special and embrace your inner bookworm with style!
What’s So Great About Librarian Nail Designs?
The “librarian nail” trend isn’t about dusty old books (unless that’s your vibe!). It’s about embracing a style that’s clean, elegant, and timeless. These manicure ideas are perfect because they communicate a sense of calm, intelligence, and understated beauty. They’re versatile enough for any setting, from a professional office to a casual coffee date. Plus, they often involve minimalist techniques that are super easy to do at home!
Think less about loud patterns and more about thoughtful details. These designs are often:
- Understated: They catch the eye without being overpowering.
- Chic: Polished and refined, always in style.
- Versatile: Suitable for work, school, or any occasion.
- Easy to Recreate: Perfect for DIY manicures.
Essential Nail Prep for a Flawless Librarian Look
Before we dive into the fun designs, let’s talk about the foundation: healthy, well-prepped nails. Just like a good book needs a strong spine, your nails need a solid base for any polish to look its best. This prep work makes a huge difference!
Step-by-Step Nail Preparation:
- Cleanse: Start by removing any old polish with a good acetone-free remover. Acetone can be drying, so a gentler formula is often best for maintaining nail health.
- Shape: Gently file your nails into your desired shape. For a librarian look, almond, squoval, or a soft square shape are usually excellent choices. Always file in one direction to avoid splitting. You can find great tips on shaping from resources like Nail Care HQ.
- Cuticle Care: Gently push back your cuticles using an orange stick or a cuticle pusher. Avoid cutting them unless absolutely necessary, as healthy cuticles protect your nail bed. You can apply a cuticle oil to soften them beforehand.
- Buff: Lightly buff the surface of your nails with a fine-grit buffer. This smooths out ridges and creates a perfect canvas for polish, helping it adhere better. Don’t over-buff!
- Cleanse Again: Wipe your nails with isopropyl alcohol or a nail cleanser to remove any dust or oils. This ensures your polish will stick well and prevents lifting.
Iconic Librarian Nail Designs & How to Do Them
Now for the exciting part! These designs are inspired by the classic librarian aesthetic, focusing on elegance and simplicity. We’ll break down how to achieve them with easy-to-follow steps.
1. The Classic French Manicure (with a Twist)
The French tip is a timeless classic, and it fits the librarian aesthetic perfectly. We’ll give it a subtle update that feels fresh and modern.
What You’ll Need:
- Base coat
- Sheer nude or pale pink polish
- White or cream polish (for the tips)
- Fine-tip nail art brush or French tip guide stickers
- Top coat
Steps:
- Apply a thin layer of base coat and let it dry completely.
- Paint 1-2 coats of your sheer nude or pale pink polish. This creates a clean, natural-looking base.
- The Twist: Instead of a stark white tip, opt for a creamier white or even a soft beige. For a more sophisticated look, you can even try a very pale grey or a muted metallic tip!
- Application Methods:
- Freehand: Using a fine-tip nail art brush, carefully paint the tip of each nail. Take your time here!
- Guide Stickers: Apply French tip guide stickers just below where you want your tip to start, press them down firmly, and then paint the tip. Remove the stickers while the polish is still slightly wet.
- Let the tips dry thoroughly.
- Apply a generous layer of top coat to seal the design and add shine.
2. The Subtle Gradient (Ombre)
A soft, subtle gradient can add a touch of dimension without being flashy. It’s like a scholarly gradient of knowledge!
What You’ll Need:
- Base coat
- 2-3 coordinating neutral polishes (e.g., soft beige, light grey, muted taupe)
- Makeup sponge or a nail art sponge
- Top coat
Steps:
- Apply base coat and let dry.
- Paint each nail with one of your chosen shades, or paint all nails with the lightest shade.
- Cut a small piece of your makeup sponge.
- Apply stripes of your chosen polishes onto the sponge, next to each other, in the order you want them to appear on your nail (e.g., lightest to darkest). Work quickly!
- Gently dab the sponge onto your nail, pressing lightly to blend the colors. You might need to reapply polish to the sponge and dab a second time for opacity.
- Clean up any polish that got on your skin with a brush dipped in nail polish remover.
- Repeat on other nails with your chosen color combinations.
- Once dry, apply a top coat to smooth out the texture and add gloss.
3. Minimalist Accent Nail
Sometimes, all you need is one special nail to make a statement. Let one nail shine while the others stay clean and simple.
What You’ll Need:
- Base coat
- Neutral polish (e.g., beige, grey, soft white)
- Black or dark navy polish
- Fine-tip nail art brush
- Top coat
Steps:
- Apply base coat and let dry.
- Paint all your nails (except one accent nail) with your chosen neutral polish.
- On your accent nail (usually the ring finger), apply 1-2 coats of the neutral polish.
- Using the fine-tip brush and black or dark navy polish, draw a simple design on the accent nail. Think a single thin line, a tiny dot, a minimalist geometric shape, or a simple abstract swirl.
- Let the accent nail design dry completely.
- Apply top coat to all nails.
4. The “Clean Girl” Manicure with a Glossy Finish
This look is all about a healthy, super-shiny finish on natural-looking nails. It’s pure, effortless elegance.
What You’ll Need:
- Base coat
- Sheer polish (pink, beige, or milky white)
- High-shine top coat (gel-like formulas work wonderfully!)
Steps:
- Prep your nails as described earlier.
- Apply one or two thin coats of your sheer polish. The goal is to enhance your natural nail color and even out any tone, not to fully opaque.
- Once the color is dry, apply a generous layer of your high-shine top coat. Make sure to cap the free edge of your nail by running the brush along the tip.
- Let it cure fully. The amplified shine is the star here!
5. The “Book Spine” Accent Nail
Inspired by the rich colors and textures of book spines, this design adds a touch of learned charm.
What You’ll Need:
- Base coat
- A muted color polish (e.g., deep burgundy, forest green, navy blue, mustard yellow)
- Gold or rose gold polish
- Fine-tip nail art brush
- Top coat
Steps:
- Apply base coat to all nails.
- Paint 3-4 nails with your chosen muted color.
- On your accent nail, apply 1-2 coats of the muted color.
- Once dry, use the gold or rose gold polish and fine-tip brush to paint a thin, vertical line down the center of the accent nail, mimicking the edge of a book spine. You can also add a tiny dot at the top and bottom of the line for extra detail.
- Let dry and apply top coat to all nails.
Nail Care for the Discerning Reader
Maintaining your nails is just as important as the design itself. Healthy nails are the best canvas!
Tips for Strong, Healthy Nails:
- Moisturize: Apply hand cream and cuticle oil daily, especially after washing your hands. This keeps your skin soft and your nails from becoming brittle.
- Protect: Wear gloves when doing household chores, especially washing dishes or using cleaning products. These can strip natural oils from your nails.
- Healthy Diet: Ensure your diet is rich in biotin, vitamins, and minerals that support nail growth. Protein, fruits, and vegetables are key.
- Avoid Harsh Chemicals: Be mindful of the nail polish removers and products you use. Look for acetone-free options when possible.
- Give Nails a Break: If you notice your nails weakening, take a break from polish for a week or two and focus on conditioning treatments.
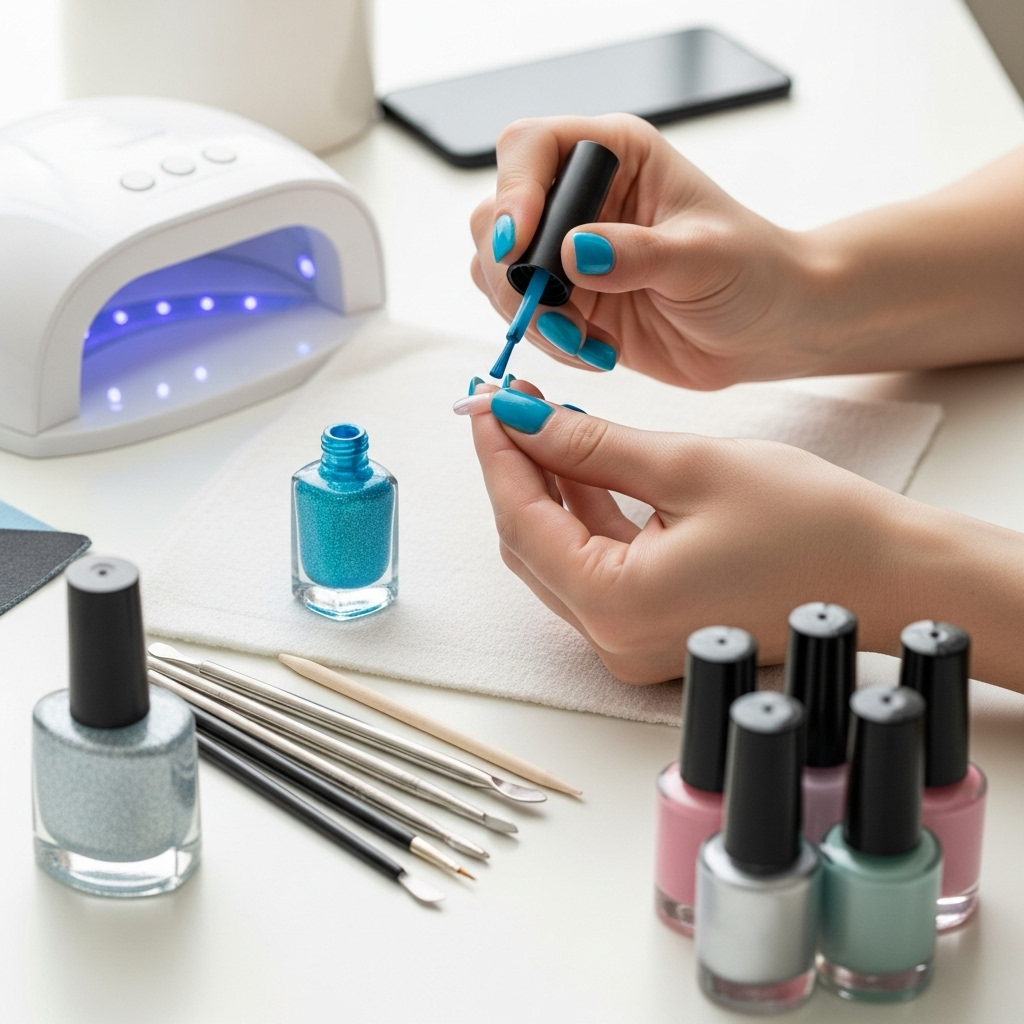
Essential Tools for Your Librarian Manicure Kit
You don’t need a whole professional salon to create these looks. A few key tools can make all the difference.
| Tool | Purpose | Why It’s Great for Librarian Designs |
|---|---|---|
| Base Coat | Protects natural nail, helps polish adhere, and prevents staining. | Ensures a smooth, even canvas for subtle colors. |
| High-Quality Nail Polish | Provides color and finish. | Crucial for achieving those chic, muted, or sheer tones. |
| Fine-Tip Nail Art Brush | For precise lines, dots, and details. | Perfect for the minimalist accents and French tips in librarian designs. |
| Nail Polish Remover (Acetone-Free) | To remove polish cleanly. | Gentle on nails and skin, preventing dryness. |
| Nail File & Buffer | To shape and smooth nails. | Essential for achieving the perfect neat shape and smooth surface. |
| Top Coat (High-Shine) | Seals polish, adds shine, and protects the design. | Elevates the entire look with a professional, glossy finish. |
Where to Find Quality Supplies:
You can find these essential tools at most drugstores, beauty supply stores, and online retailers. For example, brands like Ella+Mila offer vegan and cruelty-free polishes, and brands like ORLY provide excellent brushes and tools, often available through reputable beauty supply sites.
Frequently Asked Questions (FAQ)
Q1: Are librarian nail designs only for people who work in libraries?
A1: Not at all! The term “librarian nail designs” refers to a style that is clean, elegant, sophisticated, and often minimalist. It’s perfect for anyone who prefers a polished and understated look, whether for work, school, or everyday wear.
Q2: What are the best colors for librarian nail designs?
A2: Neutrals are your best friend! Think soft beiges, muted greys, pale pinks, milky whites, and classic nudes. Deeper, muted shades like burgundy, forest green, navy, or deep teal can also be incorporated for a richer, more scholarly feel.
Q3: Do I need special tools to create these designs?
A3: For most librarian-style nails, basic manicure tools are enough: base coat, polish, top coat, and perhaps a fine-tip brush for simple accents. French tip guide stickers can also be very helpful.
Q4: How can I make my basic polish look more sophisticated?
A4: Focus on a flawless application: clean, neatly shaped nails, a smooth base coat, even color application, and a generous, glossy top coat. Even a simple color can look incredibly chic with a perfect finish.
Q5: My nails are prone to breaking. How can librarian nail designs help?
A5: These designs often use sheer or muted polishes and focus on clean application rather than elaborate embellishments. This means less risk of chipping or damage from bulky additions. Prioritizing nail health and using reinforcing base and top coats is key.
Q6: How long do these types of manicures usually last?
A6: With proper prep and a good top coat, most simple polish manicures can last anywhere from 5-10 days before showing signs of wear. For longer-lasting results, consider using a gel-like top coat or investing in a UV/LED lamp for gel polish if you want to go that route.
Conclusion
Embracing the librarian nail aesthetic is all about celebrating sophistication, simplicity, and a touch of intellectual charm. These designs prove that you don’t need complex art or flashy colors to have stunning nails. By focusing on clean lines, elegant color palettes, and a flawless finish, you can achieve a look that is both timeless and personal.
Remember, the key is careful preparation and a steady hand (or a good set of tools!). Whether you opt for a revised French tip, a subtle gradient, or a minimalist accent, your nails can become a beautiful expression of your personal style. Don’t be afraid to experiment with the muted tones and subtle details that make this look so unique. So, gather your supplies, take a deep breath, and get ready to adorn your nails with the quiet confidence and elegance they deserve. Happy polishing!